

If you’ve been inspired by all the wallpaper you’re seeing, you’re not alone. Wallpaper is back! Before you get started, we’re sharing the 5 things that have helped us before and during each install.
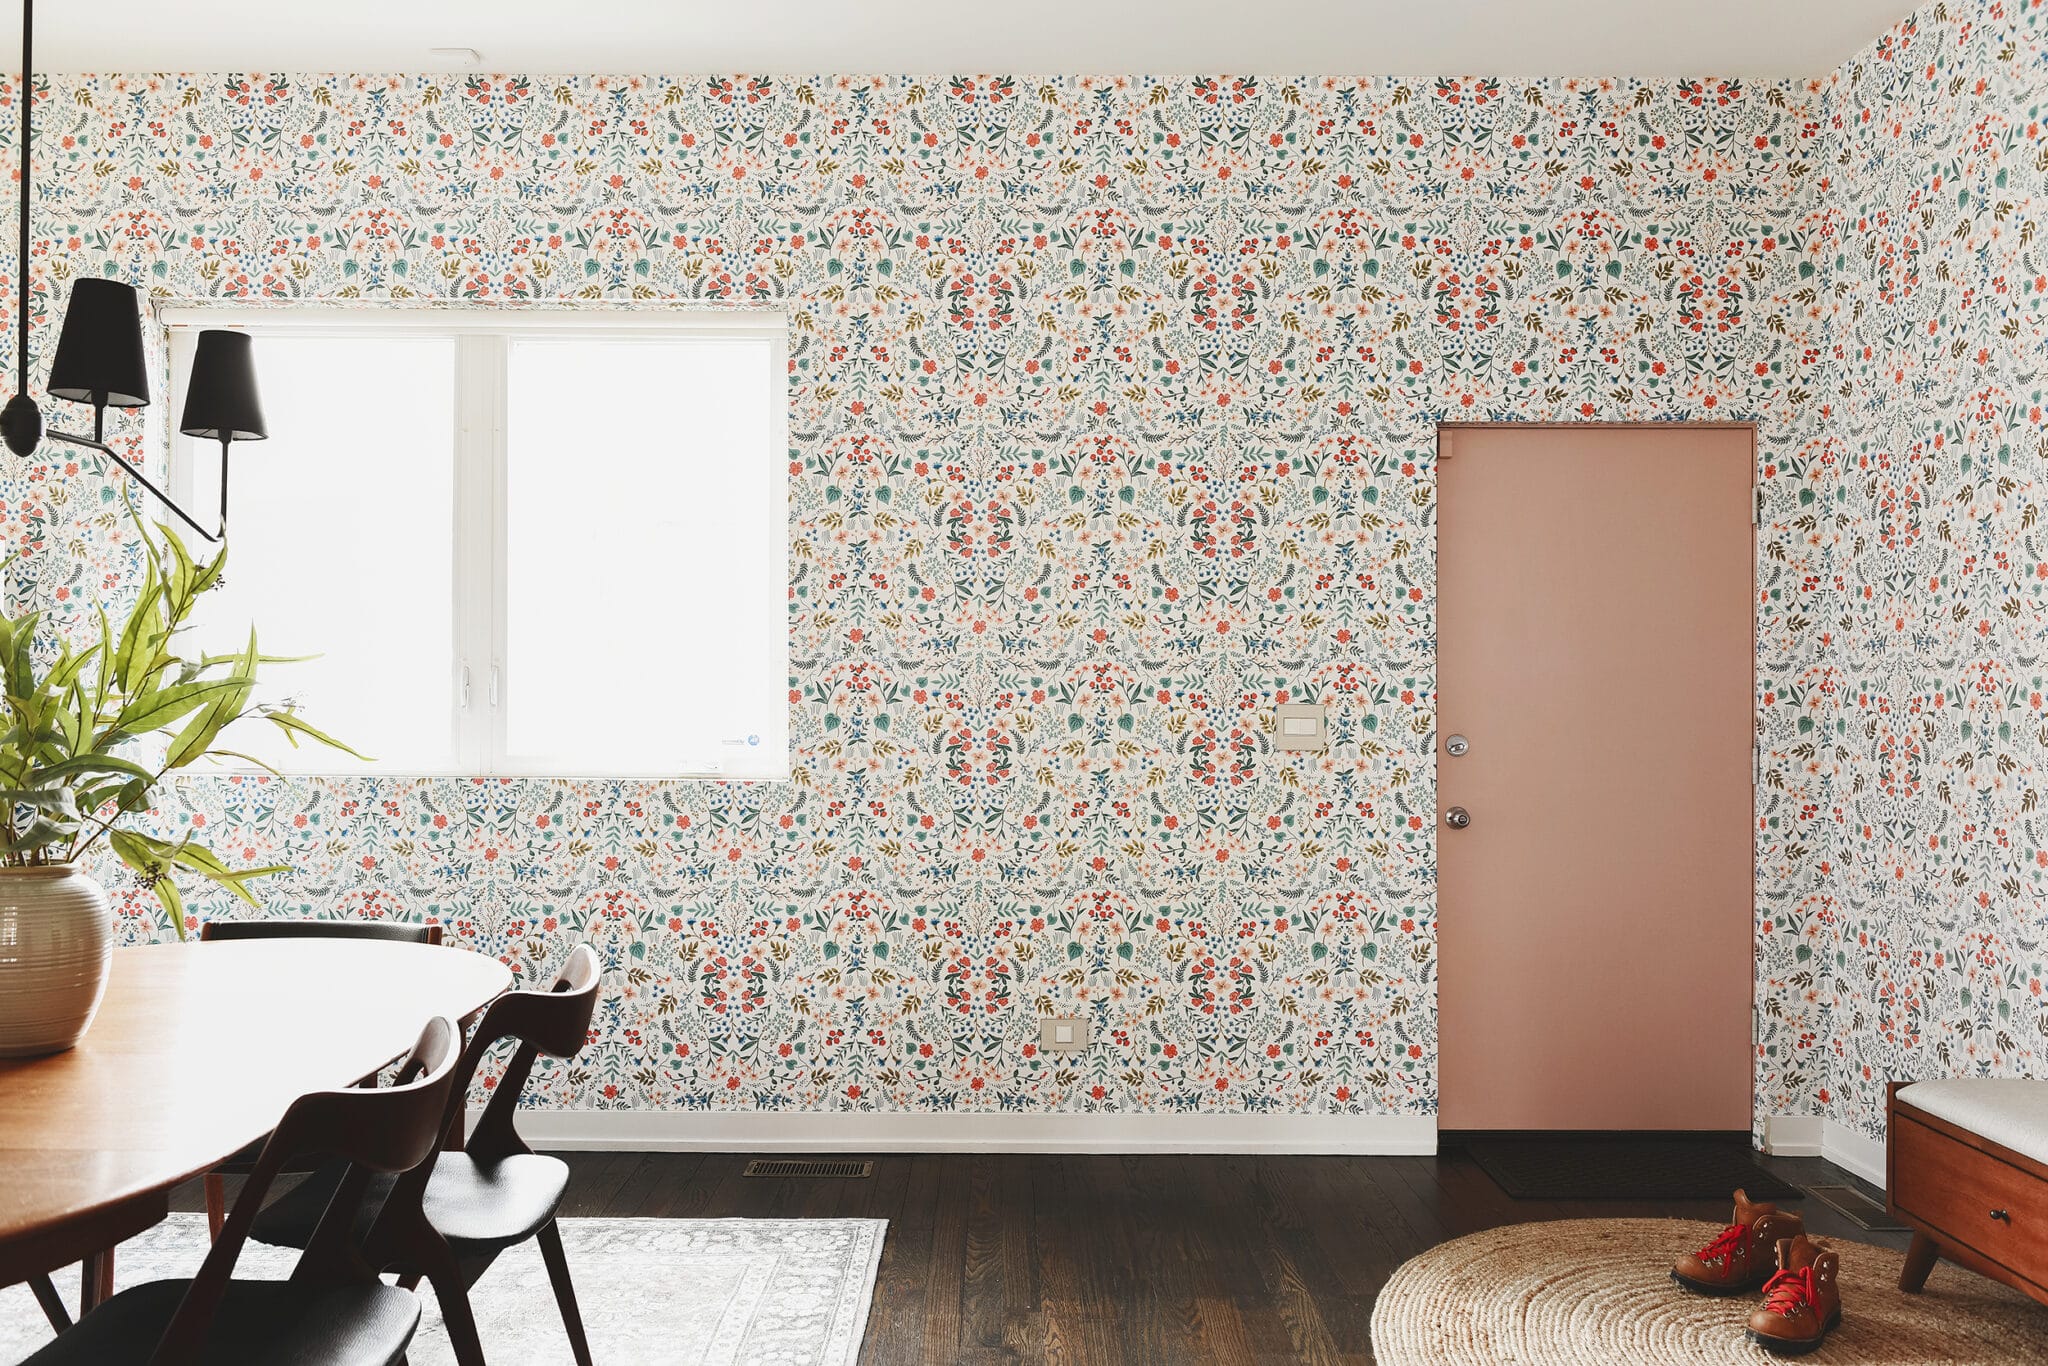
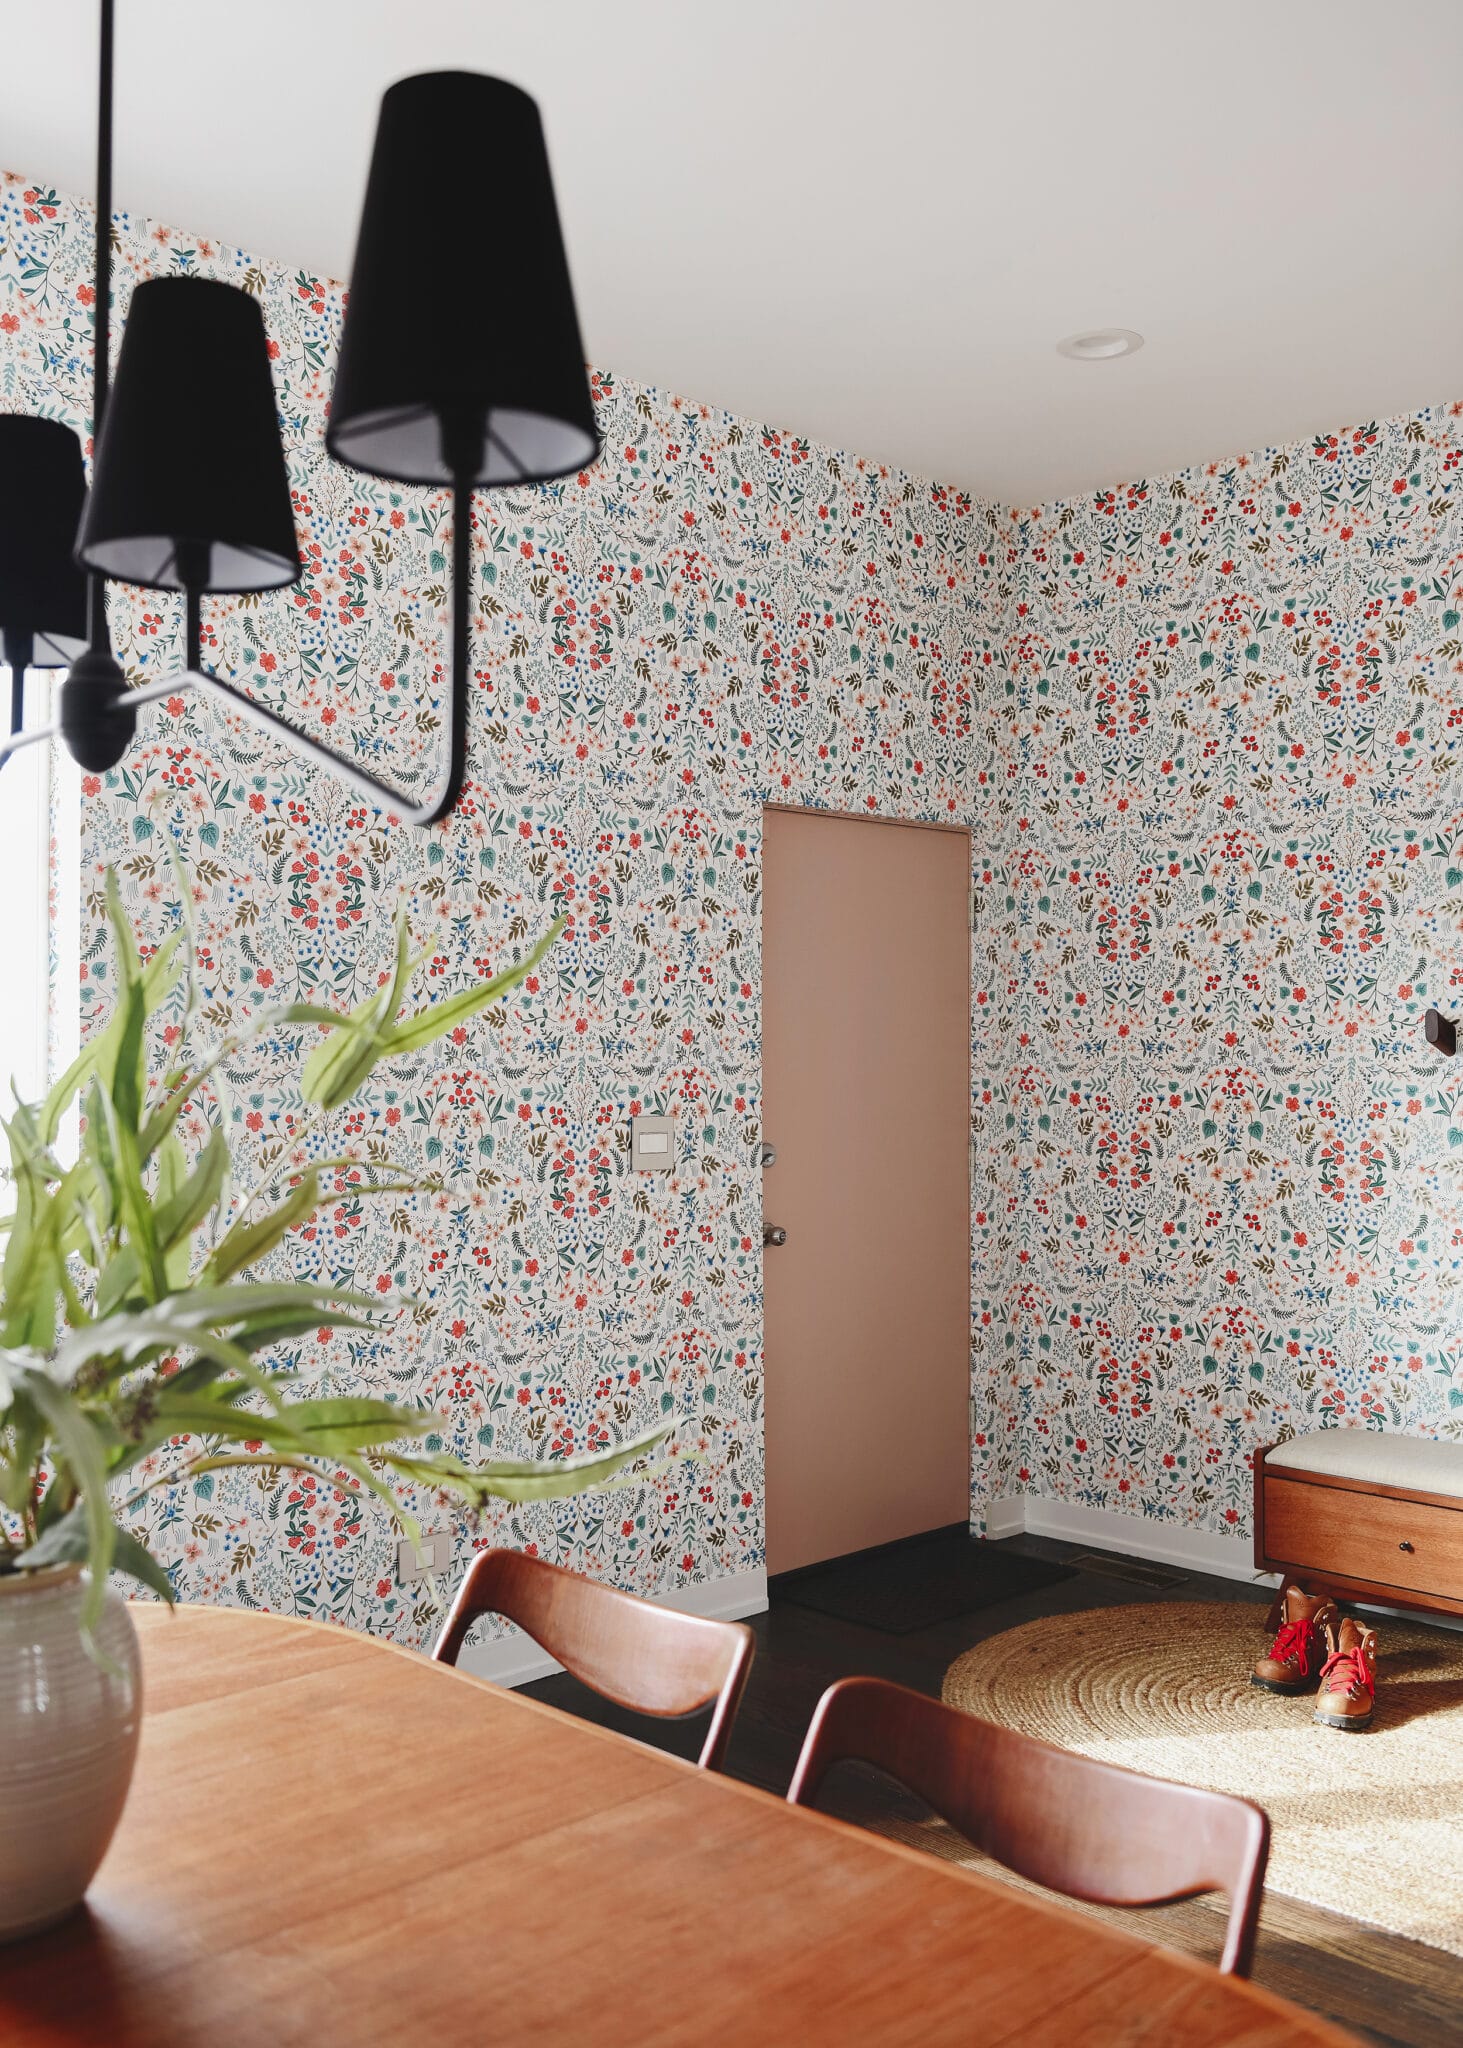
We’ve been big proponents of wallpaper in our own spaces for awhile now, but our most recent installation was for our dear friends over at the Kalvakota project. It’s been an ongoing process helping their family to realize a home that is truly ‘them’. They’re a vibrant, fun-loving family that wanted things to feel lighter, brighter and a bit more punchy. We brought in all the changes we could muster, but the biggest impact came in the form of the multicolored floral wallpaper seen below! Wallpaper can truly elevate a space and with the absolutely limitless array of options available, there’s something for everyone. Prior to selecting your paper though, there are a few things to keep in mind.
1| Understanding the types of paper available
Much like the many patterns available, wallpaper also comes in a few different styles. All of these need to be understood prior to making the selection that’s right for your space.
- Peel and Stick – This wallpaper is different in the way you might suspect! It requires no paste and the installation process is similar to adhering a large sticker to the wall. The benefit is that its completely DIY-able and can be adjusted easily if the first application isn’t perfect. It’s also removable, so is a great option for renters! The downfall of peel and stick is that it’s not fully permanent. Edges are more prone to lifting and application on textured or bumpy walls can be tricky.
- Traditional Pasted – Also known as pre-pasted, this style of wallpaper works in a similar fashion to licking an old-school stamp or sealing an envelope. The back of the paper is coated in a water-activated adhesive that simply needs to be soaked in water prior to installation. Pasted paper also requires booking, a process in which the paper is folded back onto itself to help in paste activation.
- Unpasted – The final type of paper is, you guessed it, lacking in adhesive all together. Unpasted paper requires the use of wallpaper paste that can be applied to the back of the paper or the wall itself depending on preference.
Determining the style that works for you comes down to preference. Will you be DIY-ing the project? Peel and stick might be the right option. Will you be hiring an installer? If so, touch base with them first. Our favorite Chicago install team won’t touch peel and stick. The key is to know your own limits and select paper once you’ve decided on a style. The good news is that it’s becoming more common for a popular design to offer pasted or peel and stick.
2| The wallpapering process often starts months in advance
The installation process can happen in a few hours, but the selection process can take months! Samples take time to arrive, especially if you’re ordering from multiple vendors. Then the actual order can take even more time. Supply chain issues are real and many higher end options ship from overseas. You’ll want to touch and feel all of the options before making a final decision for sure! We also find that color disparity from screen to sample can vary drastically! On top of all that, our installer wouldn’t even put us on the schedule until final paper was in hand and ready to go!
3| How we coordinate paint colors with wallpaper
In many cases, wallpaper will meet up with a painted wall at some point. This intersection definitely requires some careful consideration! Since wallpaper doesn’t offer nearly the amount of color variation as paint, we tend to choose our wallpaper first, then select a paint color. The background of the paper, the scale of the pattern and dominant colors should all be considered before making a pricey commitment. In the Kalvakota’s home, we selected the paint color once we’d all decided on the wallpaper pattern and colorway. This brought cohesion to a space that could have felt jarring if the paint color didn’t blend so well with the wallpaper background.
In this case, we were looking for the perfect neutral backdrop to help the wallpaper do the talking. In cases of more subtle wallpaper or to really make a statement, contrasting colors can also be visually striking!
4| Don’t skip the primer!
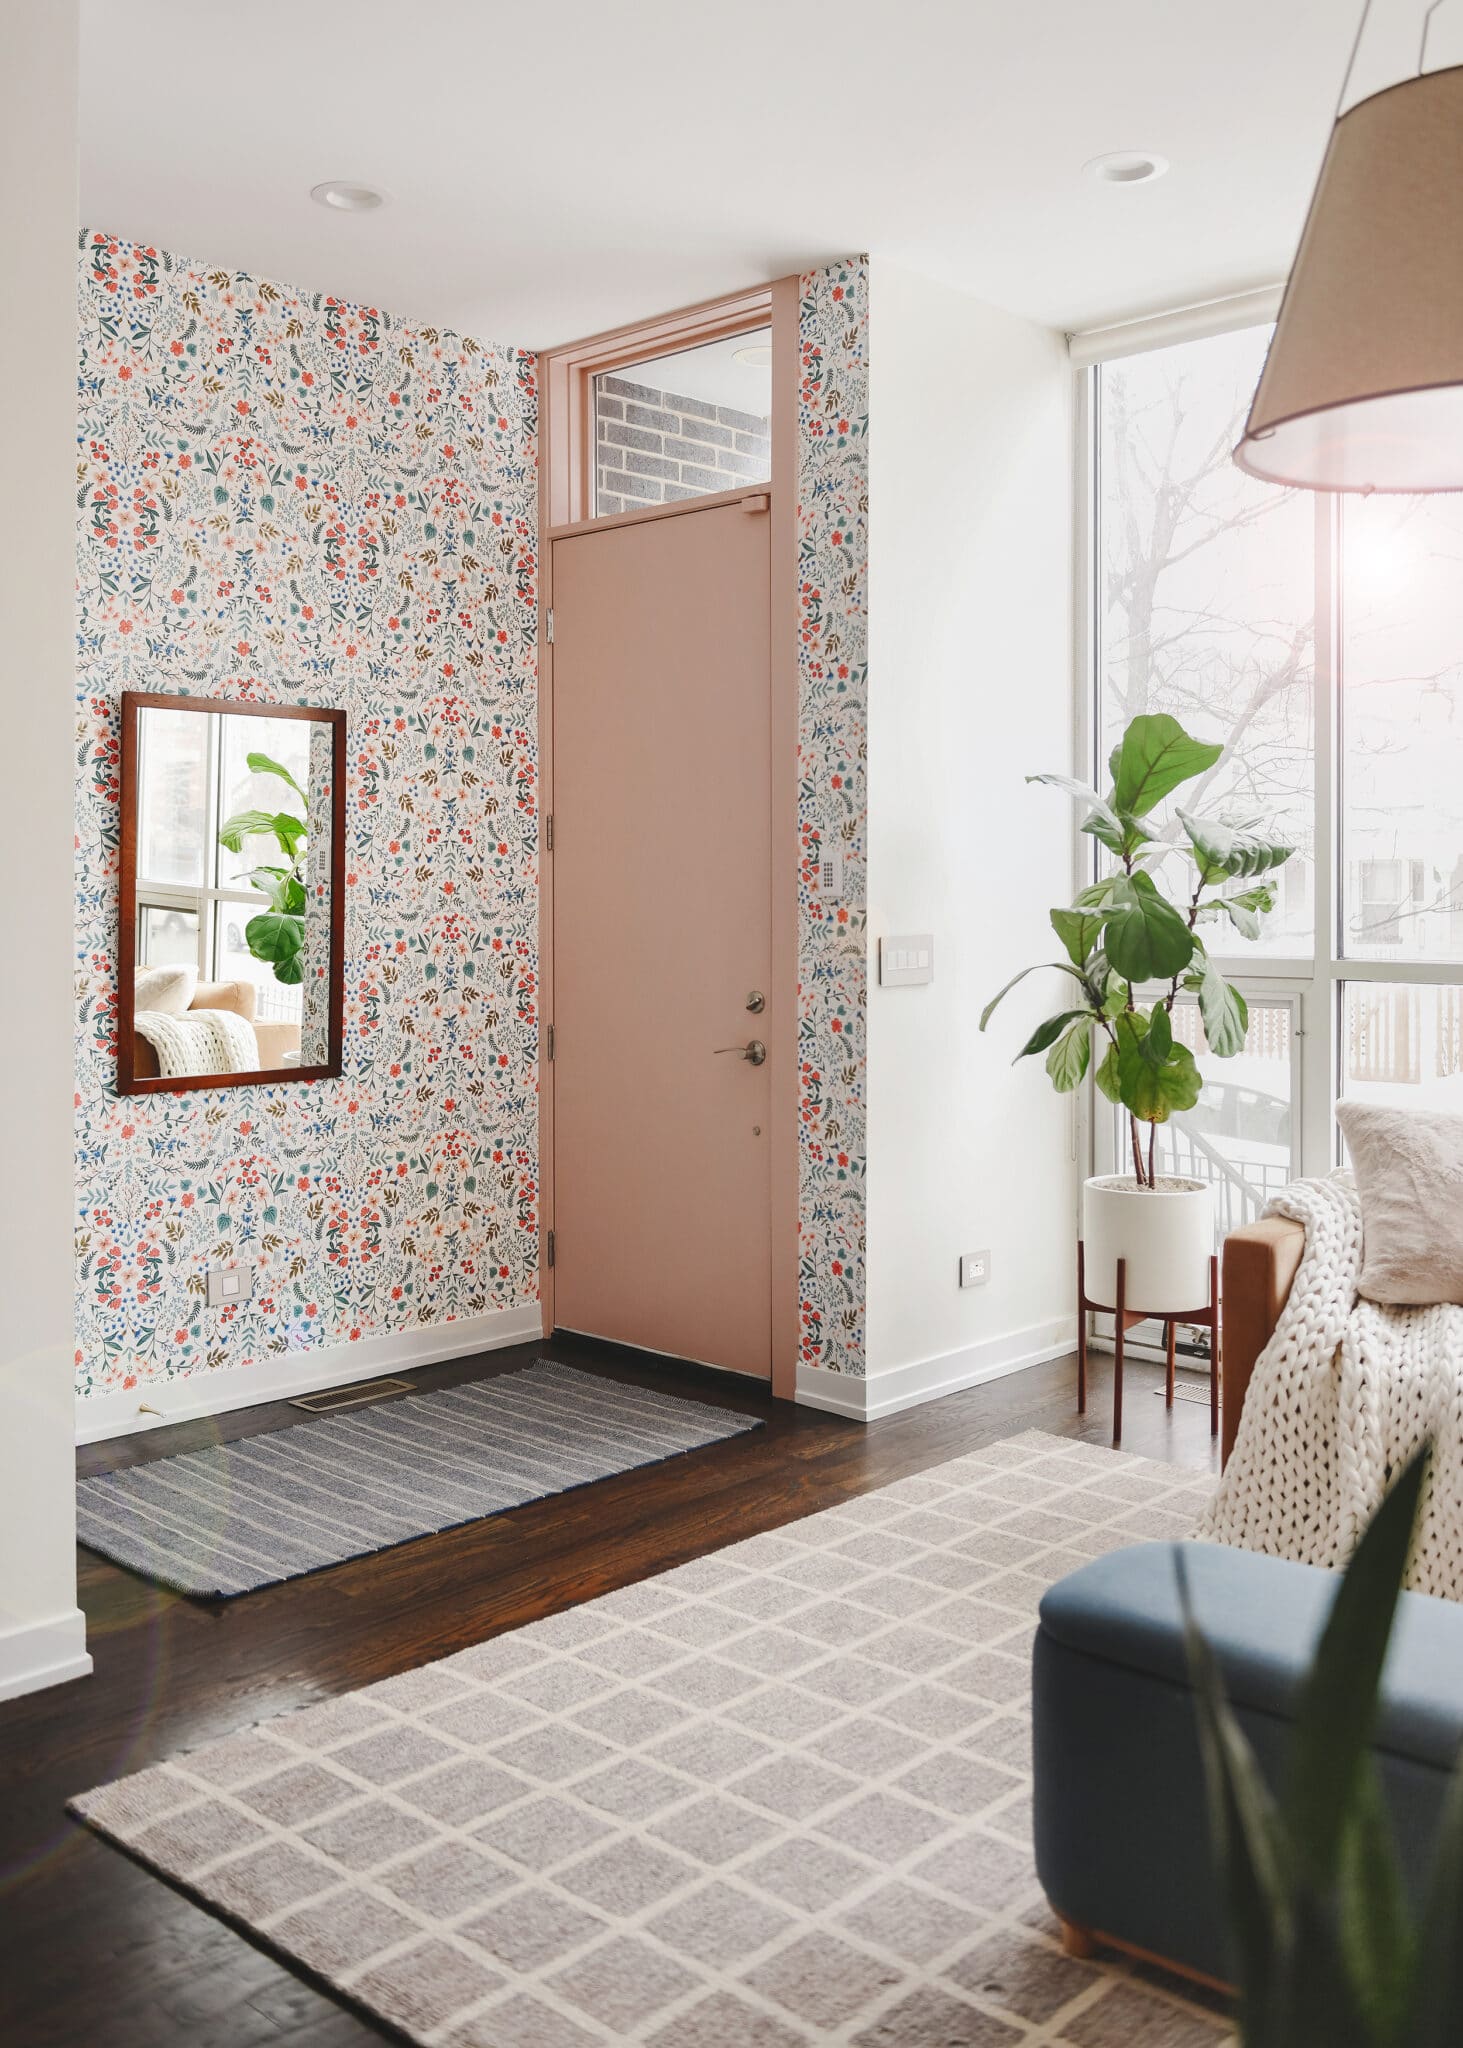
Wallpapering over all but the lightest color of paint can lead to some unexpected consequences! Dark or bold colors have the potential to show through the background of lighter wallpapers more than might be expected. In the Kalvakota’s entryway, for example, the walls were originally painted in black and white stripes. This would have shifted the tone of the creamy white background had we not applied two liberal coats of high-quality primer before application. Also, keep in mind that there are wallpaper-specific primers available. Their goal is to provide a smooth surface that allows for easier paper application. It also aids in smooth removal if you decide to take the wallpaper down in the future. It can be a bit pricier, but worth it!
5| Ask for an extra hand
While the previous steps need to be considered whether you’re hiring out or planning to do it yourself, this tip is for the DIY-er. If planning to handle the install on your own, ask for an extra hand. Wallpaper pieces will be as long as your ceilings are tall in most cases, which can make them hard to manage without a helping hand. The process can also be moved along exponentially quicker if one person is hanging while the other is pasting the next sheet. Plus, projects are usually more fun with a friend!
We hope these tips are helpful before your next wallpaper adventure. We’ve applied peel and stick, pasted paper and unpasted paper as DIY projects and have hired out everything but peel and stick to our favorite installer. It’s an incredibly satisfying process that can transform a space almost instantly. So, it’s time to order those samples and get started, right?
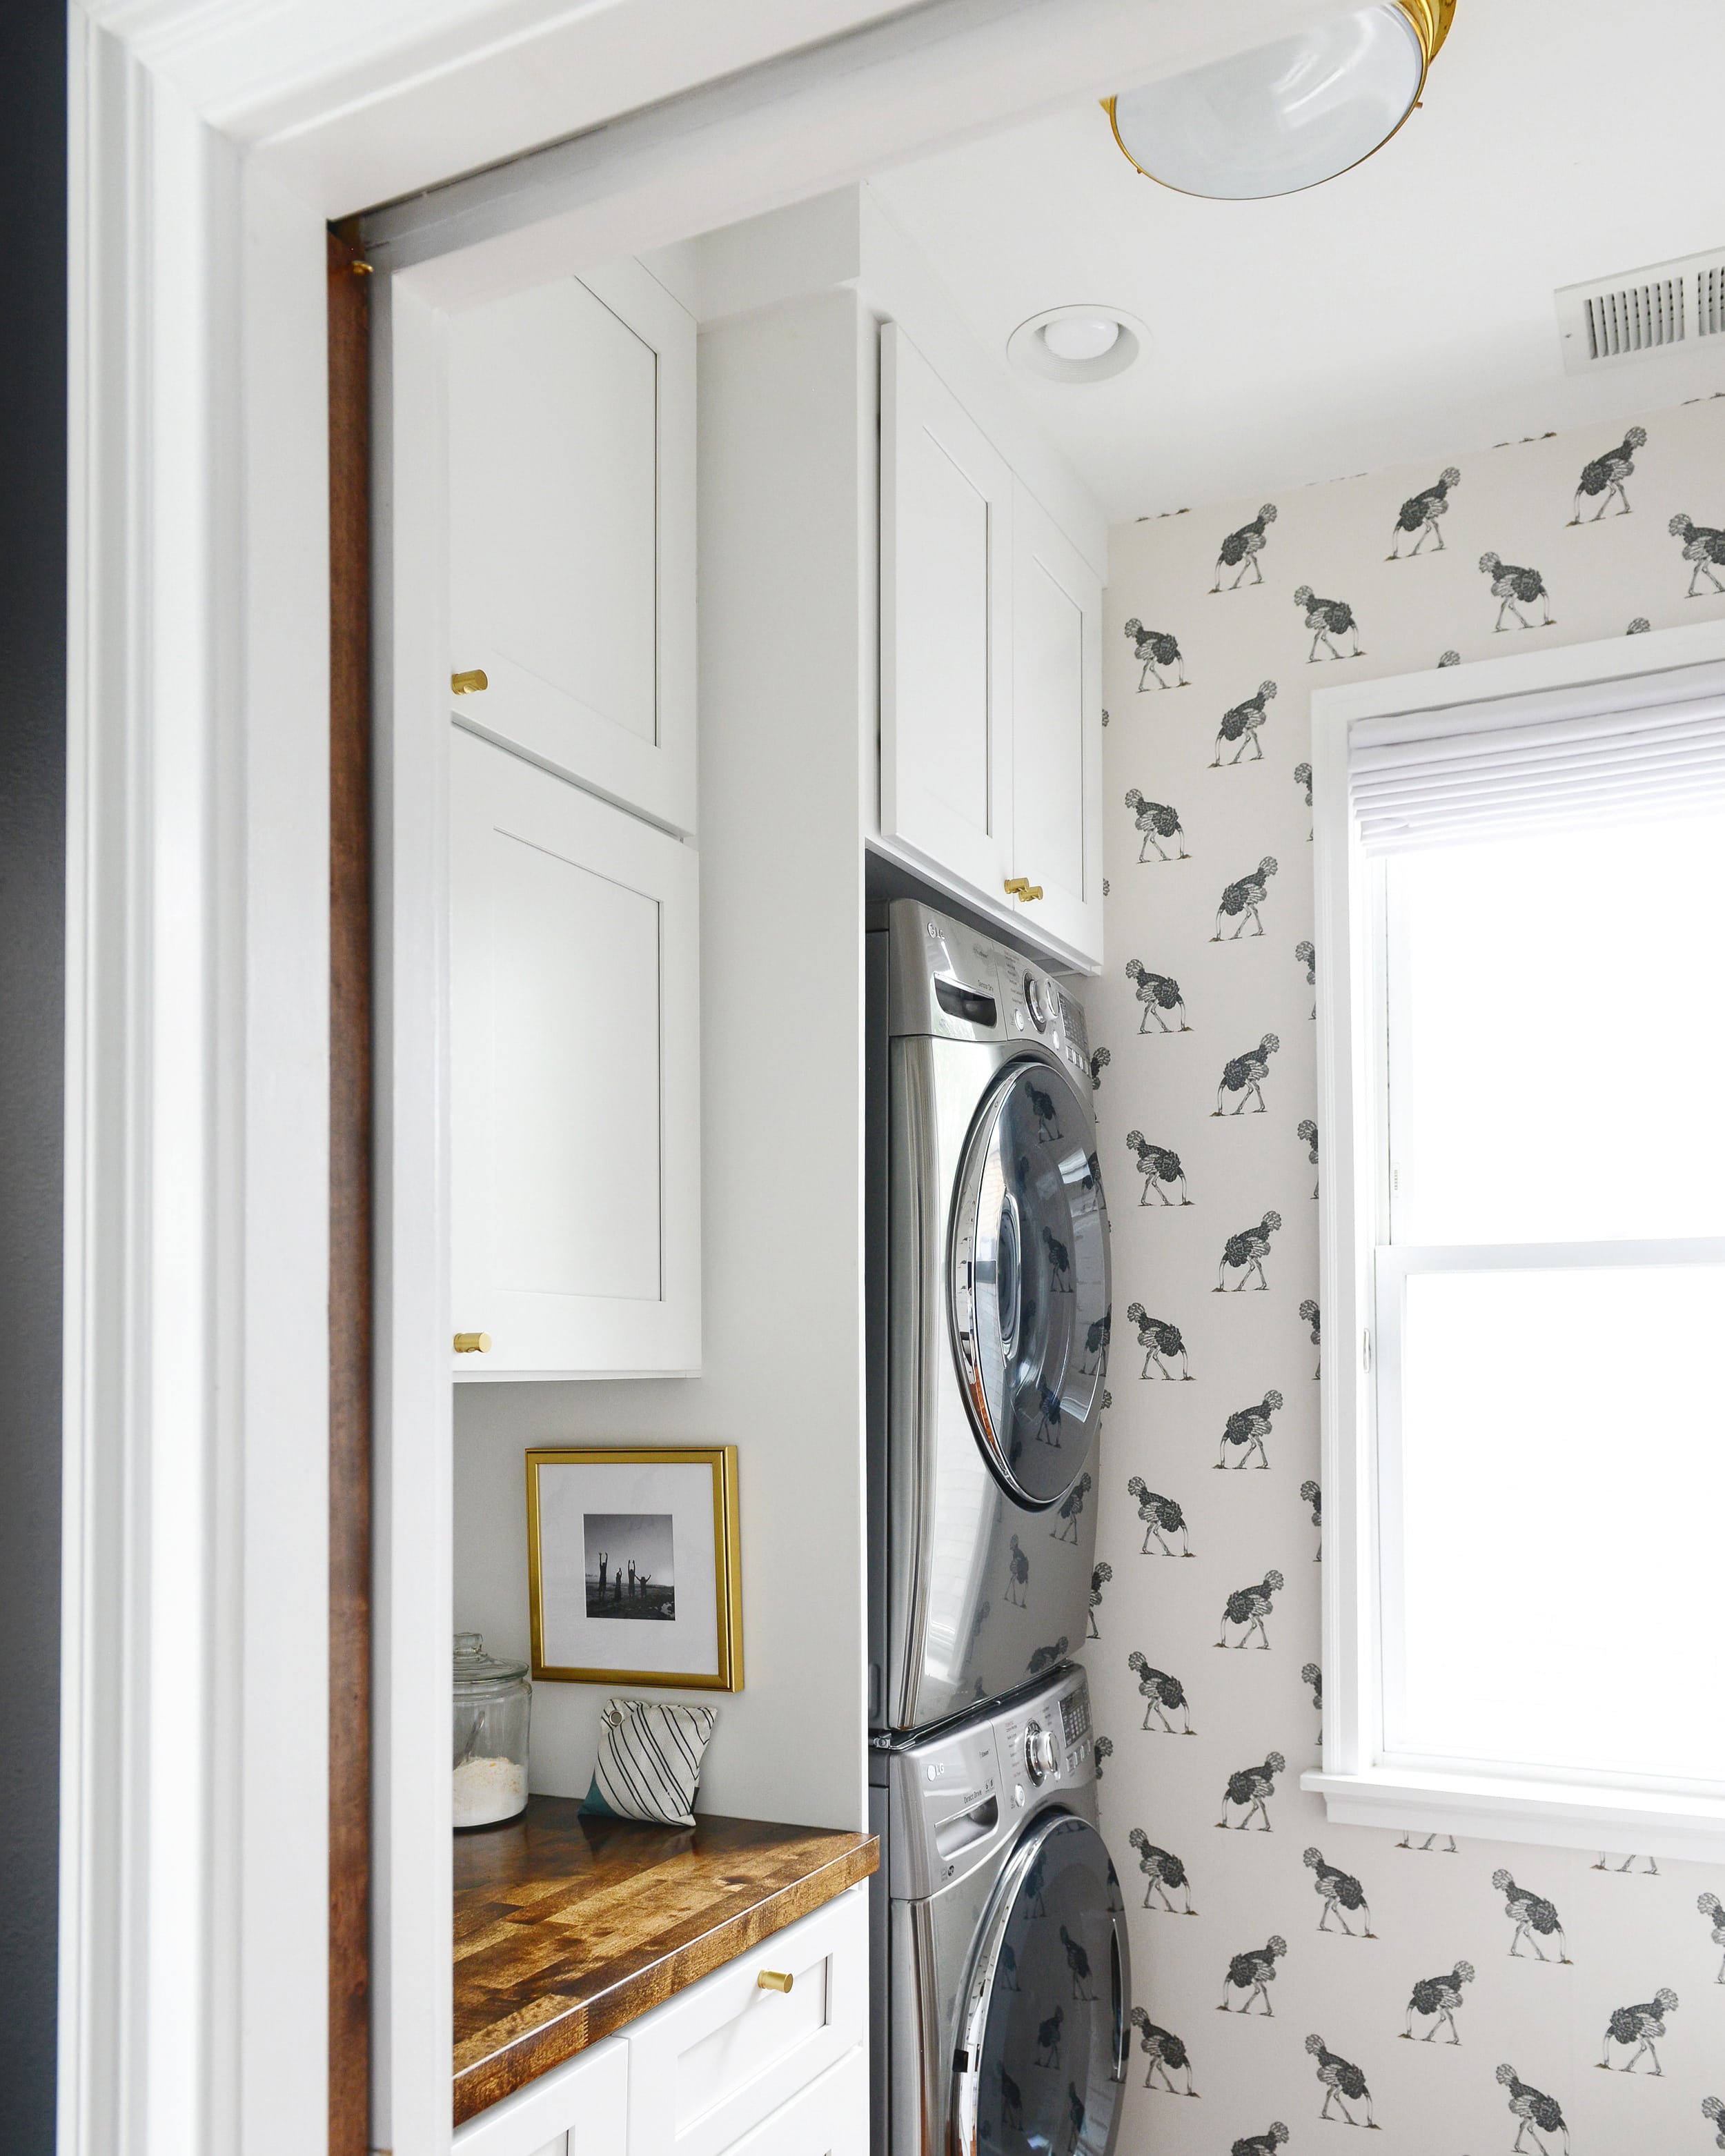
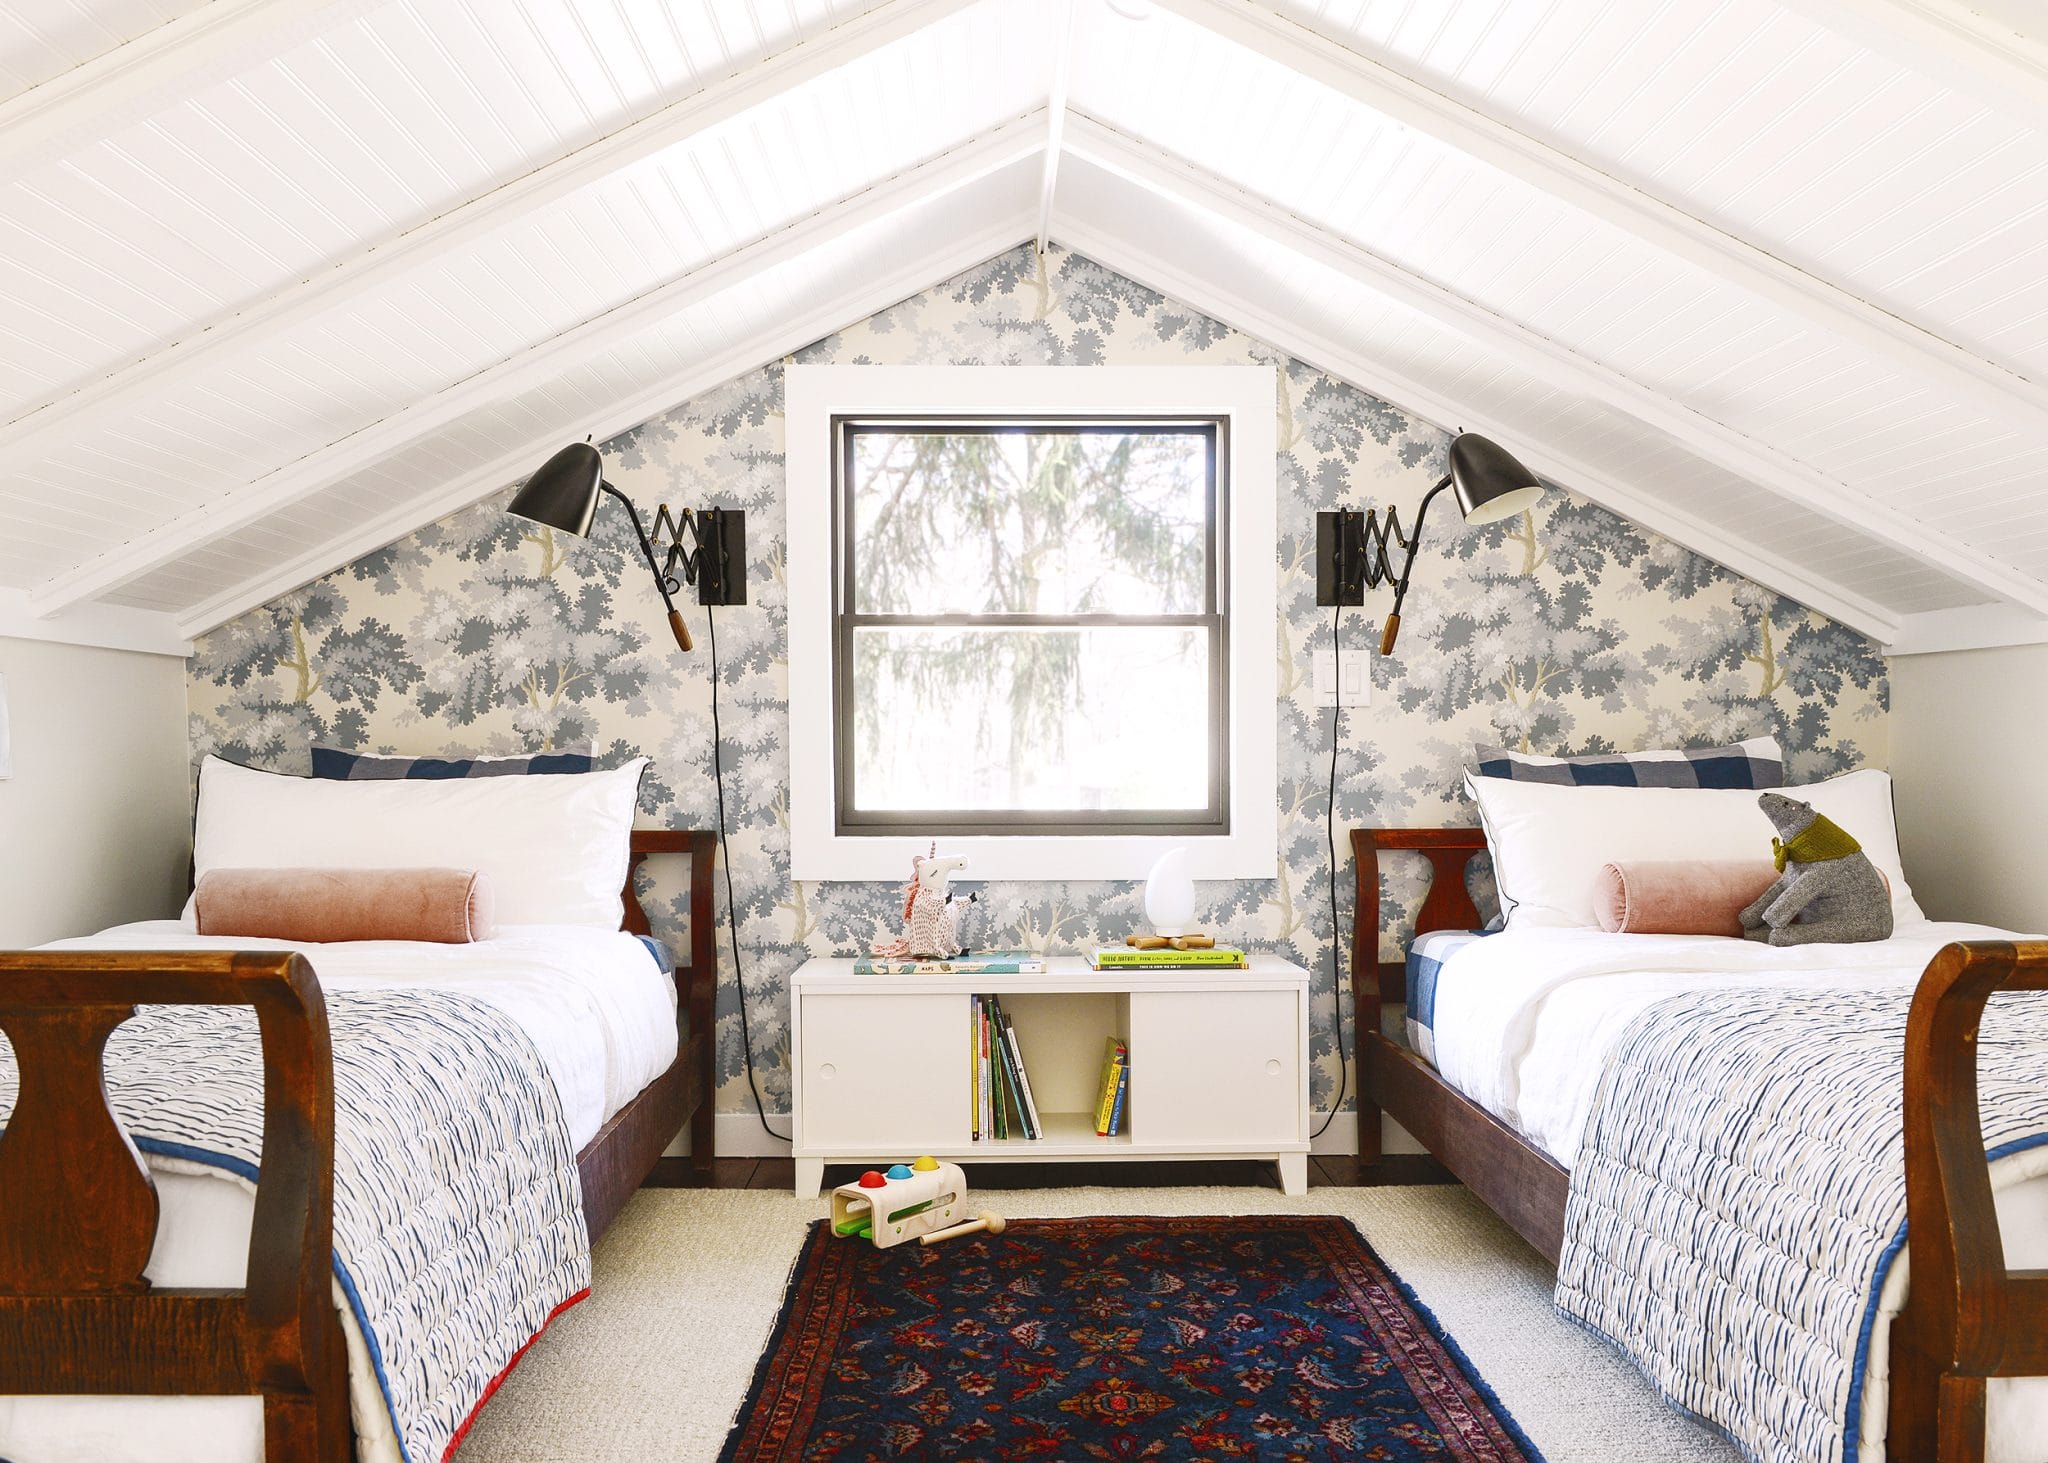
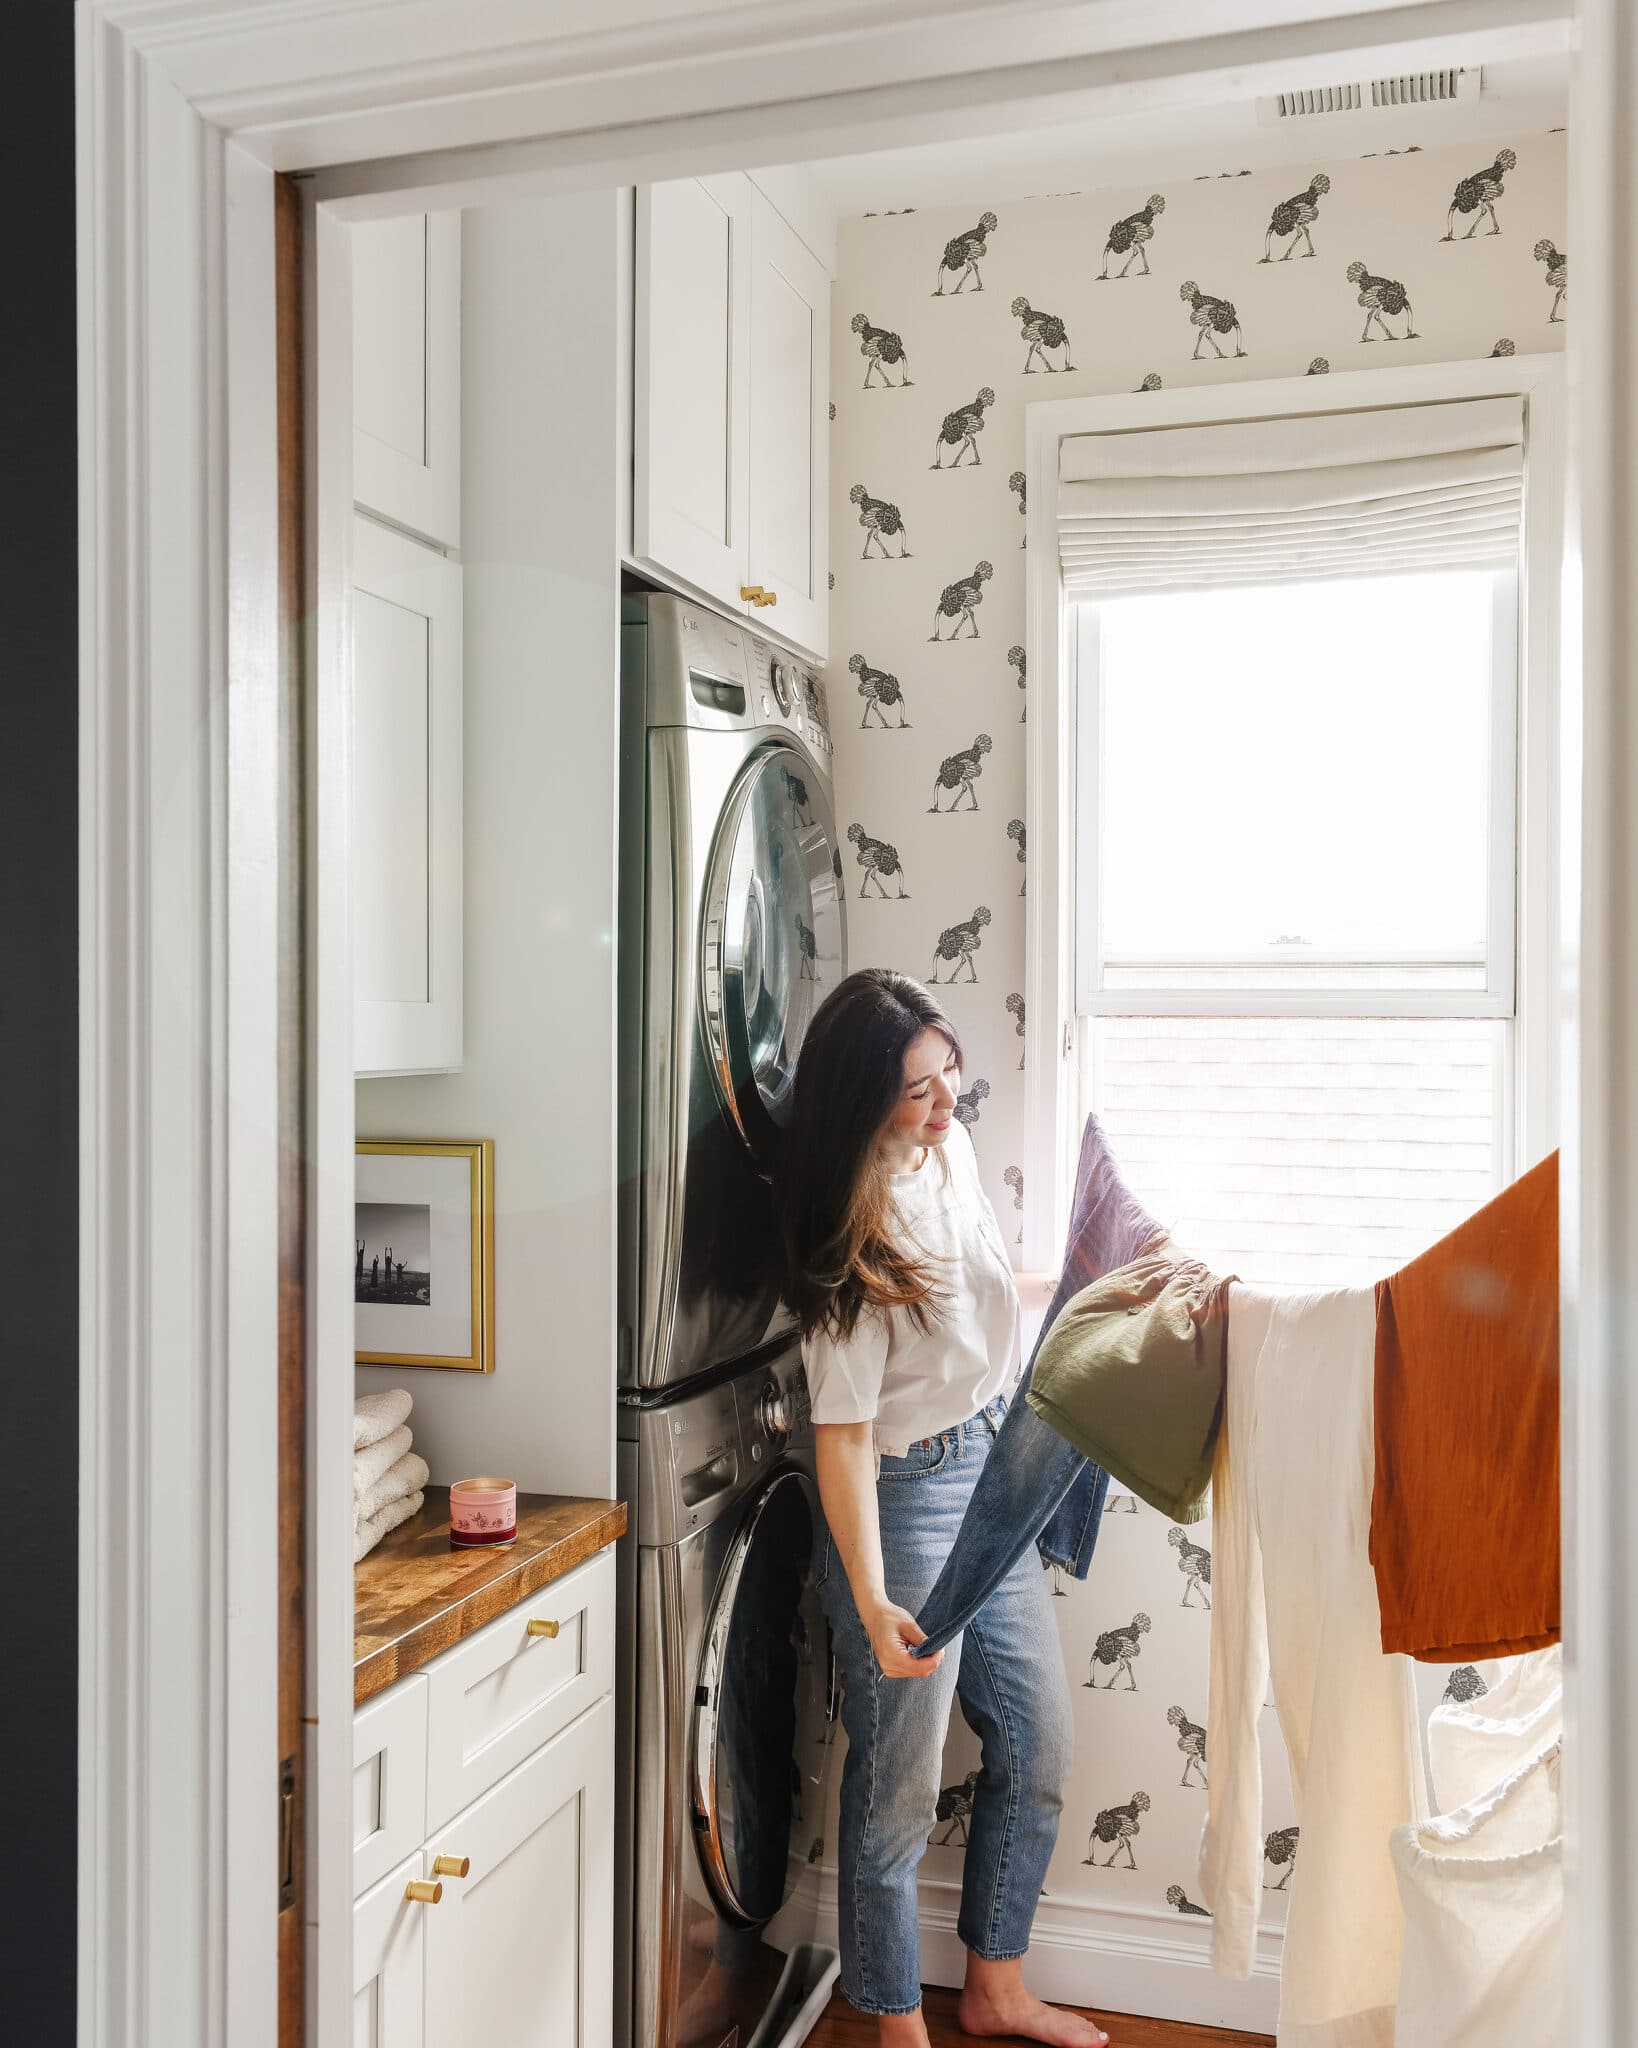
PS: Our favorite wallpapering moments have to be our Tree House Loft and Chicago laundry room! Looking to make an impact with paint? We also share tips on how to paint anything right here.


I just ordered the same wallpaper for my daughter’s room that you used at the Kalvakota project so this post couldn’t come at a better time!
We hope you love it as much as we do!
I love wall paper, and here in Germany it’s pretty much standard (though the most popular variant is a basic structure one that gets painted basic white, booh). Installation on your own actually works quite well, too, if you know how. Please forgive me if I’m now writing something everyone knows already, sometimes it’s hard to tell what is know all over vs. what is just customarily done in a specific way in one country.Most wall paper here doesn’t come pasted, so you do that yourself, and it also requires a booking process. But when you stick the paper to itself, you don’t do it with a fold in the middle and fitting it end-to-end (don’t *really* fold it anywhere btw, always leave a little open loop!). Instead, you fold it in from both ends, so they meet in the middle. Then, after waiting ten minutes or so until it’s ready, you take the prepared strip with you on the ladder, and once you are up there, you unpeel just one side of it. That end then can be positioned from the top and smoothed out from the middle to the sides. Only when you’ve made your way mostly down to where the other end still sticks to the strip do you unpeel that, and continues to smooth it down from the middle to the sides. It’s very easy that way, because you don’t have an unwieldy, long strip of pasted paper that wants to stick to everything while you desperately try to position it correctly and also not drop it in the process. Also, my mom told me to not open any windows to aid the wallpaper in drying, because that causes air bubbles to form under the paper during drying. From what I saw, that is correct. And the woman has wallpapered a ton of rooms during her life, so I’ll accept her wisdom pretty much sight unseen.
Hello Scott, I’ve been a longtime reader, but have never commented. My wife and I are considering doing some wallpaper above the wainscoting in the entryway of our new home, but are worried about removal down the road for a future buyer who might not have our taste in wall coverings. Our walls are textured with a light orange peel texture. Do you think any of these methods you describe above would allow complete removal of the wallpaper later on, or would we be looking at cleaning/retexturing/priming if we wanted to revert to a painted wall? Because of this question, we are considering a paint-on roller pattern that mimics wallpaper, but could be easily painted over. There are some lovely floral options available. Thank you!
Hi Bob! Unfortunately we’re not too familiar with textured walls, so likely aren’t the best folks to answer this one. It might be prudent to send a couple of photos to a local wallpaper installer for advice and a quote. If you do go the wallpaper route, be sure to use a high quality wallpaper primer for easy removal. Best of luck with you project!
We are renovating two old homes right now and have come across so many layers of old wallpapers! It’s fun to see the different styles and themes, but the wallpaper trend is not going away any time soon!
You’re so right about that! Luckily, it’s come a LONG way in terms of application and removal, thank goodness.
I also see that wallpapers are becoming fashionable again. They are completely different than they used to be. The ones that are self-adhesive are very easy to install. Thanks to photo wallpapers, you can completely change the character of a room. We are limited only by our imagination;)
Nice ostrich pattern! it lok soo playful and fun <3
Still love it so much!