

Over the last couple of months, in addition to dialing in our backyard, Scott and I have been making and committing to decisions in our home studio! The studio has seen a lot of changes over the course of our 3+ years in this home, and although it has come a long way, it hadn’t yet hit its stride. Years ago, we discovered and cleaned up the exposed brick chimney, desks have come and gone, and one half of the room has seen a rotating crew of couches, clutter and drywall dust. With the space being so open, it has been too easy for it to become our renovation dumping ground, but no more!
We’ve been working with our longtime sponsor Crate & Barrel on a big refresh (you can see more on their blog), and we’re also fine tuning some of our systems to make it the most functional space it can be. The studio fauxdenza has been a storage game changer (right now, it holds extra camera gear and craft supplies), and most recently, we added a double dose of open shelving:

My favorite part of this super simple project is where we got the lumber. Before we had the furnace installed in our attic, Scott took some time to tidy up the space. Somehow, the attic was littered with funky trash (to be honest, it still sort of is!), but amongst the old-house-debris, he found this hunky 2″ x 10″:
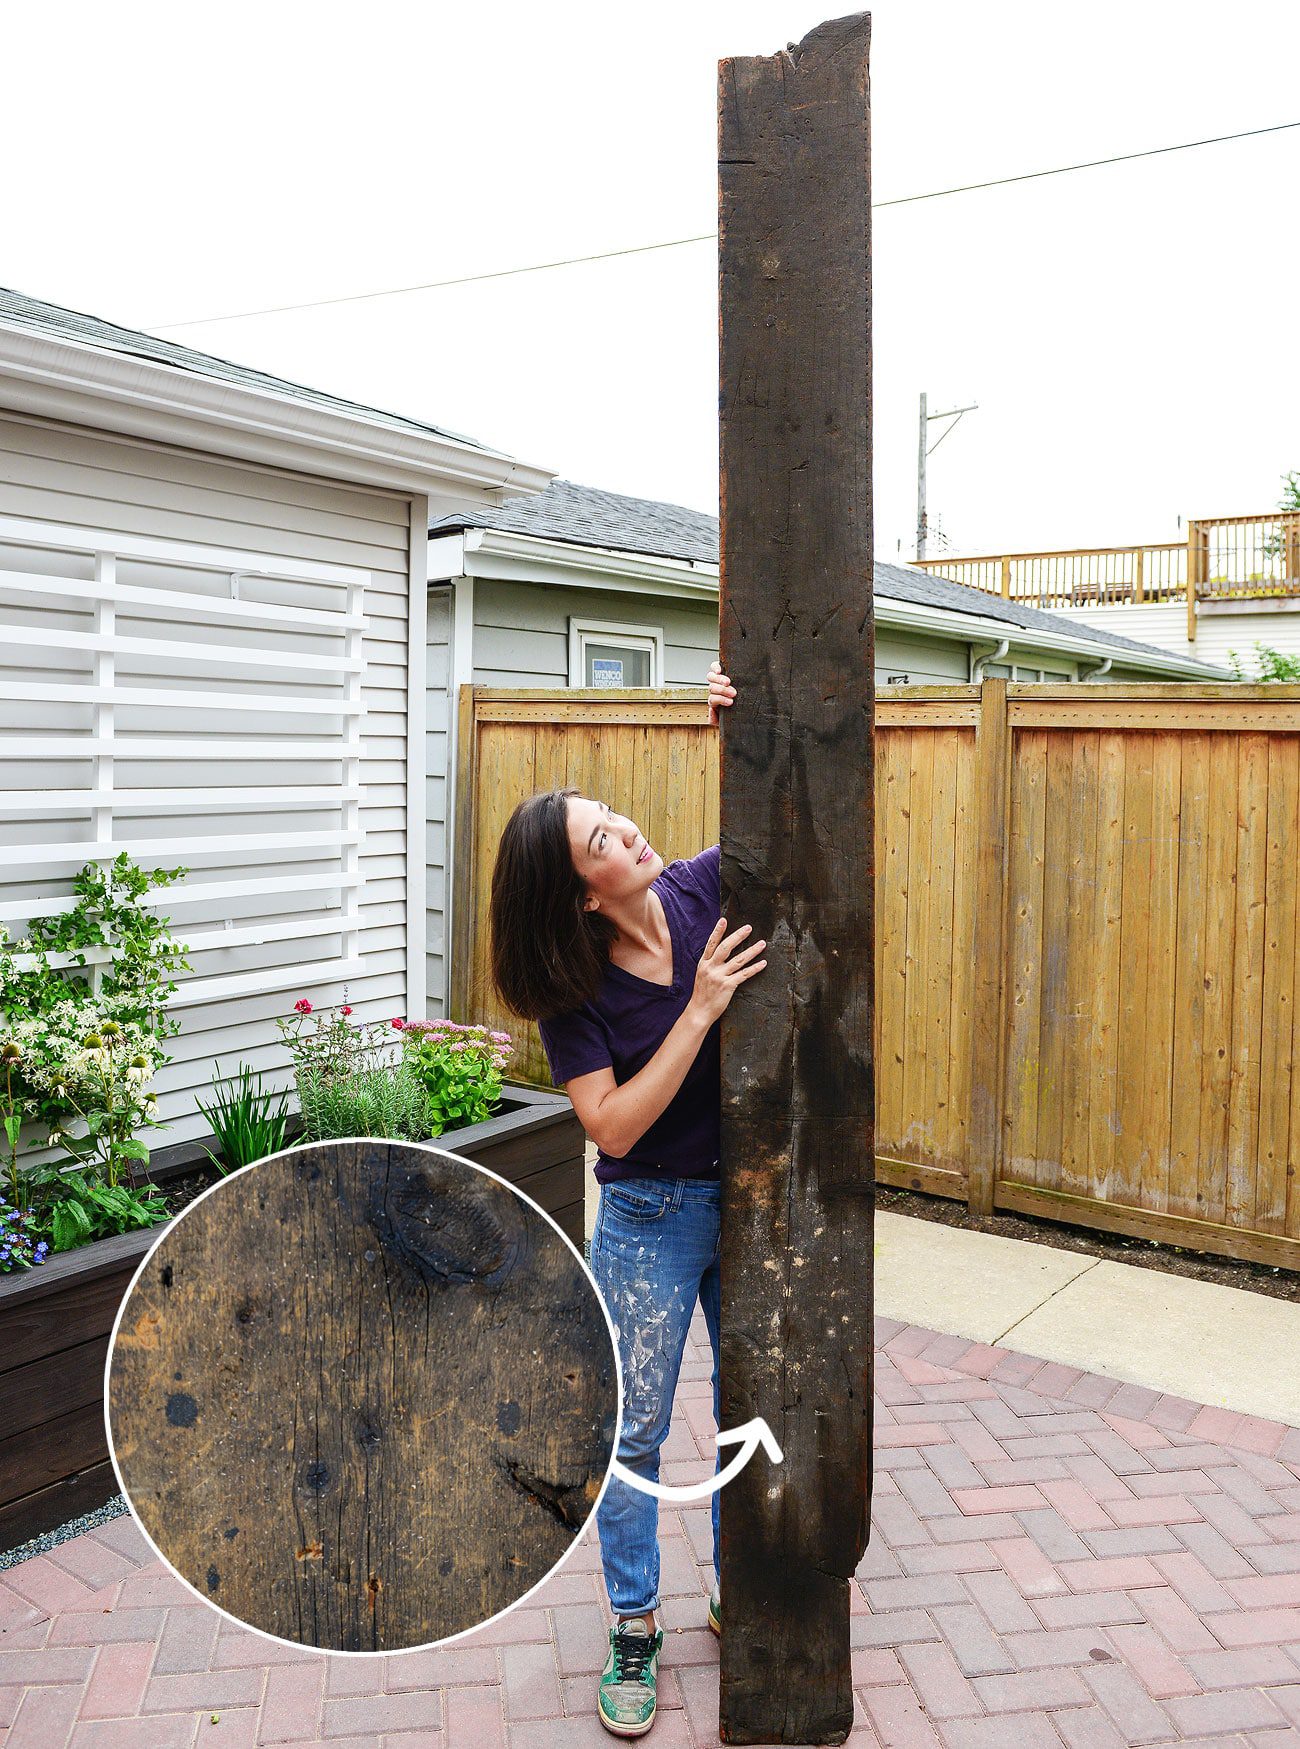
It’s kind of gross, right? Even still, you know we can’t resist a slab of salvaged wood! In our house! We’ve been storing it ever since in one of our upstairs bedrooms (by the way, that scary bedroom is on our list soon!), but we knew we’d make something with it – one day.
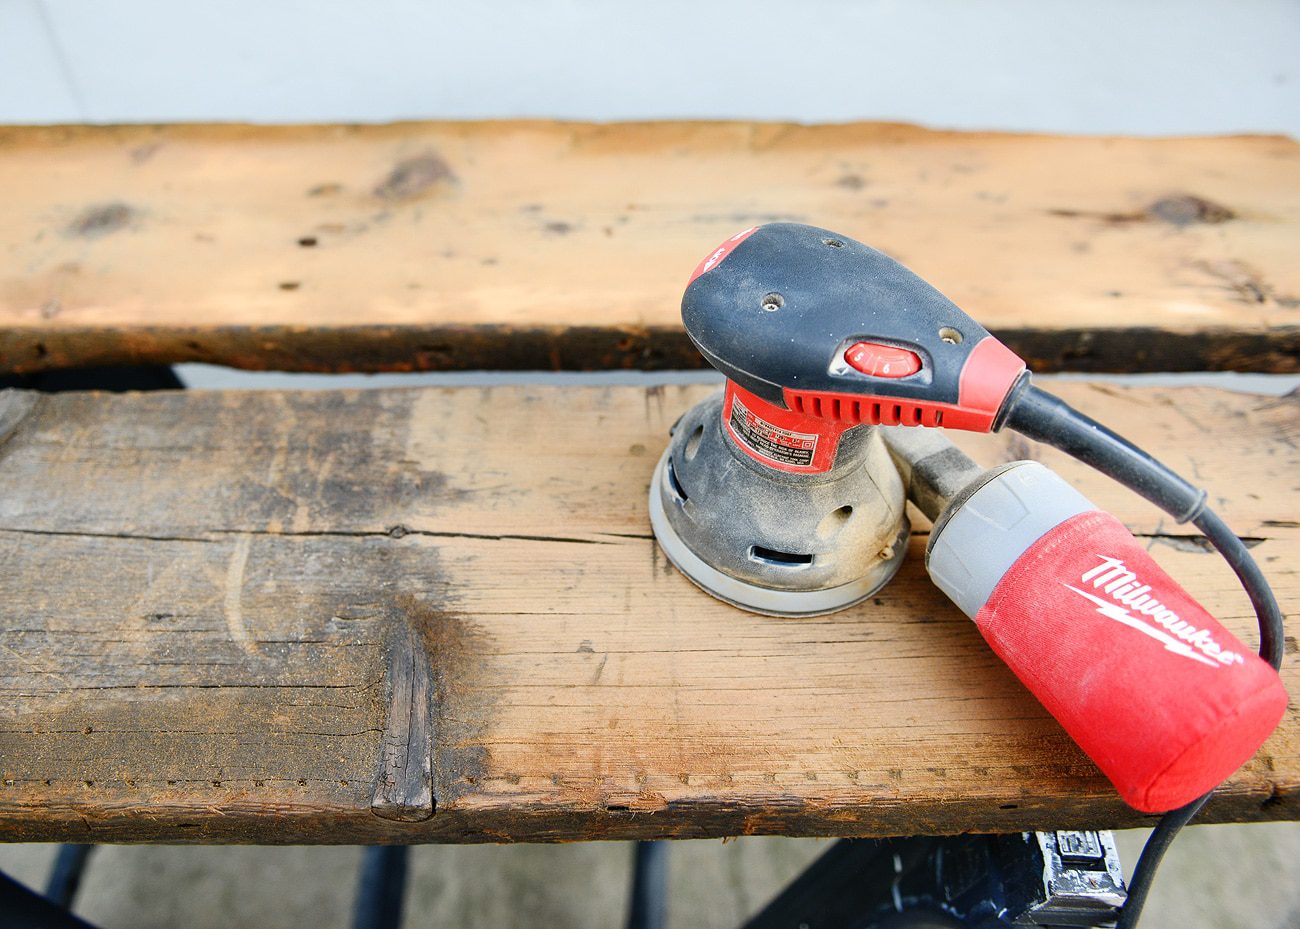
You can see that it was in pretty rough shape, and to be honest, we both crossed our fingers and hoped for the best. We picked the best section from the middle, Scott cut it down to two 42″ lengths, and I spent the better part of two afternoons with my orbital and a stack of sandpaper. I started at 60 grit, and I worked my way up to 80, followed by 120 and 220.
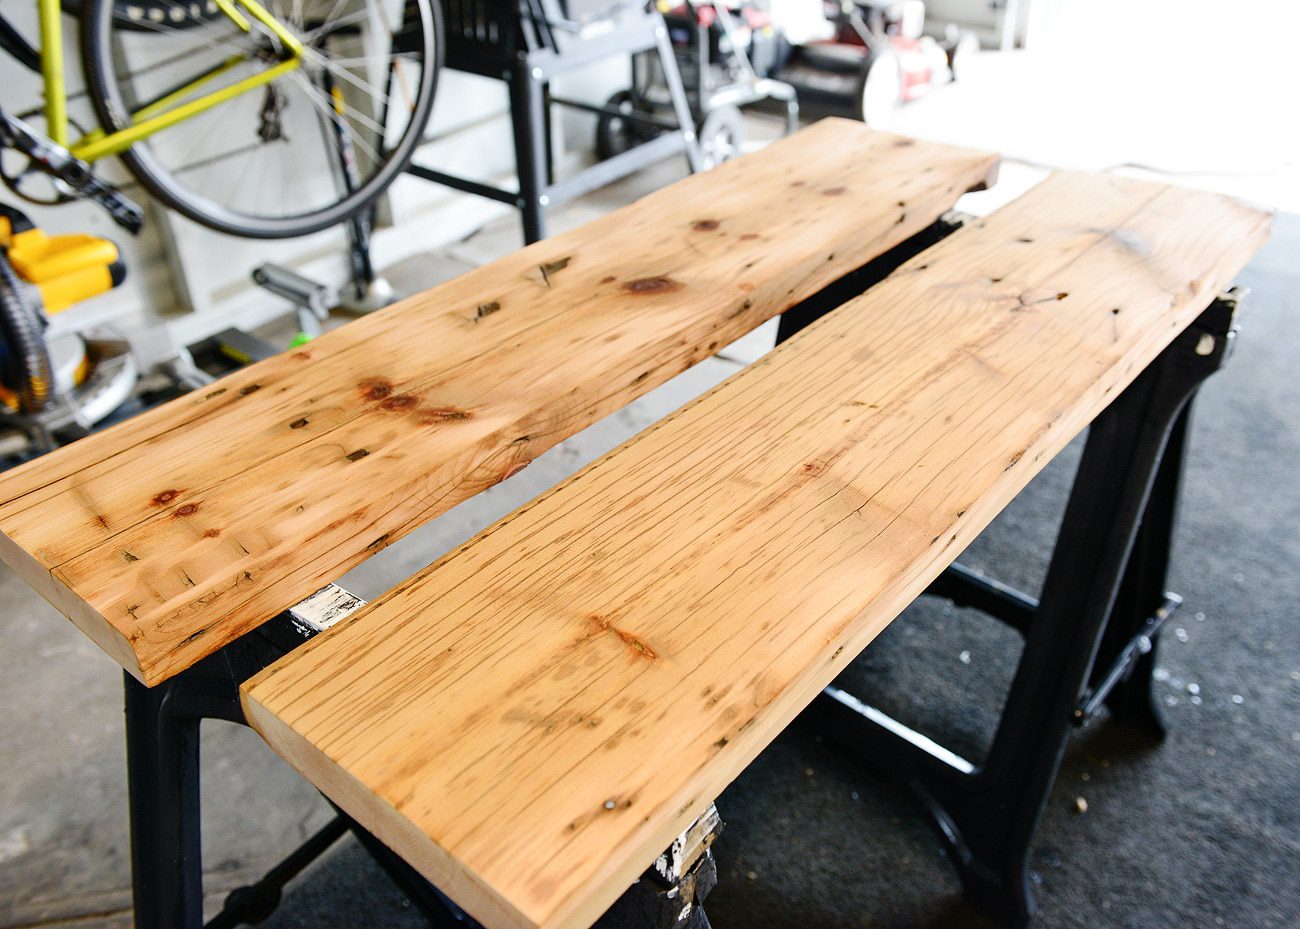
I was as surprised as anyone that it cleaned up! It wasn’t perfect, but with salvaged wood, that’s rarely the point. We tossed around the idea of simply throwing a coat of poly on the fresh lumber, but in the end, all the knots felt a little too… country? Like, I could see these looking sweet in a more rustic setting, but I knew I’d love them even more with a dark stain.
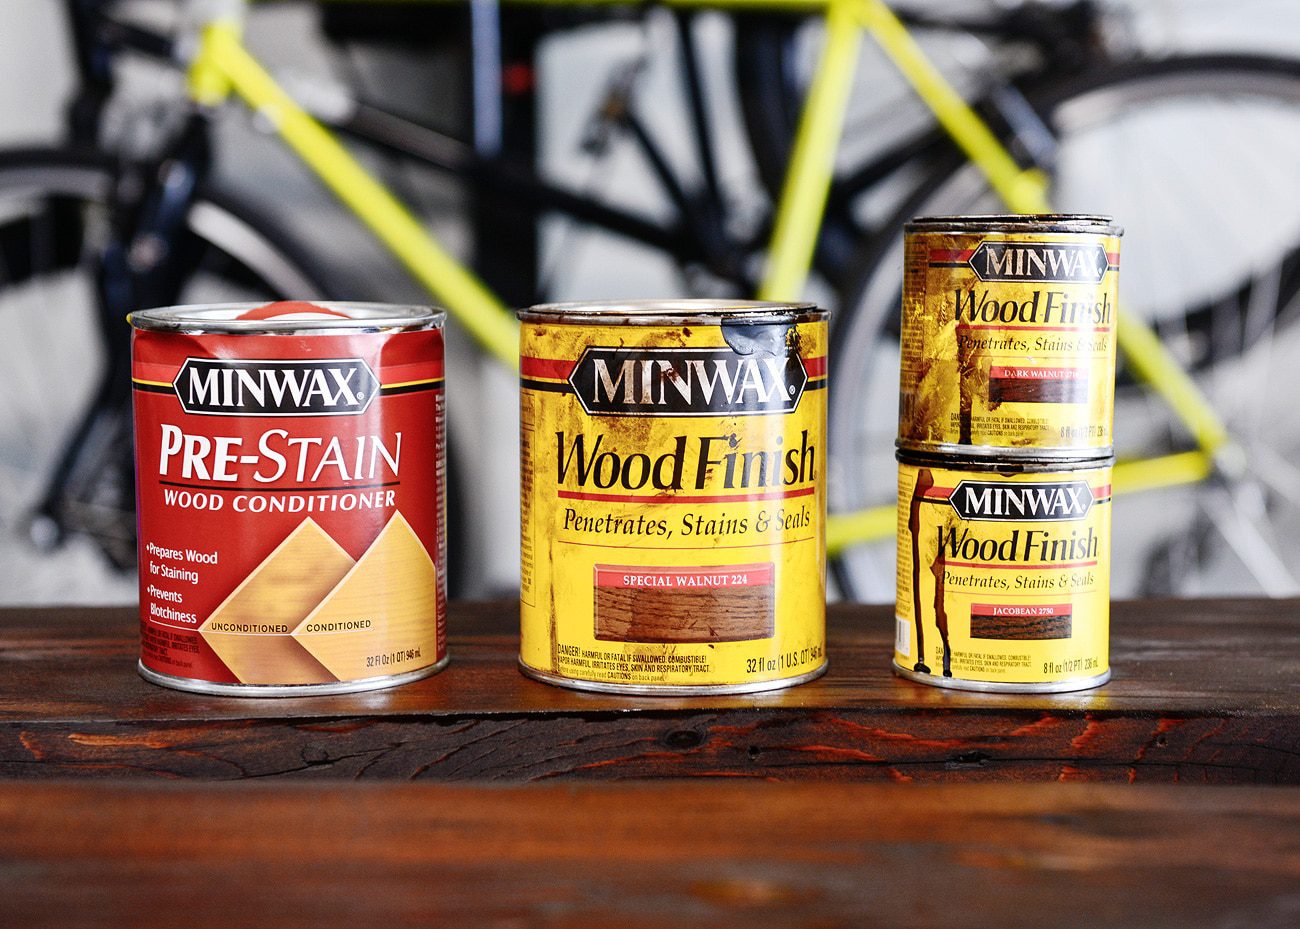
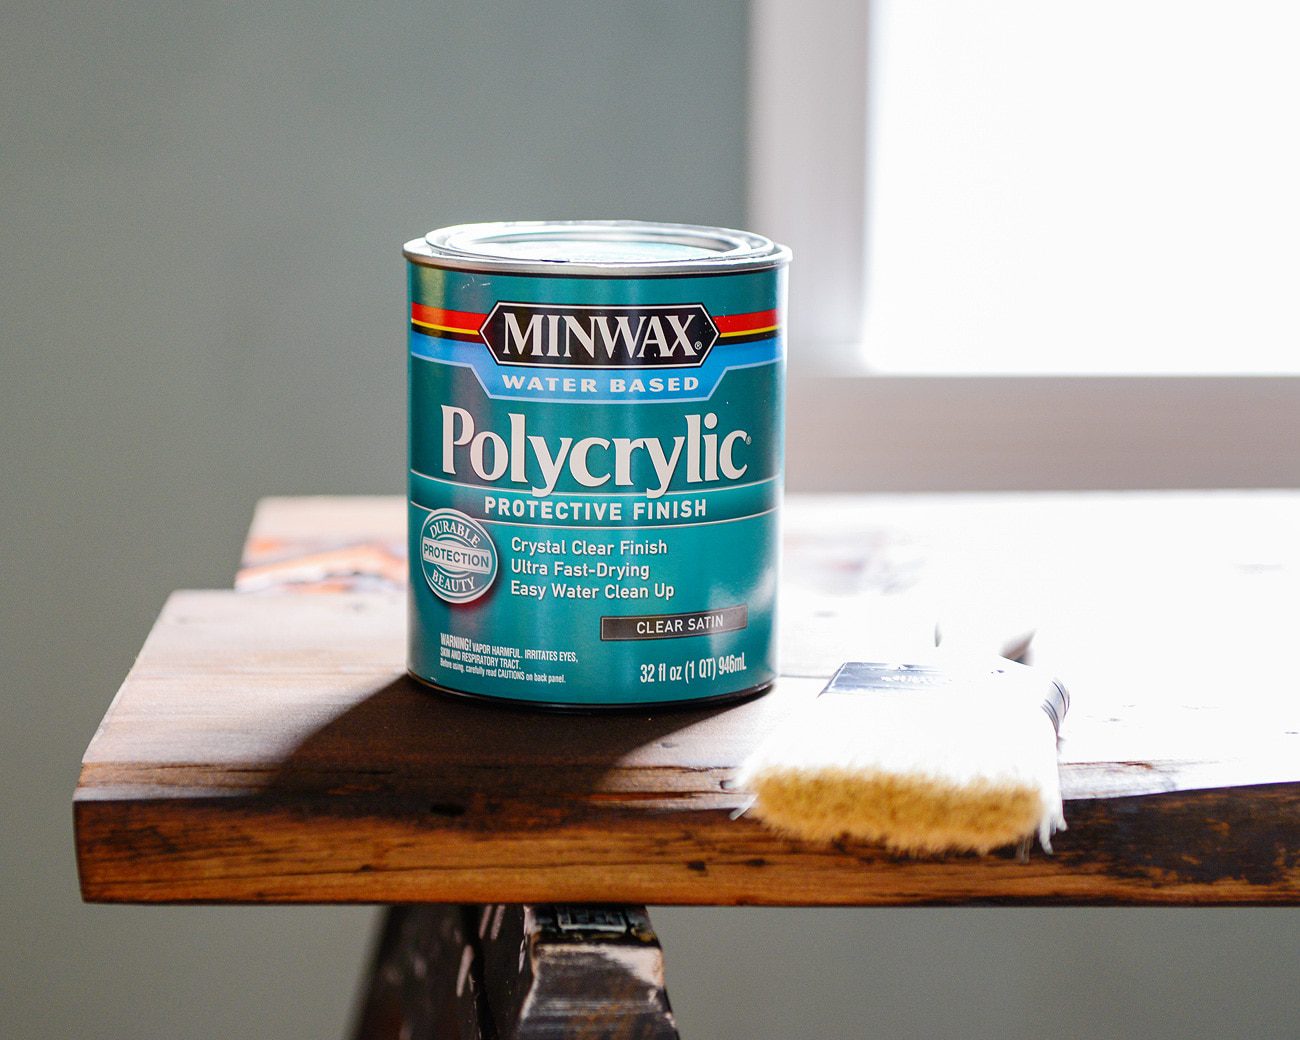
To help even out the finish, I used a brush to spread a layer of wood conditioner on all sides. I liked the idea of a medium wood finish, but my favorite, Special Walnut, was almost gone – as was Dark Walnut and Jacobean, but altogether, I’d have enough! I tossed the remnants from each one into the same can, and I’m pretty happy with how they worked together. For the final step, I gave the shelves two thin coats of Polycrylic in a satin finish. Tip: Two coats of wood conditioner on the freshly cut ends will prevent them from going too dark.
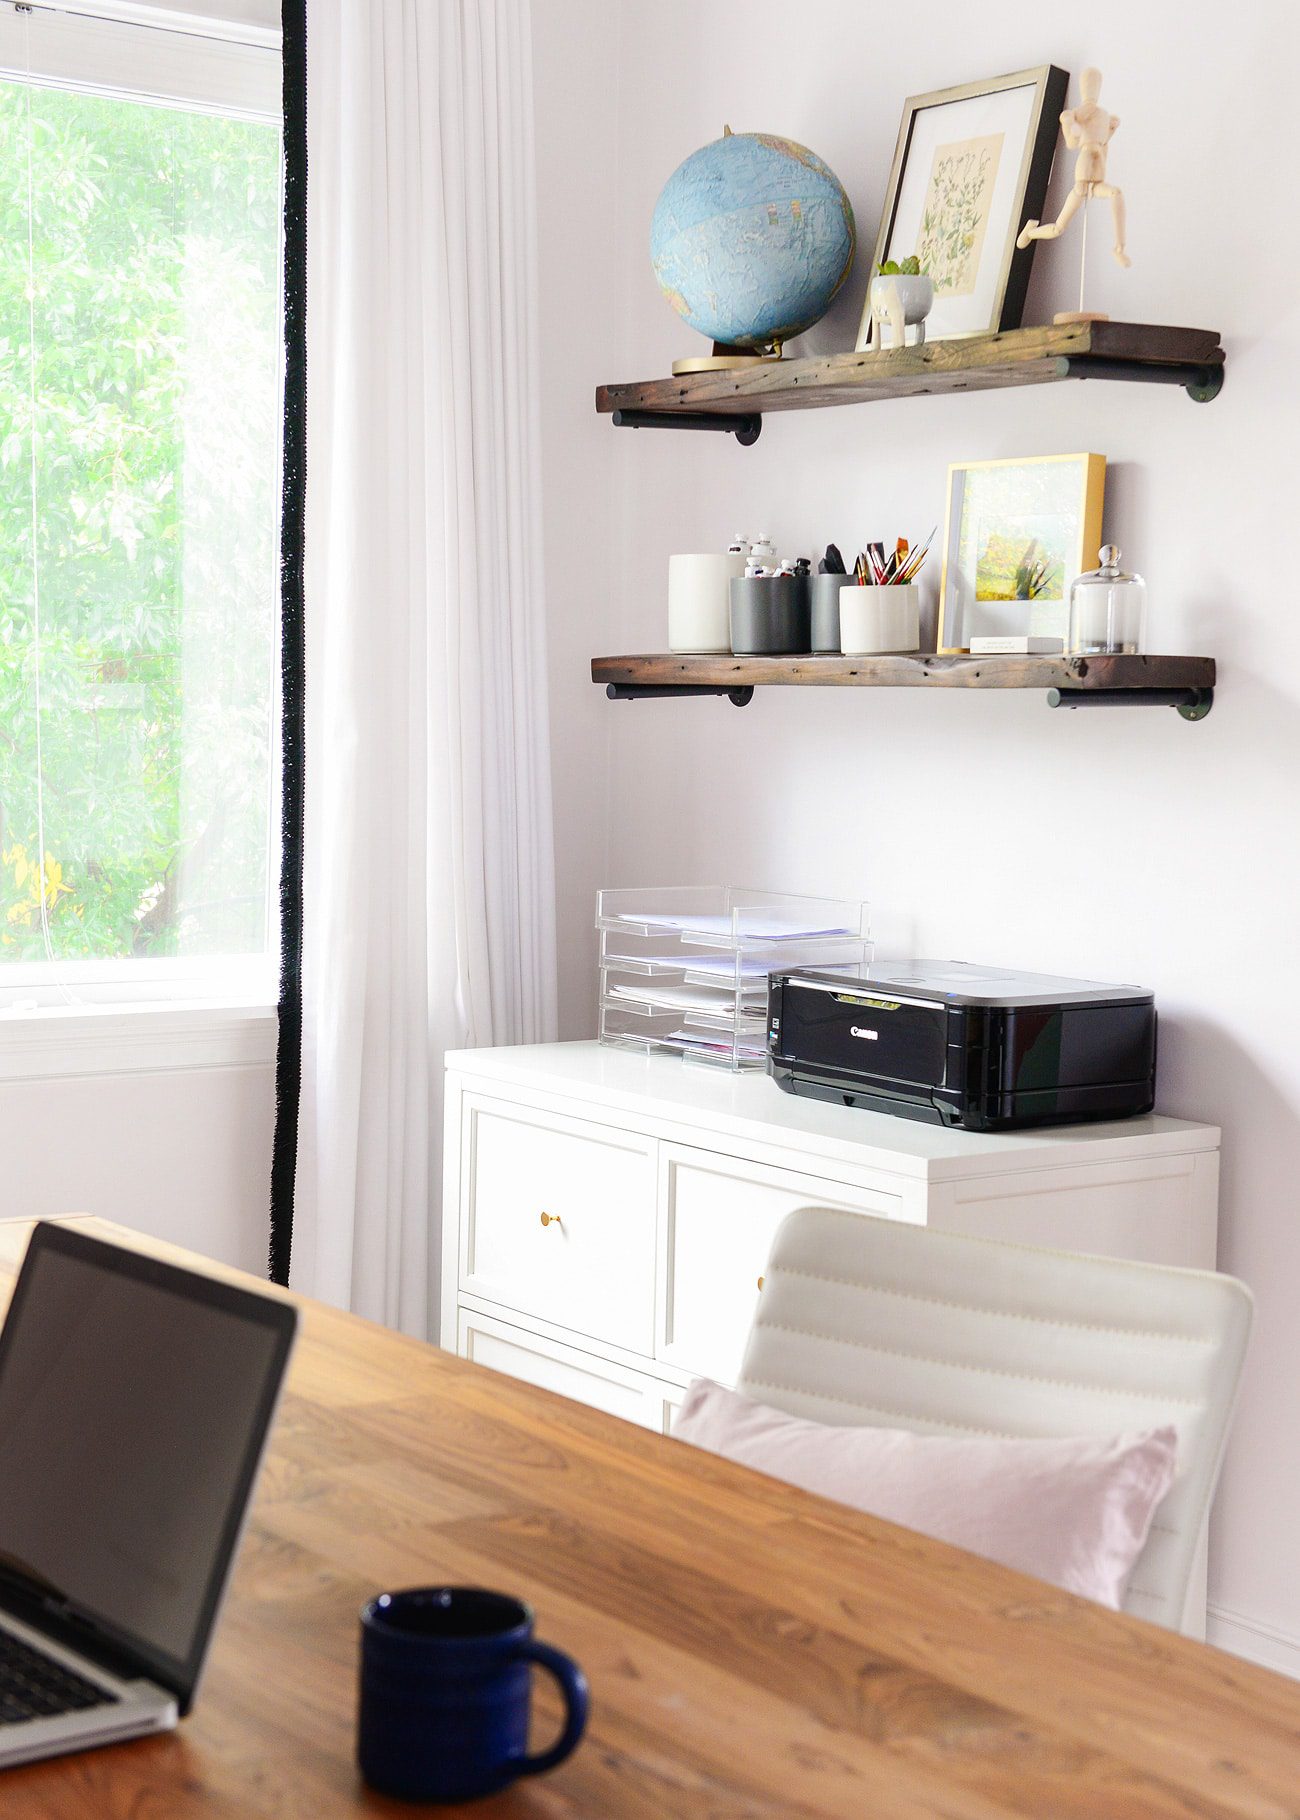
The next day, we installed them in the studio! With the addition of the fauxdenza and television on the other side of the room, I nixed the small gallery wall I used to have here; soon, some of those pieces will make their way onto the tv wall.
We used these industrial brackets with the prettiest matte black finish. Our shelves are only 9 1/2″ deep, but we think they still turned out despite the brackets being 10″ long. We made them flush in the front, with the smallest gap in the back.
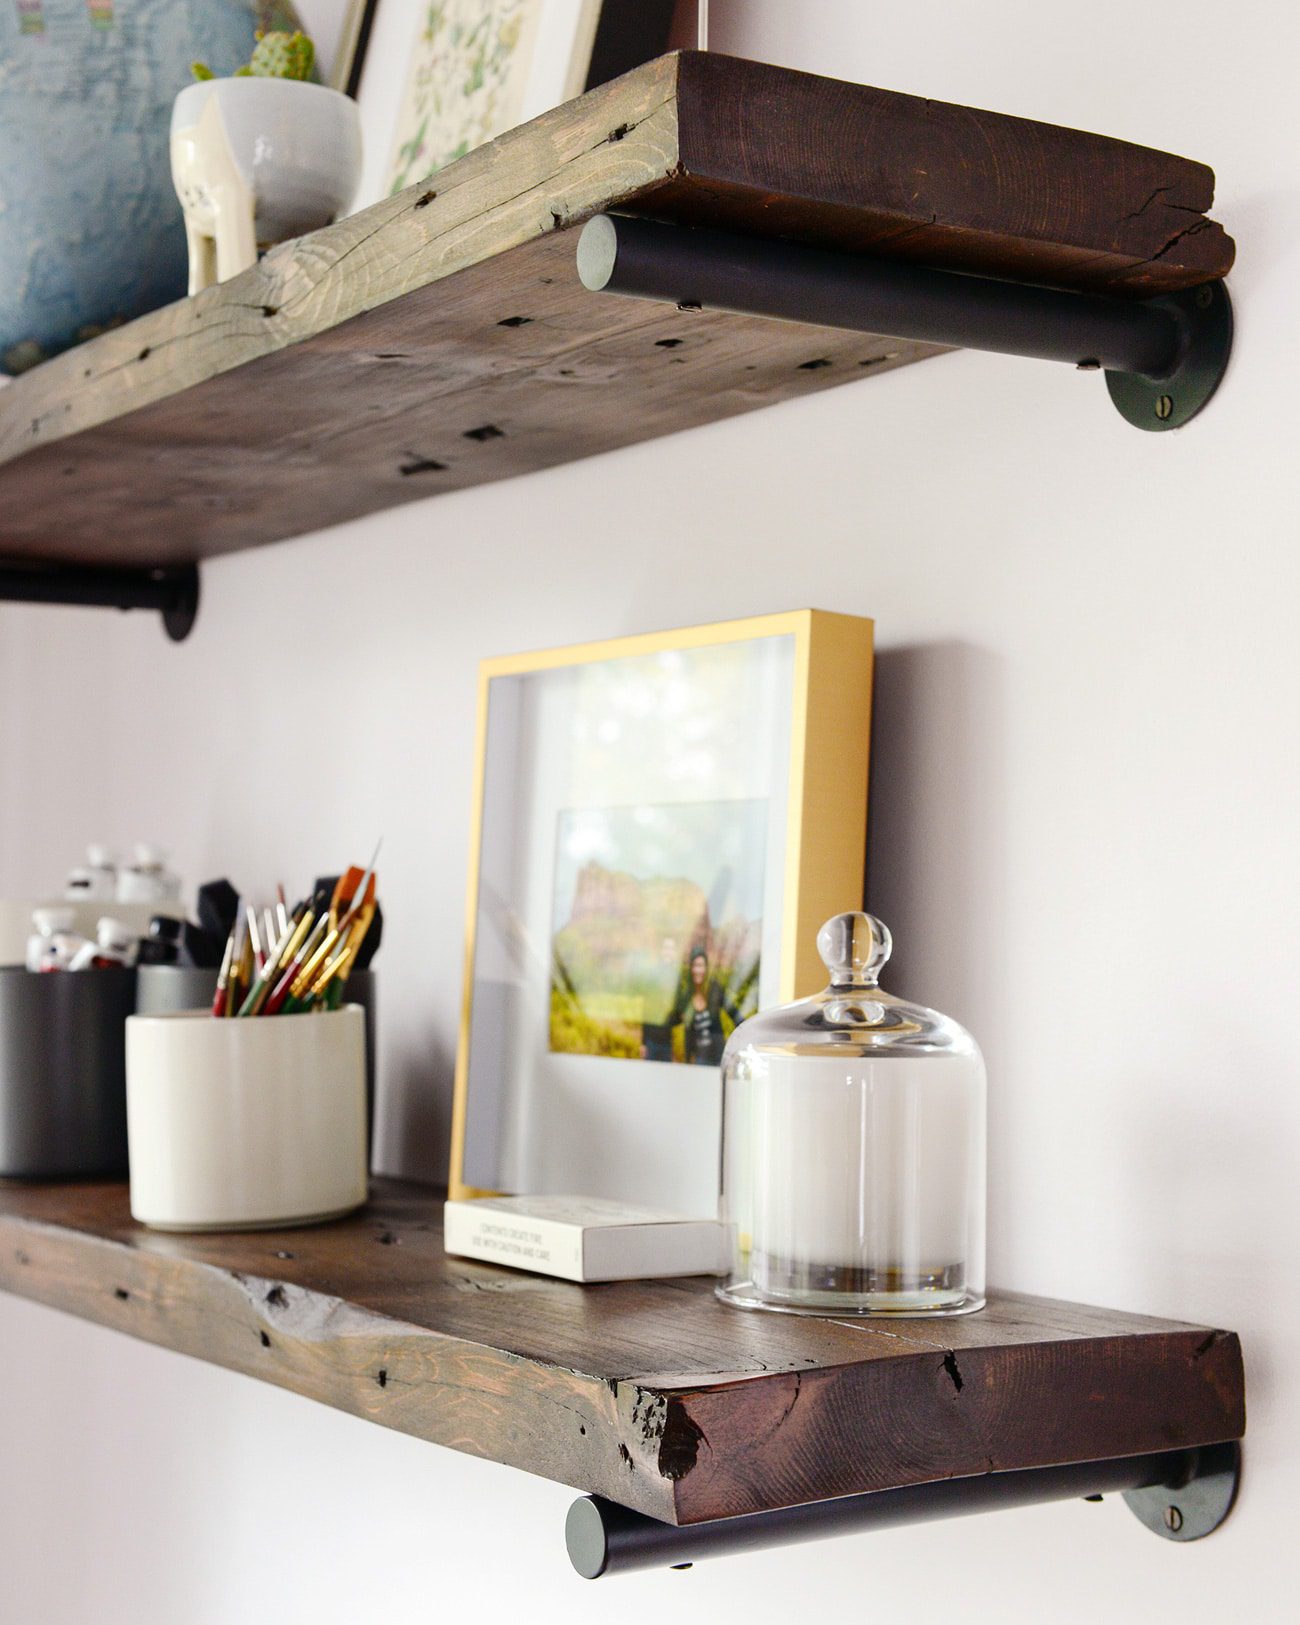
The salvaged wood is full of the most imperfect – yet still ‘perfect’ – gouges, knots and even an exposed nail head or two. We couldn’t love them more.
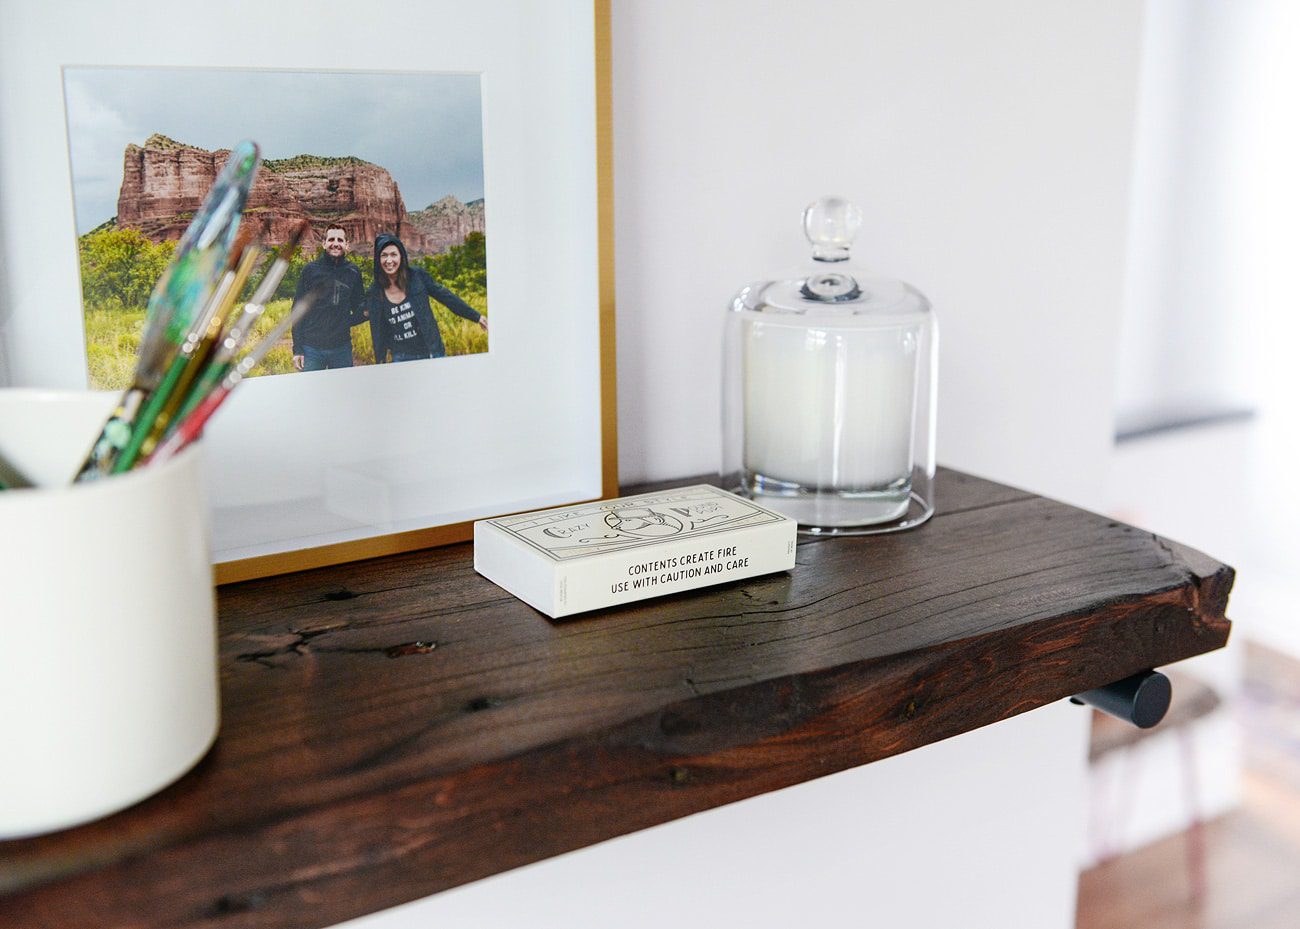

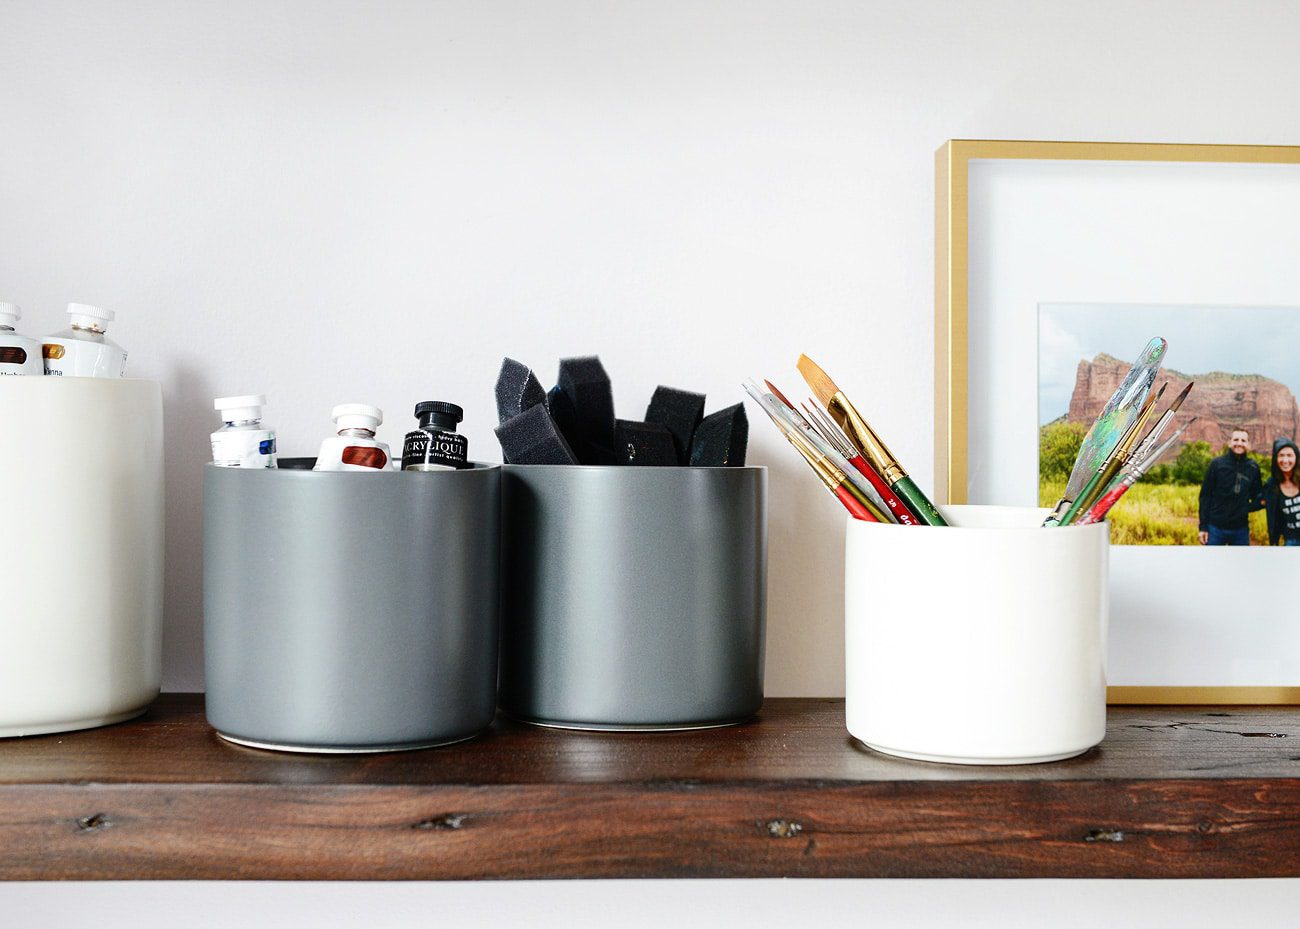
My painting supplies are corralled in these canisters on the lower shelf, and our flea market globe has finally found a home on the top. The botanical print was picked up at a Brooklyn flea over the summer, and we had it framed using the Beverly from Framebridge. (The teeny kitty planter came from this adorable Etsy shop!)
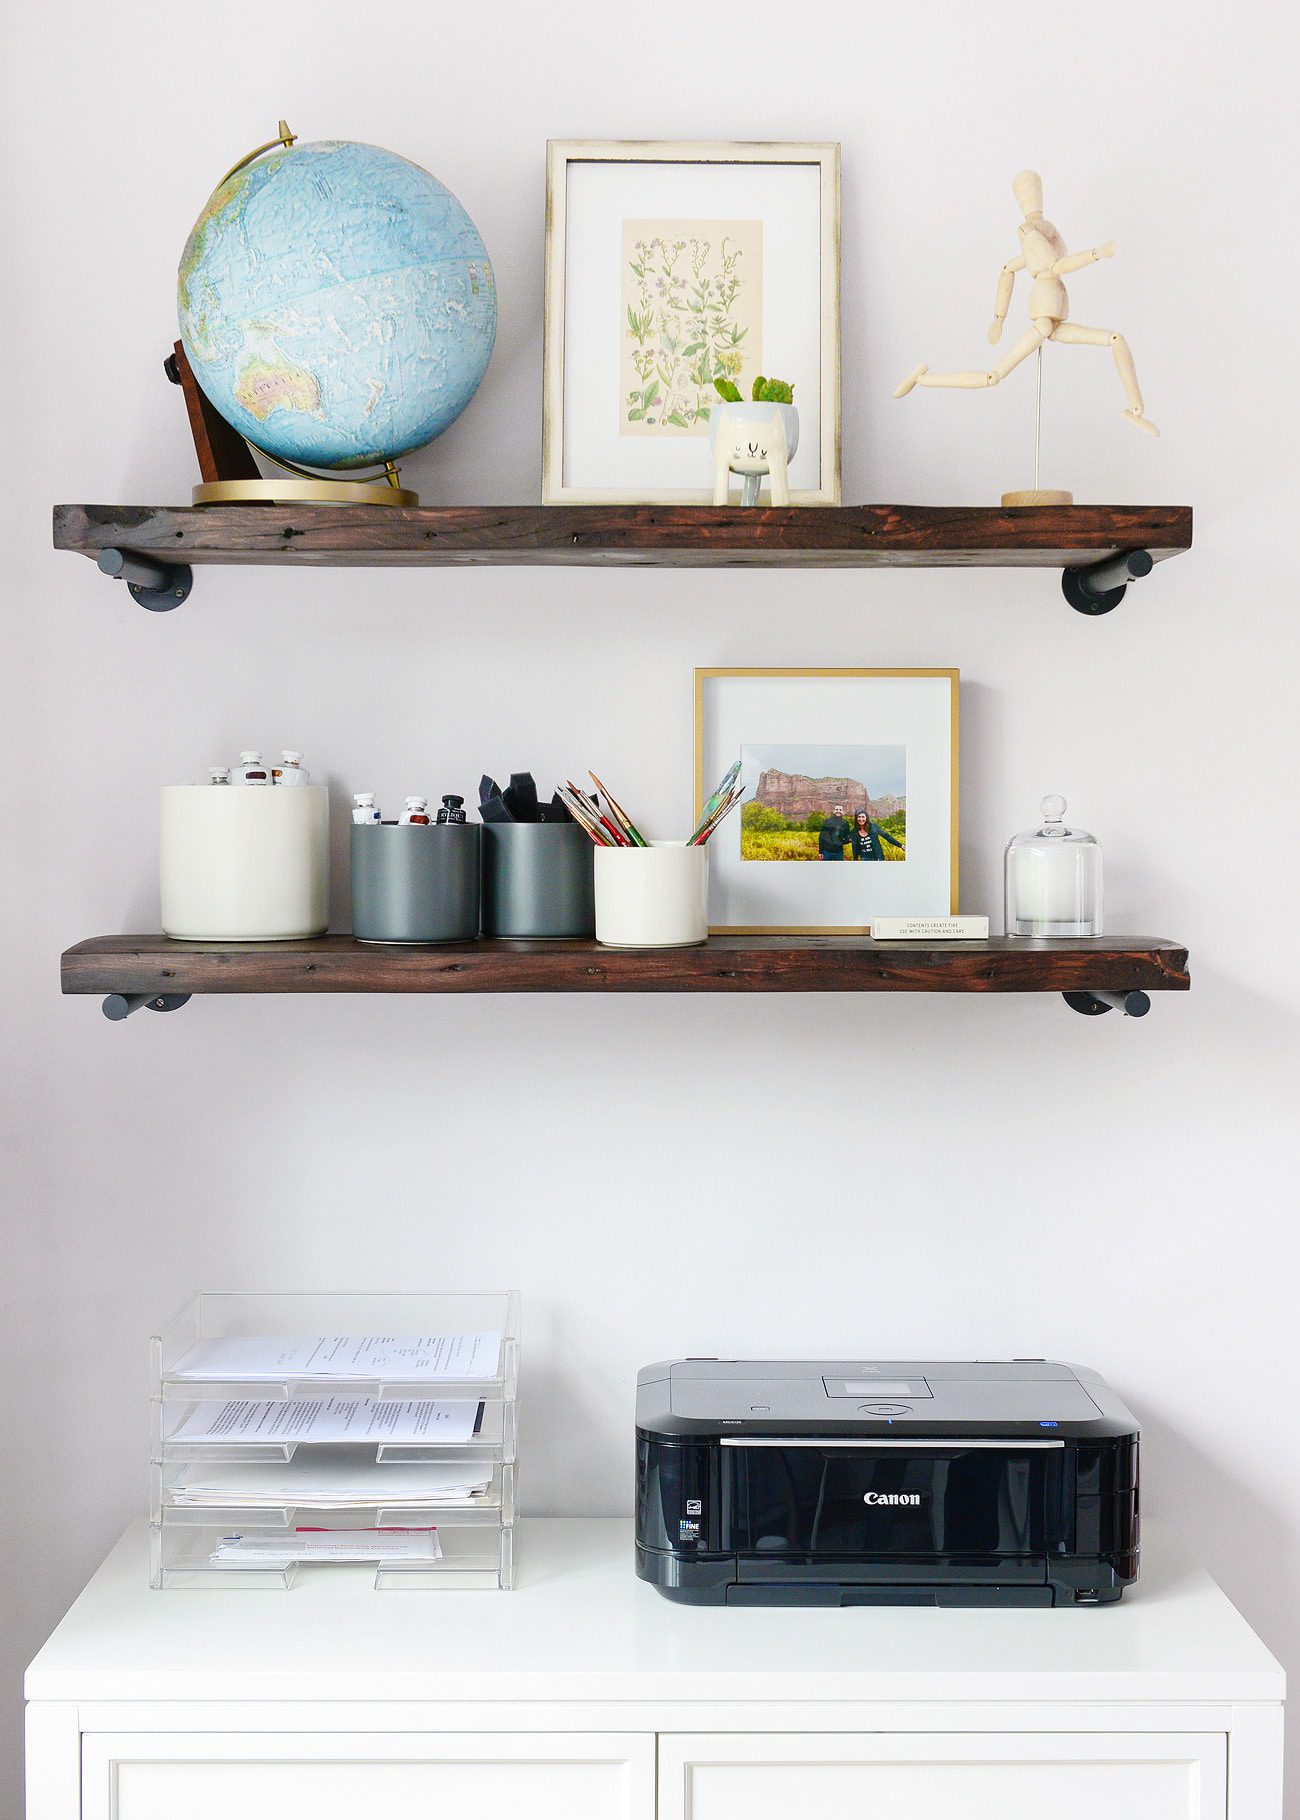
I’m re-working the gallery wall above the fauxdenza this week (I’m loving the purposeful layering behind the television; thoughts?), and we’re still figuring out an extra lamp or two to keep this room cozy in the evenings. It feels good to make these more permanent decisions and watch this room take shape. Hip, hip!


The shelves look so good! And weirdly I just bought that kitty planter myself last week! Good to know I have good taste!
It’s the cutest!
Do you print the photos from The Print Shop at home? Just wondering where you hide away all that equipment. Your studio is so clean and organized! Mine always seems to feel like a computer lab.
We don’t! We’ve been working with a trusted printer that we love and can produce high quality prints.
Ah the shelves turned out beautiful! Where did you get the clear paper storage container in the last photo? I’ve been searching for something exactly like that!
We use these landscape letter trays and stack ’em up!
Love these shelves! Your pintrest link leads to nowhere :( I’m dying to see what that is because I’m currently looking for ideas for my living room.
Oops, thanks for the catch! Should be fixed. :)
The last link on this page (about laying behind the television) isn’t working. I’d love to see what you mean!
Also, the shelves are gorgeous. You’ve inspired me to go to my local rebuilding center and try to score some old boards!
Thanks, Dee! (Link fixed btw – thank you!)
It’s not working for me either for some reason.
Ack! It looks like Pinterest is down right now.
Wow! Those are some really great ideas to reuse the wood planks! I am not going to throw them away anymore. Thank you!
These shelves are just gorgeous! You can’t beat the beauty of salvaged wood! My heart still hurts a little for the salvaged wood shelves I left behind at our old house!
Sad!
We just made shelves out of reclaimed and salvage wood and I’ve already said that we MUST take them with us when we move, whenever that may be!
I love using reclaimed and salvage wood. It’s just so beautiful and each piece is unique. We recently used pieces of pine and raw edge maple to create shelving in the mud room and it looks great.