

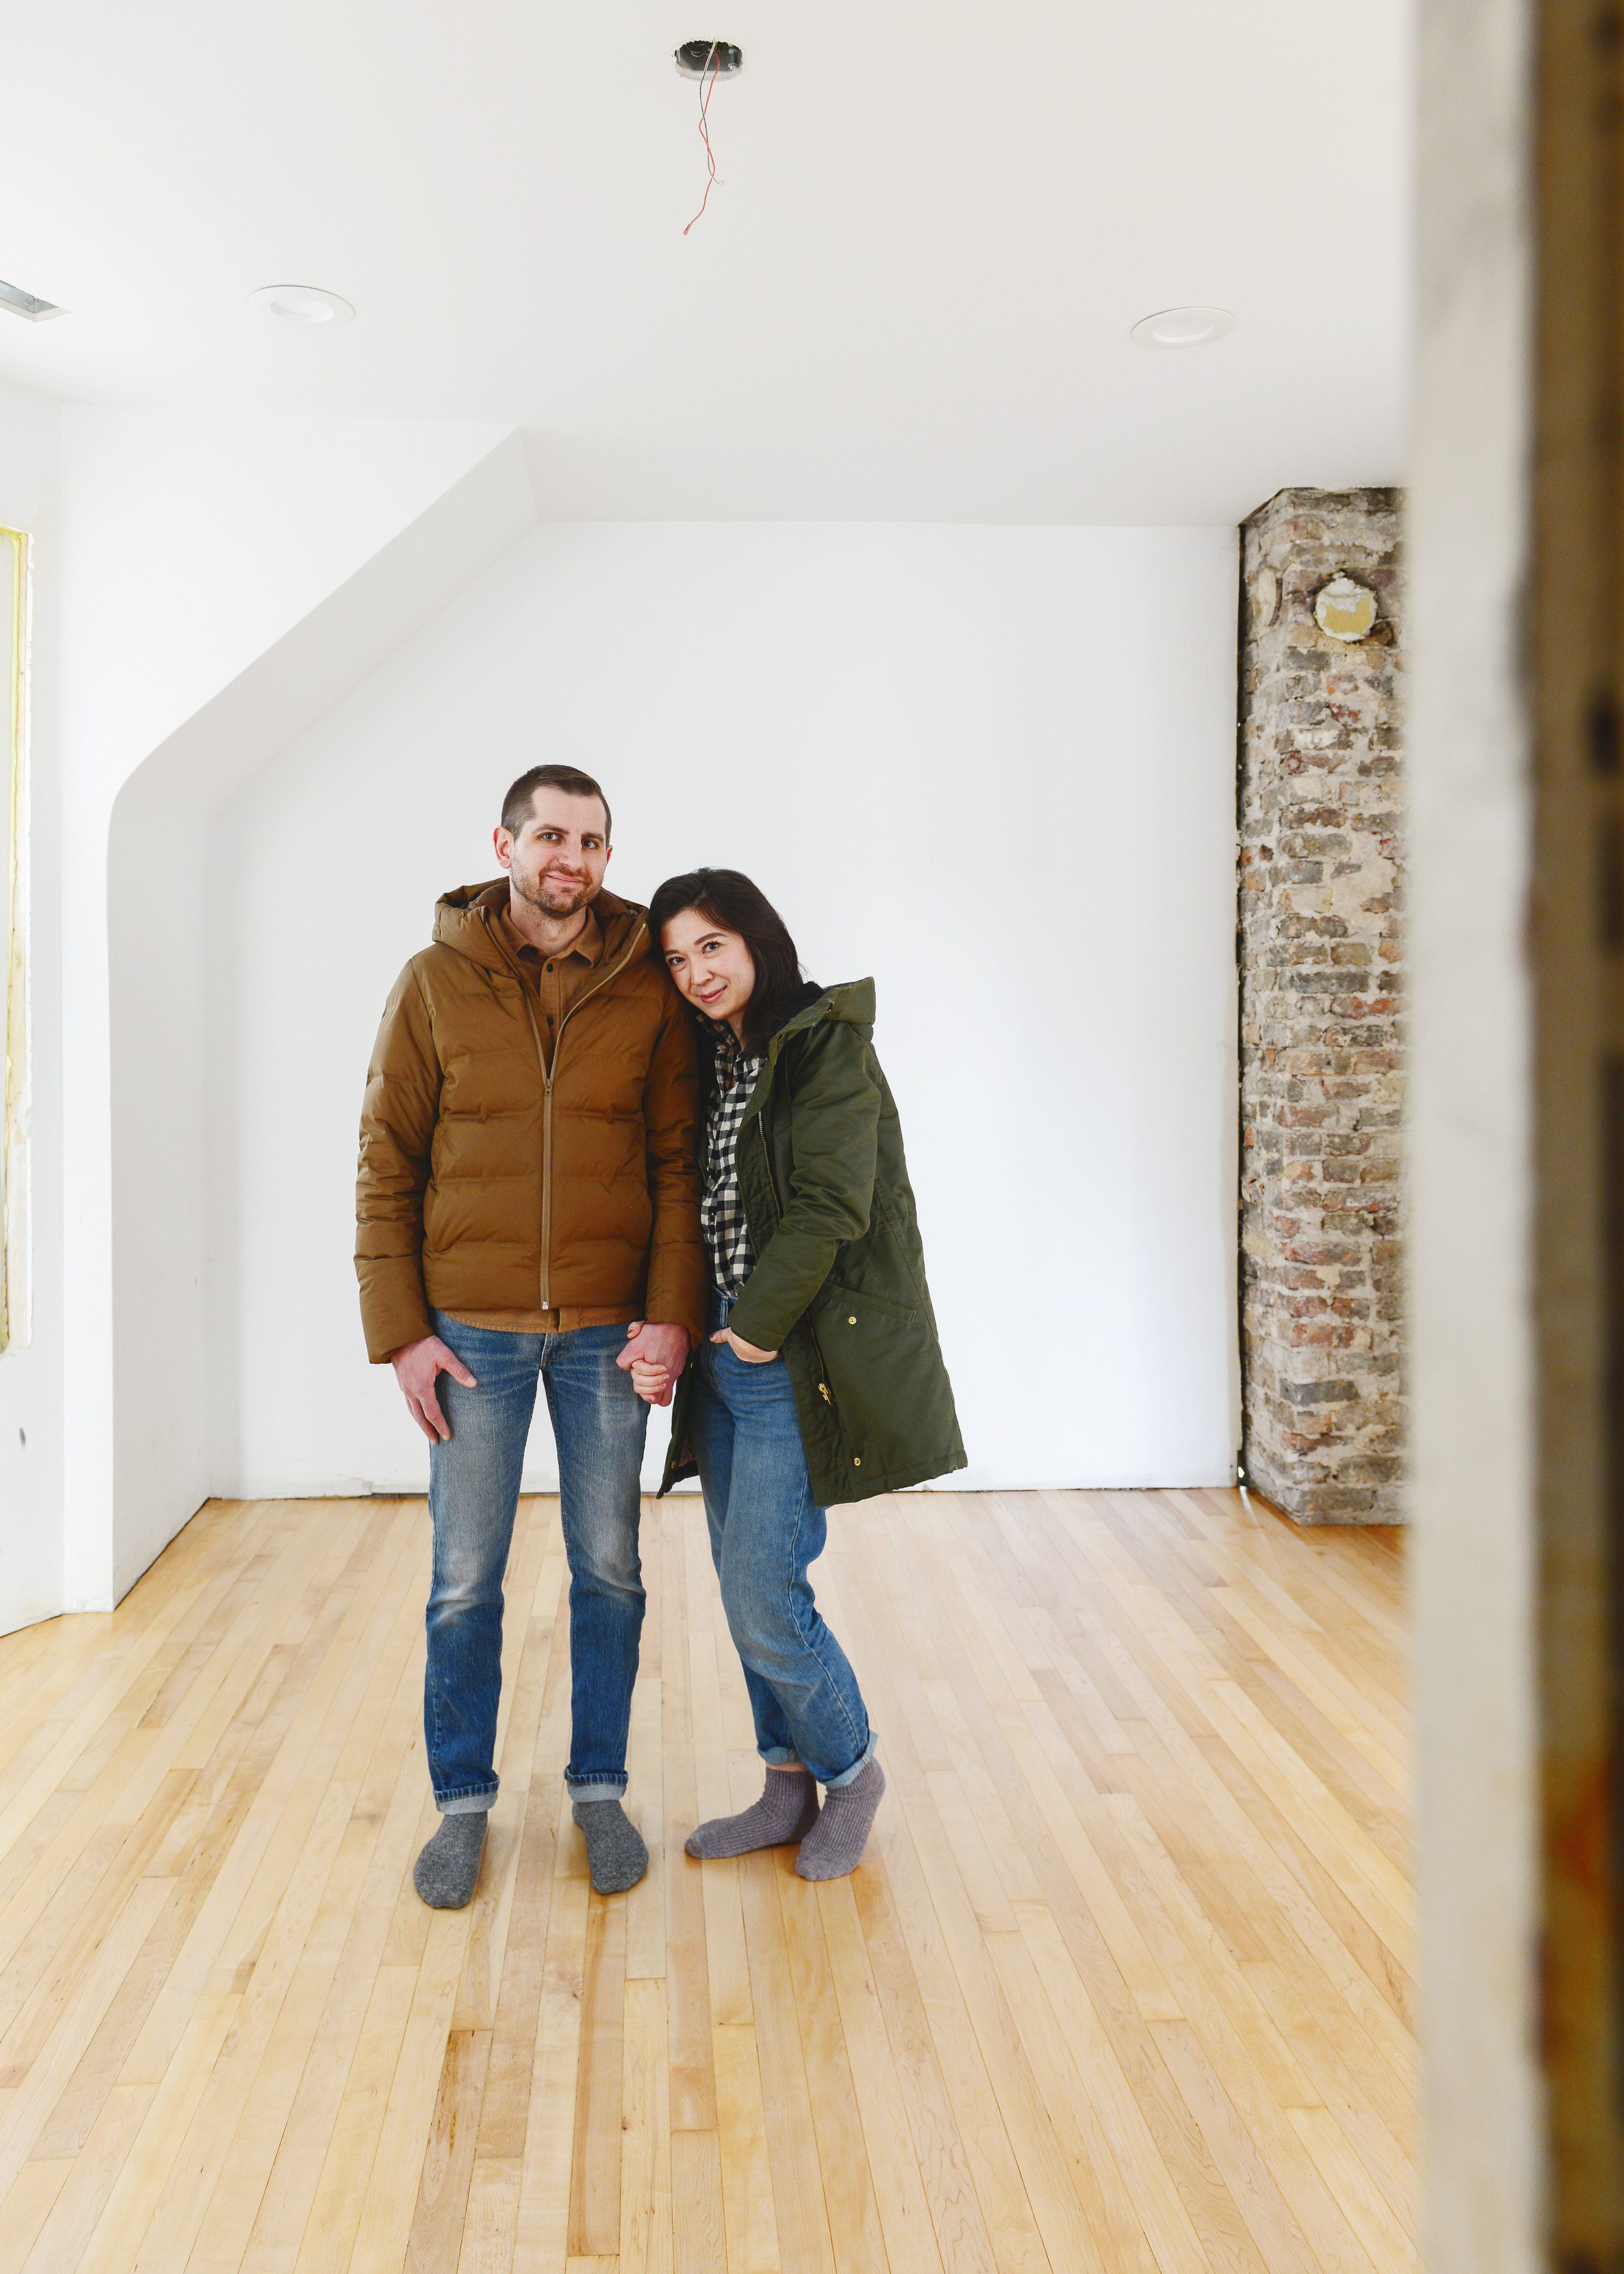
The vintage wood flooring at our ongoing Two Flat project has been completely patched, repaired, sanded and refinished! We’re walking through all the details today including cost, timeline, and the challenges we encountered along the way.
Finding the Right Contractor
We’ve written extensively on hiring the right contractor in the past, and we’ve learned a lot of lessons in our renovation journeys. When it came time to hire a team to patch, repair and refinish the wood flooring in the Two Flat, we knew that we were on the hunt for a very particular contractor. We had a sneaking suspicion that a lot of the folks we met with would tell us that you know, it would be easier and cheaper to replace it all and start over. We knew this was the case, because we had already heard it from several people that walked through our front door. We refused to believe it; we knew there was someone out there who was willing to restore this old home alongside us.
When we met with the team at Peter’s Wood Refinishing we instantly connected with the company’s President, Araceli. She immediately understood what we were looking for and was on board with our mission of salvaging every possible bit of original hardwood. We loved that she was communicative, understanding, and 100% committed to making sure we were happy every step of the way. Not once did she flinch as we gave her a tour, rather, she seemed genuinely excited! She knew right away what we were dealing with – pine in the main areas, maple in the kitchens – and she was the first one to give us hope that these 130-year-old floors had a fighting chance.
If you’re in the Chicagoland area, we highly recommend Peter’s Wood Refinishing. Let them know Kim + Scott sent you!
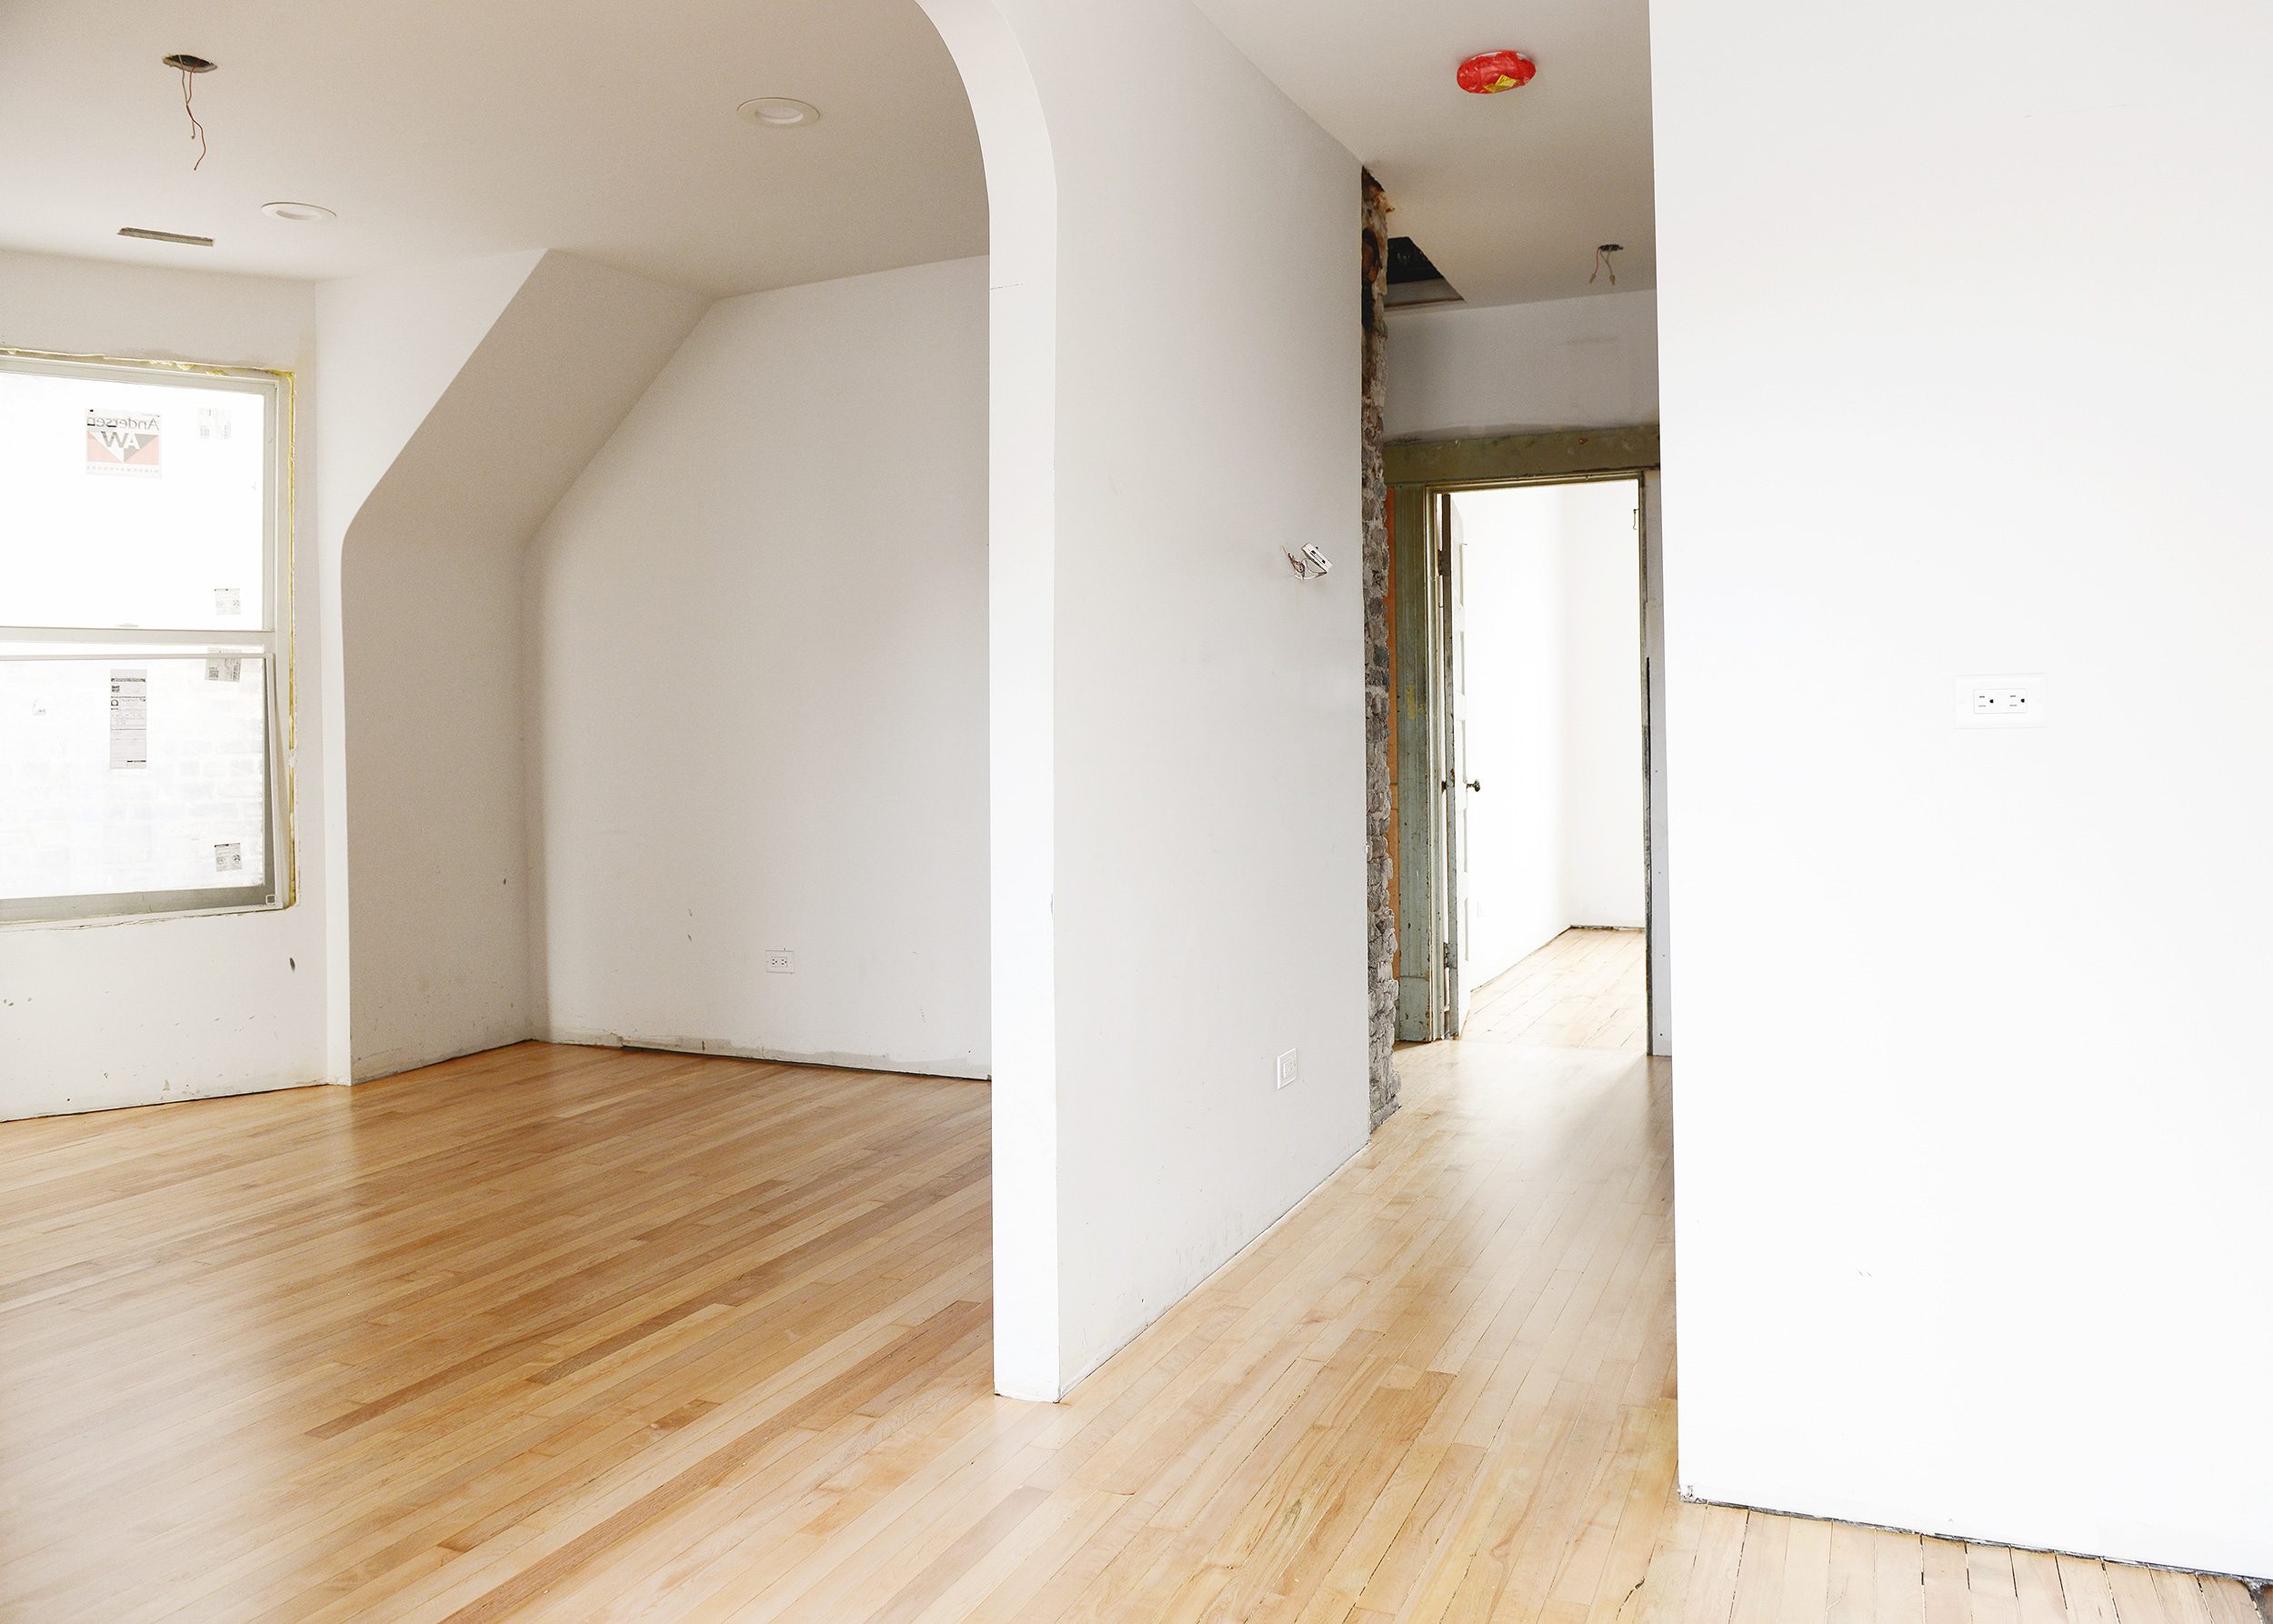
Hardwood Flooring Before
As a quick reminder, this is how things looked after the demo team removed carpet and linoleum tile throughout the home: (I mean, if it wasn’t for Kim’s jeans, this photo looks like a black and white snapshot, right?)

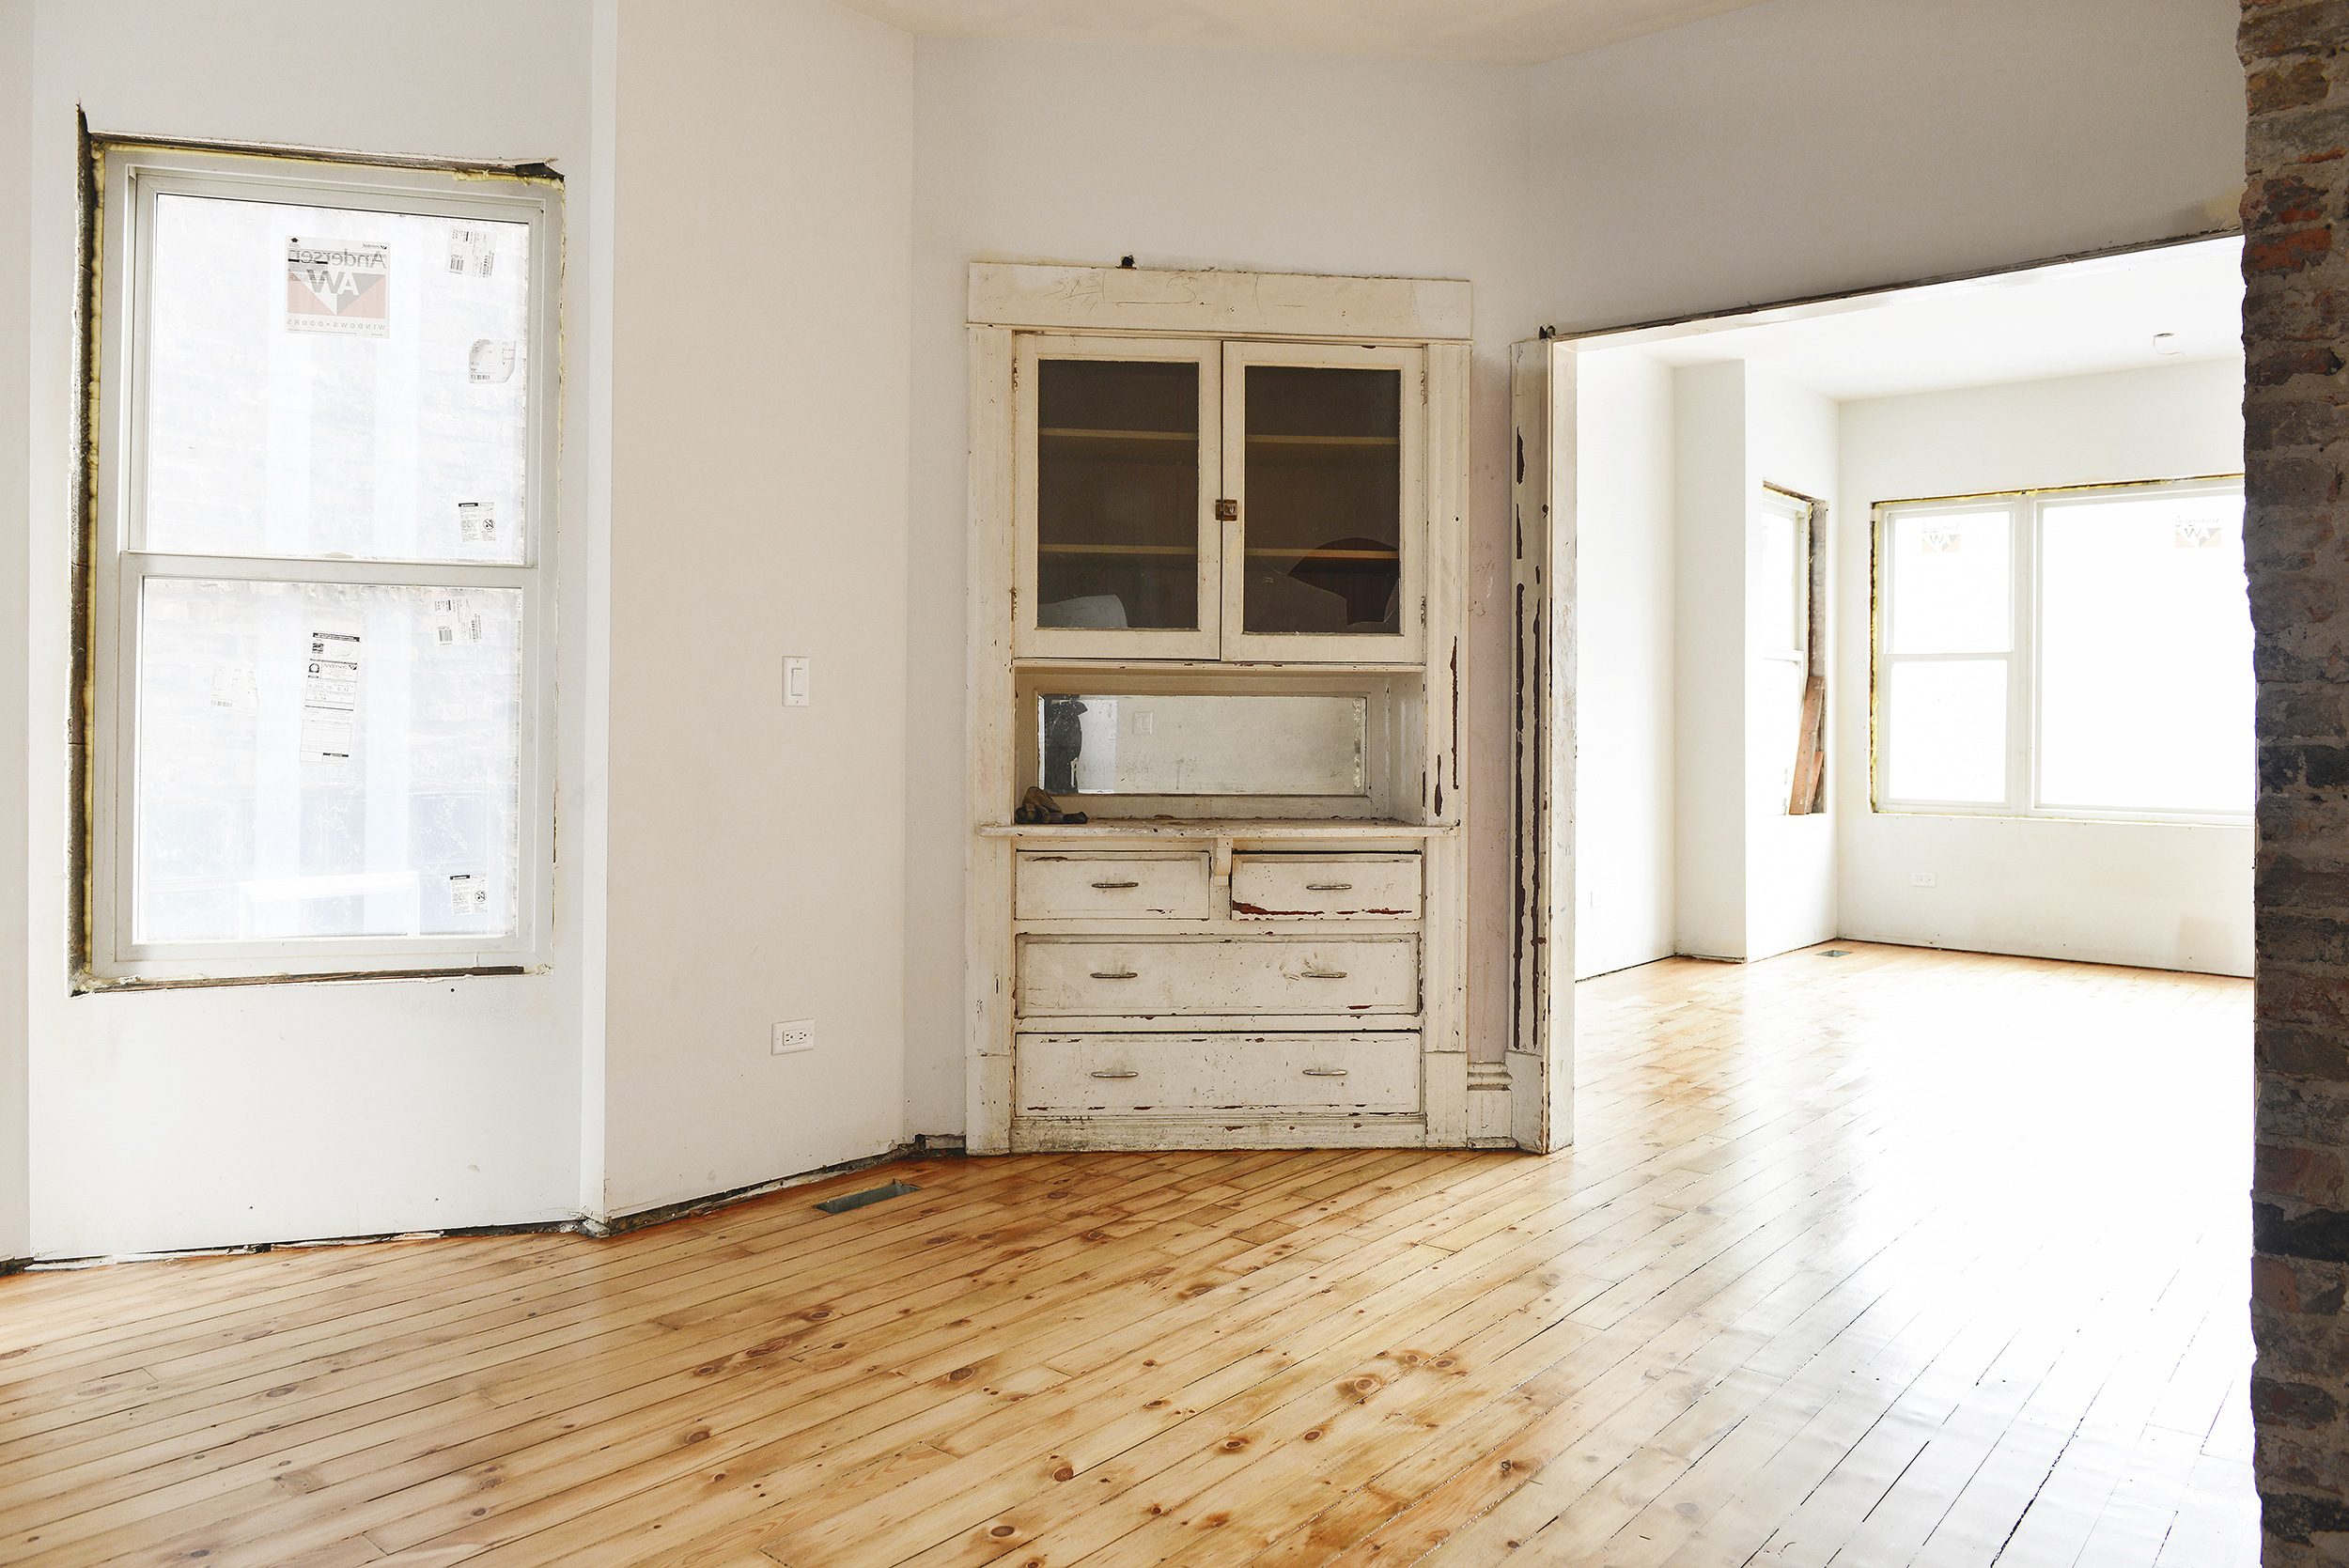
Hardwood Flooring During Prep Work
Once the team got started, their first step was almost a week of prep work before the patching and refinishing work could begin. They removed what was likely thousands of staples and nails from the floor, as well as decades of flooring adhesive and crumbling carpet padding! The first photo below was a few days into the prep process, and the second photo is after the first sanding.


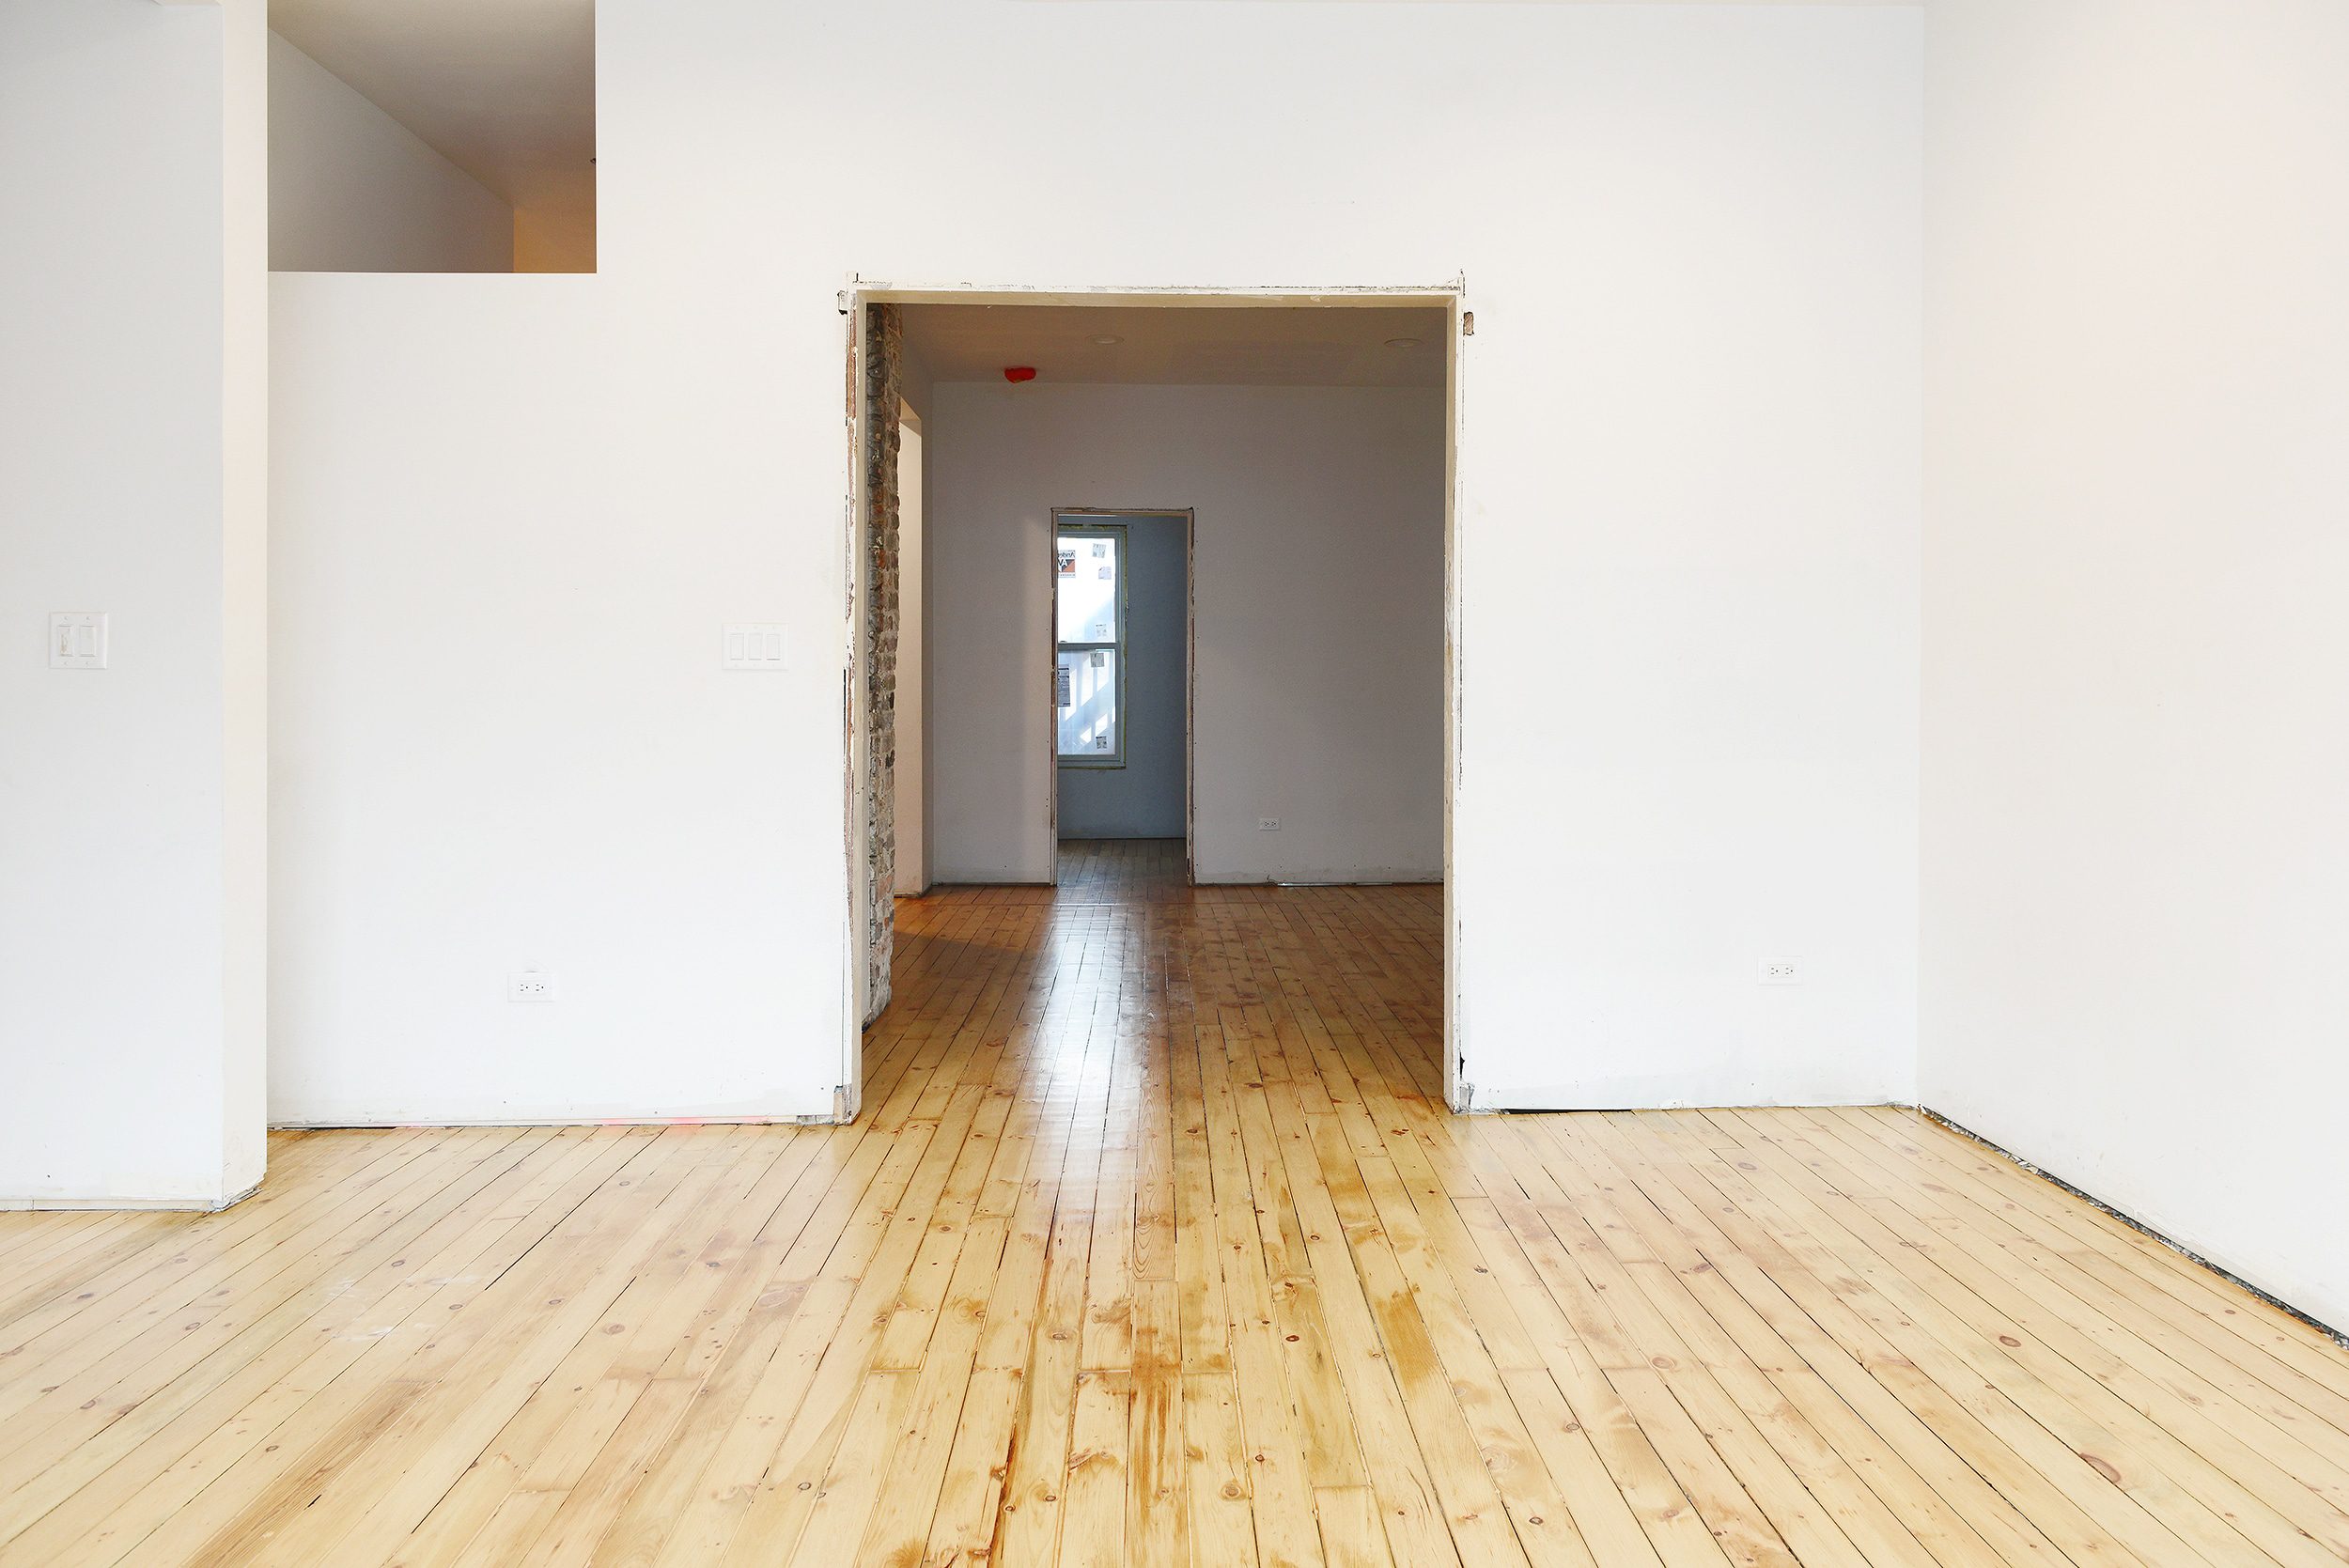
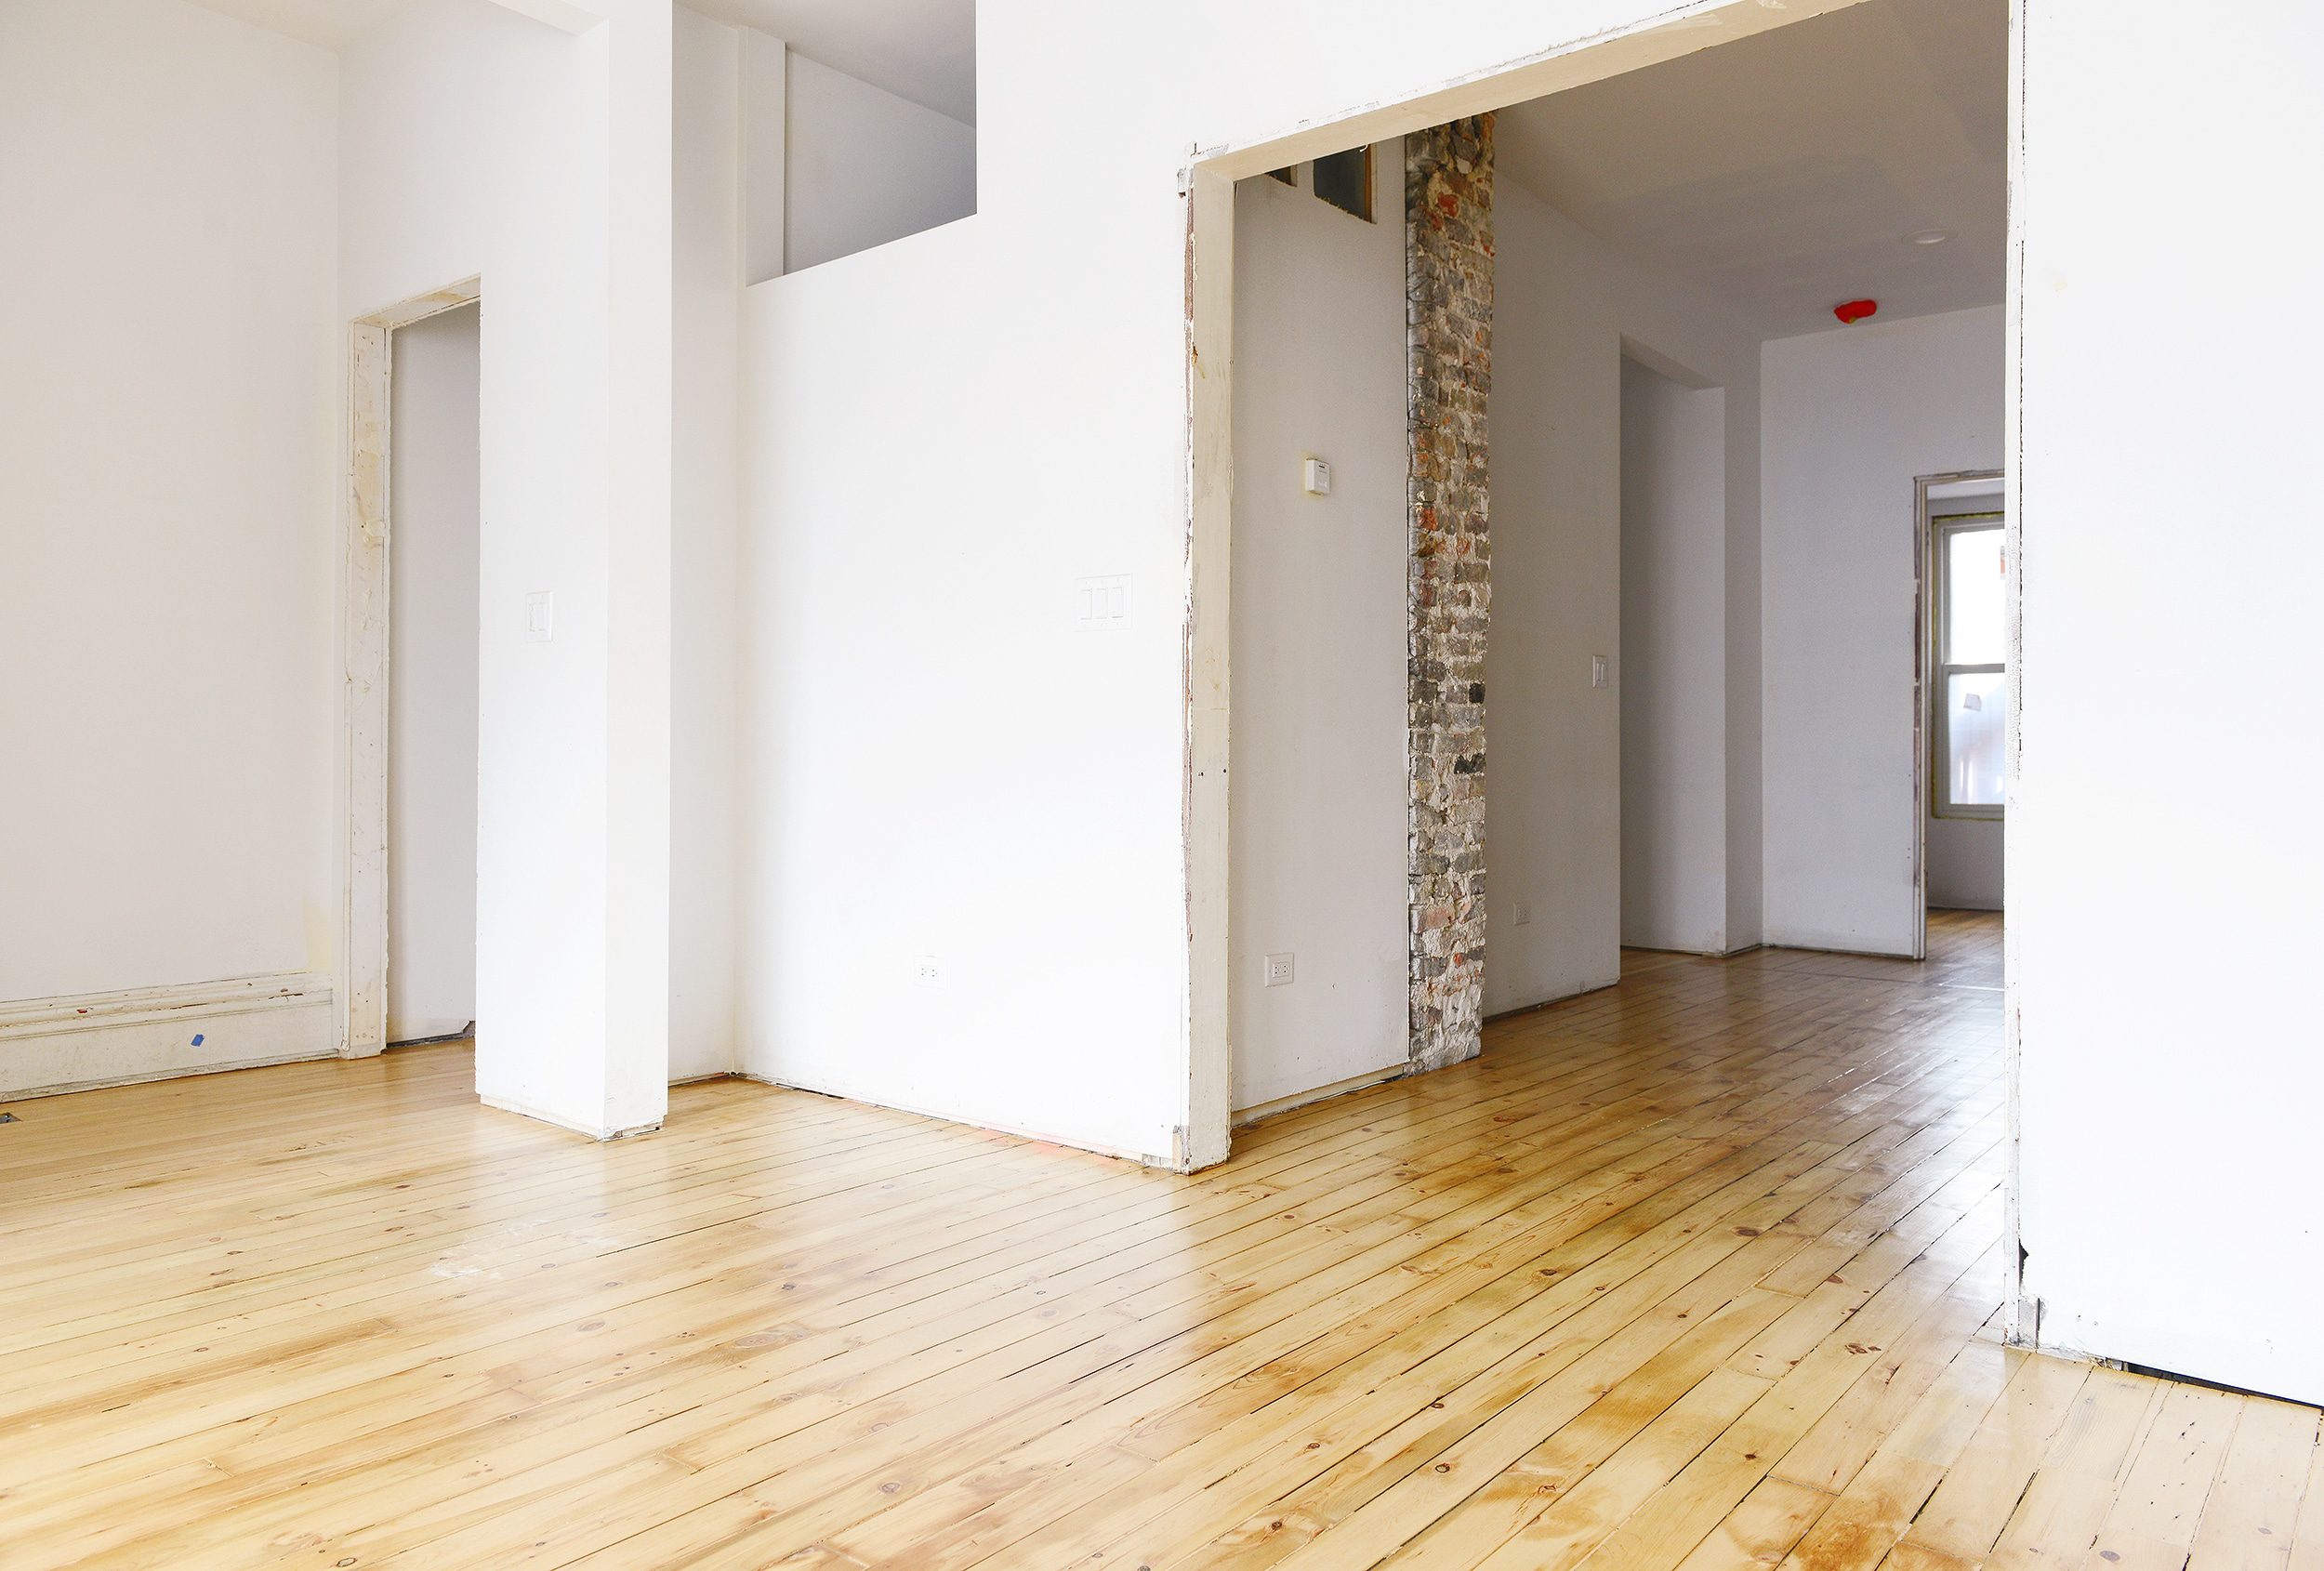
Hardwood Flooring Completed!
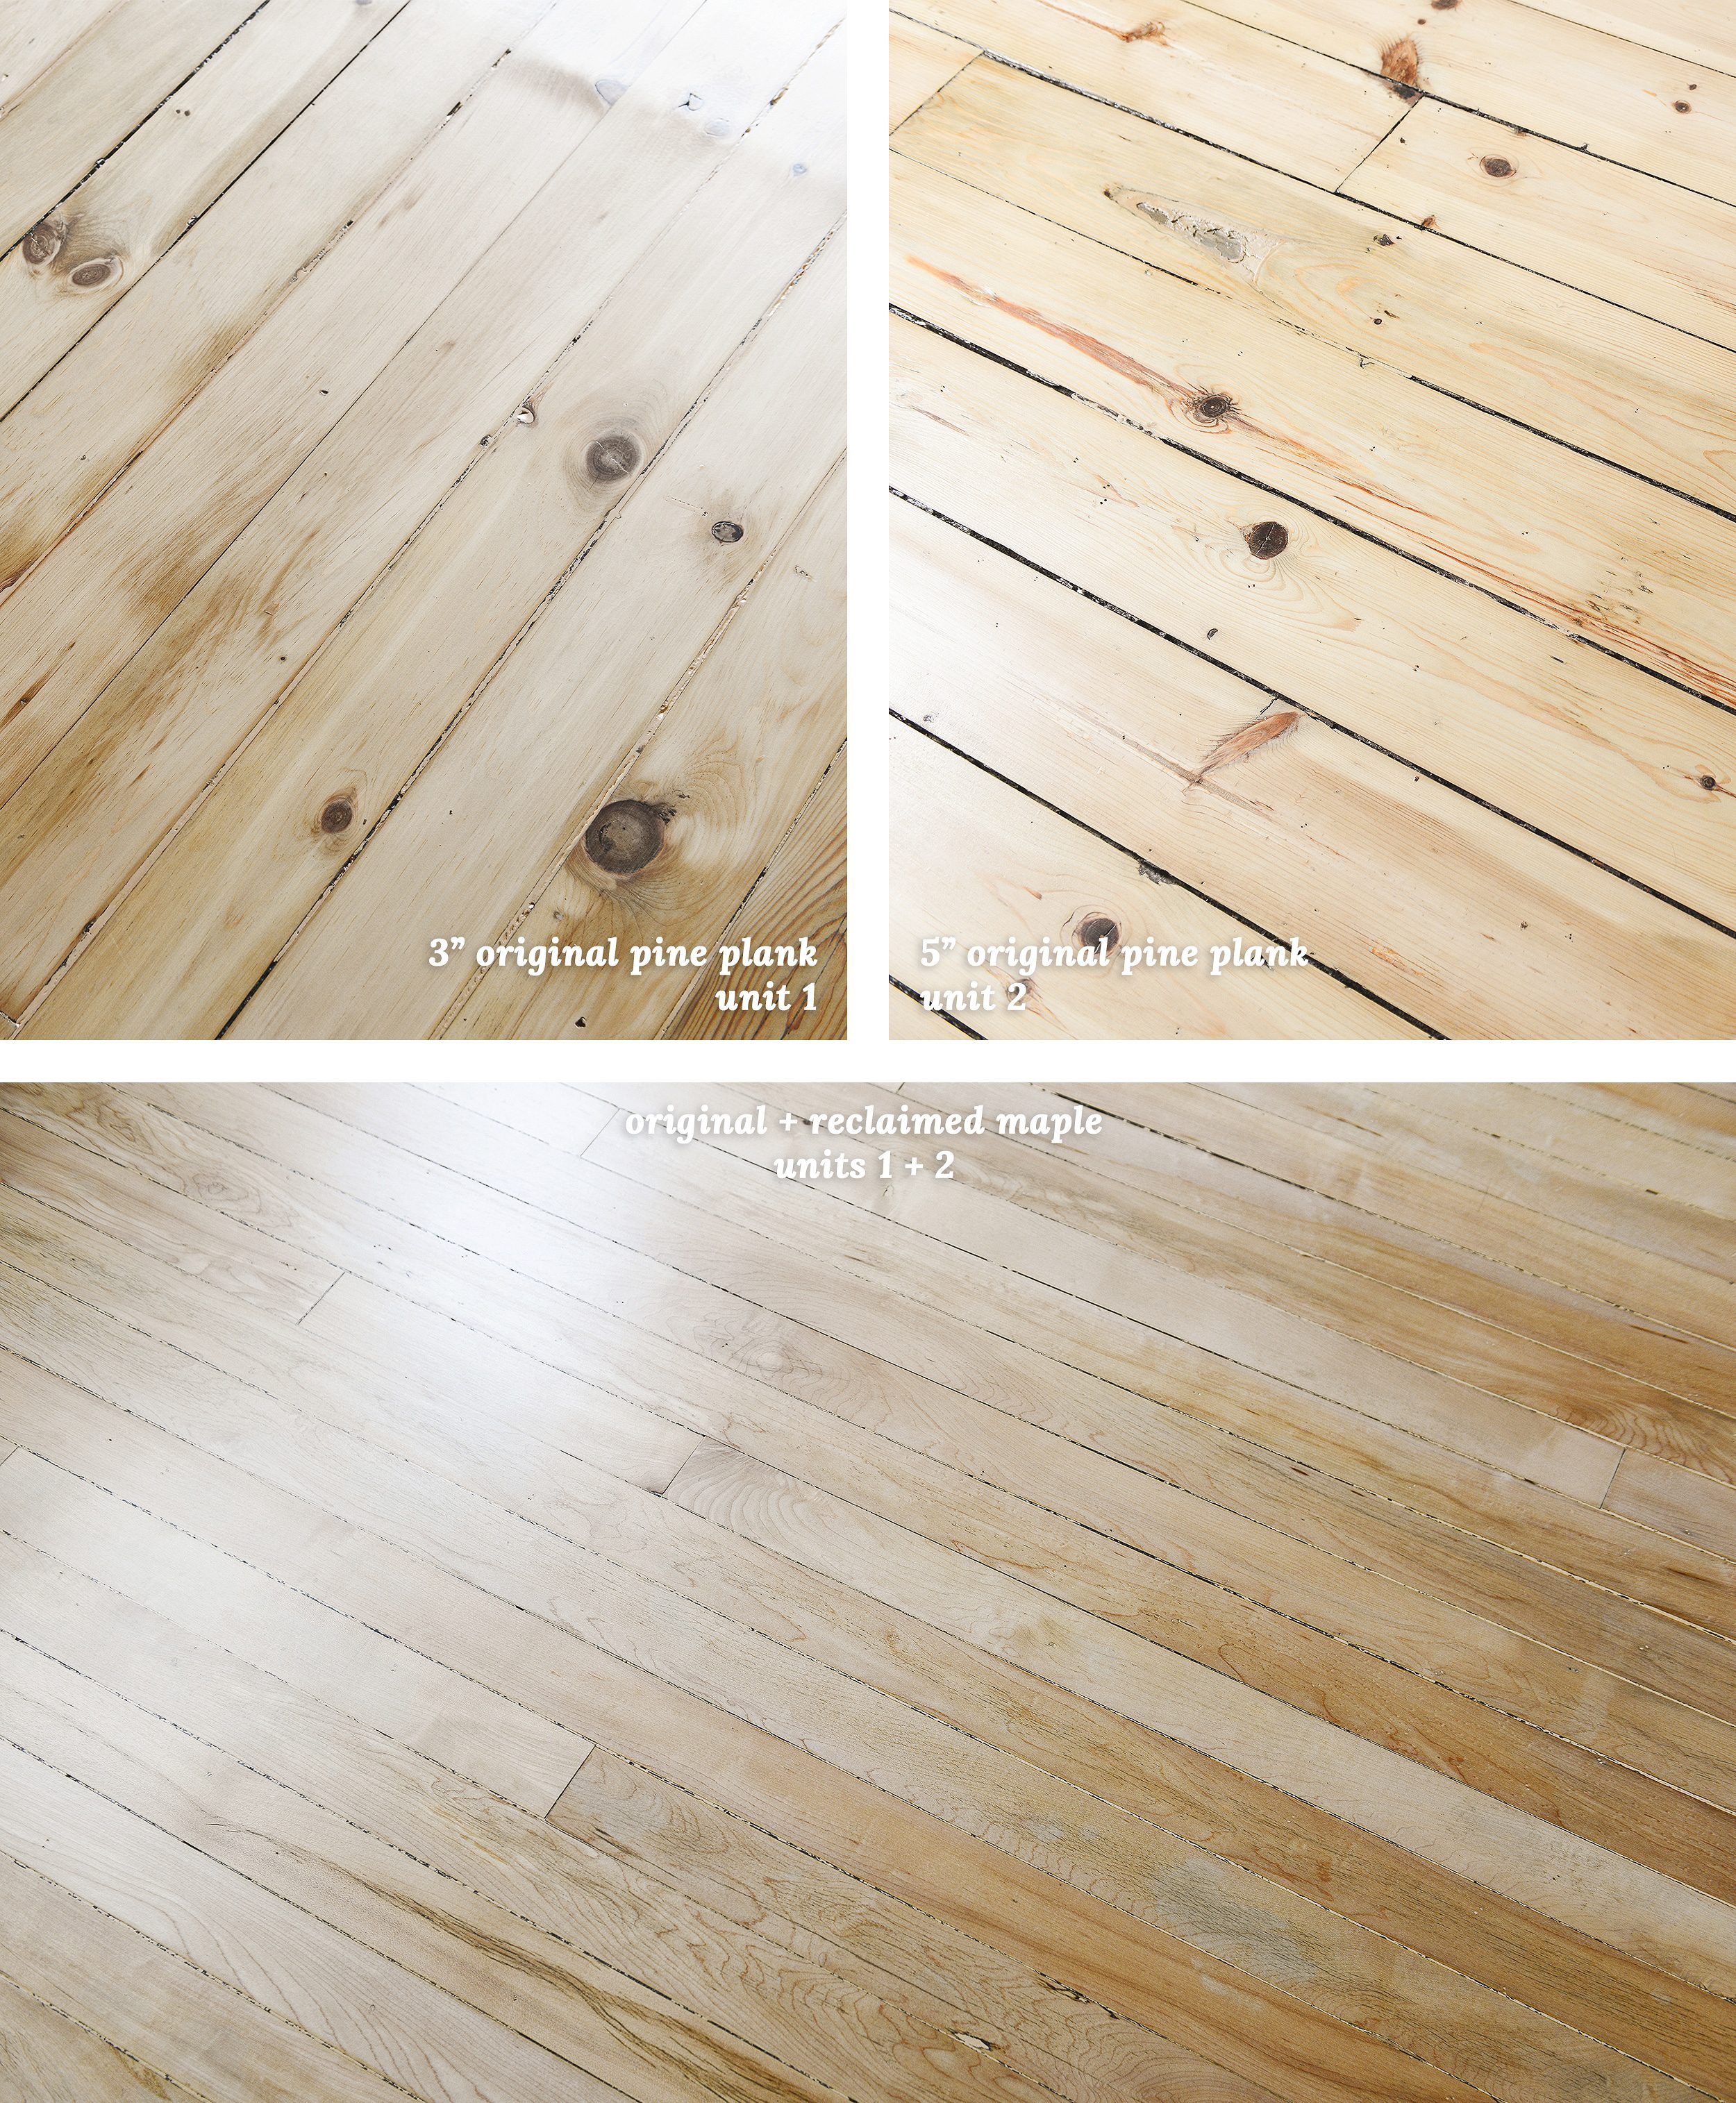
We had both pine and maple under all that carpet and linoleum, and here’s how those different types of wood looked after being prepped, sanded, stained (more on that in a second!) and sealed. We. are. thrilled!
Selecting Our Finishes
The home features quite the mix of wood species as was common in the late 1800’s. The entryway and kitchen are maple and the living room, dining room and first floor bedroom are all 3″ pine plank. Our goal was never to find a perfect color match between the pine and maple, but we did want to help the two woods blend together as seamlessly as possible.
The maple flooring was tested with only a clear water-based finish, and we loved it. We knew we didn’t want to change its color at all! But a clear coat on the pine flooring made it jarringly red, and that put us on the hunt for a stain and finish combo that would alleviate some of that red tint. Below, you can see the stain colors we tested out, all Minwax brand.
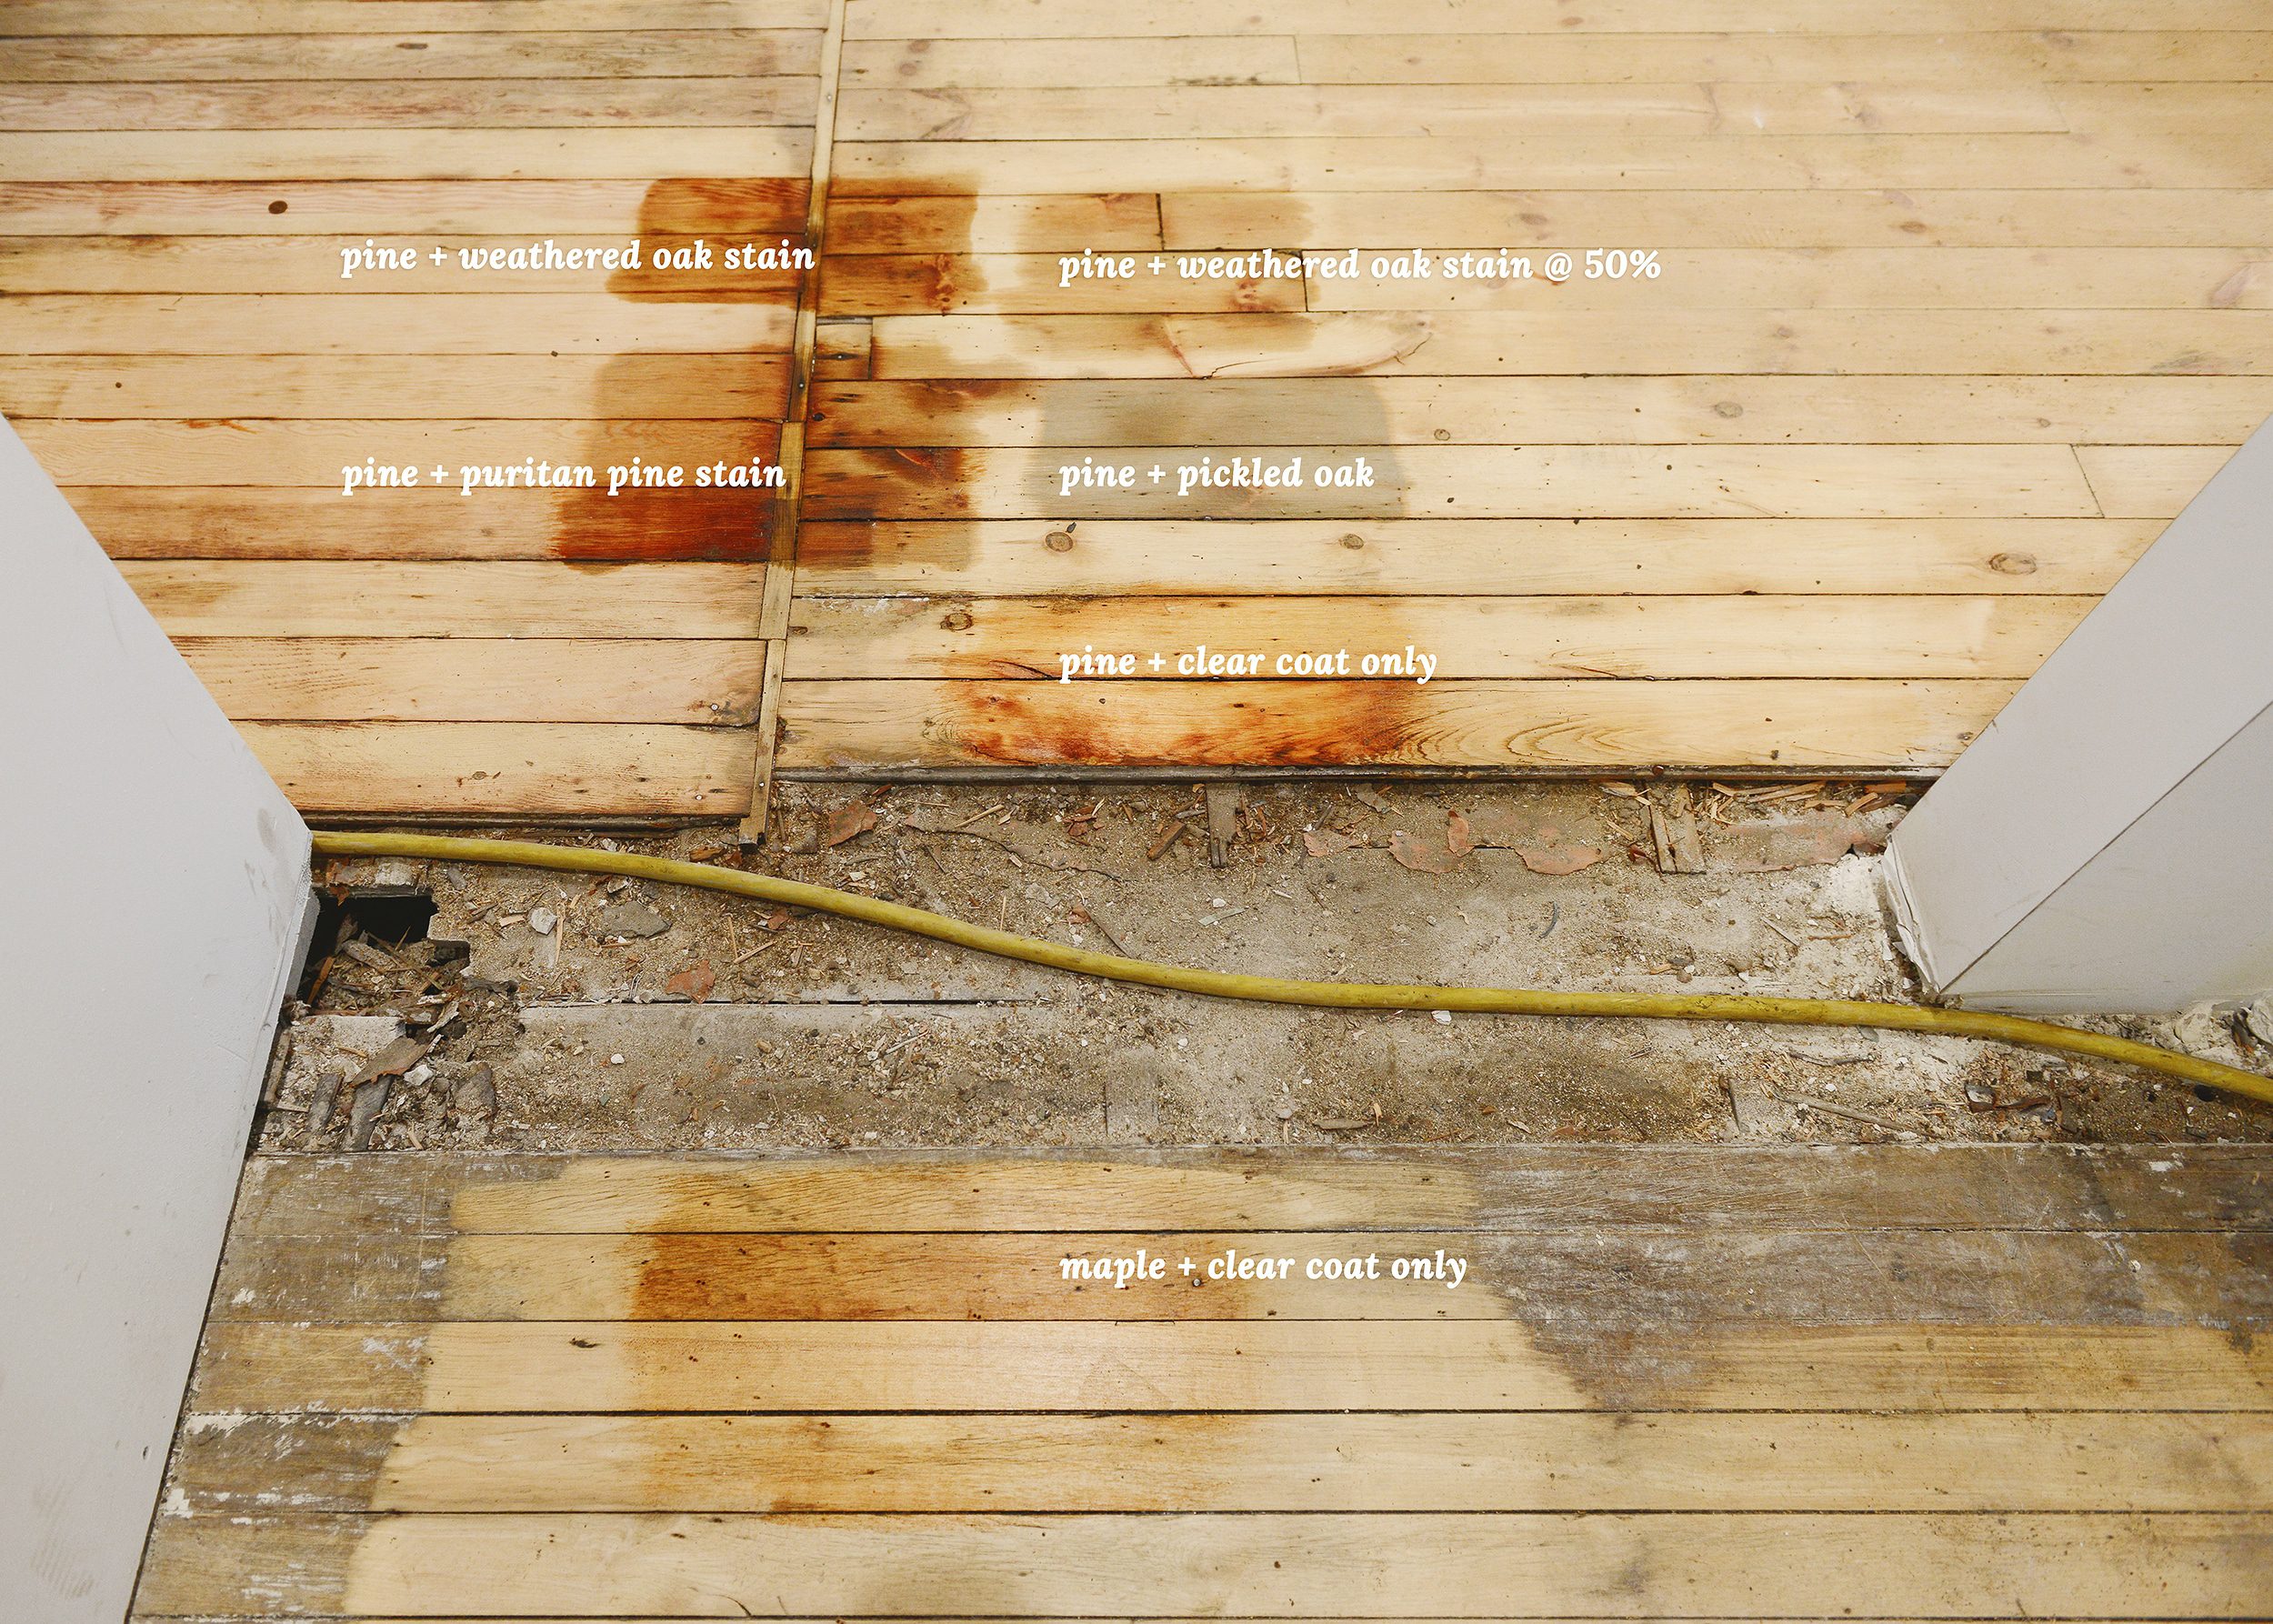
The winning combination? Weathered Oak stain diluted to 50%! See it there, on the top right? It turned out to be the perfect compliment to the warm tones of the unstained maple.
Once we had decided on color tones for each species of wood, we were ready to select a finish. We prefer to use water-based finishes whenever possible and have had great results with the Bona Mega finish that was used on the refinished Douglas Fir flooring at our Tree House. It turned out that Bona Mega was the preferred water-based finish of the team at Peter’s, and we decided on a low sheen satin finish. The tough part was over, and the crew got right back to work!
Project Budget and Timeline
While we’ve had wood flooring refinished in the past, this project was massive in comparison to the tidy footprint of our Tree House, so we had no idea what to expect cost-wise. The following is a list of items that needed professional attention and would be included in our quote:
- Approximately 1300 sq. ft. of flooring to patch, repair (including a few small subfloor defects) and refinish
- Original common staircase and trim molding repaired + refinished
- Maple treads and risers added to new Unit 1 staircase, leading into the den
- Three-piece banister repaired + refinished
- Sourcing + installation of 200 sq. ft. of reclaimed maple flooring, which we needed to repair Unit 2’s hallway and living room
As we mentioned, it was a lot.
When we received the initial quote from Araceli, we were pleasantly surprised by the numbers. Her quote was not only a few thousand dollars lower than her competition, but she included smaller items like refinishing the railing as a part of the quote, which were listed as additional costs with the other companies we met with!
Overall, the total cost of the project was $12,000. This included all refinishing work and the additional flooring that needed to be sourced for Unit 2. This was two entire weeks worth of work for crews that ranged from between 2 and 6 people. There are hundreds of man-hours into this project and the results speak for themselves!
Mixing A Bit of New With the Old in Unit 1…
While we worked hard to use reclaimed materials wherever possible throughout the project, the newly built Unit 1 staircase required us to source new materials for the treads and risers.
We opted for maple stair parts to match the kitchen flooring as well as possible. Since newer maple is generally lighter than vintage maple, we stained the new wood with the 50% diluted Weathered Oak finish that we used on the living room and dining room pine floors.


…And a Bit More Old With the Old in Unit 2
In an odd twist of fate, the area of flooring that we were most confident we’d be able to keep and refinish didn’t work out that way at all. The Unit 2 living room featured 1 1/4″ narrow plank wood flooring that looked to be original. Upon further inspection, we learned that the flooring was actually 1/4″ thick tongue and groove flooring that was commonly laid over damaged original flooring in the 60’s. The problem with this thin profile flooring is that once sanded and material is removed, the boards’ tongues are so thin that they begin to crack and splinter over time.

This was less than ideal, so we made the executive decision to source reclaimed maple to provide a seamless look throughout all of the common areas in the unit. As we talked through this challenge on our Instagram stories, Craig from CP Custom Woodworking reached out and offered to donate around 100 sq. ft. of reclaimed maple that was taking up space in his wood shop! (You guys are truly the best.) We took him up on the offer and picked up the salvaged flooring in our trusty Subaru. The flooring was the perfect fit and was woven seamlessly into the additional reclaimed maple that Araceli had sourced from our favorite Chicago salvage shop. The continuity between spaces is better than we could have imagined!
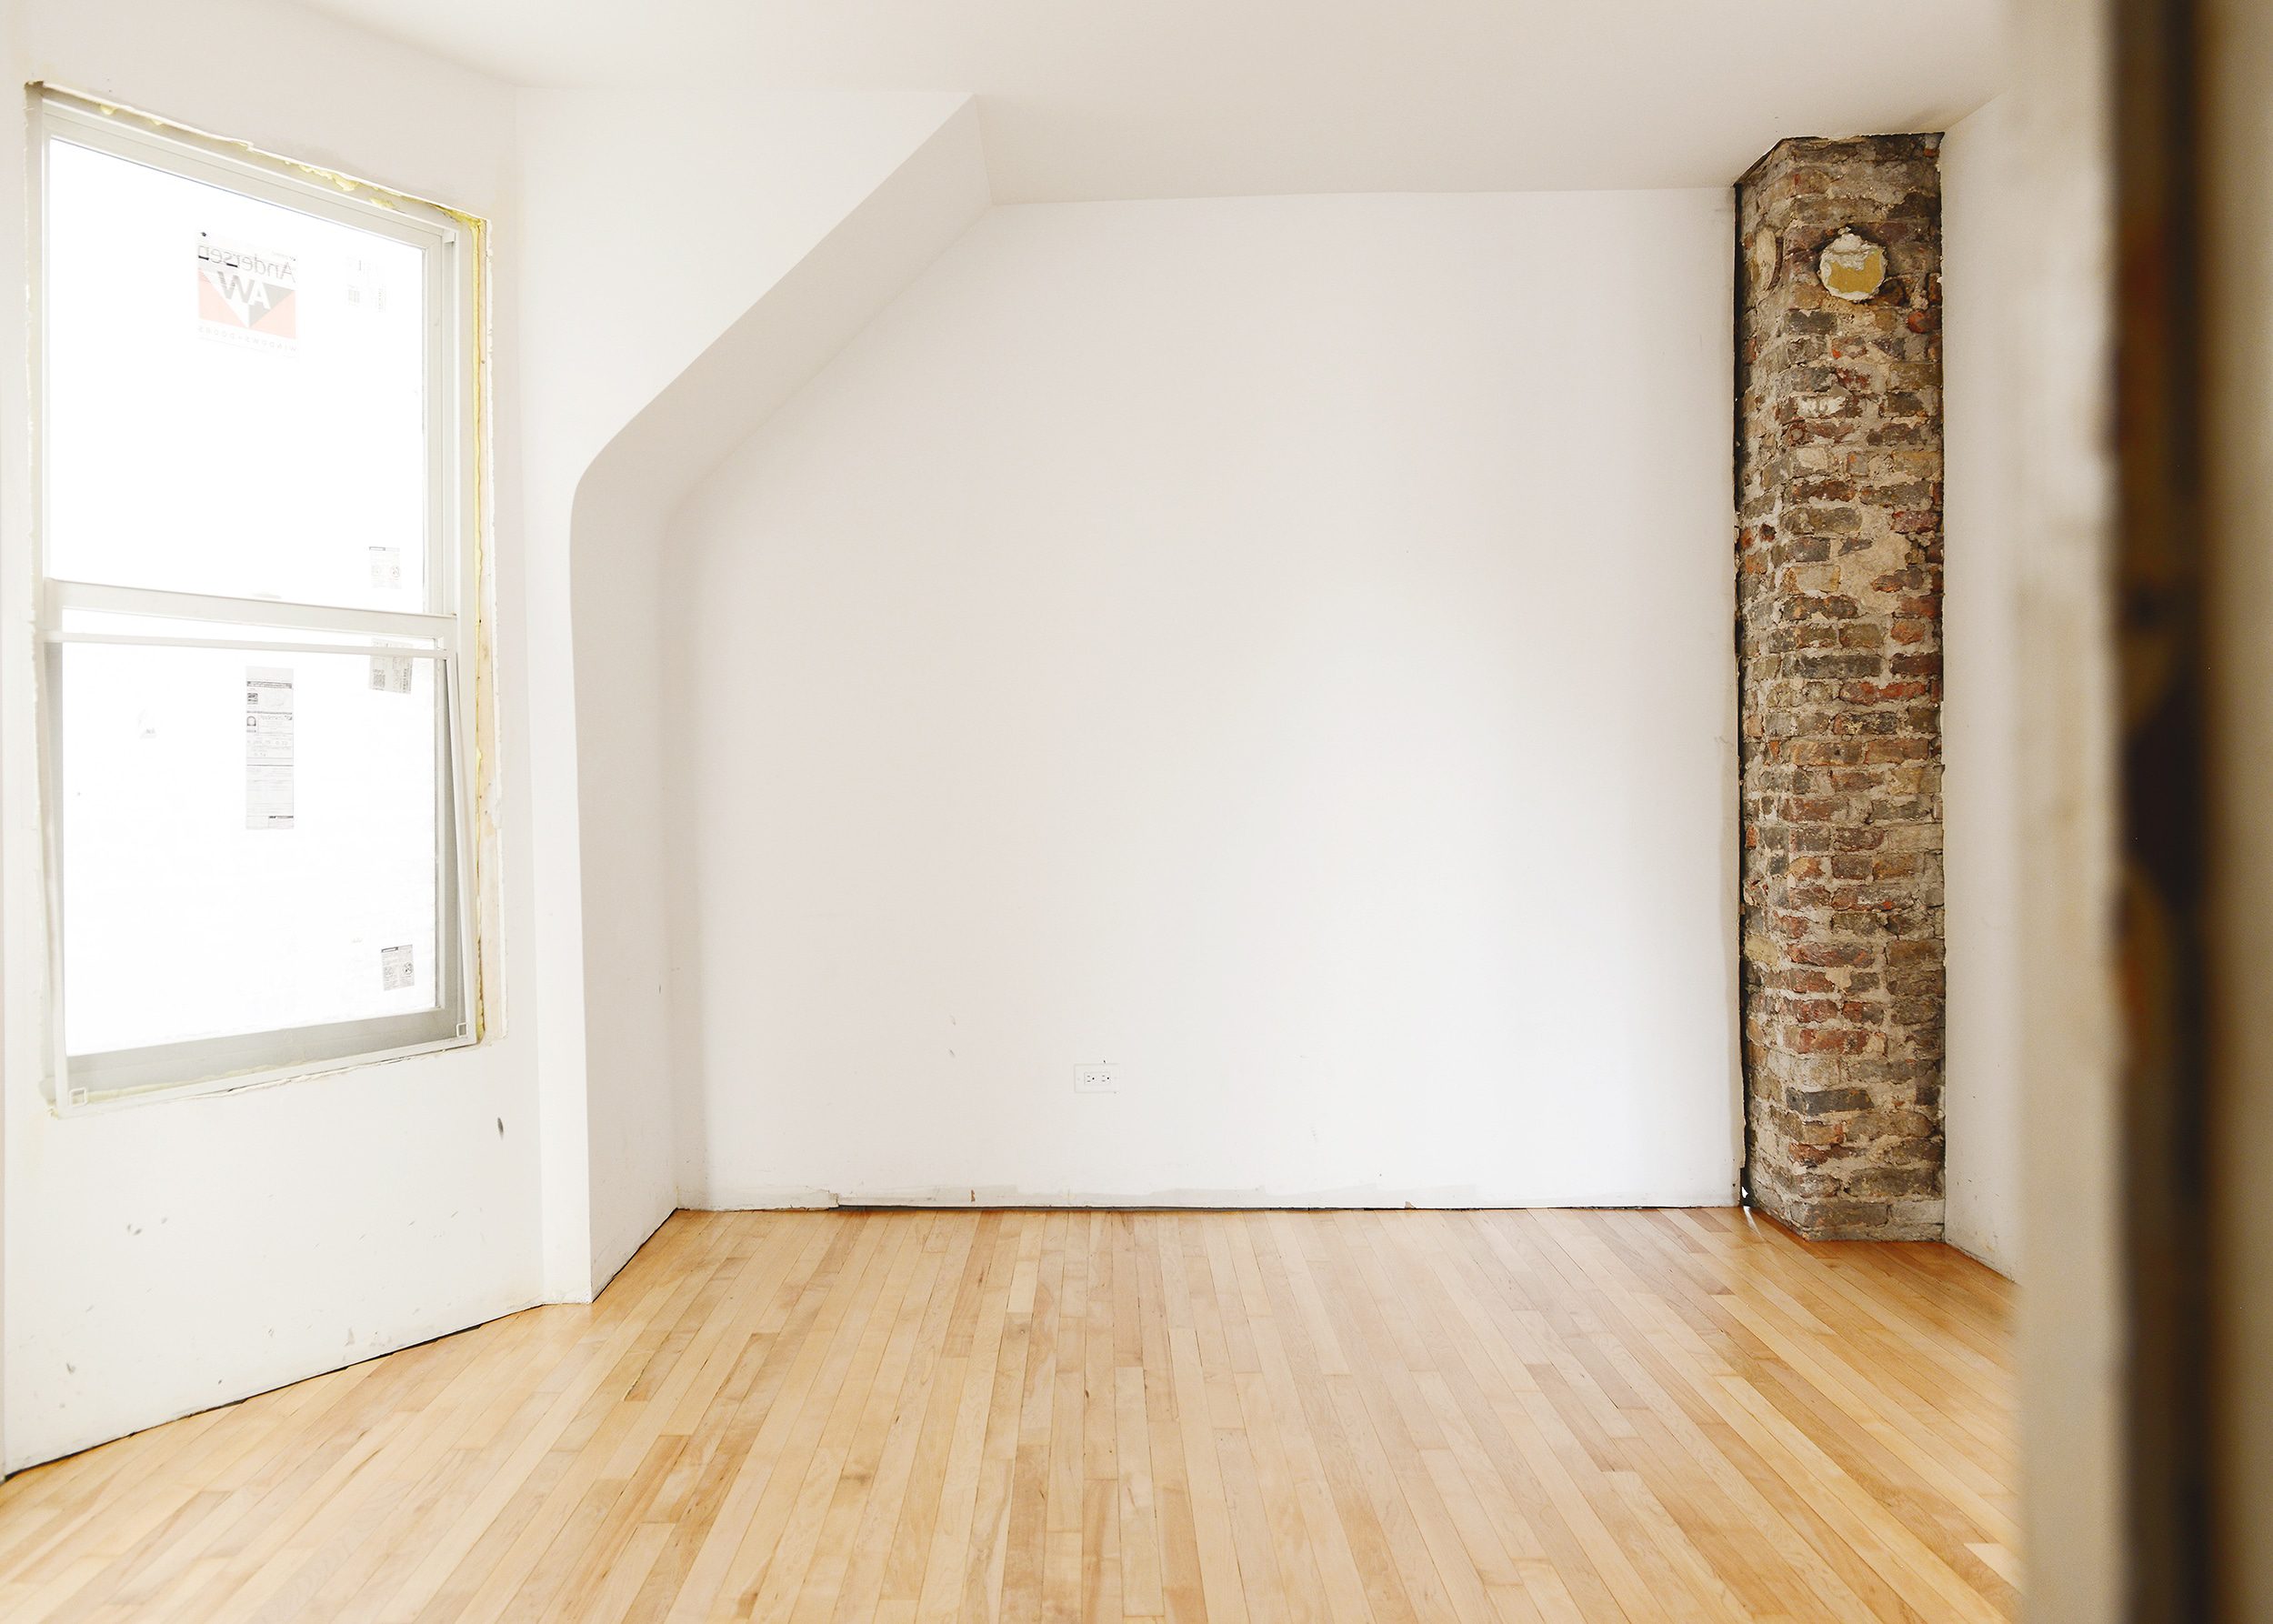
Elsewhere in Unit 2, the wider 5″ pine plank flooring in the bedrooms also turned out incredibly well!
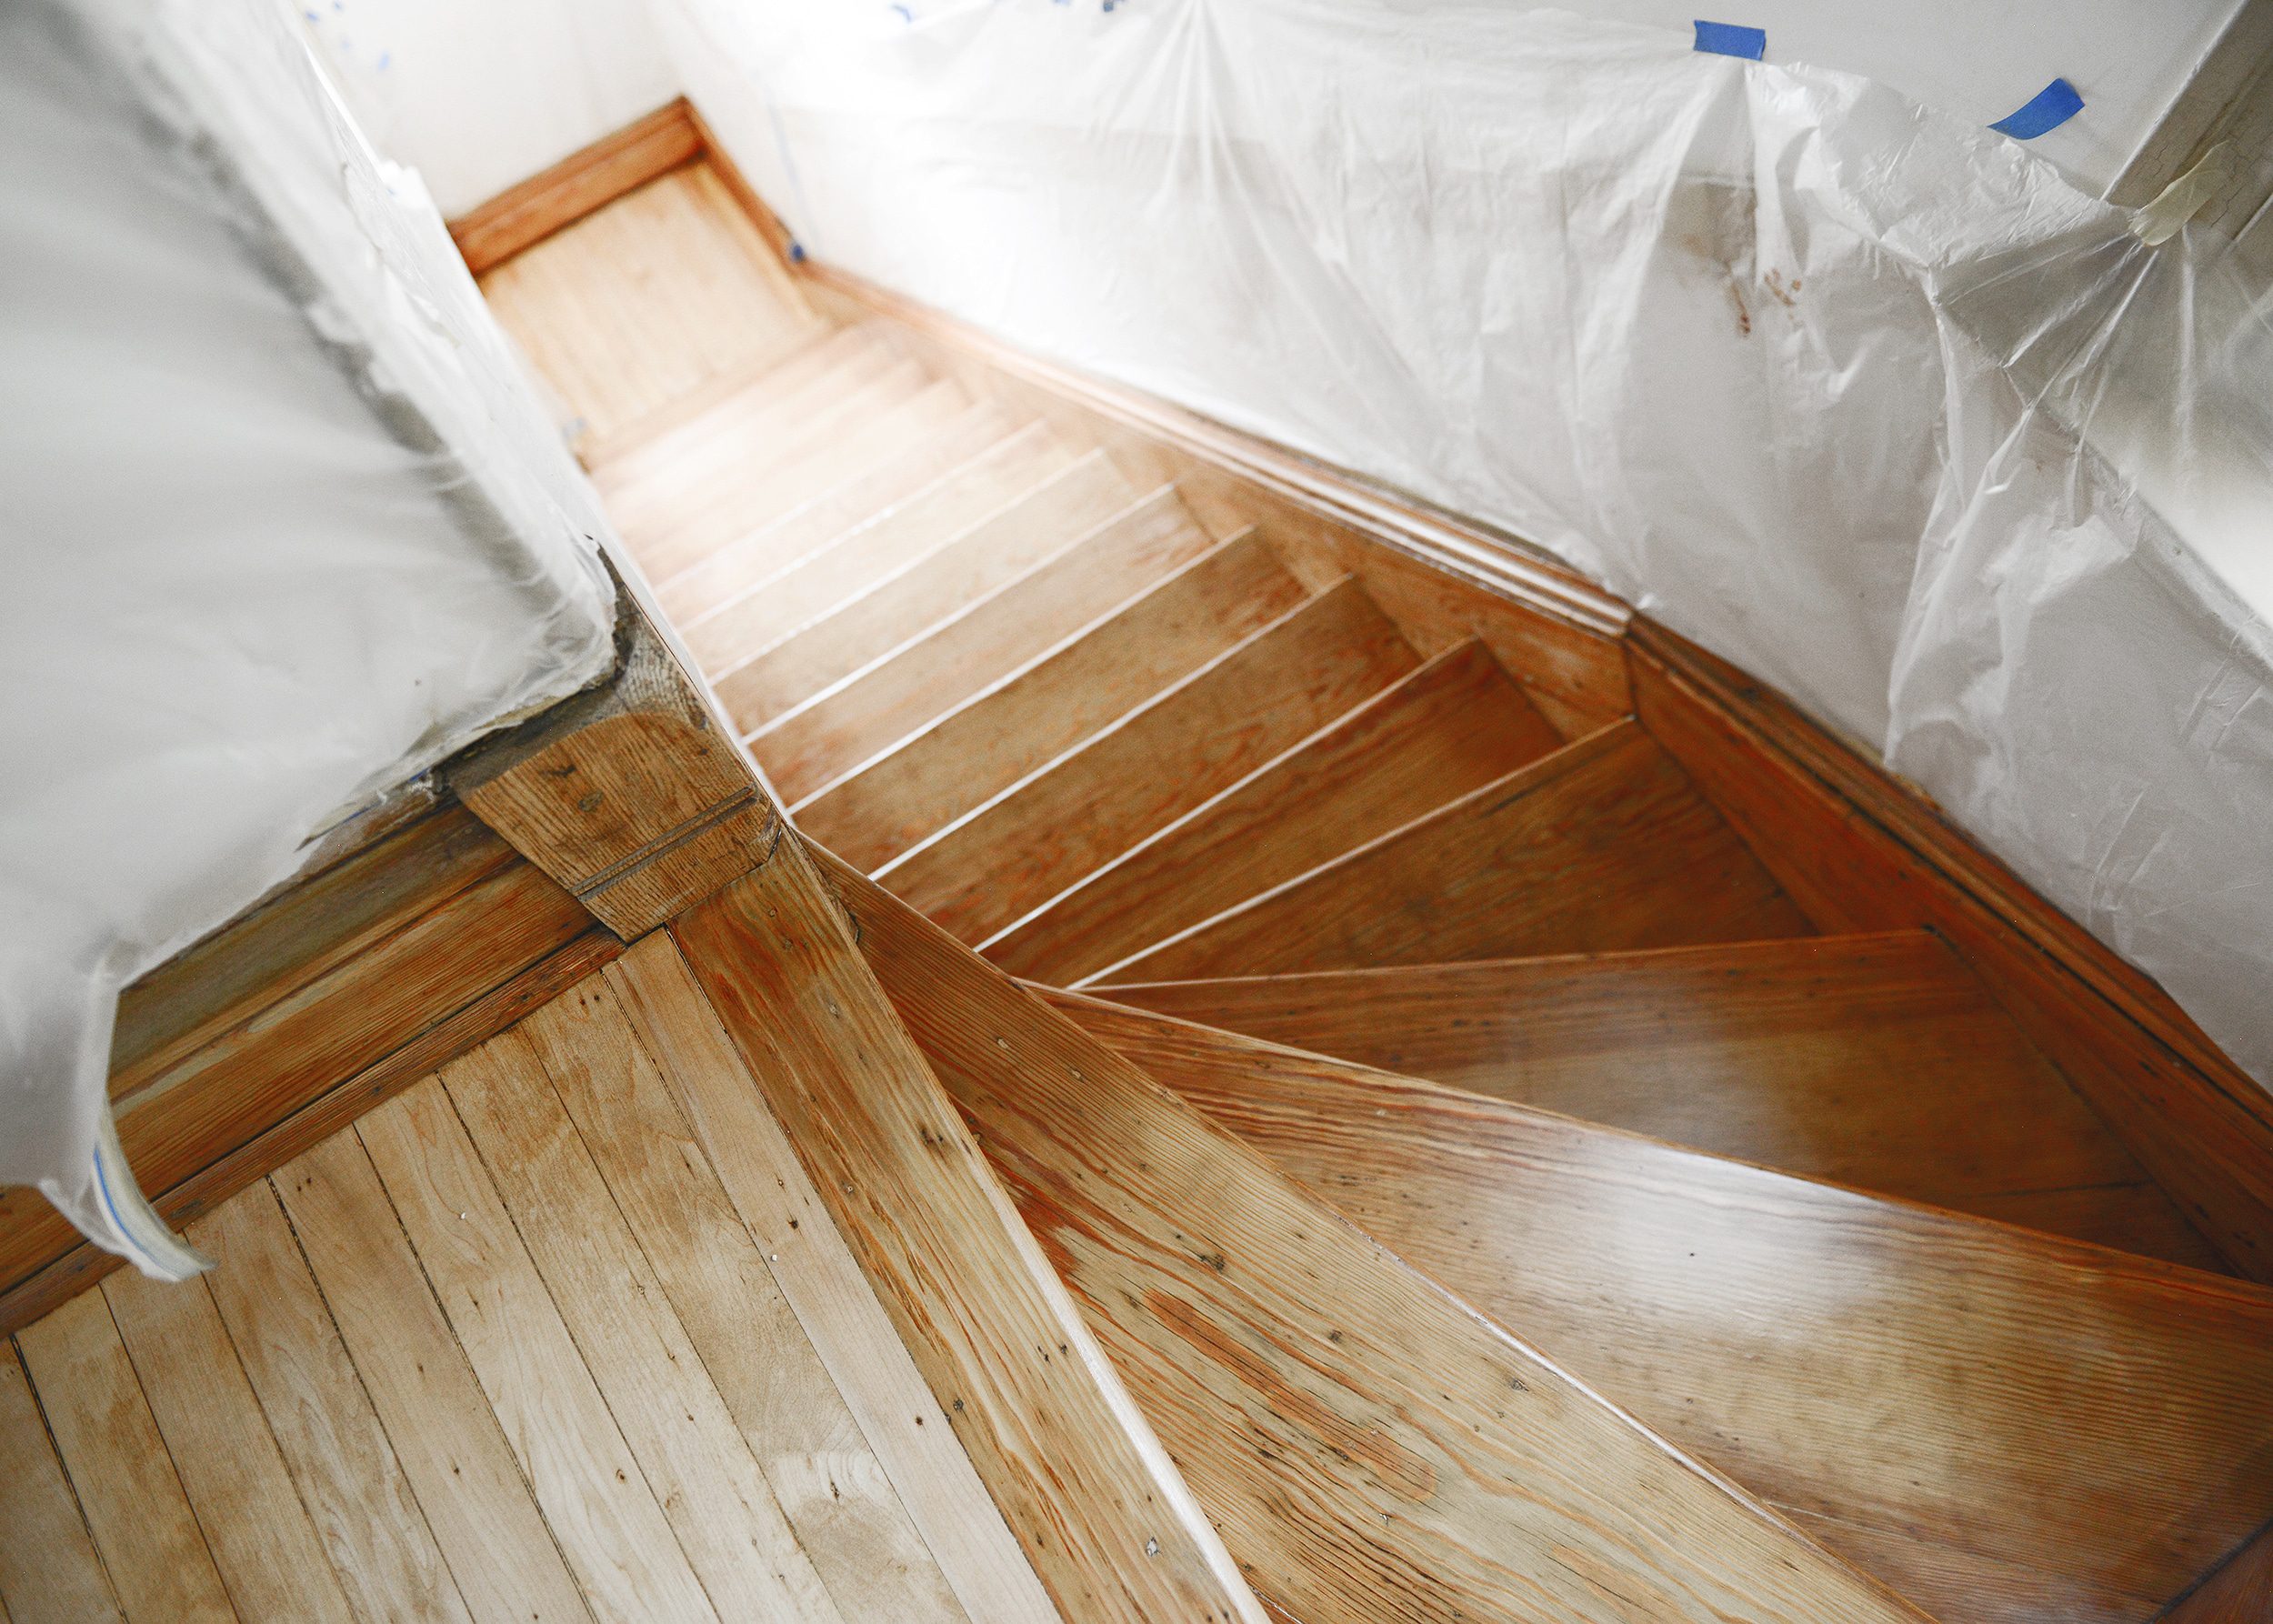
The final common area that received attention was the beautiful original staircase that leads up to Unit 2 from the shared front door. Luckily, this stunner was preserved throughout its life with rubber tread protectors that kept the original wood in excellent shape! The sanding process removed the dark red stain that had kept things looking dark and drab, and because these stairs are pine, we used the same 50% Weathered Oak stain and Bona Mega satin finish. It’s absolutely amazing how much lighter and brighter the staircase feels with the fresh new finish!
We slipped and slided in our socks, oohing and aahing at every turn. Araceli and her team knocked it out of the park, and we feel so grateful to have found someone who believed in our Two Flat as much as we did!
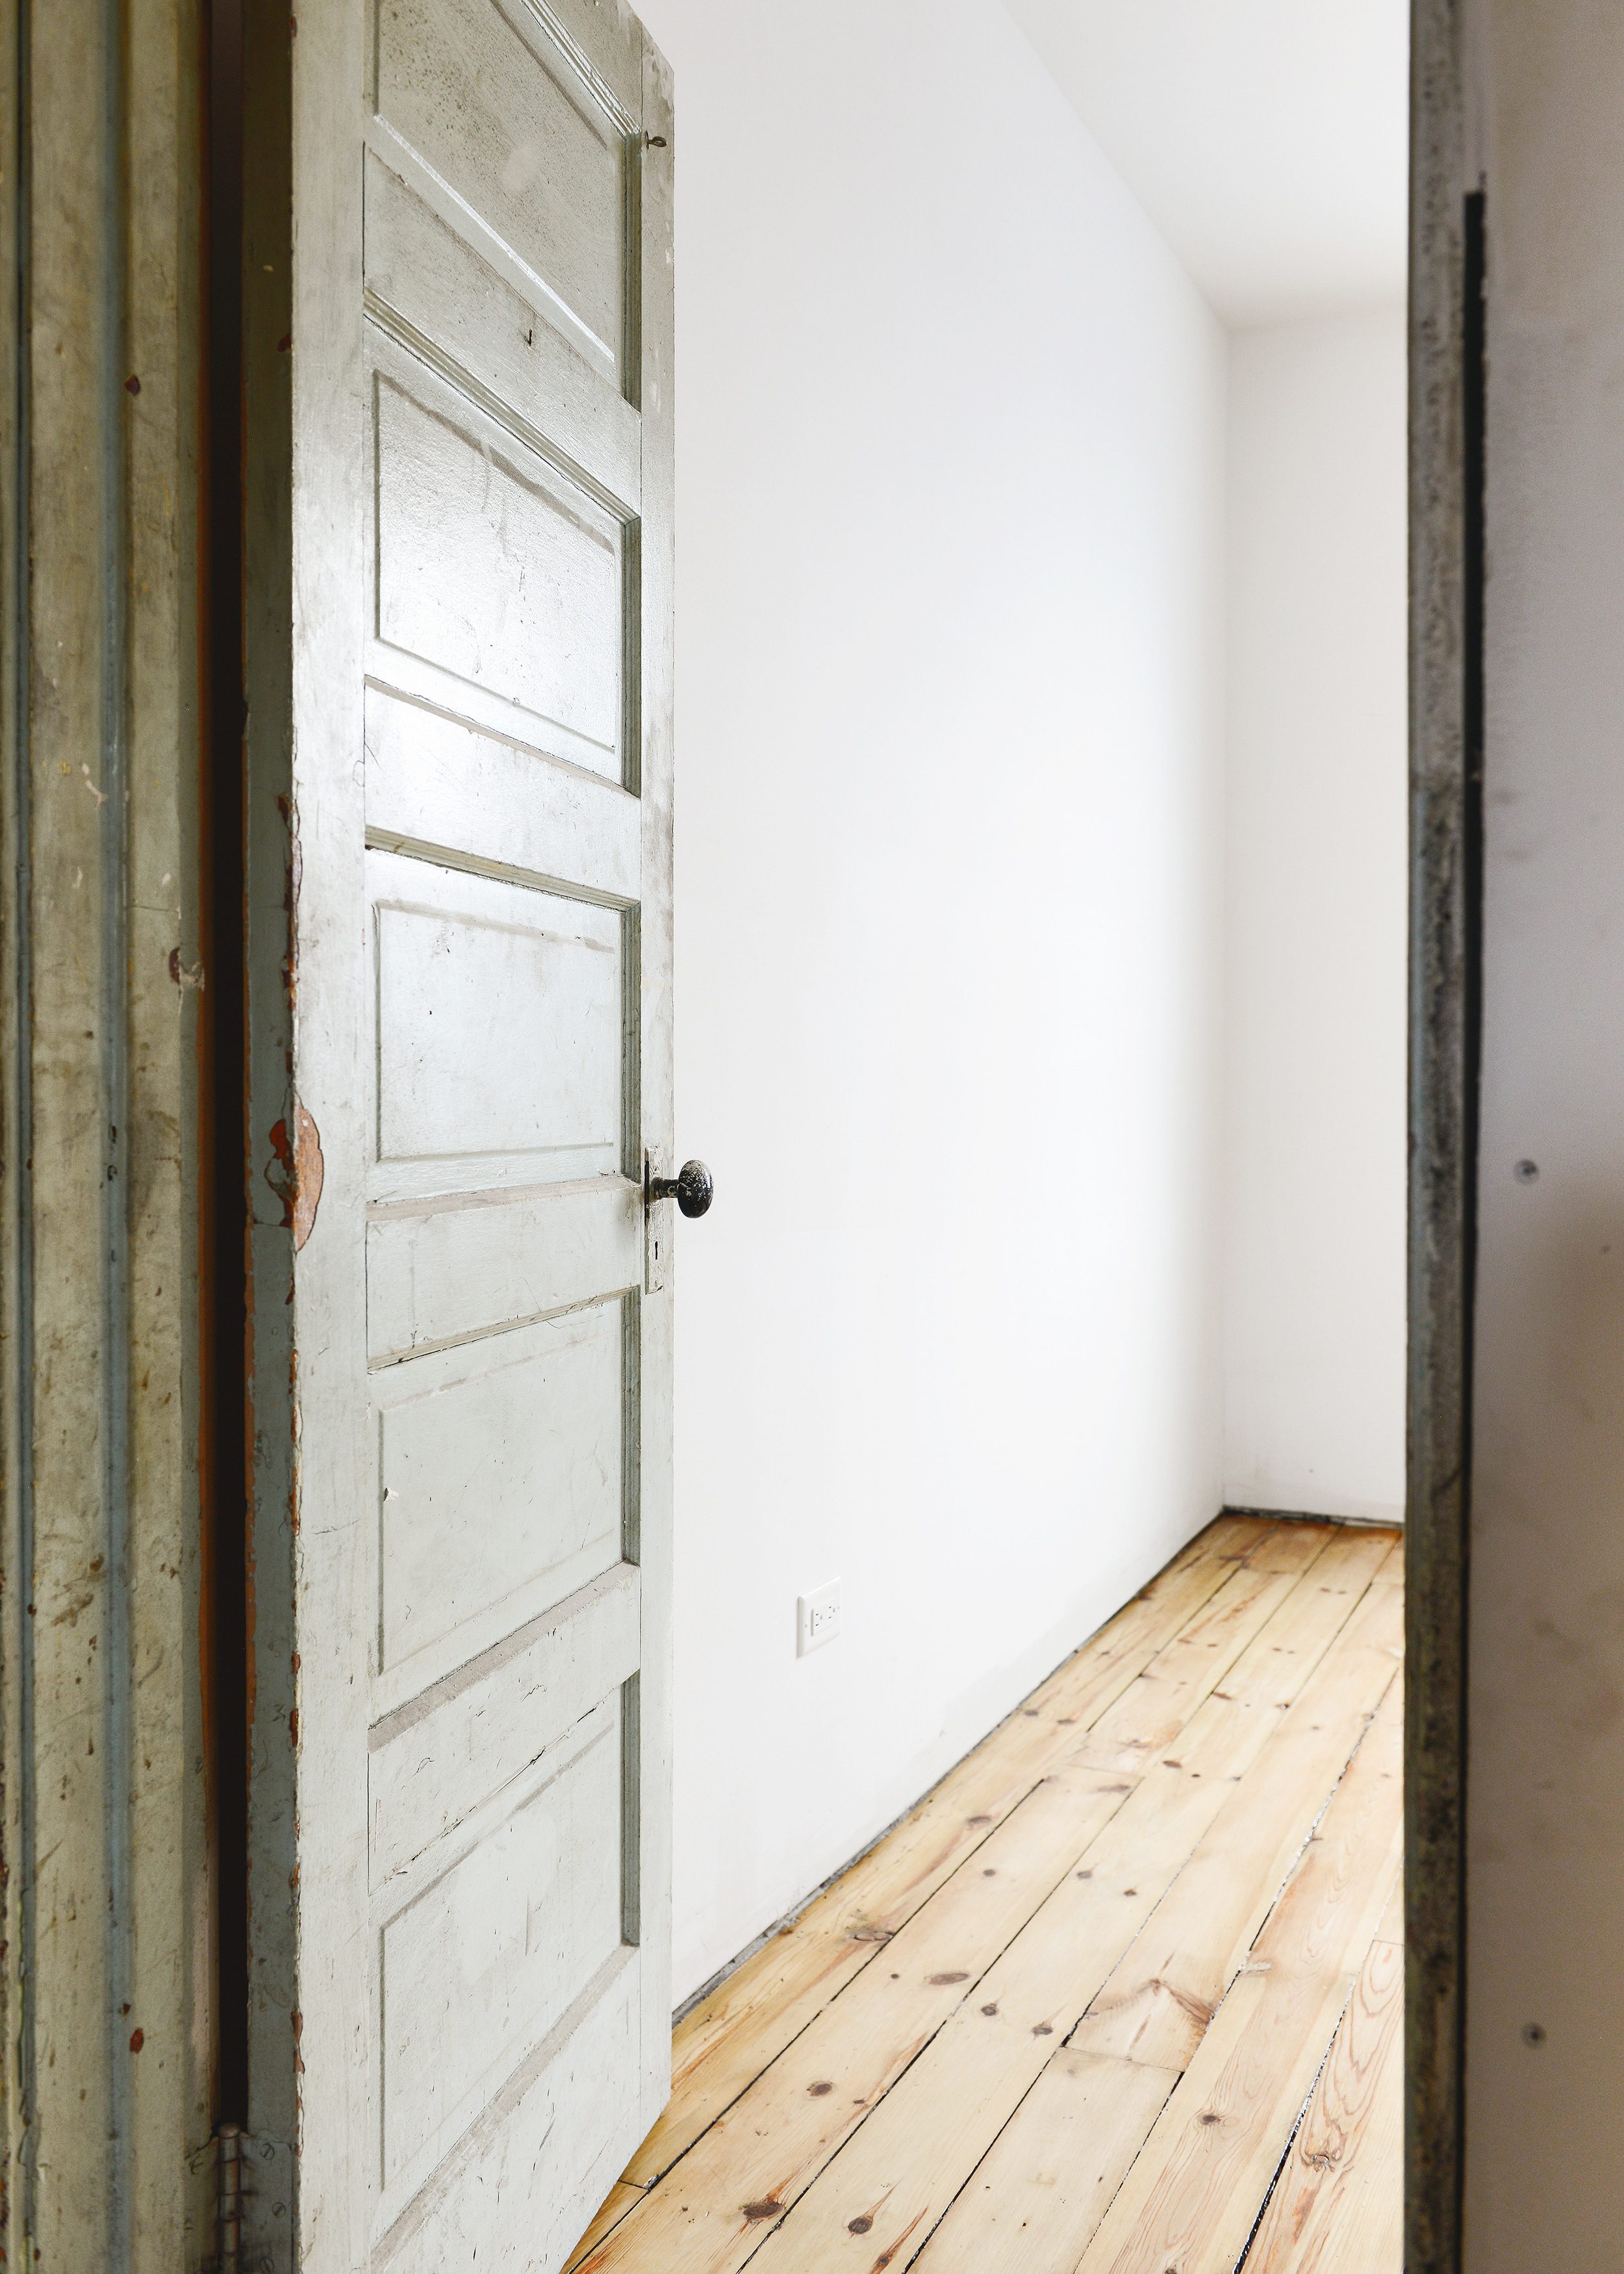
Now that the flooring is complete, it’s officially our turn to take over the project! We’ve begun initial work on window casings and trim and from here on out, it’ll be a balancing act between the projects that we can efficiently DIY and the projects that are better suited to our trusted contractors. This is where we’ll start to see big changes – kitchen installs, building out the bathrooms and choosing paint colors. Let the fun begin!


I have a 1920s home and it drives me bonkers when a contractor (or anyone) says that because something isn’t perfect we should toss it and put in new. I live the seams and patches and character you have there!
Why try to completely erase your home’s story? Old house charm ftw!
I was excited to see the patched wood around the original front bay window, that Kim alluded to in a prior post, when it was changed to the larger box bay. I find the story that these patches tell more interesting than a seamless contemporary trim job that erases all of the past.
These are the things that make us fall more and more in live with the Two Flat.
It all turned out beautifully! Reading between the lines with contractors takes careful listening skills. It looks like you found a winner! Progress>Perfection. :)
Absolutely.
It looks beautiful!
Absolutely stunning – cannot wait to see the next steps too!
So pretty. Thanks for the details. I’m getting ready to put down pine.
This post is a true GIFT. We just bought a home built in 1893 and are really optimistic about saving the original hardwood with some patchwork and refinishing. I’ve already contacted Peter’s Wood Refinishing for an estimate as they sound like the perfect Chicago company to work with on this project. Thanks for such a thorough and helpful post about your experience!
So happy to hear this!! Their team was wonderful. We feel so lucky to have found them!
Peter’s Wood Refinishing did our stairwell! Isn’t Araceli wonderful?! So knowledgeable and helpful. Your floors look great.
Oh wow!!! They are truly amazing.
So good! Really beautiful.
These… floors… are… beautiful! It’s so great you were able to bring them back to life :)
We feel so lucky they were there. It feels like a thing that only happens on television shows – not us!????
????
Well done everybody, it’s beautiful.
Three cheers for Peter’s!
Truly magical! It sets the tone (color, too) for the rest of the remodel. Thanks for sharing all the details.
Yes, that’s a great point! Knowing the tone of our floors will help solidify paint decisions.
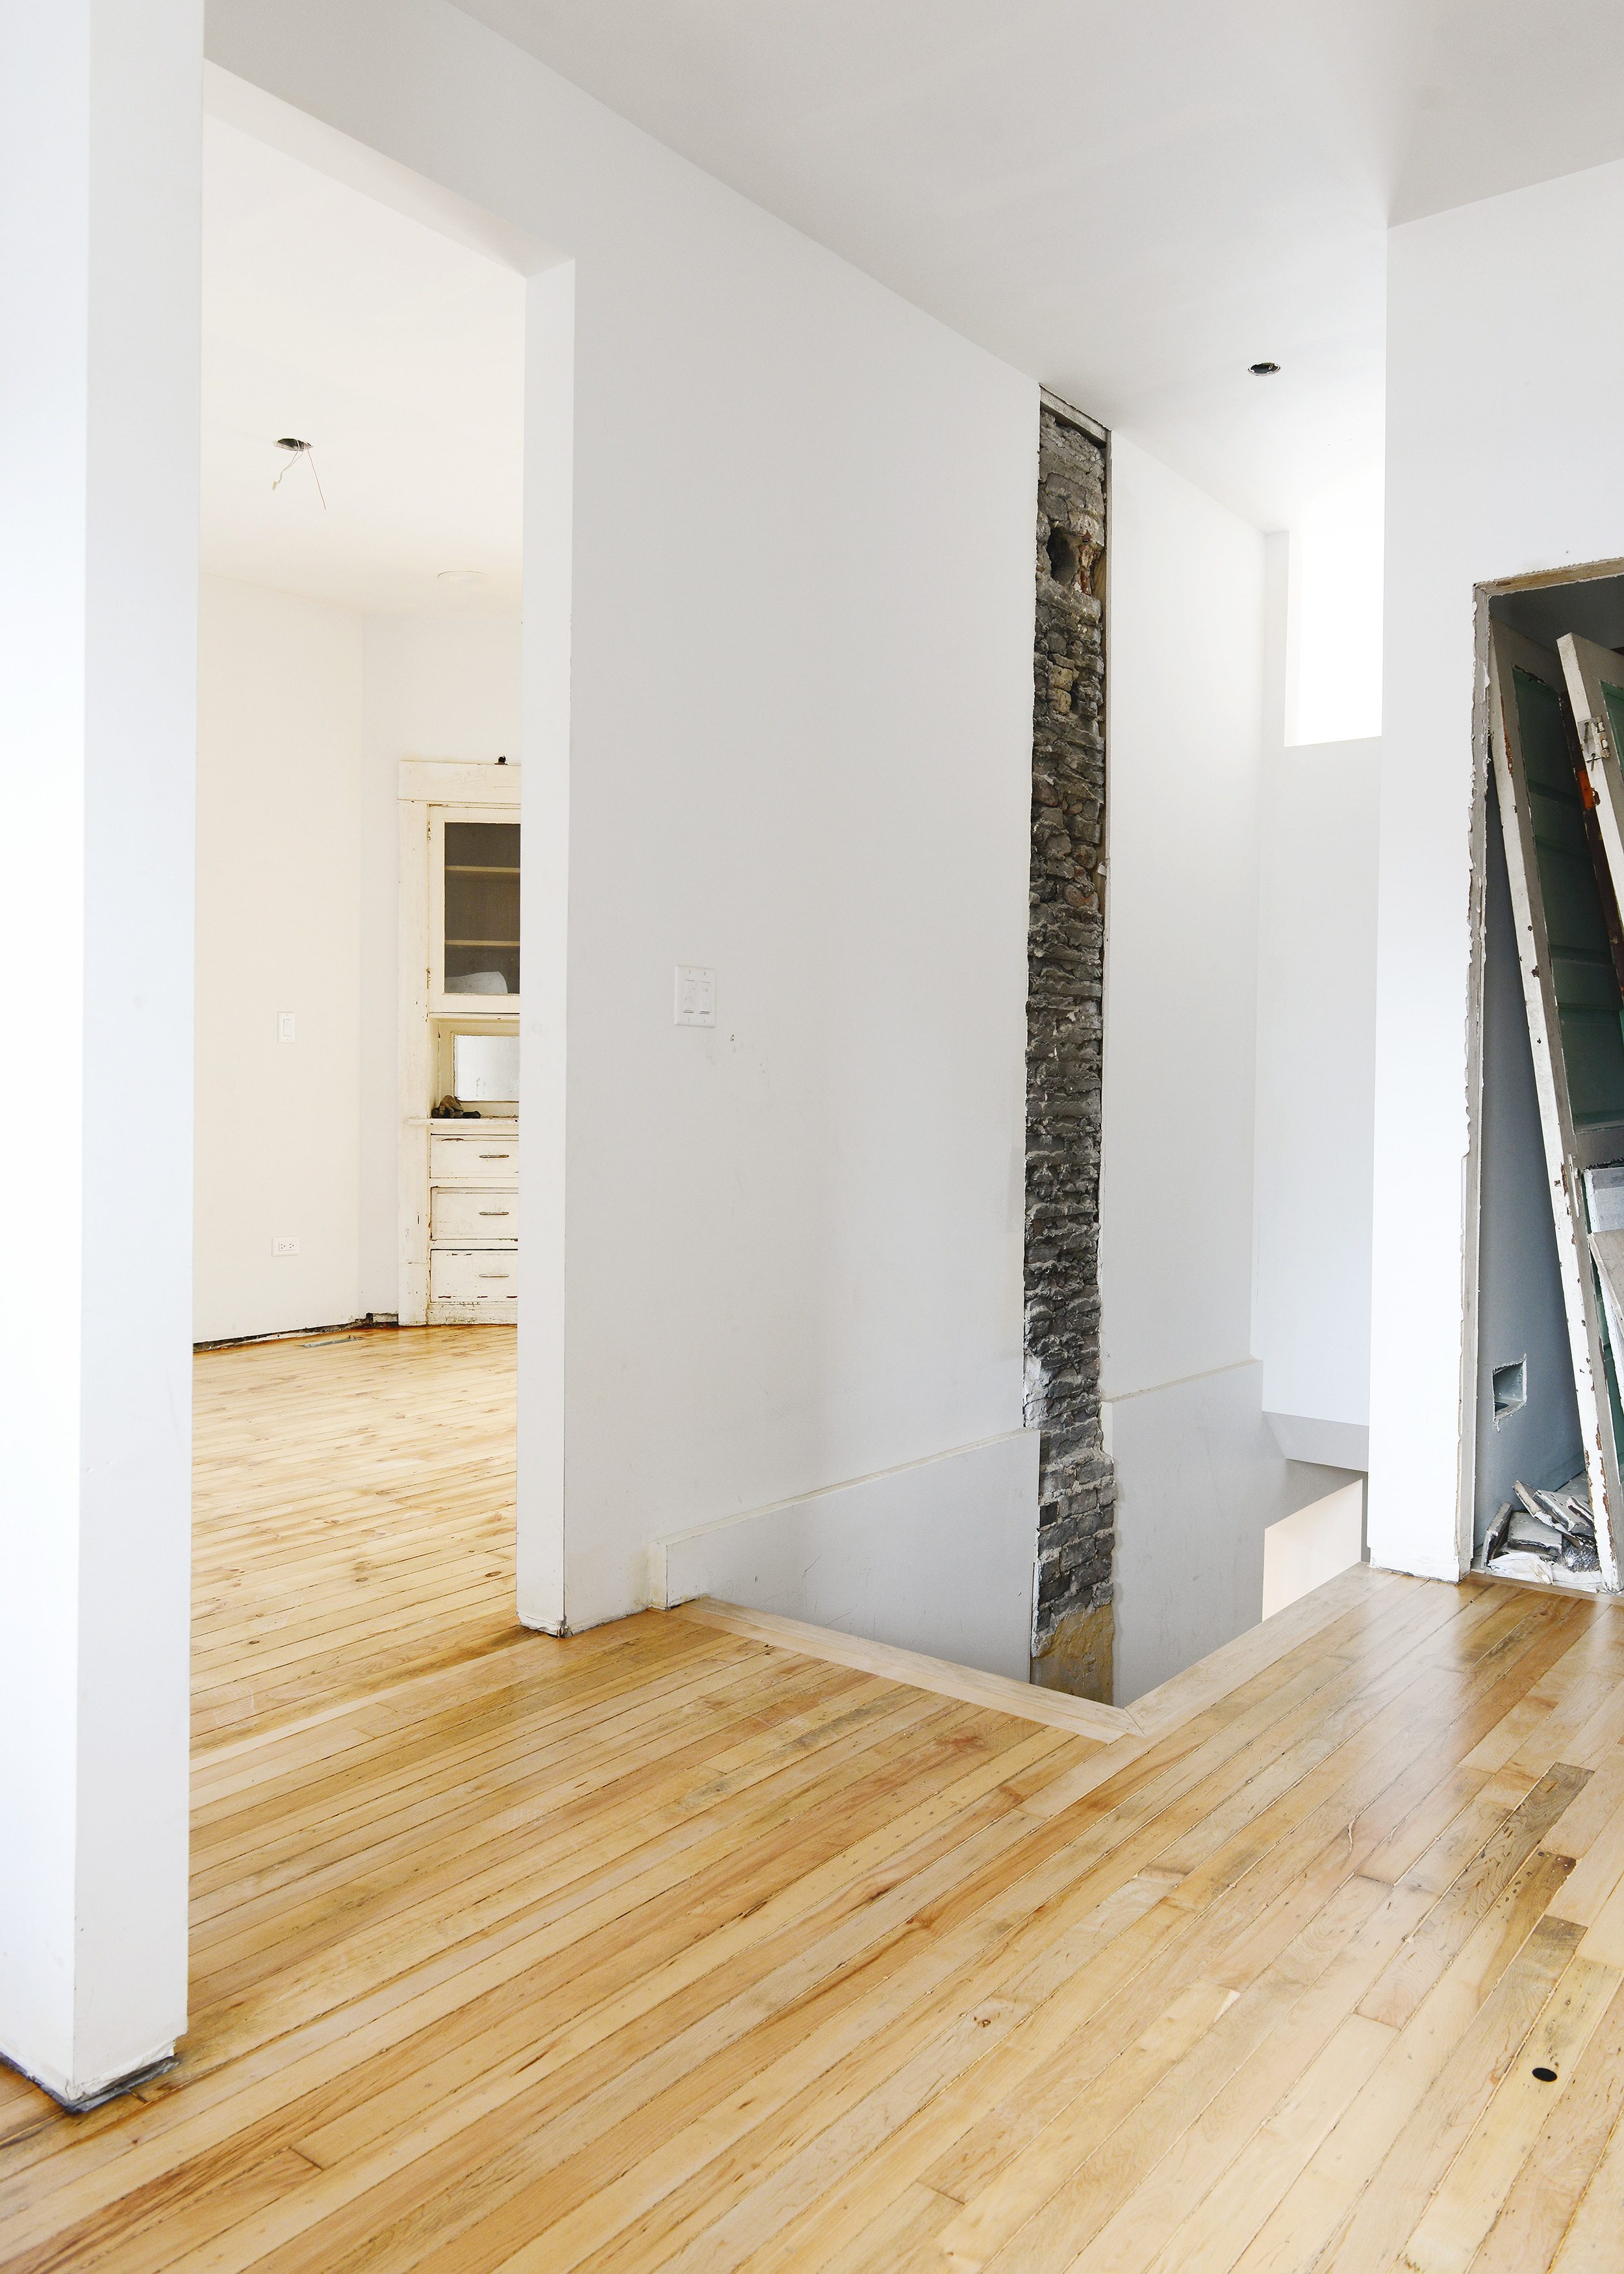
This is amazing, I so enjoy your sharing the process! I’m kinda curious about the odd opening in the top of the wall, as seen in the two first pictures in the Project Budget and Timeline section of the post?
I still need to address that opening with you all! I’ve been getting that question a lot. Initially, it was an opening where we would be installing a transom window, simply to allow light to pass through from the front room to the kitchen. But now that the opening is there, we haven’t 100% decided if we still want to do a transom window, or maaaaaybe hang stained glass. We’re letting it breathe for now, and we’ll make a decision in the coming weeks. :)
Ooh the possibilities! Thanks for taking the (precious) time to answer!
Great article!! I recently sanded and refinished fur flooring in a 85 year old home. My good friend Ryan is a pro with this work helped me 5 hours to get familiar with tools and techniques. It is very hard to find a motived person to do this hard and precise work
We are about to refinish our old growth fir flooring in our 1913 home!!! What did you end up using? We really want to do a water based /natural finish rather than polyurethane as told ???? but don’t want the old floors to fall apart!
Just completed a similar project on our 105 year old floors and they turned out amazing. Original flooring forever!
Did you finish with a water based sealant as well? Thanks!
These are such beautiful floors! I love the way they brighten up this cozy flat! I had similar floors installed in my previous home to try to make it more of a modern cottage style and I absolutely loved them! We got them cleaned by a professional <a href=”https://www.chemdryoflongbeach.com/wood-floor-cleaning/”>wood floor cleaner</a> in my area once a year and it really helped them hold up well. Can’t wait to see more progress :)
We are in the process of buying a three-flat in Logan Square and my first thought after our offer was accepted this weekend was “gotta go see who Kim & Scott recommend!” Needless to say, I’m contacting Peters Wood Refinishing immediately!
I am so excited for you!! Let Araceli know we sent you!
We are in the process of buying a vintage three-flat in Logan Square and my second thought when our offer was accepted was “gotta go check out who Kim & Scott recommend”. (My first thought was “what are we thinking…?”) So here I am reaching out to Peter’s Wood Refinishing! Thank you!
Excellent! Please be sure to tell Araceli we sent you.