

A-hem, first, an announcement: Chicago friends! We hope to see you tomorrow night at the West Elm store opening party in Skokie! Let’s eat desserts, drink Prosecco and hang out. We’ll be there from 6-8 pm wearing our sparkly shoes (well, I might be on my own with that one). See the details and RSVP right here!
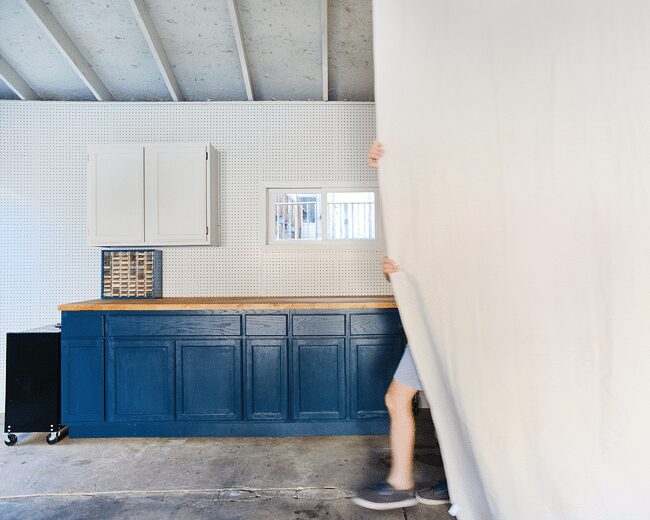
Yes, we’re totally the people that put curtains in their garage, and I realize how silly that must sound! To be fair, one) they’re inexpensive drop cloths and two) our projects get really, really messy. This’ll help. We’ll get back to the curtain in a minute, because there’s so much else that we’ve been knocking off of our garage to do list!
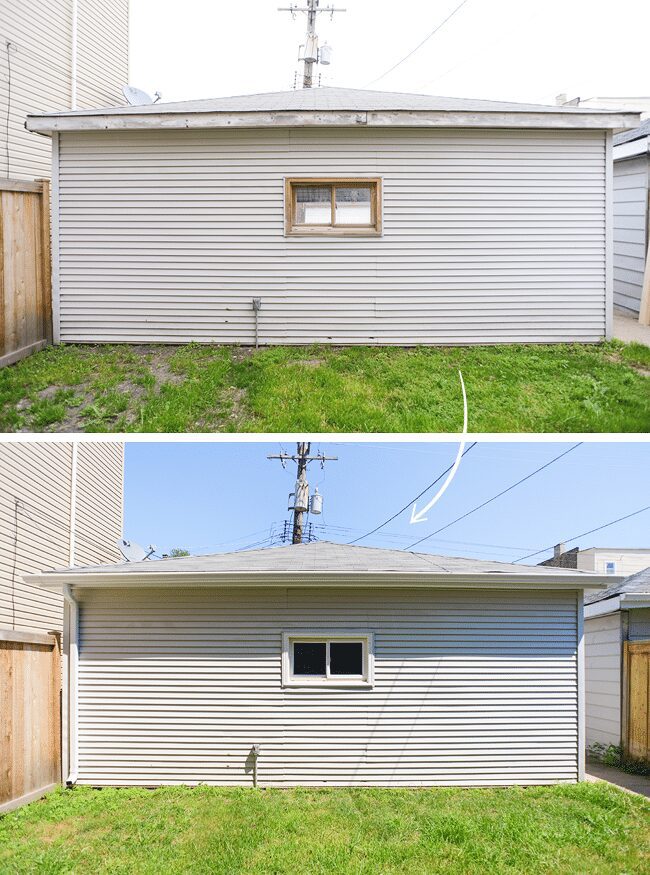
We painted trim. Such a small task, but what a world of difference. Add that to the new roof and proper gutters, and the exterior of our garage looks a lot better! (We don’t love the siding, but at least it’s inoffensive.) The photos below were taken from the back door of our kitchen, so getting this view polished up was important to us – especially once our glass sliders are in place. The yard and back patio, on the other hand, need help; next year!
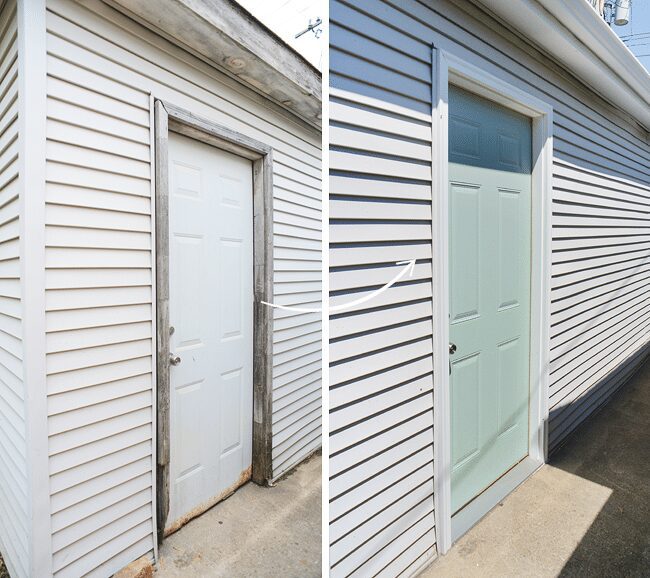
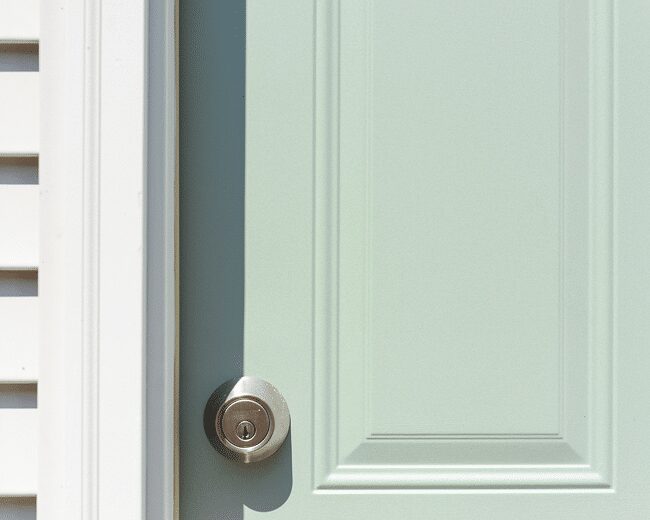
We installed a door and painted it. Look at us, making strides! We now have a proper door threshold and jamb. It’s all new, as the old door wasn’t salvageable. For the color, I used an oops! can of Benjamin Moore’s Swept Away paint leftover from our pocket door. When the salesman first mixed our quart, it was accidentally done at a gallon’s strength. In turn, this color is a bit deeper and more saturated than our pocket door, but it works great out here! We painted both sides, giving the exterior a minty splash, too. The trim was painted using Clark+Kensington’s Designer White, color matched to Valspar Aspire leftover from our front porch railings. (The question begging to be asked: Do we like to make mixing paint difficult, or do we like to make it difficult?)
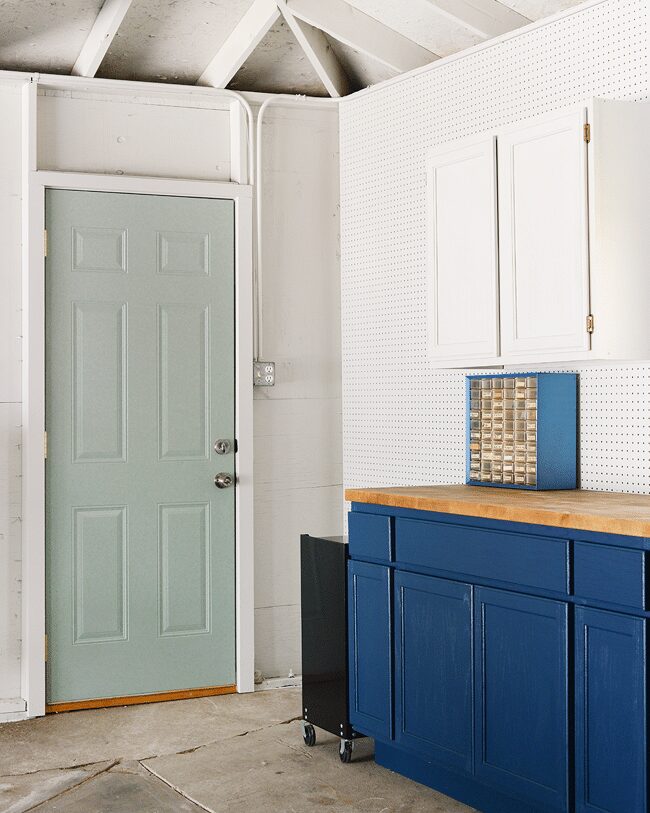
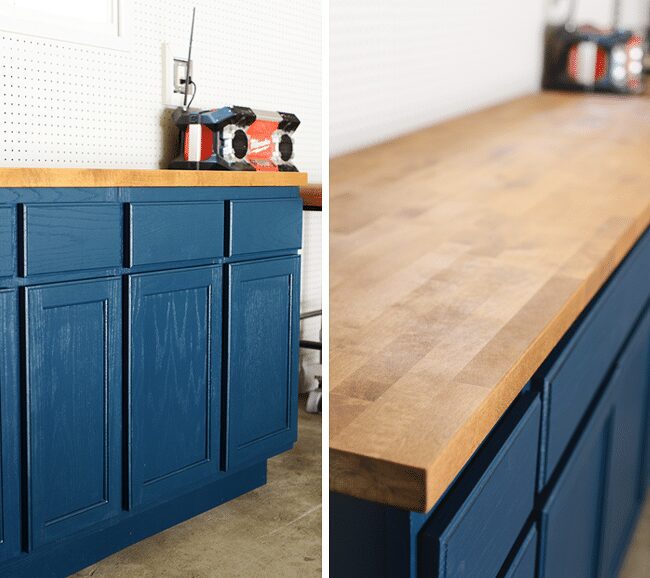
We finished the cabinet kick plate, baseboards and butcher block top. We tossed around the idea of a hot pink kick plate, but in the end, I (yes, I) chickened out and convinced Scott we should stick to navy. It’s nice and cohesive, and I’m happy I’m such a chicken! The “baseboards” and kick plate were made from our piles of scrap wood, and it helped to streamline our whole set-up. To complete the cabinets, Scott trimmed the extra-long butcher block, and I darkened it up with oil.
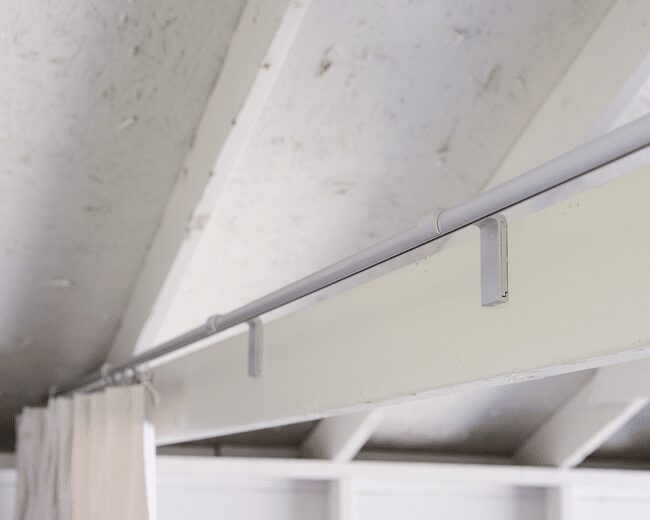
And, oh yeah, we hung curtains. We take on a lot of the dirty work in the garage, using the messiest tools we have on hand – the table saw, orbital sander and spray paint. Even in the cold Chicago winter, we bundle up, stuff hand warmers in our gloves, and we tough it out. That said – especially in the winter! – we easily slip into the Comfort Zone. We leave those messes behind, turn a blind eye and say, we’ll clean it up later! To prevent this, we hung curtains to close off the cabinets, open shelving and tool area to keep them clean. We purchased inexpensive drop cloths and hung them from a 2×4 support beam using Ikea’s KVARTAL track system. Of course this won’t protect all dust (we’ll still have lawn equipment on Side Messy), but it’s a good start. Also, note to self: I promise to not get comfortable.
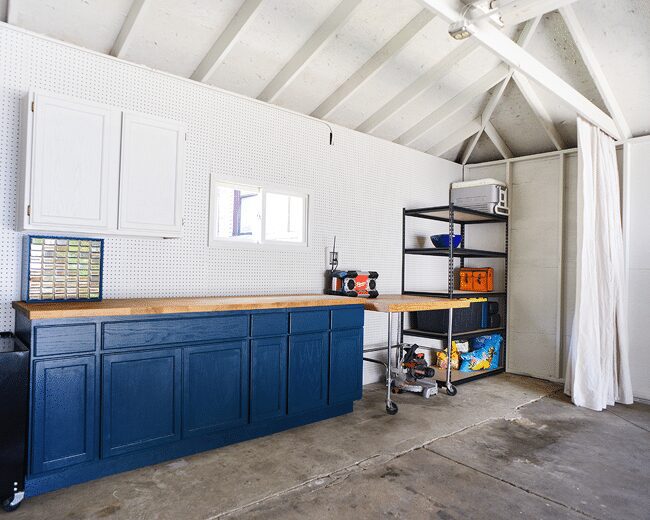

All that’s left is putting the rest of our storage systems in place! Hooks for tools, tubs for containing and getting our bikes up off the floor are on the agenda. The garage door – which is missing a few parts and needs a good cleaning – is a wish list item, so we will see.
• Fix the leaky roof
• Lumber storage
• Bike Storage – got it!
• Open metal shelving for bins + occasional use items
• Wall treatment for cabinet wall (close up exposed studs)
• Paint everything – no more bare plywood!
• Reconfigure and paint cabinets
• Install a countertop
• Epoxy/paint the unlevel/cracked garage floor – not this year, womp.
• Cabinet kick plate and finish baseboards
• Wall of hooks/hanging storage
• New side door
• Paint exterior trim•
Curtains!
• Re-caulk exterior siding
• Repair/new garage door
• Replace lighting with LEDs
Garage, we never thought you’d be finished before the kitchen, but hey, you can’t plan everything. (Another note to self: Kim, you really can’t plan everything.)


Wow – you two are amazing! These curtains are above and beyond anything I’ve seen for a garage! They fit the space so well (did you hem them to barely touch the floor?) and are so functional. I am truly impressed. The garage is looking great!
Thanks, Kari! We took the height of the panels into account when we were hanging the track. These panels were just under 9′ tall, and we did fold them at the top to make them shorter by about 2″. No hemming required!
What a great idea! Your garage workshop is looking mighty fine. I admit to being just a smidgen…okay, a lot…jealous.
LOVE that mint green door! Perfect color. Also, I really like the curtain idea. I may have to steal that!
Crazy how much difference paining some window trim/door can make! Totally freshened up the space.
Have a blast tomorrow night!
Josh | The Kentucky Gent
http://thekentuckygent.com
I’m confused… what is the purpose of the curtains? Is it to prevent the messy projects from getting onto your cars?
We don’t park our cars in the garage yet (someday maybe, but street parking is pretty easy for now!), so it’s to keep all the dust and debris we kick up (which is A LOT) from getting all over the open shelving, workbench, tools in the work area, etc. Ideally, we’d pull them closed and work on one half of the curtain, suck up all the wood shavings, etc, and not have to worry about all our storage or things we access frequently accumulating a ton of saw dust!
Love the perfect matched color. The curtain is so lovely! thanks for the post
Love the curtain! We have been wanting to do a similar project in our basement for awhile now. If you are willing to share, how much did it cost?
Love your blog! Great inspiration.
Thanks, Hilary! The track spans almost 20′ wide, so we bought 4 tracks and put them together, plus the accessories. At that length, I want to estimate that it was somewhere around $50 for the entire track, plus the cost of the drop cloths (about $18/ea, and we bought 2). We’re super happy with the tracks! We had to fuss with them where they connect in a few places, but once we got it all figured out, the curtains move nice and smooth.
How are the drop cloths attached to the track system?
Small clips :)
Can you be more specific about the kind of clips? Are they from IKEA as well? I would love to do this in my garage! :)
I been searching some tutorial videos to learn how to fix windows, doors… I am so glad I found your video.
Thank you for sharing and easy to follow.