

Wow! It feels like we’re thisclose to finishing our months-long kitchen renovation. Today we’re sharing five huge updates that have us using the kitchen to almost full functionality.
Follow along with this renovation from the beginning: why we’re renovating the kitchen | a happy surprise | choosing cabinetry | sharing the new kitchen layout | choosing backsplash tile | choosing an eat-in kitchen table (vs. an island) | the mood board | the kitchen is GONE and how we’re making it work | maple flooring is in! | appliance first impressions | installing cabinets onto unlevel floors | how to install drawer fronts on inset cabinetry | how to buy countertops
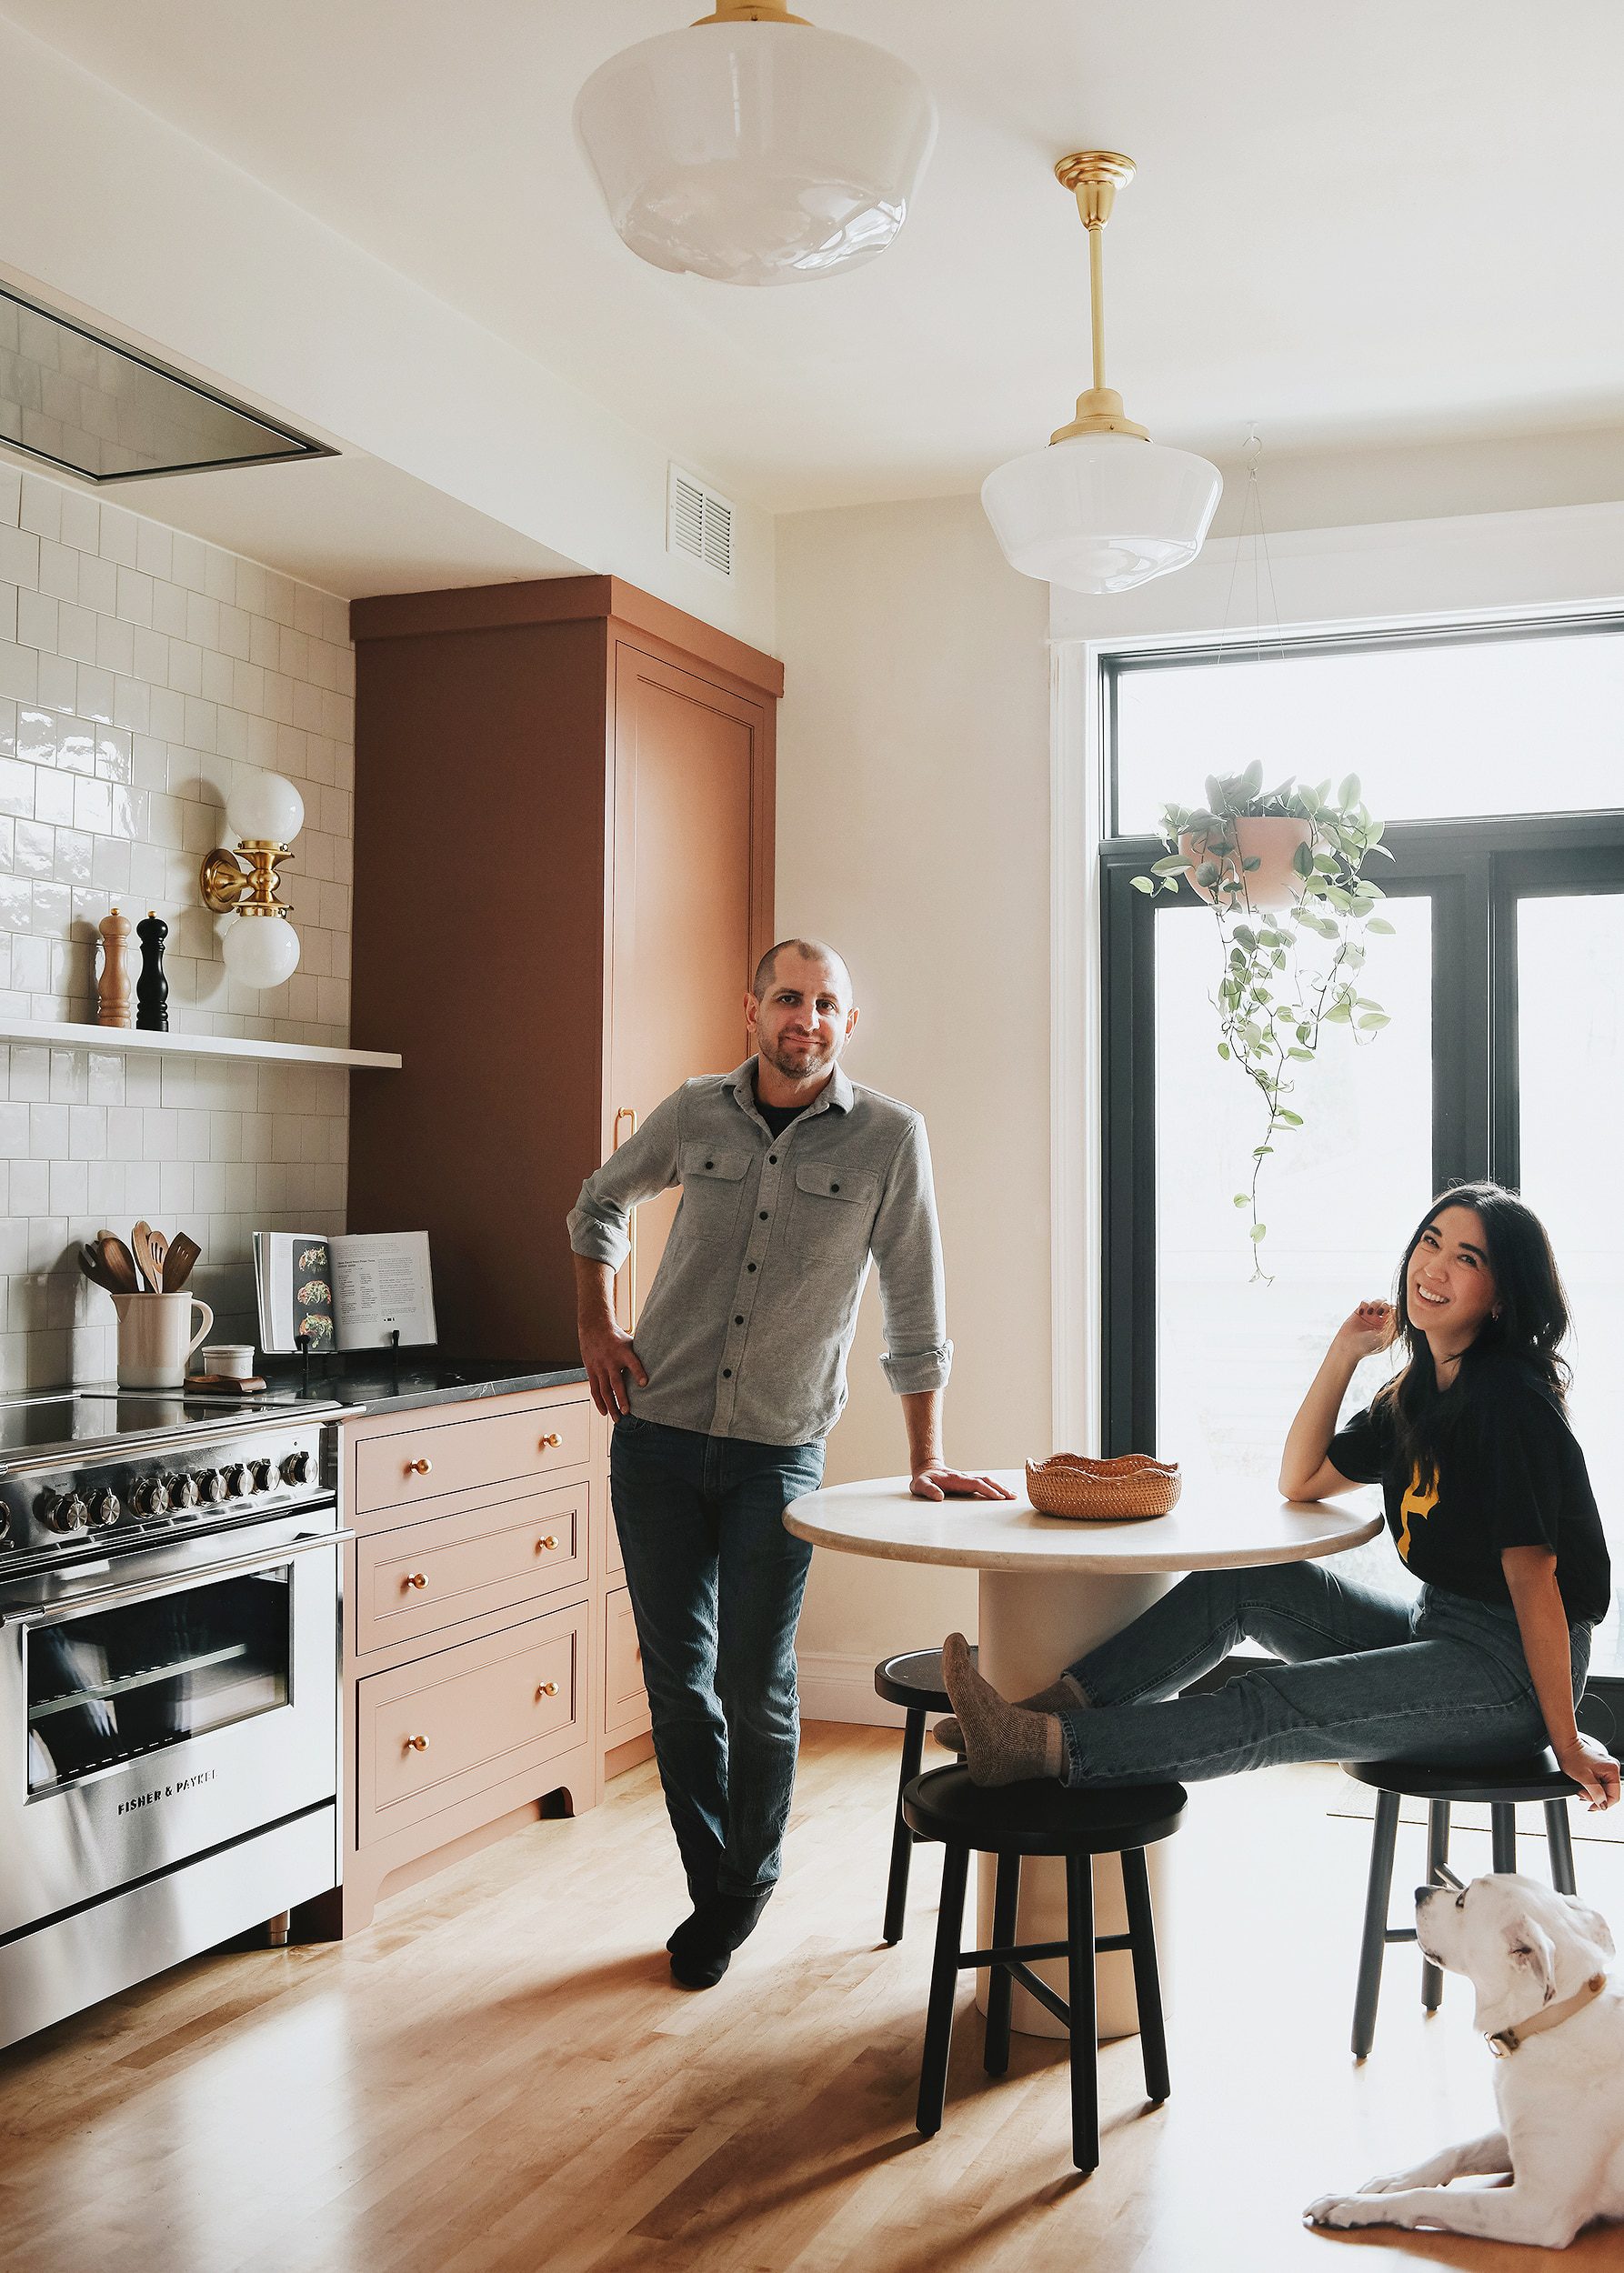
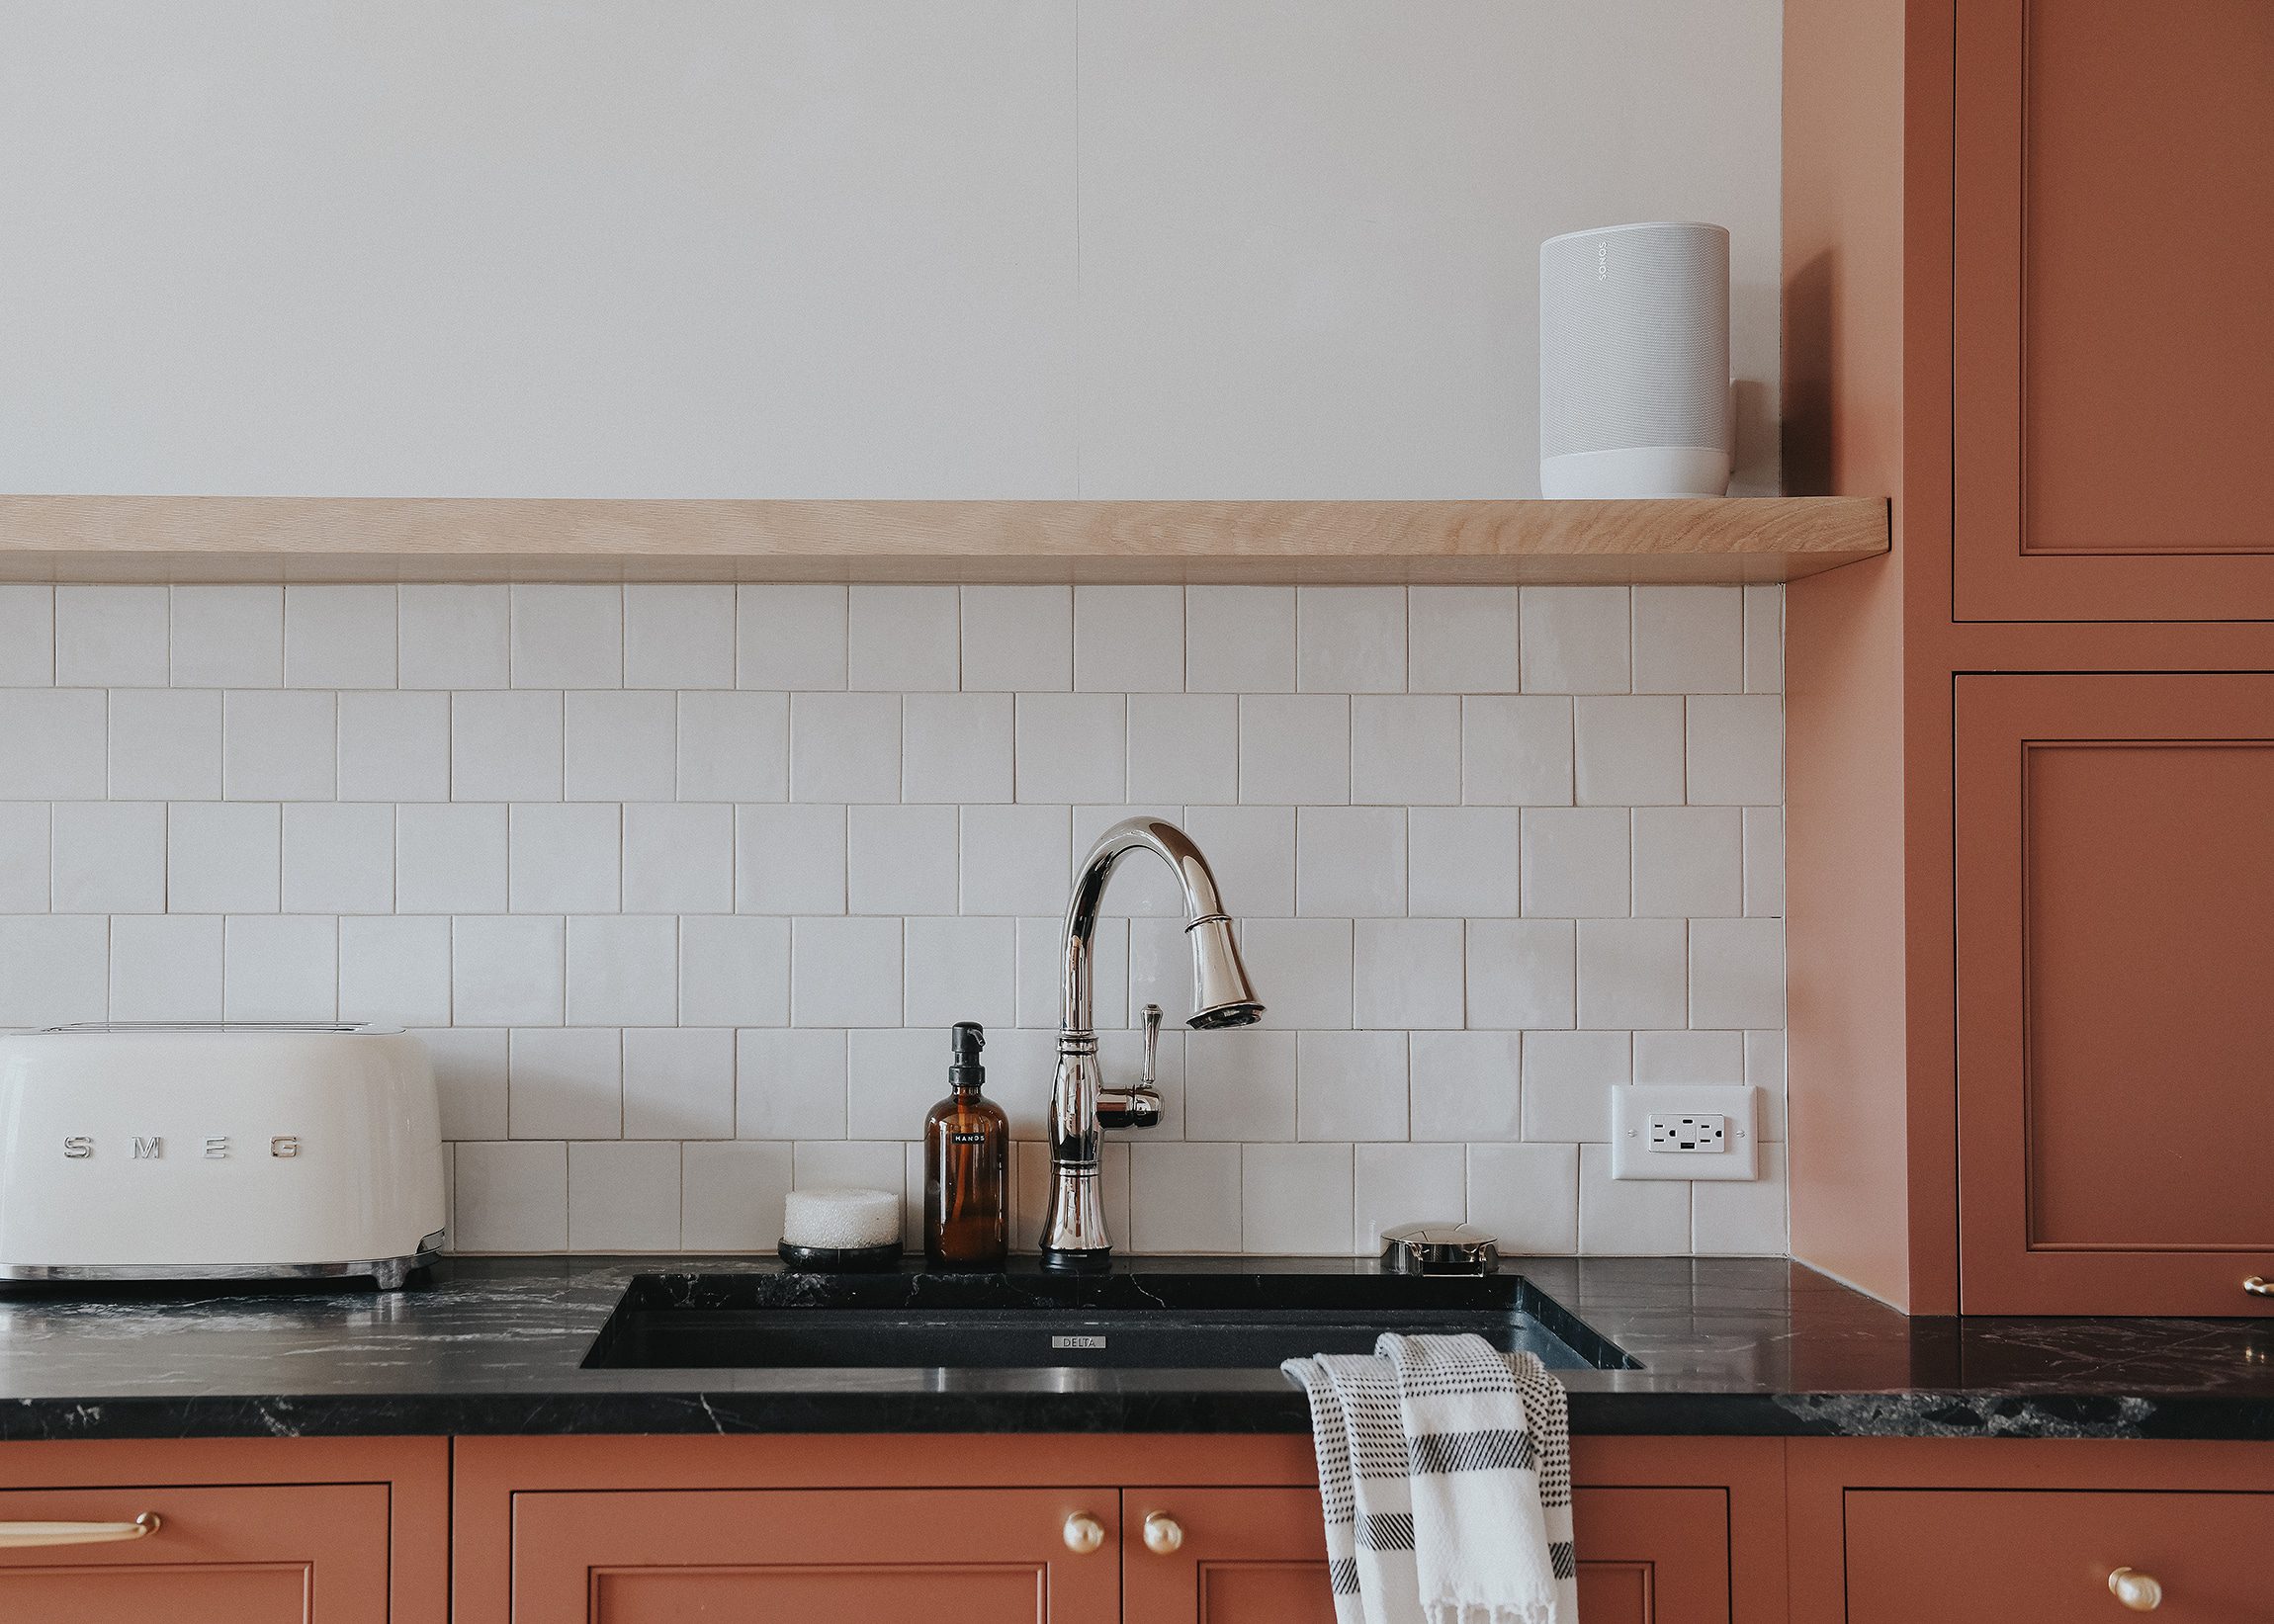
1| Cabinets + Appliance Fronts Are (Almost) Complete
All of our cabinets are installed and functioning perfectly! And with just one exception, the appliance panels are also complete. See, our refrigerator door panel was *ahem* damaged when I failed to double check the length of the provided mounting screws and poked all six of them directly through the large cabinet-style door.
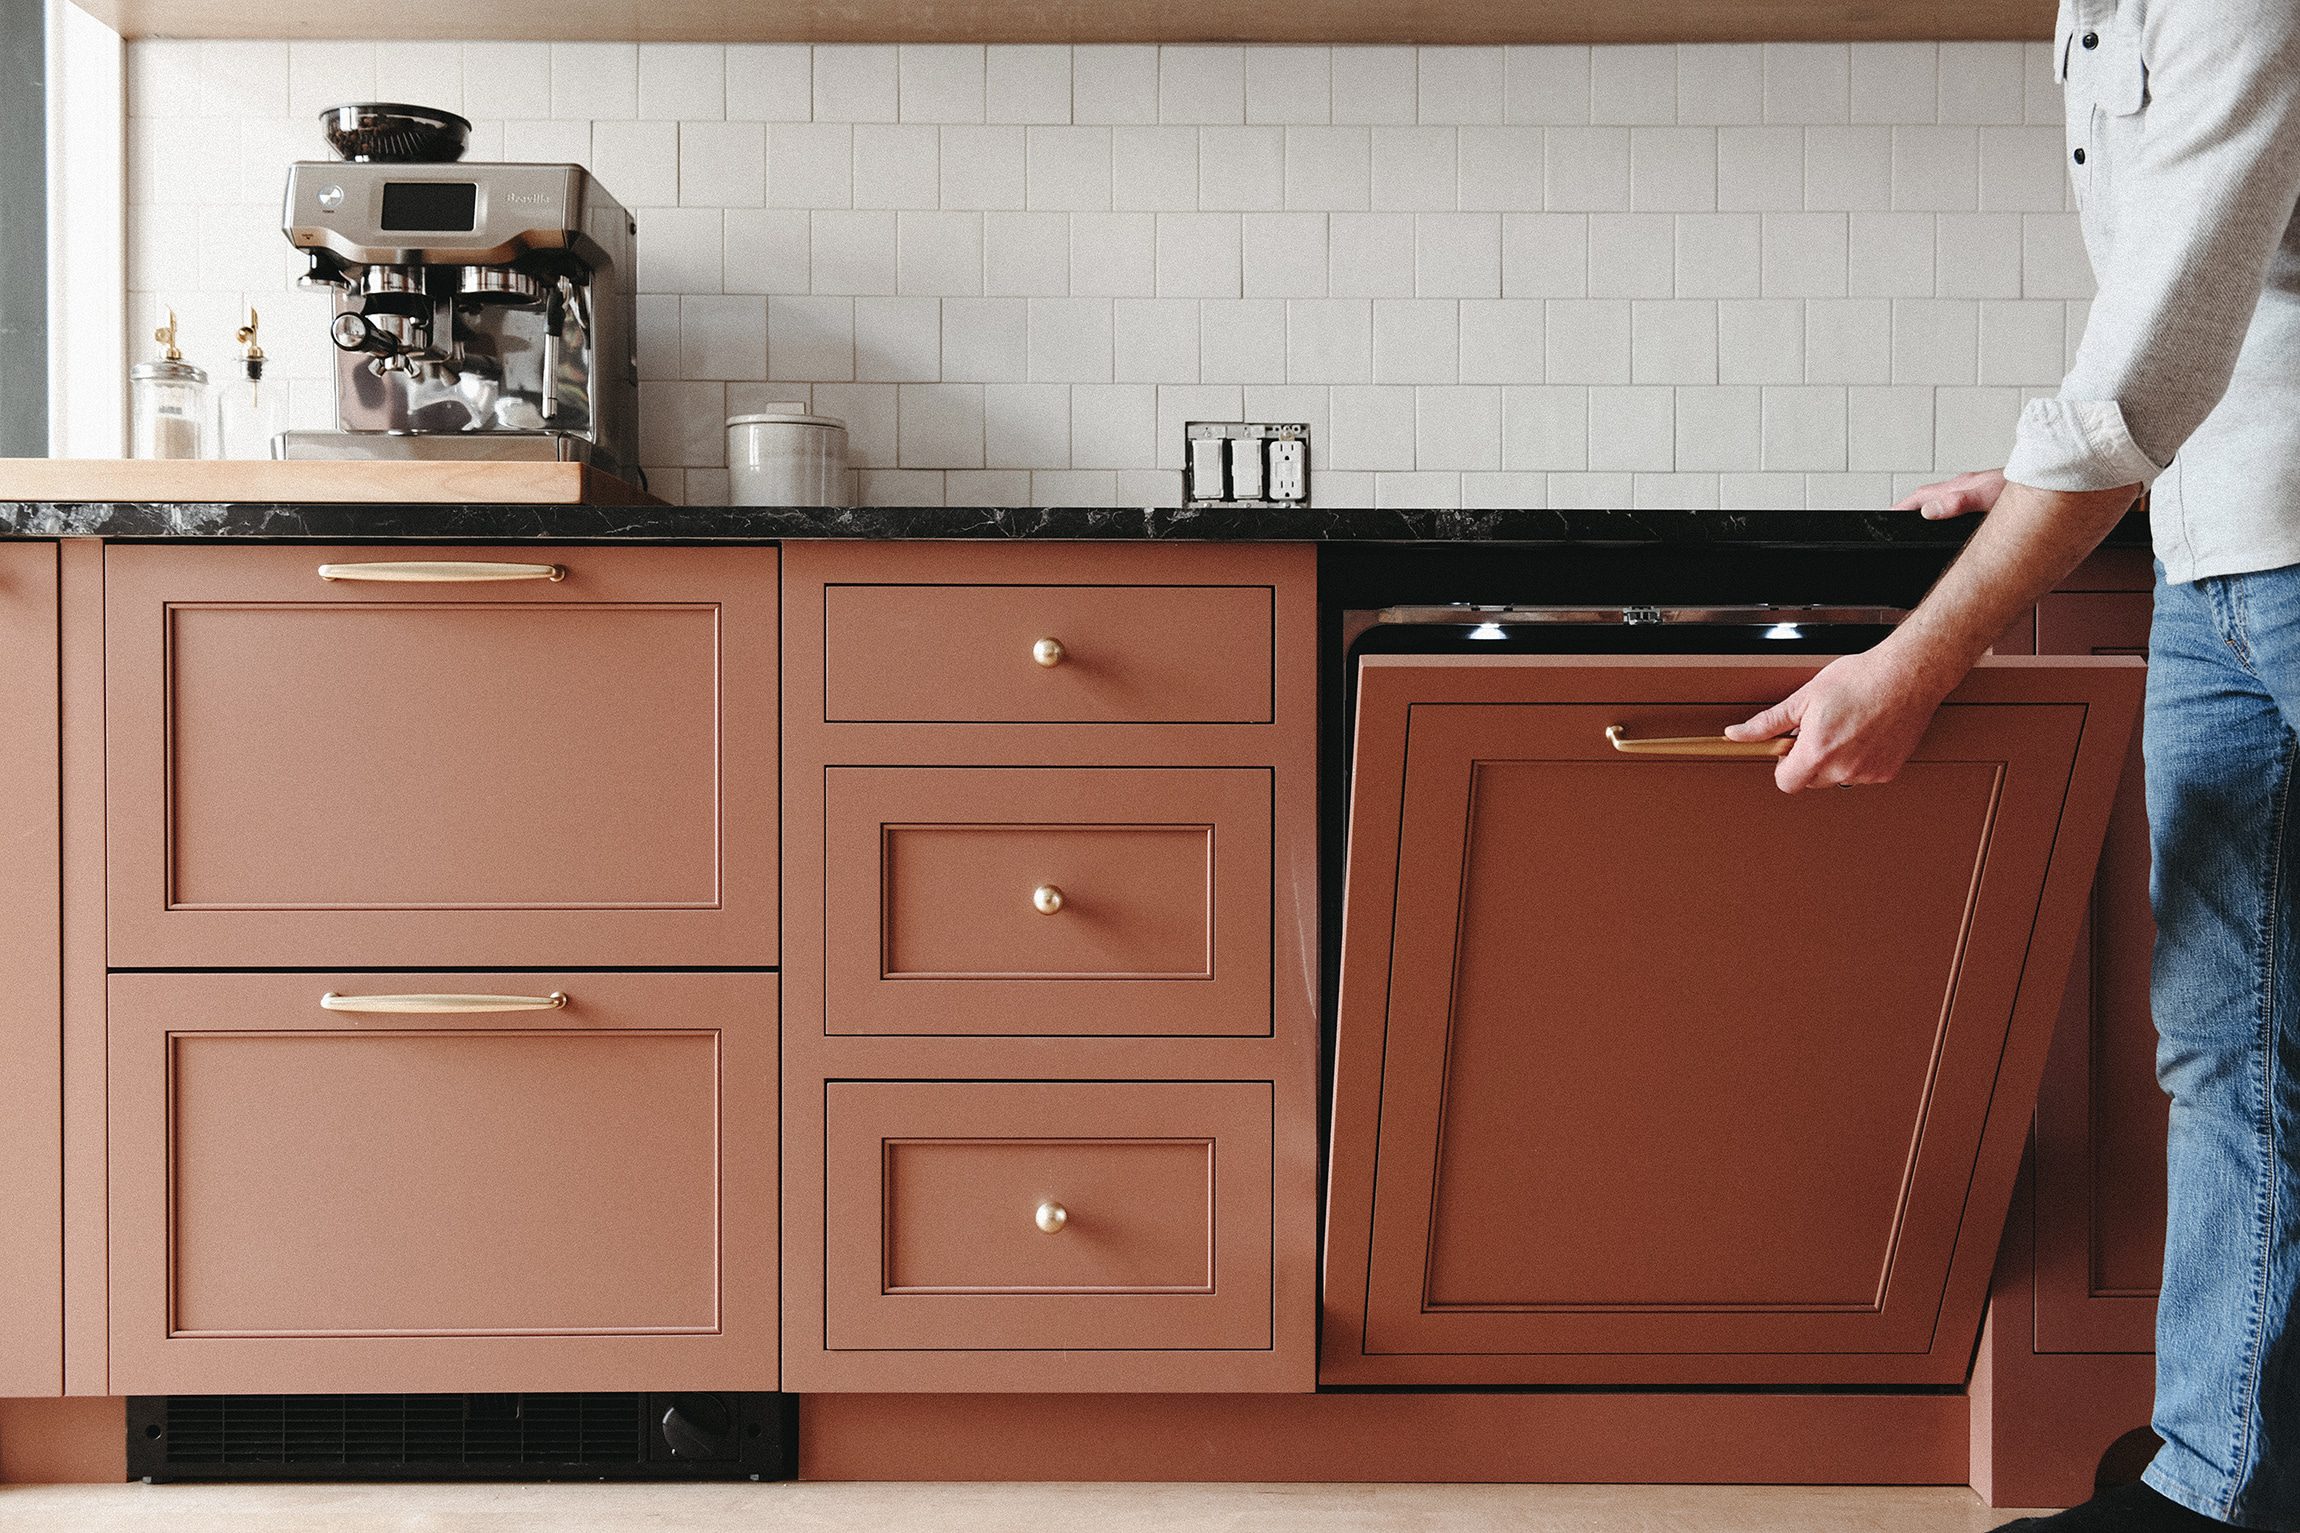
This mistake not only cost us over $500, but set us back 4 weeks while a new custom panel was created and shipped to us. Then, the replacement panel arrived. Yesss! But it was damaged in shipping. Nooo! The third panel is in the process of being created right now (at no cost to us, since it was a shipping issue), and we hope to have it in-hand by mid-December. Beyond that setback, we’re thrilled with the fit, finish and functionality of everything we ordered from Cabinet Joint*!
*Note – This post is not sponsored in any way, but Cabinet Joint has been kind enough to offer a 5% discount to YBH readers! Please shoot us a message here or on Instagram if you’d like the code!
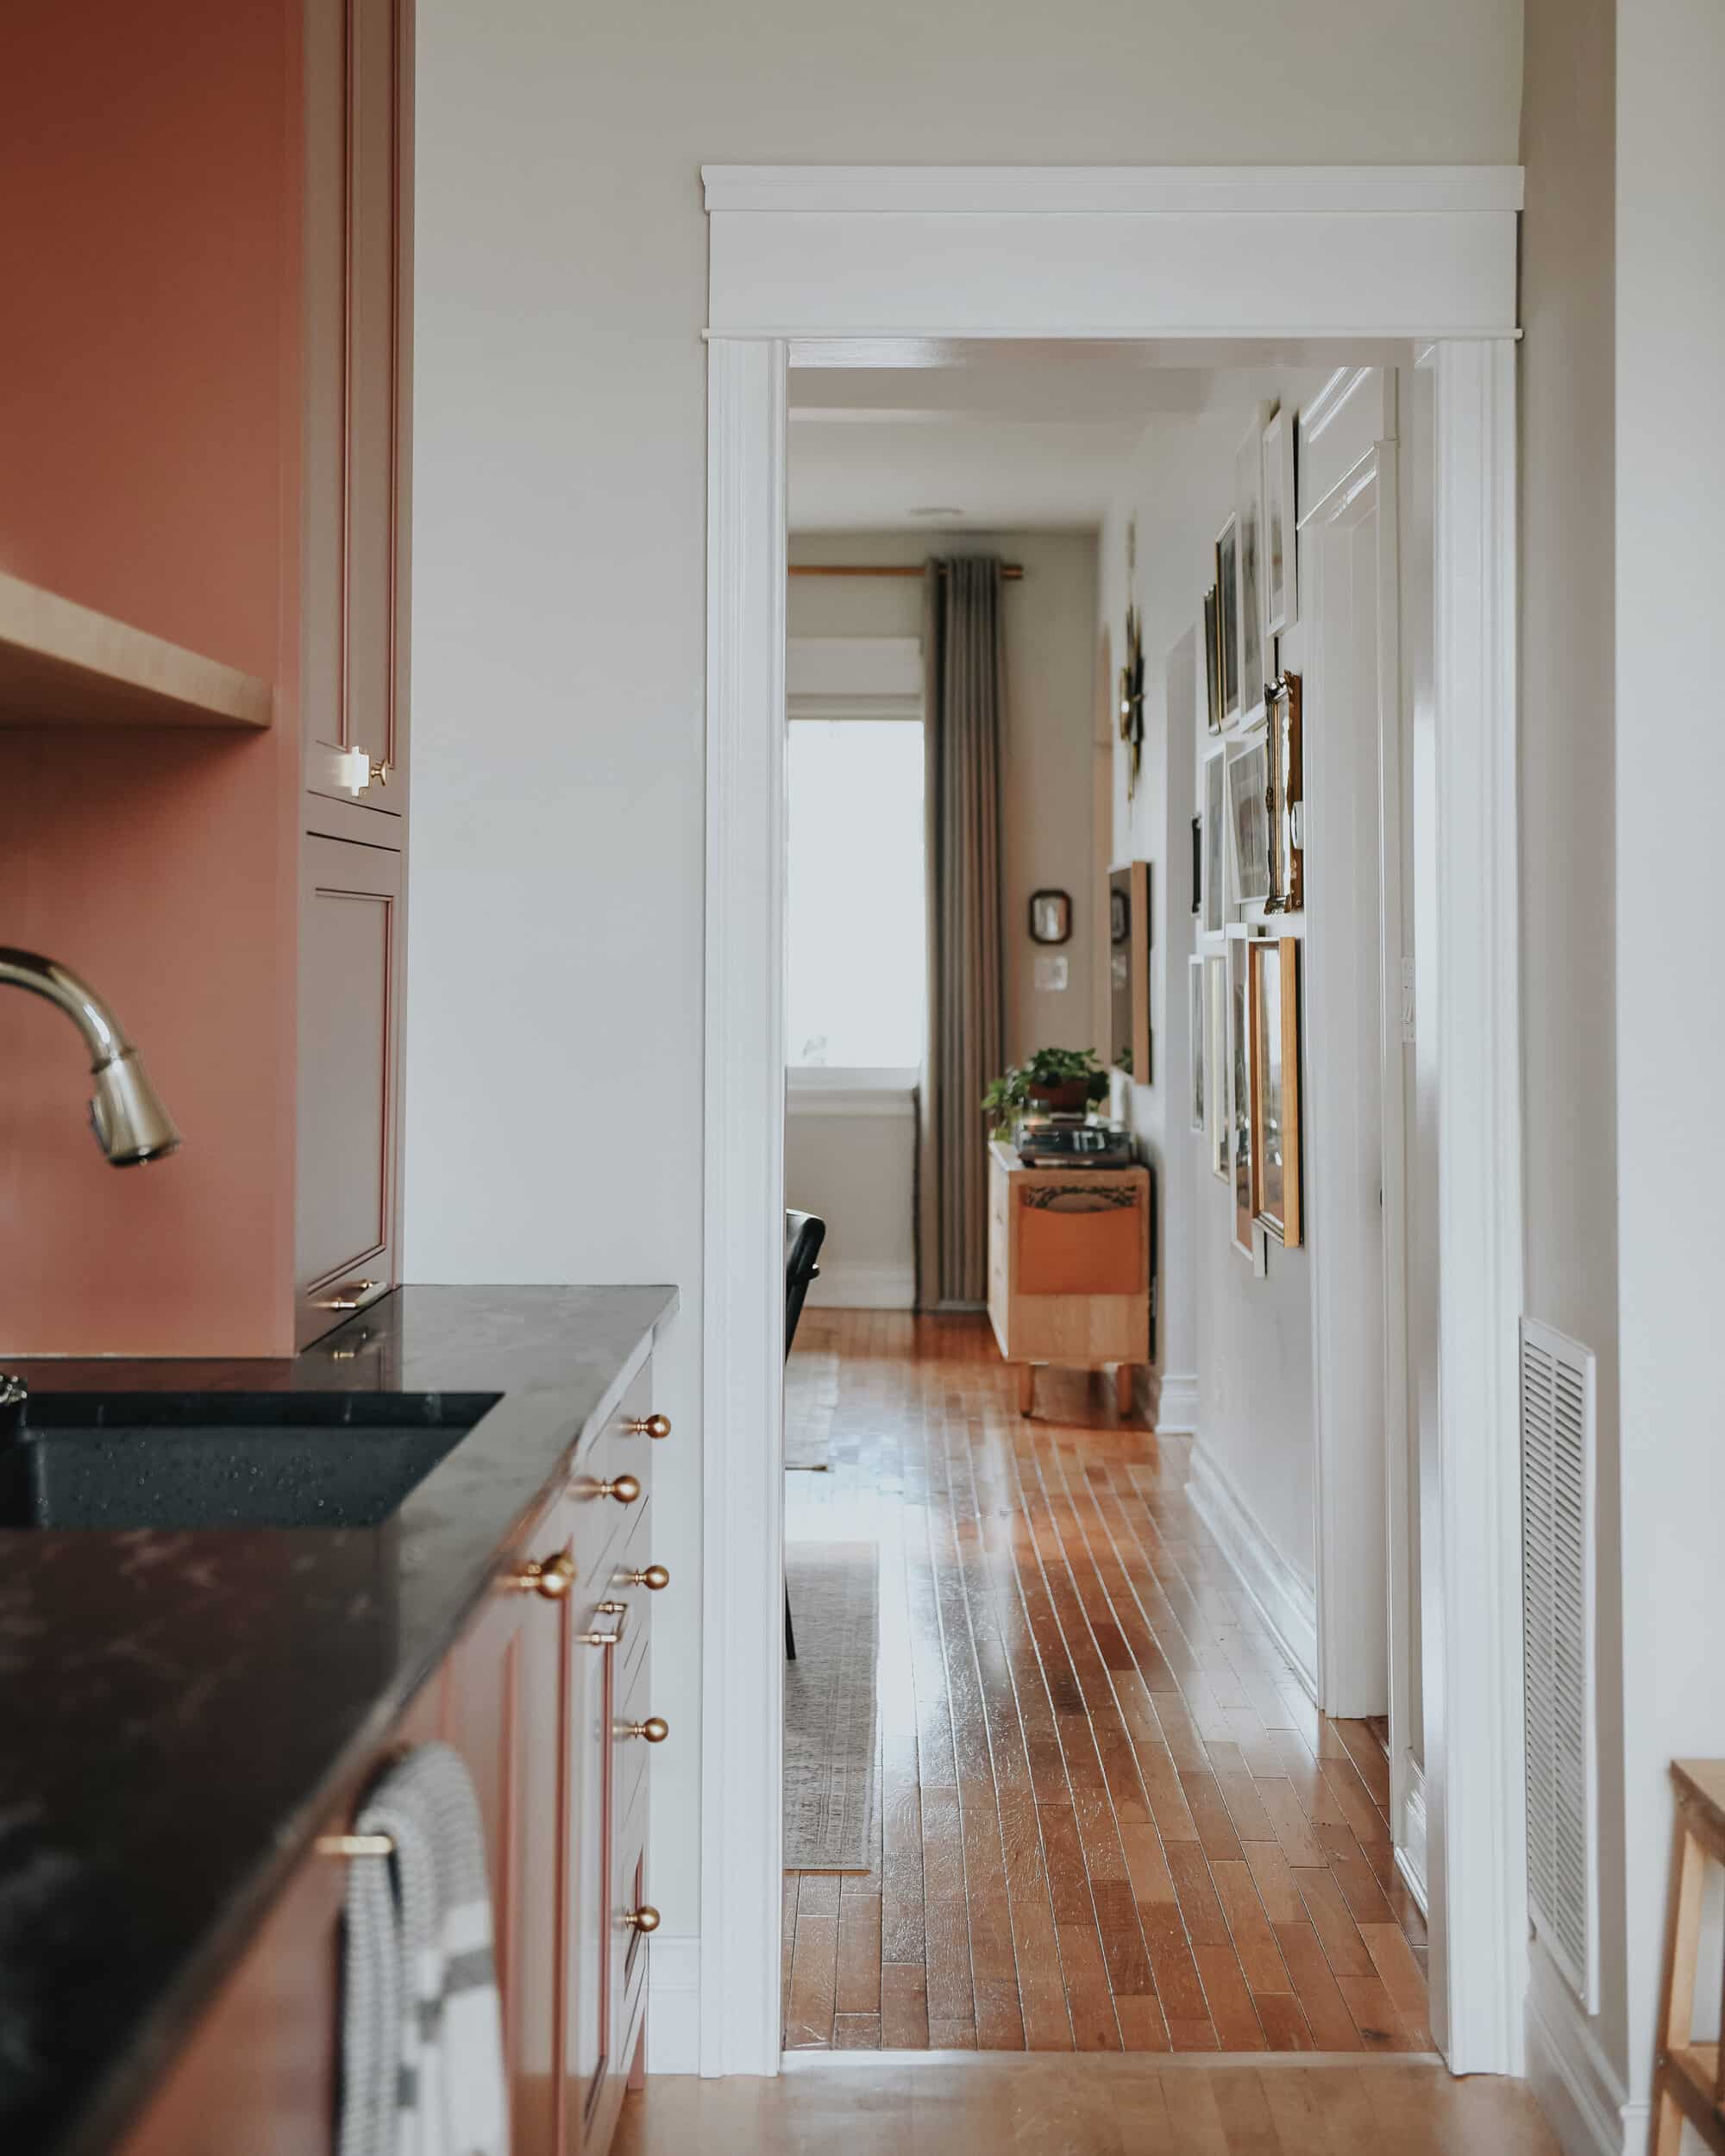
2| Millwork and Trim is Installed, Patched and Caulked
Back before we installed the new maple flooring, we needed to remove most of the rooms’ millwork since there was a very good chance that the level of the floor would shift slightly. The room was also being largely reconfigured, so it made the most sense to pull everything and start fresh. Once the cabinet install was complete, we were able to reinstall it along with the fresh ‘crown’ molding at the tops of the 3 tall cabinets. These finishing details can seem small at first, but they really tie the room together!
3| All of the Lighting Is Installed
It’s a little baffling to think about, but our previous kitchen only had one switched fixture in the whole room! One of our priorities in reimagining this space was to install tons of different lighting options and we’d argue that we absolutely succeeded in that goal. The new kitchen design features 7 fixtures with a total of 9 bulbs, all controlled by 3 dimmable switches.
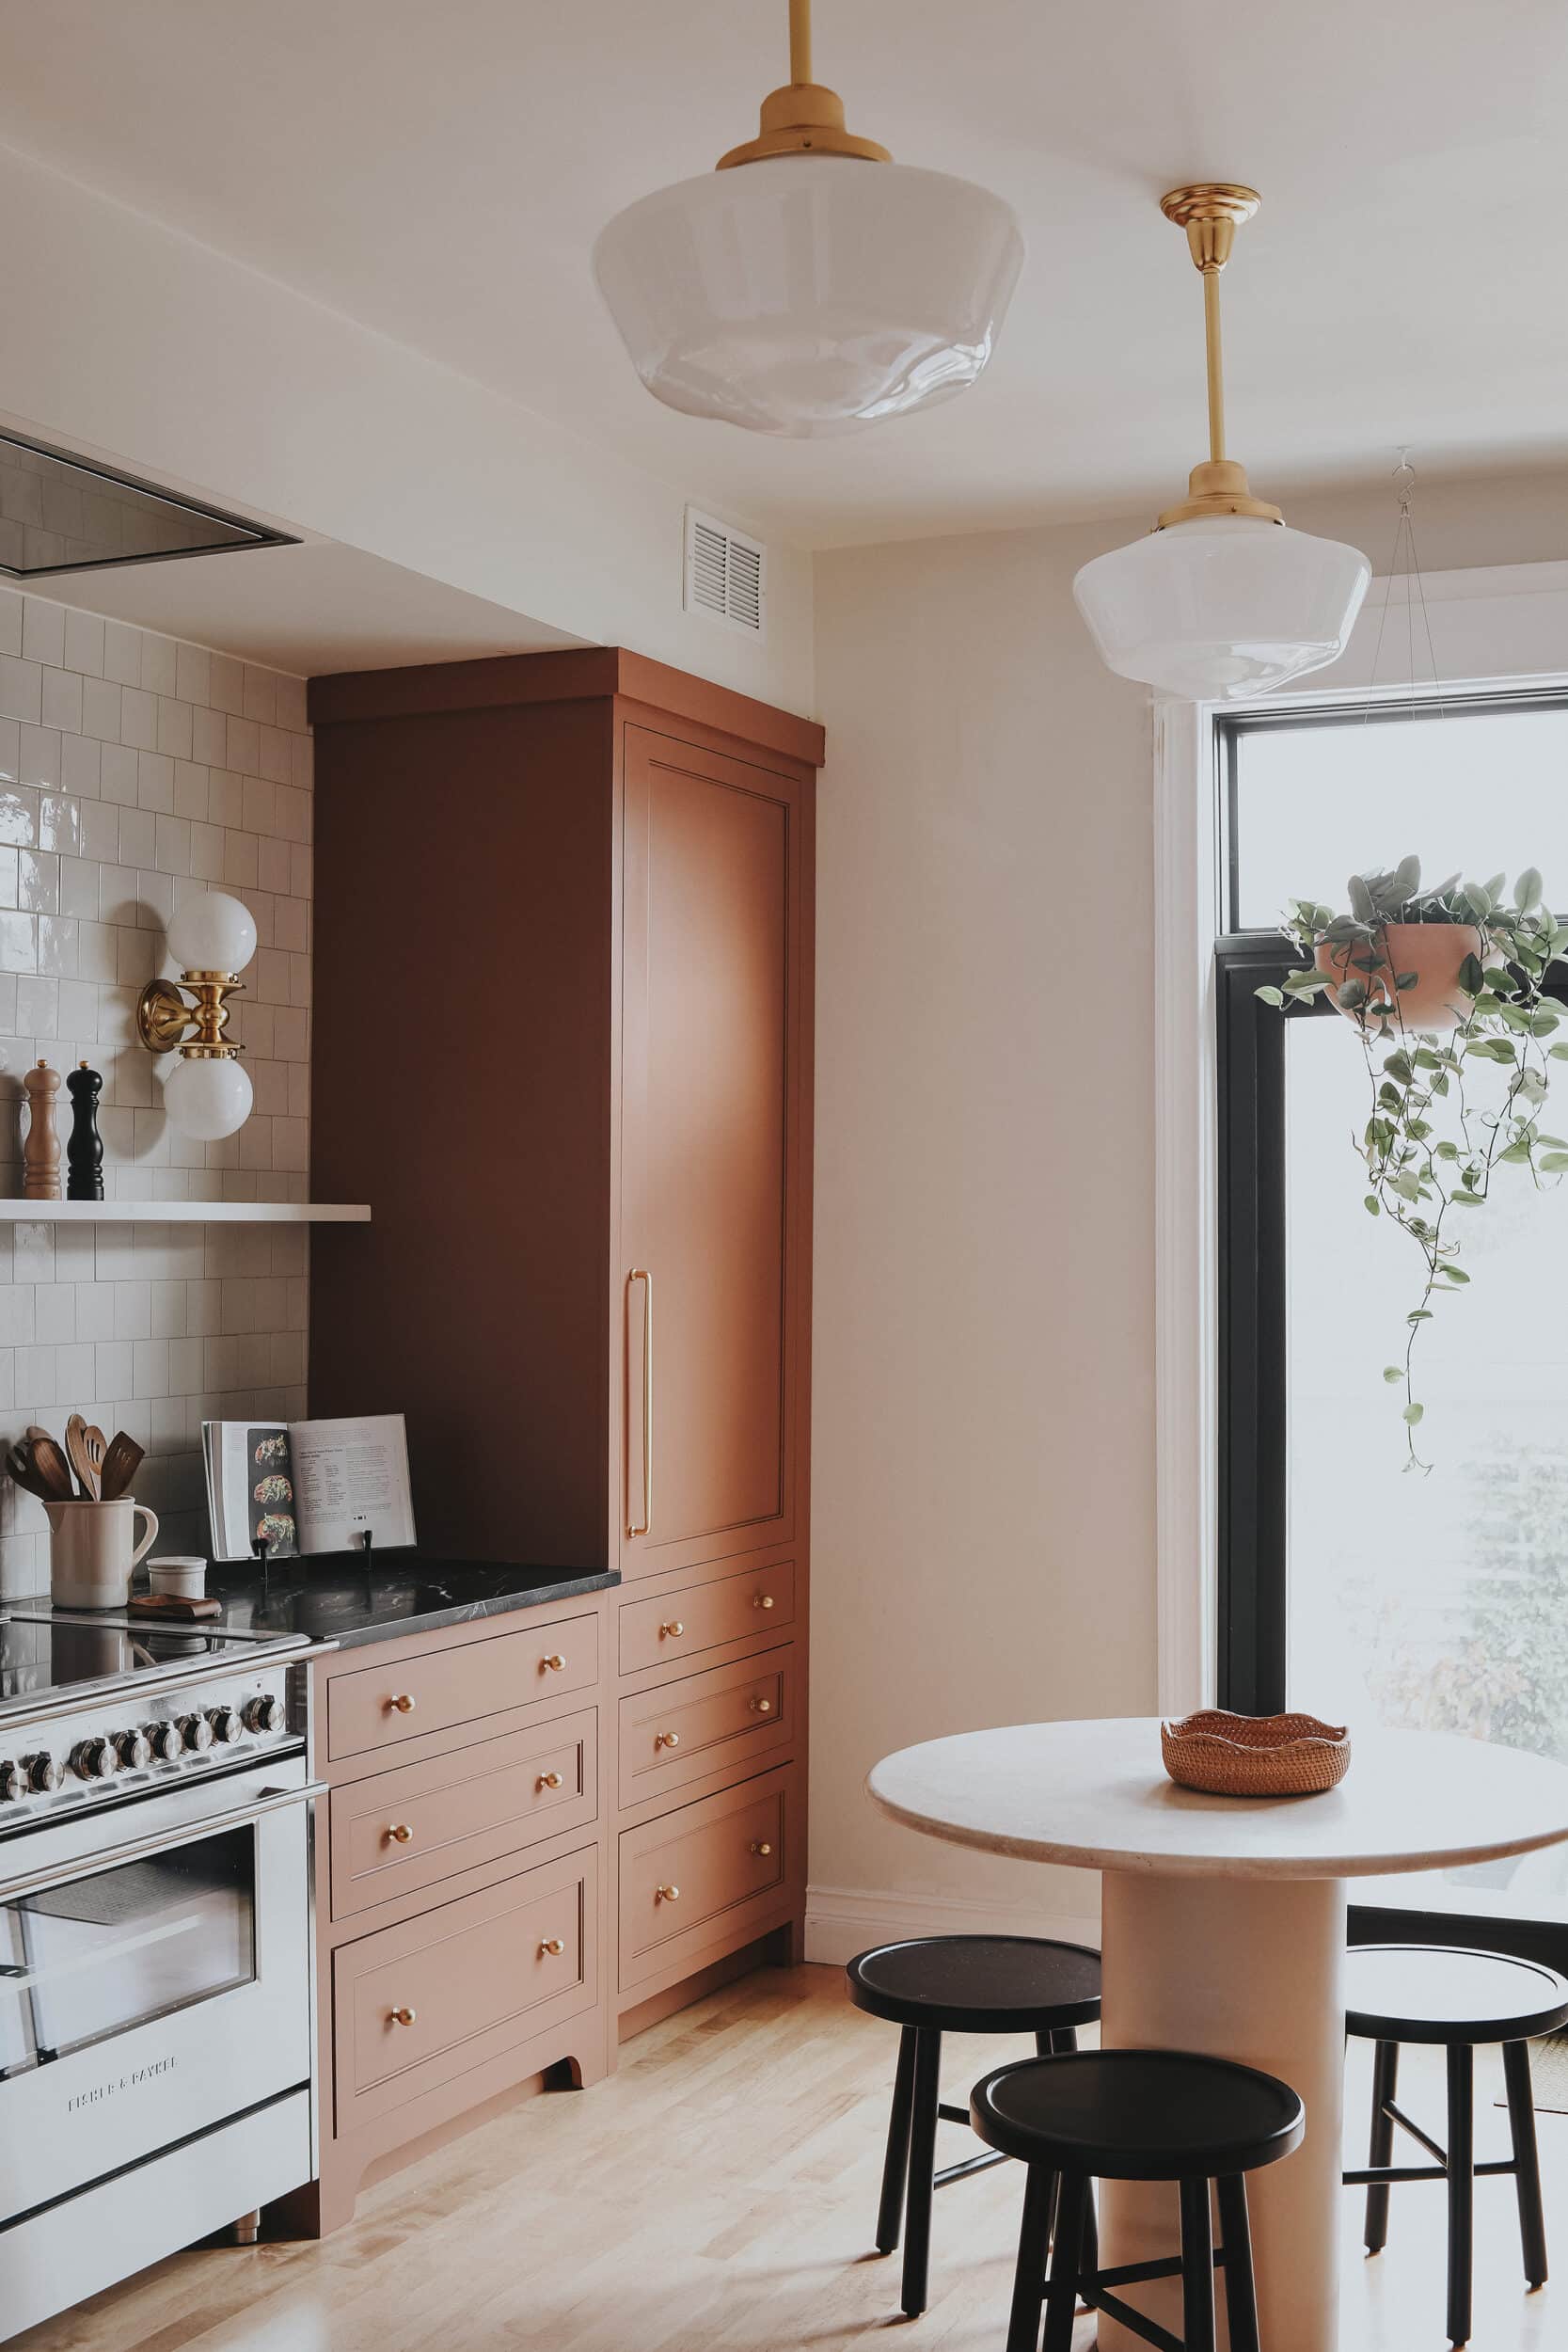
This all adds up to an almost infinite number of lighting combinations. The gorgeous (and heavy!) solid brass fixtures from Rejuvenation are incredibly well-made with a look that’s classic while remaining completely contemporary.

4| The Oak Floating Shelf is Up
Once again, our friends George and Leigh-Anne from Norman Leigh knocked it out of the park with the custom oak floating shelf they built for us! If you’re newer here, they’re a custom woodworking duo that has built countless pieces for us over the years. Our Tree House dining table, Chicago dining table and the Kalvakota’s custom sideboard top were all built by George and Leigh-Anne!
This particular floating shelf was built at around 10′ long x 11″ deep. It utilizes heavy duty brackets to support the weight of dishes, small appliances and anything else we might store on it. Way back when the kitchen was in shambles, we had our GC install horizontal blocking between the vertical studs where the shelf would eventually be installed. This support structure was completely hidden behind the drywall, but provided a secure mounting area for the shelf to completely eliminate guesswork. The brackets are rated to hold around 45 lbs but I’m fairly confident that it’s strong enough for me to lay down on the shelf and take a nap!
5| Tile, Grout + Caulk Are Complete
Once the cabinets and shelf were installed, we were ready to install tile! These Pix Bianco Italian beauties from The Tile Shop are absolutely stunning. We wanted to keep things timeless, while introducing some perfect imperfections to the space and this tile fits the bill perfectly. The handmade quality of the individual tiles means that no two are exactly alike and they show some gentle variation in shape and texture.
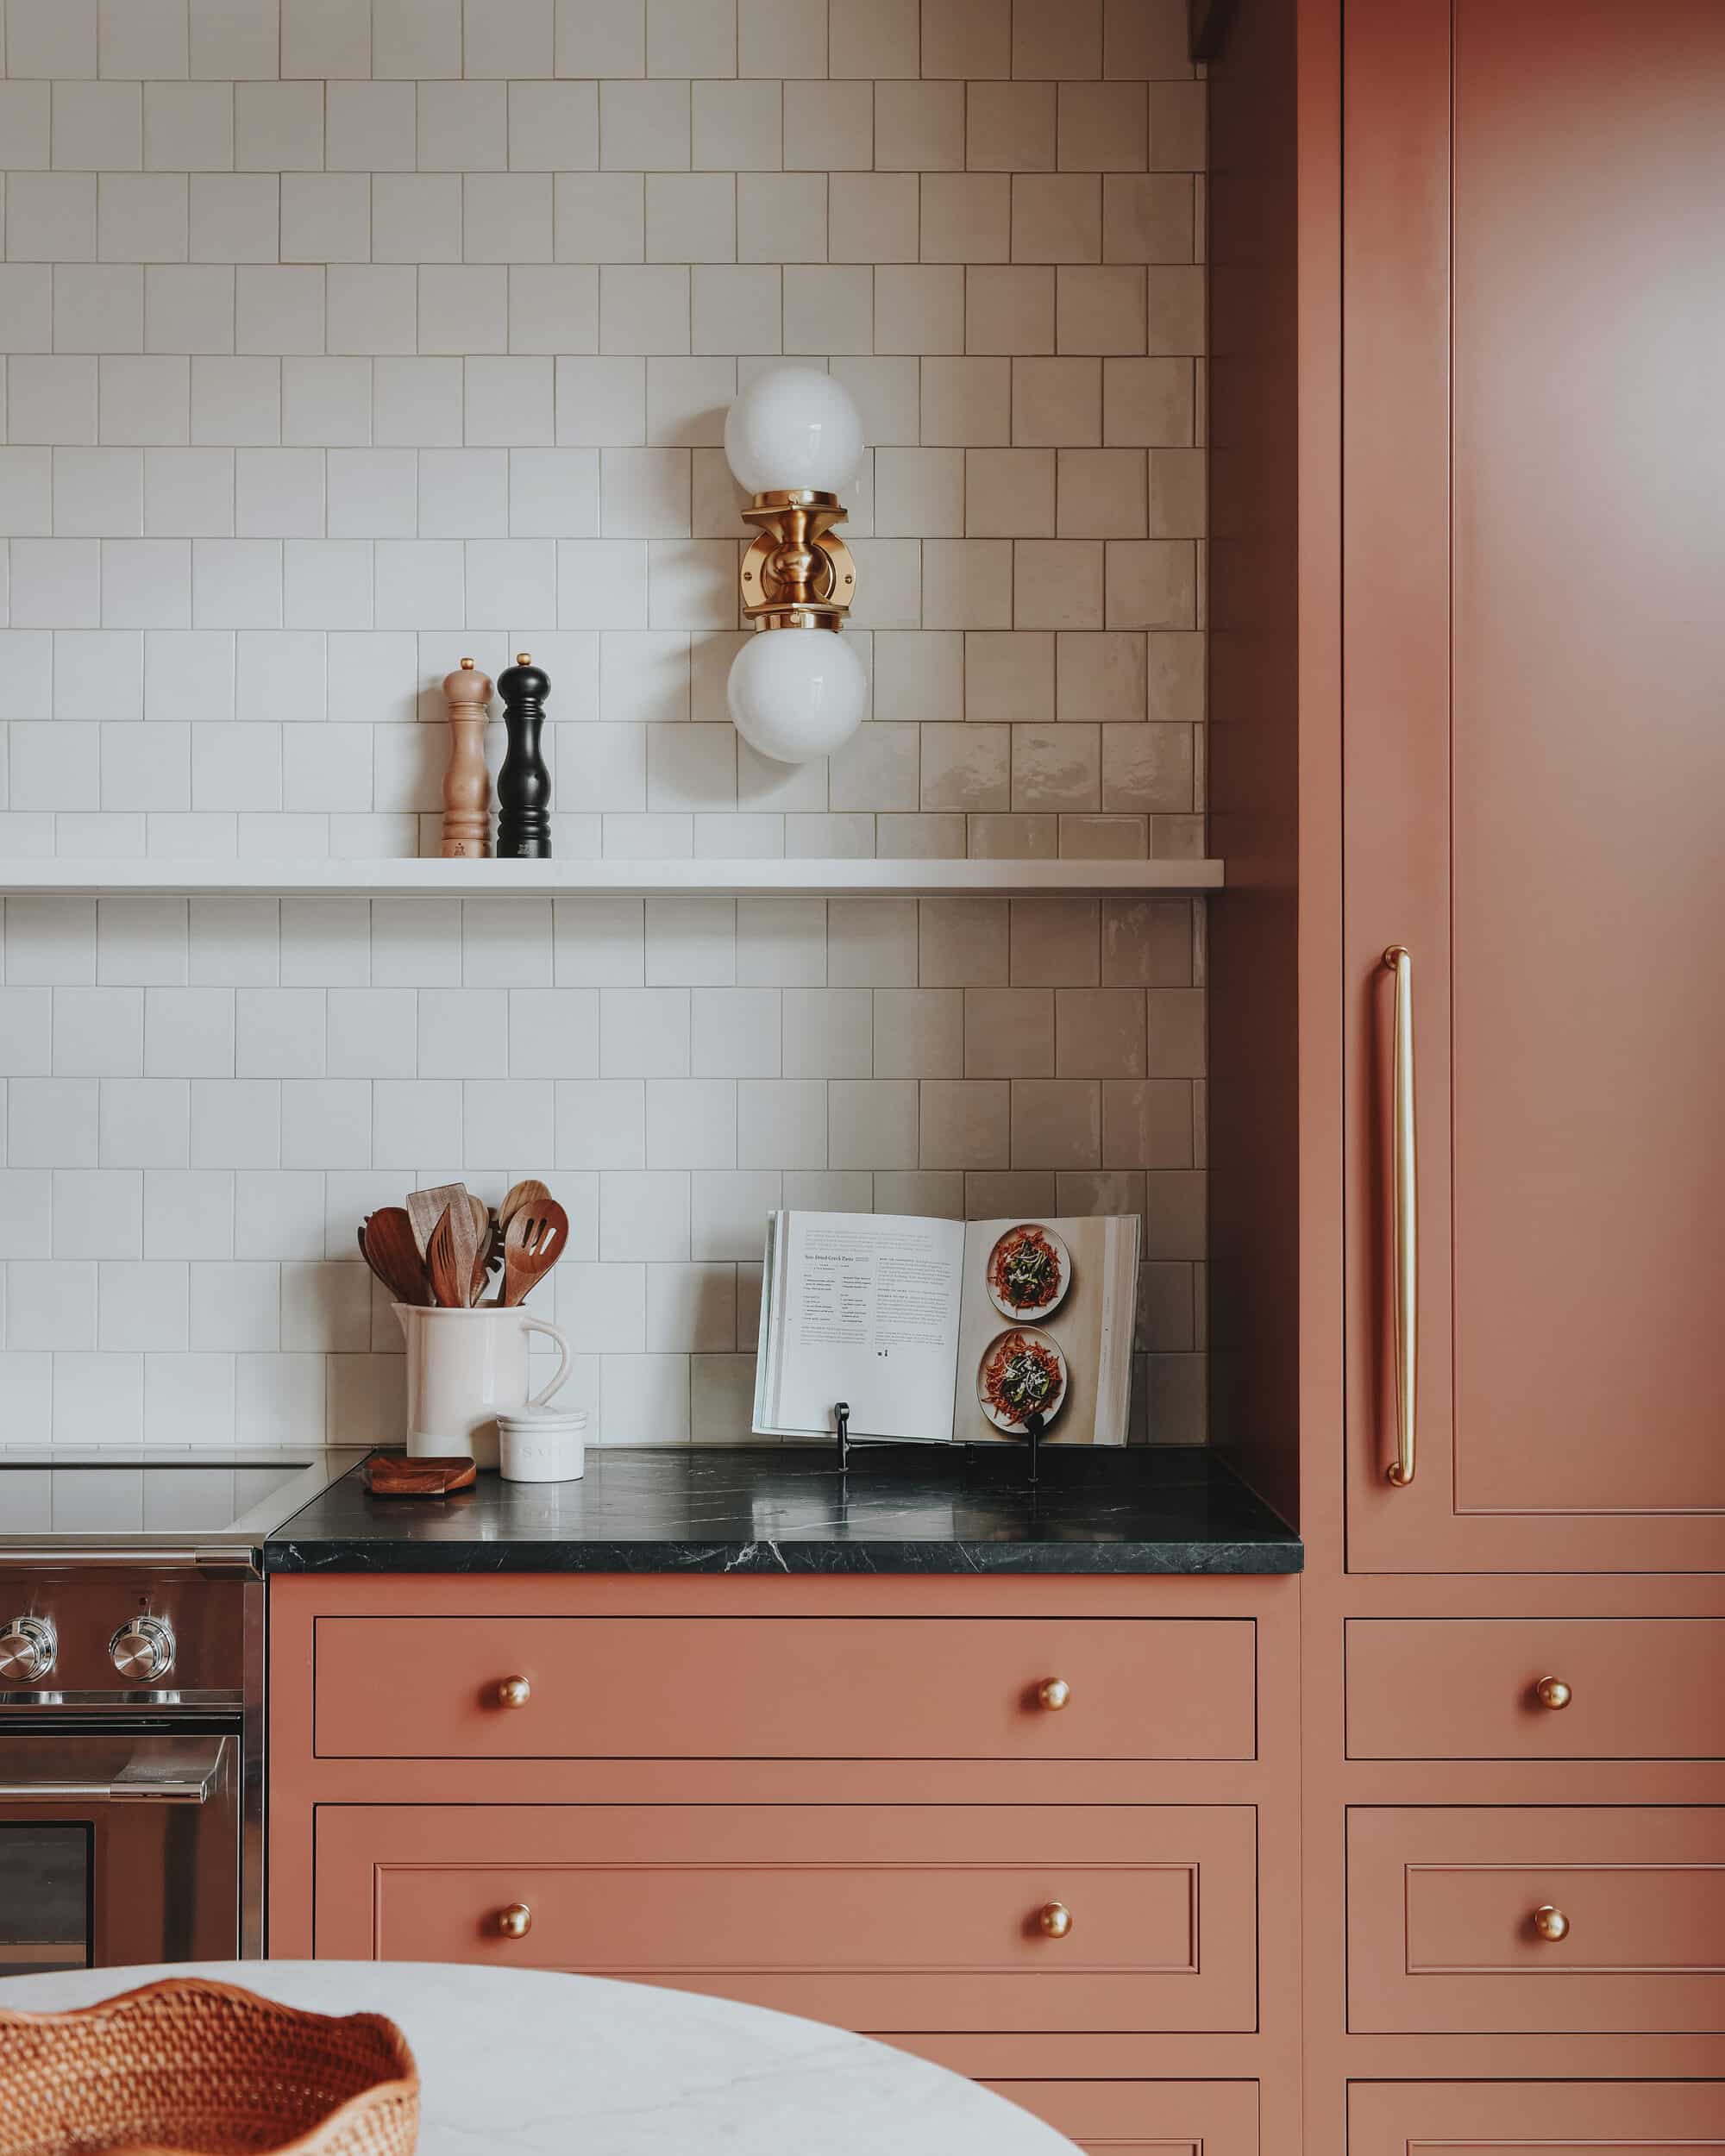
We chose grout and matching caulk in Irish Creme for subtle contrast along the joints. We love how the creamy white of the tile plays with the warm taupe of the grout. It all feels cohesive and classic, but absolutely not boring.
What’s Left?
The to-do list is getting shorter by the day, but we’ve still got some work ahead of us! Here’s what’s left:
- Paint walls + ceiling
- Paint trim
- Paint back door + pocket door
- Install fridge panel and permanently install fridge
- Install pot filler
- Final organizing and styling
We’re getting so dang close! Our original goal was the have the space 100% completed by the Friday before Thanksgiving break, but the setback with the fridge panel has bumped us into December. No worries, though! The kitchen is 100% functional and we’ve been spending an absolutely inordinate amount of time in there. Happy Thanksgiving and we wish you a restful holiday!
Items in this Post:


This kitchen is coming together beautifully!
How did you decide on two different materials for the shelves on either side of the kitchen? I know they serve very different functions, but I think I would have still been stuck on having them match. Did you always think of them being different materials or was there a thought process/evolution there?
Love this question. We wanted the shelf to be stone on the range side, partially for safety reasons (we didn’t want wood spanning the length above the range, although it probably would have been fine), but we still wanted a natural wood tone in the room, hence the deeper and much larger floating oak shelf on the wet wall. Not being perfectly matched gives it a more lived-in feel, like it’s always been this way, kind of feel. :)
Hi! The kitchen looks AMAZING! The color of the cabinets is perfection. The space planning is superb. And it’s just so impressive that you did everything yourselves.
I love the tile and grout you chose. Looking at the photos, it seems like the grout is uneven in some spots – this isn’t a criticism, by the way. I’m just curious how you decided on the tile distance/spacing and grout consistency? (e.g., sometimes grout is the same depth as the tile itself, so there aren’t any gaps….or it looks more “filled in,” if that makes sense…) I love the look of yours – it’s unique compared to so many other kitchens! – so I was just curious about it!
Great question! The tiles have a handmade feel, so they’re not PERFECTLY square, resulting in some spacing to be a little larger than others. We didn’t use spacers, since the tiles have a small bevel all along the edge, so they are all spaced right next to each other. The handmade nature of the tile makes the grout spacing a bit more organic.
It’s looking gorgeous! Did you paint the RTA cabinets yourself or did Cabinet Joint paint them before shipping? Could you use any color you wanted? We’re looking at potentially going yellow(!) with our new cabinets, but we 100% don’t want to paint them ourselves…
They paint them to a factory finish! With a few exceptions, they can use any Sherwin-Williams color, so the world is your oyster!
yay for all the progress so far, you will be done so soon! My favorite thing that you mentioned is the pretty tiles!
The tiles brought it all together, for sure!
It’s looking so good! I’m wondering if you have a link to the door lift mechanism you used at the cabinet that sits on the counter by the sink. There are so many options and price ranges, it’s hard to know what’s a good one and worth an upcharge vs going cheap. thanks!
Happy to share! We used these. Their customer service is great if you have questions about the exact style you need.
It’s looking so good. What a beautiful home.
Gorgeous!!!! Your kitchen is a dream! It’s difficult to decide what I love most about this space. How did you install the stone shelf?
We’ll have a blog post sharing about that in the new year!