

It’s a Monday Rewind! Yellow Brick Home has over 11 years of archives, so from time to time, we’ll be sharing our favorites from posts past. This resource was originally published in July 2019, and we hope it provides you with inspiration to take on your own projects. Enjoy!
A few weeks ago, I dropped off a handful of our painting supplies to a friend who was giving her family room a new color. She and her husband are not big painters (I was surprised to learn that every color in their home was a choice by the previous homeowner!), and as I was leaving, I gave her a few tips on cutting in, rolling and taping. I must’ve given her pause, because she nervously dove into a loop of questions and repeated everything I said, as if to lock it into memory.
I told her not to worry, and she could give me a call with any questions along the way, but as I drove away, I realized that if she had these questions, maybe you do, too? (For what it’s worth, her and her husband did an awesome job.) We’ve painted enough rooms at this stage in our DIY lives to not give it another thought, but do you ever feel like blog tutorials – ours or otherwise – can sometimes gloss over the basics? We want to be a resource for you as you dive deep into your own renovation journey, whether you’ve just signed a lease, closed on your first home or are restoring your second (or third!). So let’s take a step back. Let’s lay it out, all in one place.
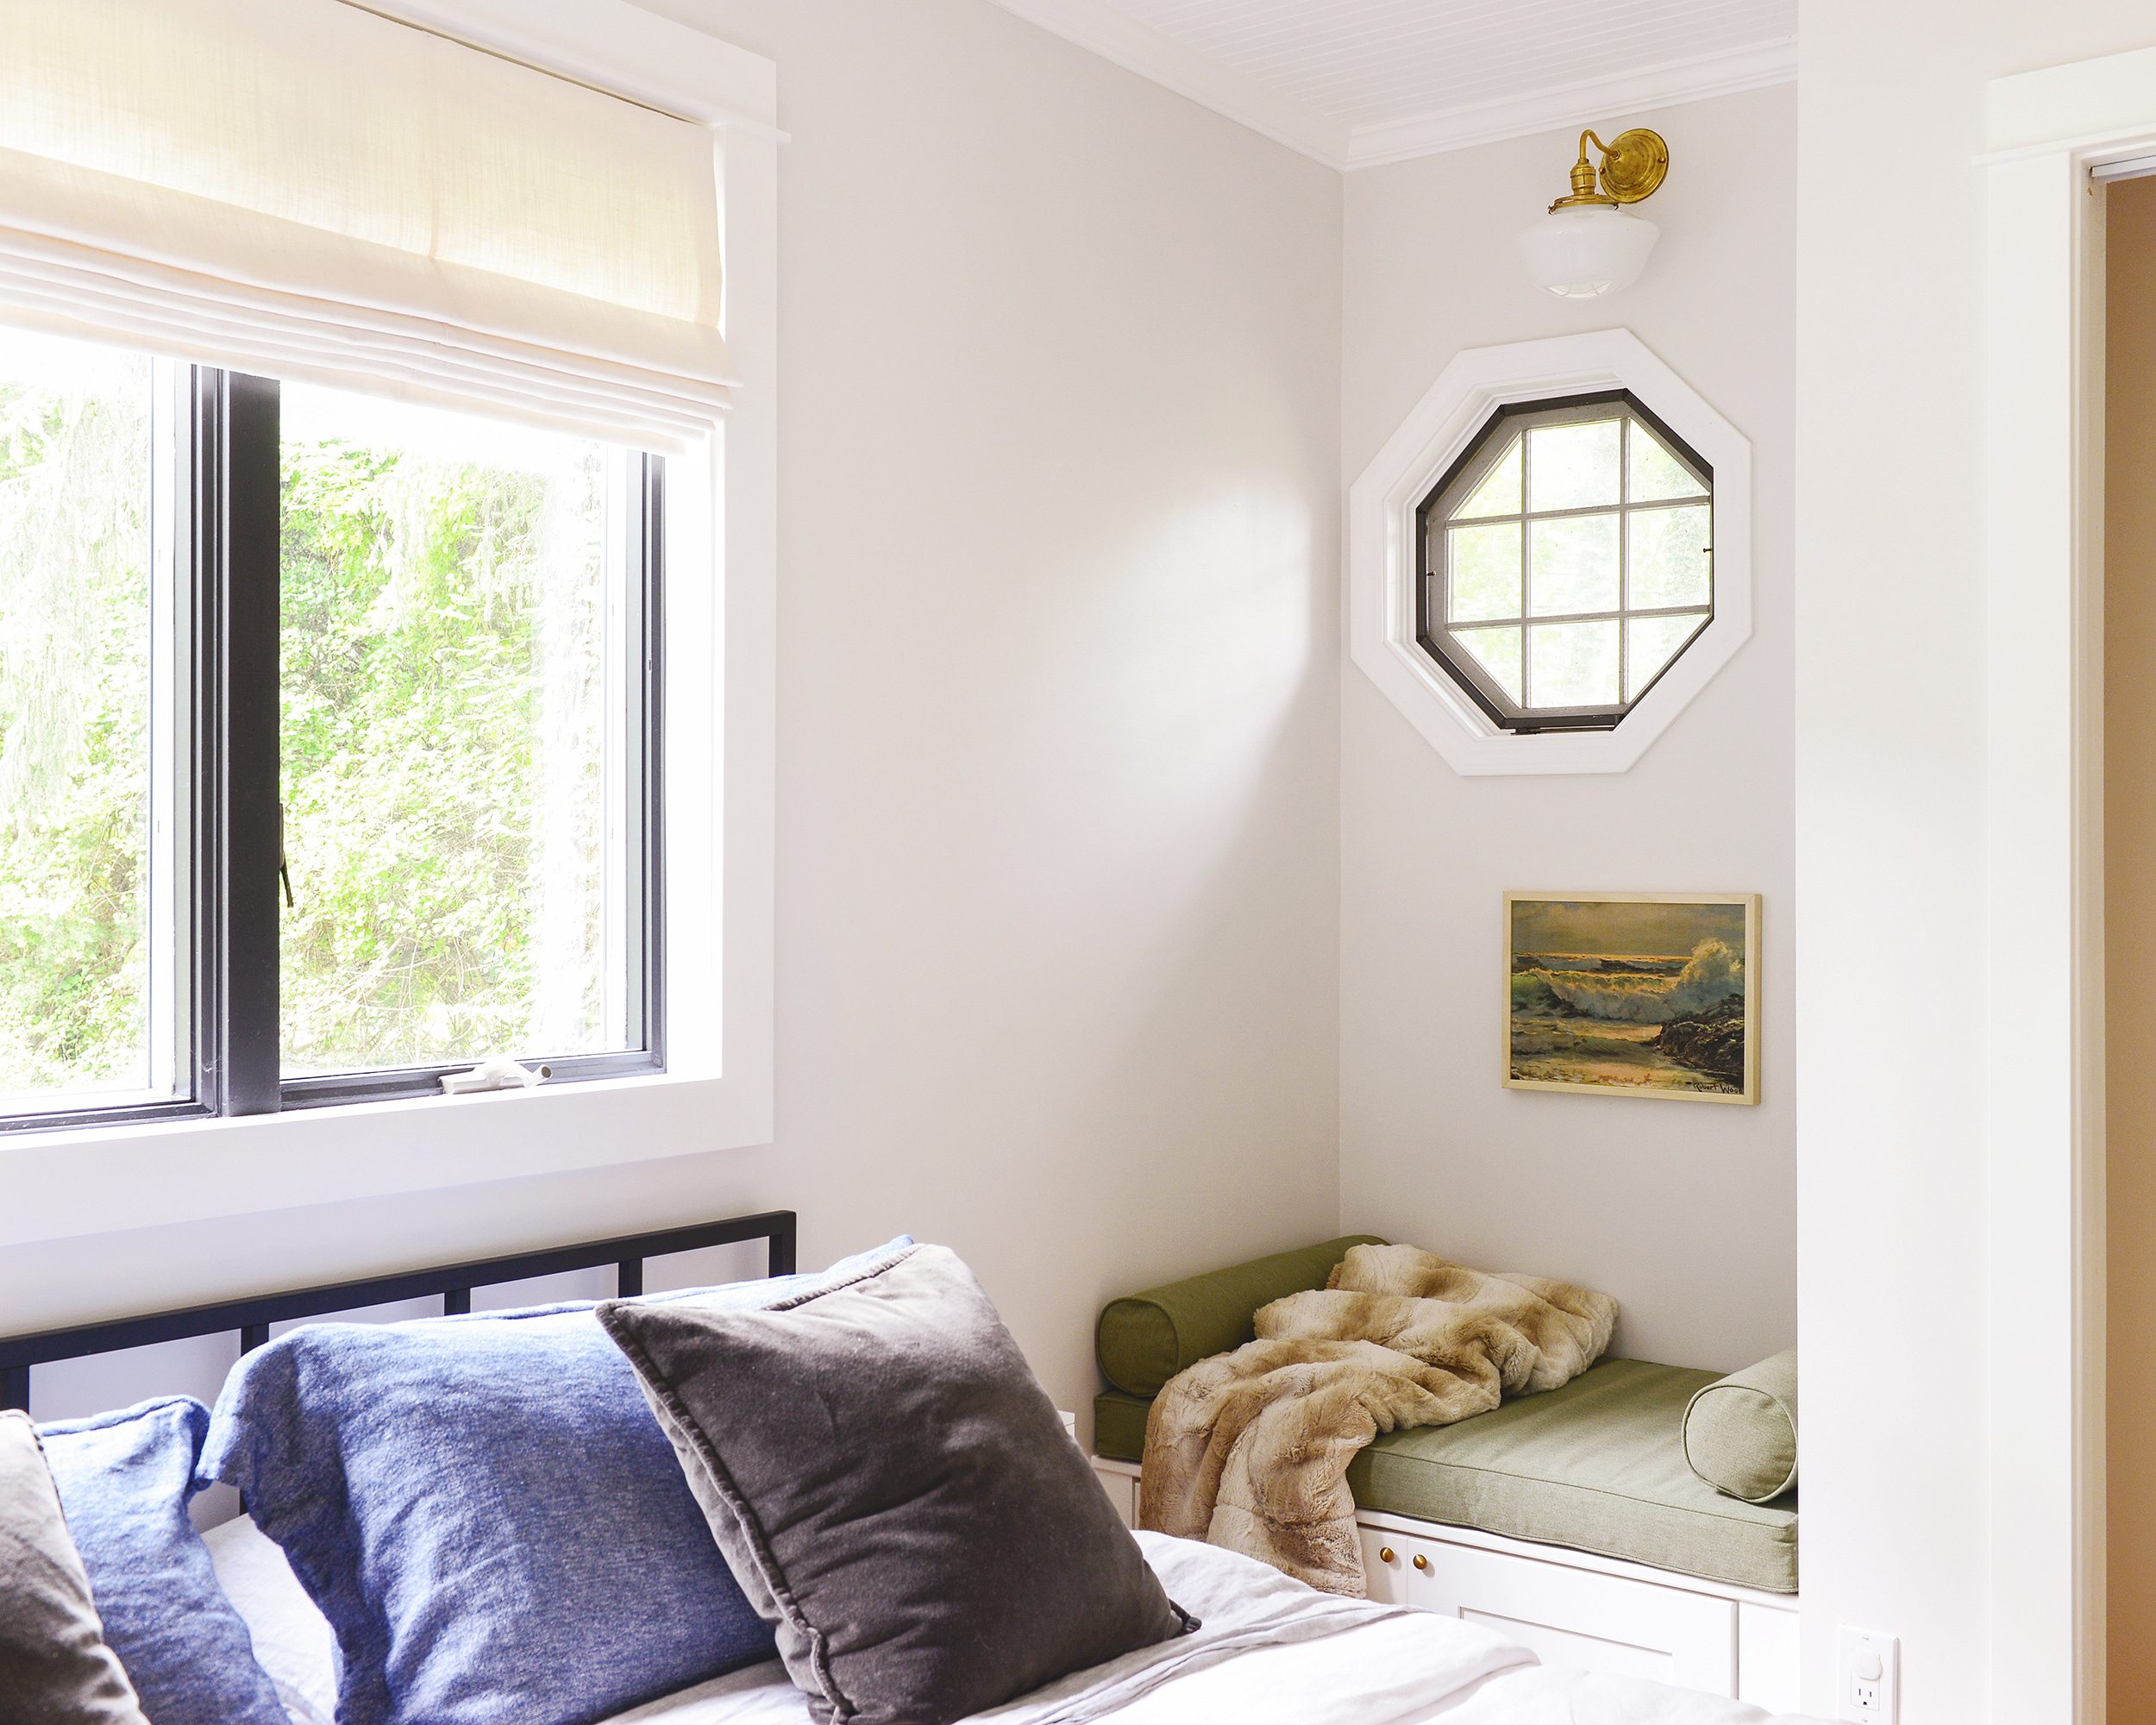
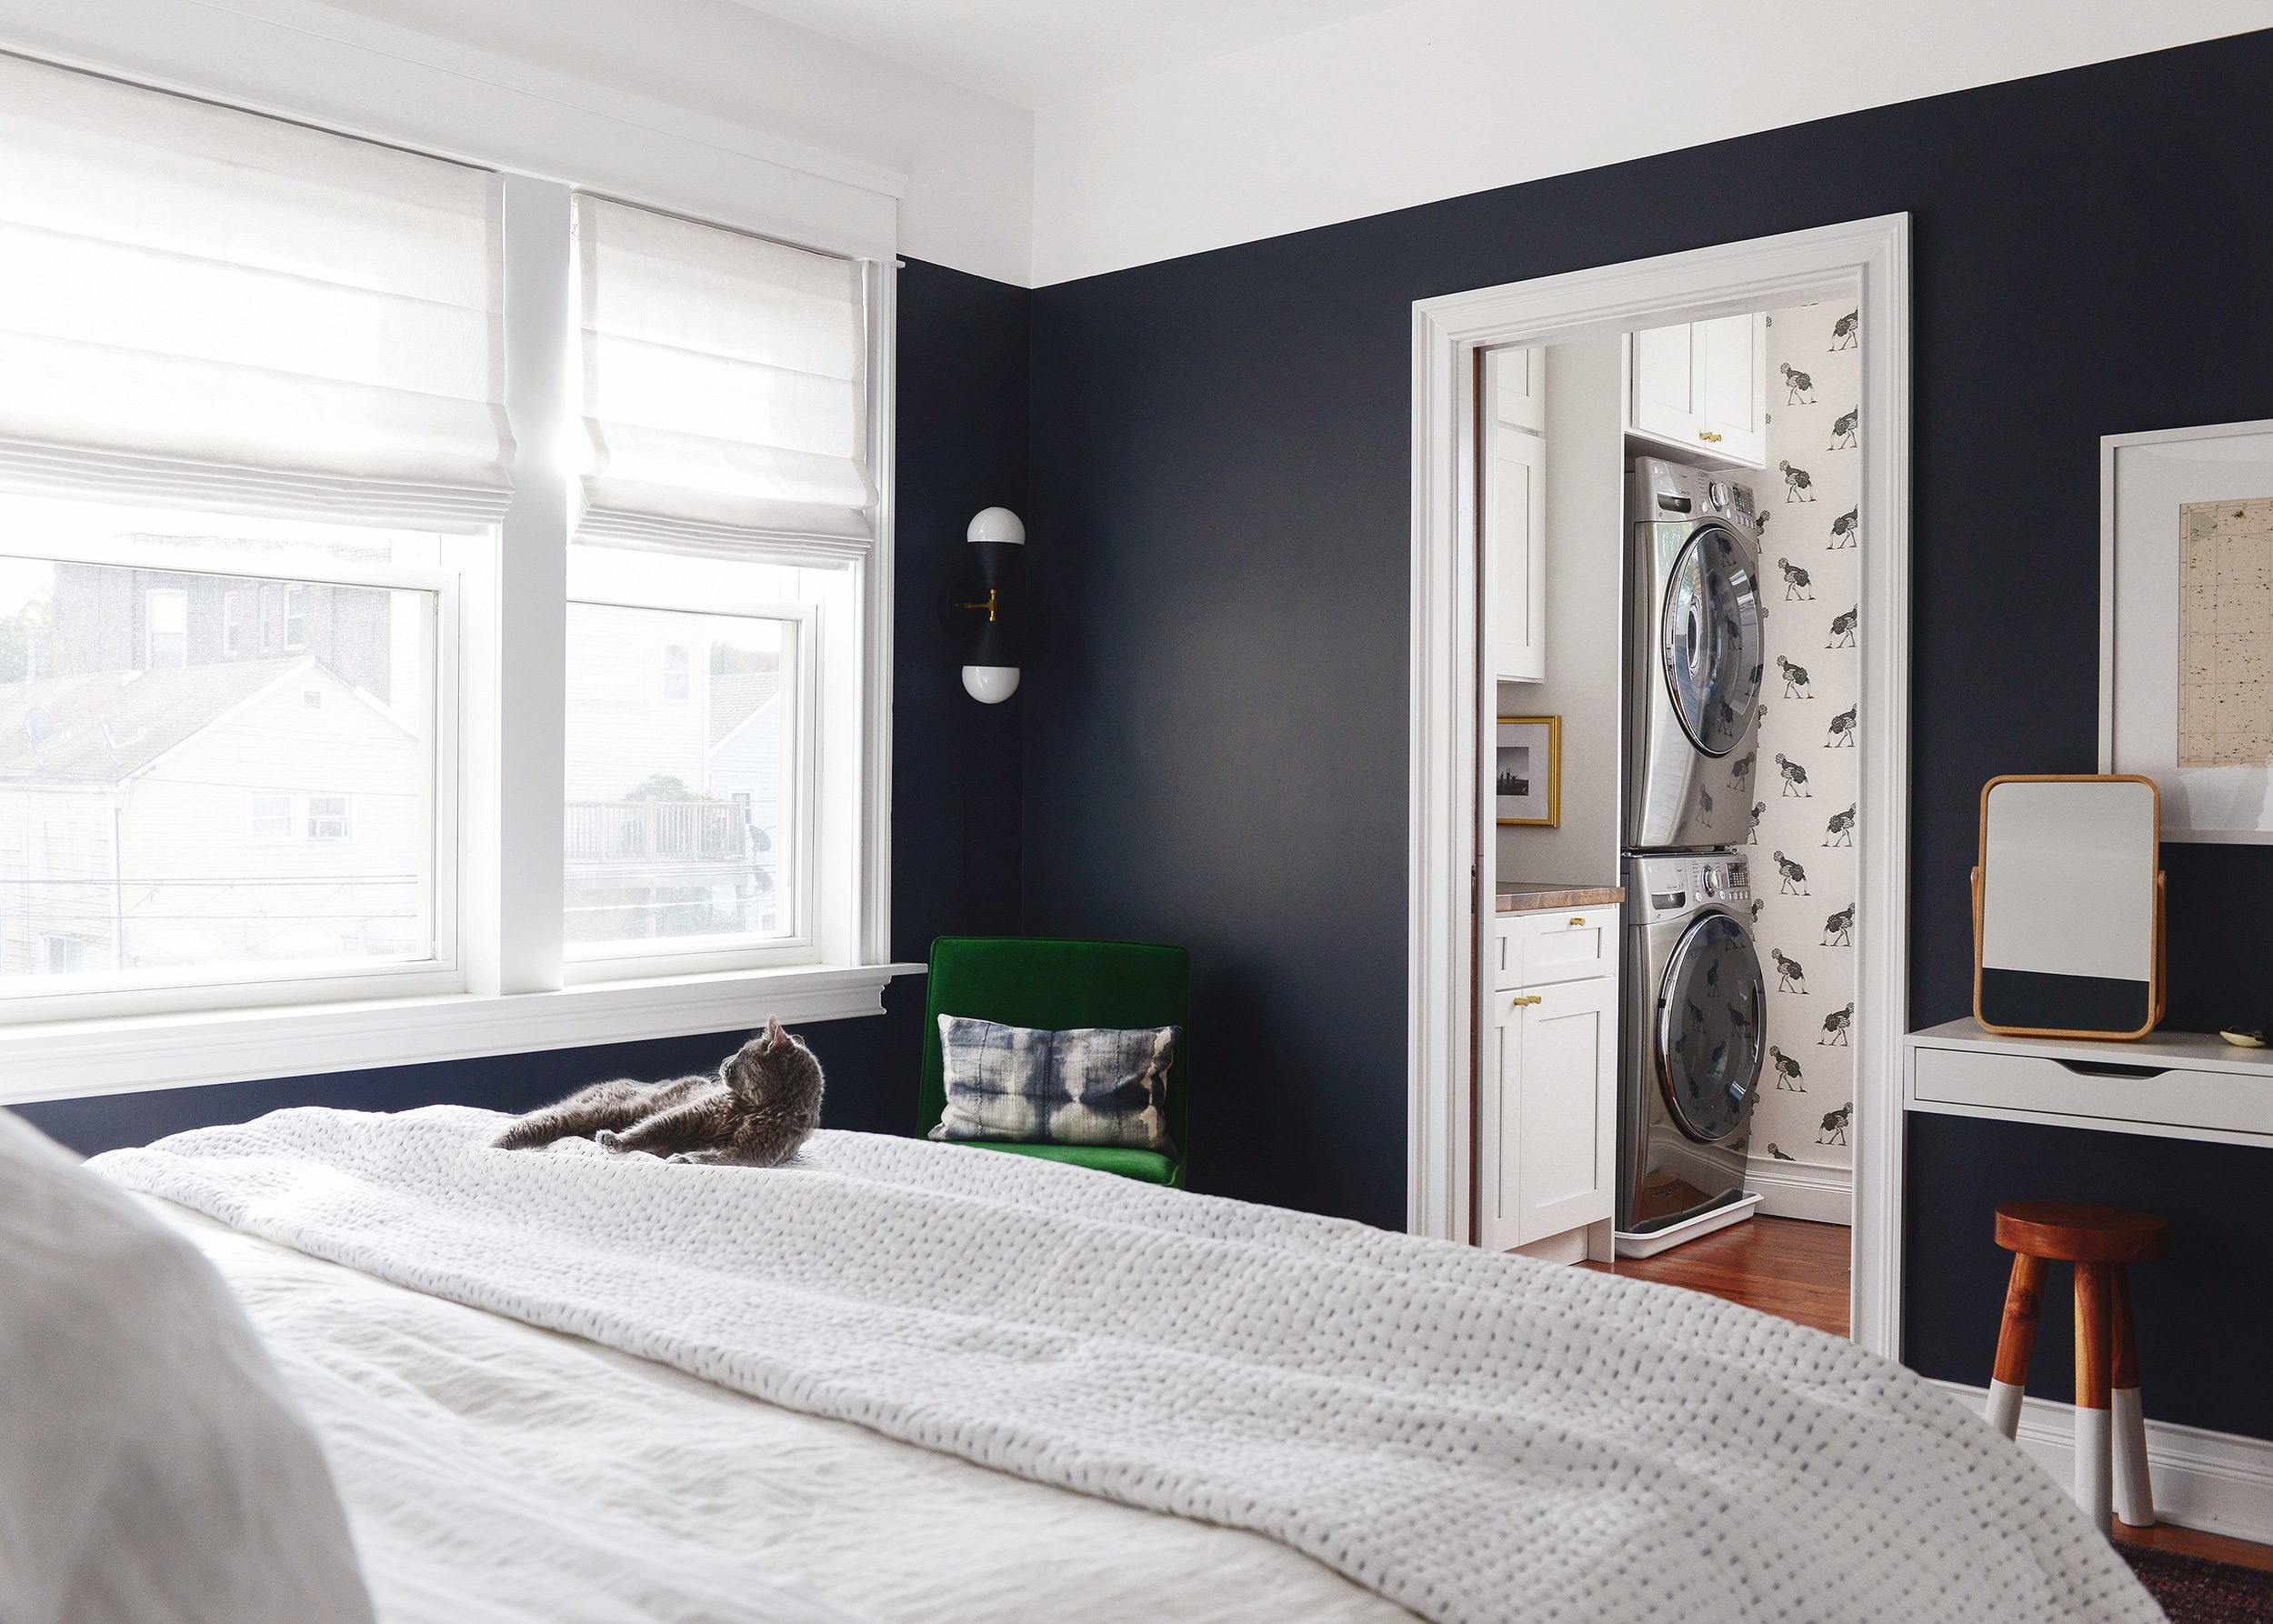
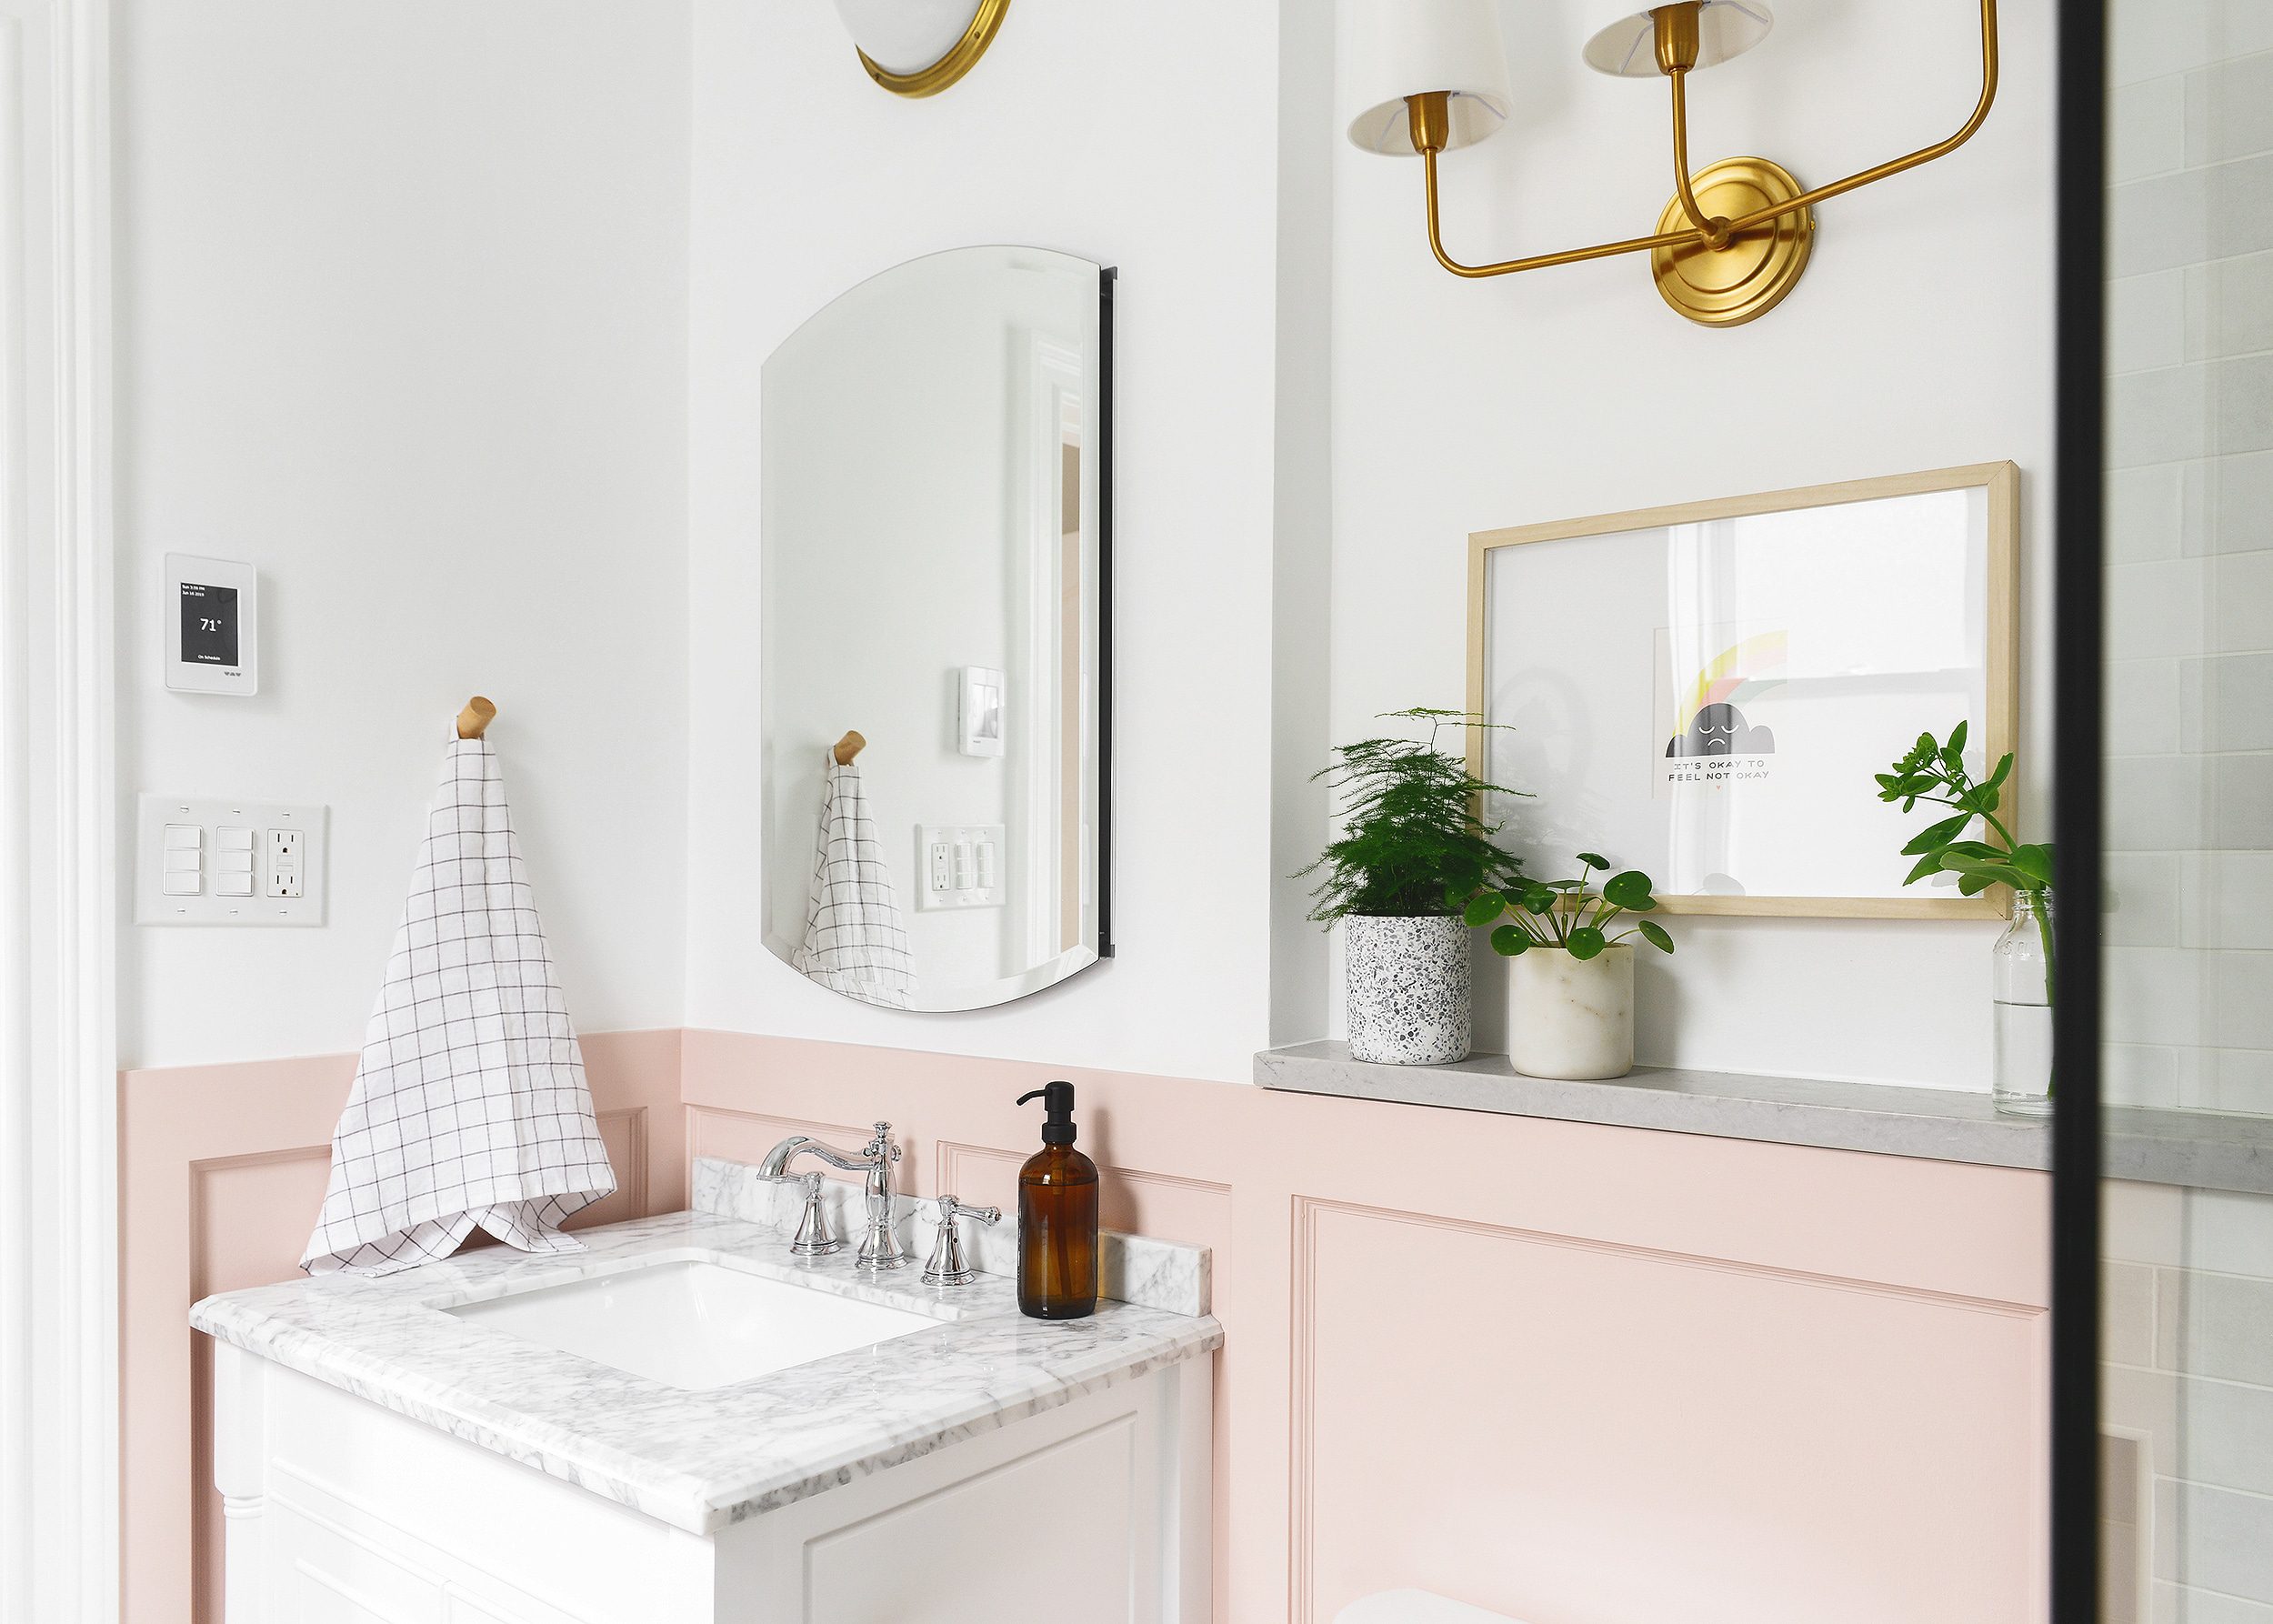
bed | sconces | frames + prints | bedside tables
Let’s Talk About How to Paint Anything!
I’m breaking it down by job, and I’ve dug up past posts that may be helpful for you as well. We also think of you as our community, and we know that there are several ways to get from A to B. If there are tips that have been helpful for you, please share in the comments! Alternately, if you have additional questions, ask away. Let’s take the guesswork out of the most powerful tool in our DIY tool belts – paint!
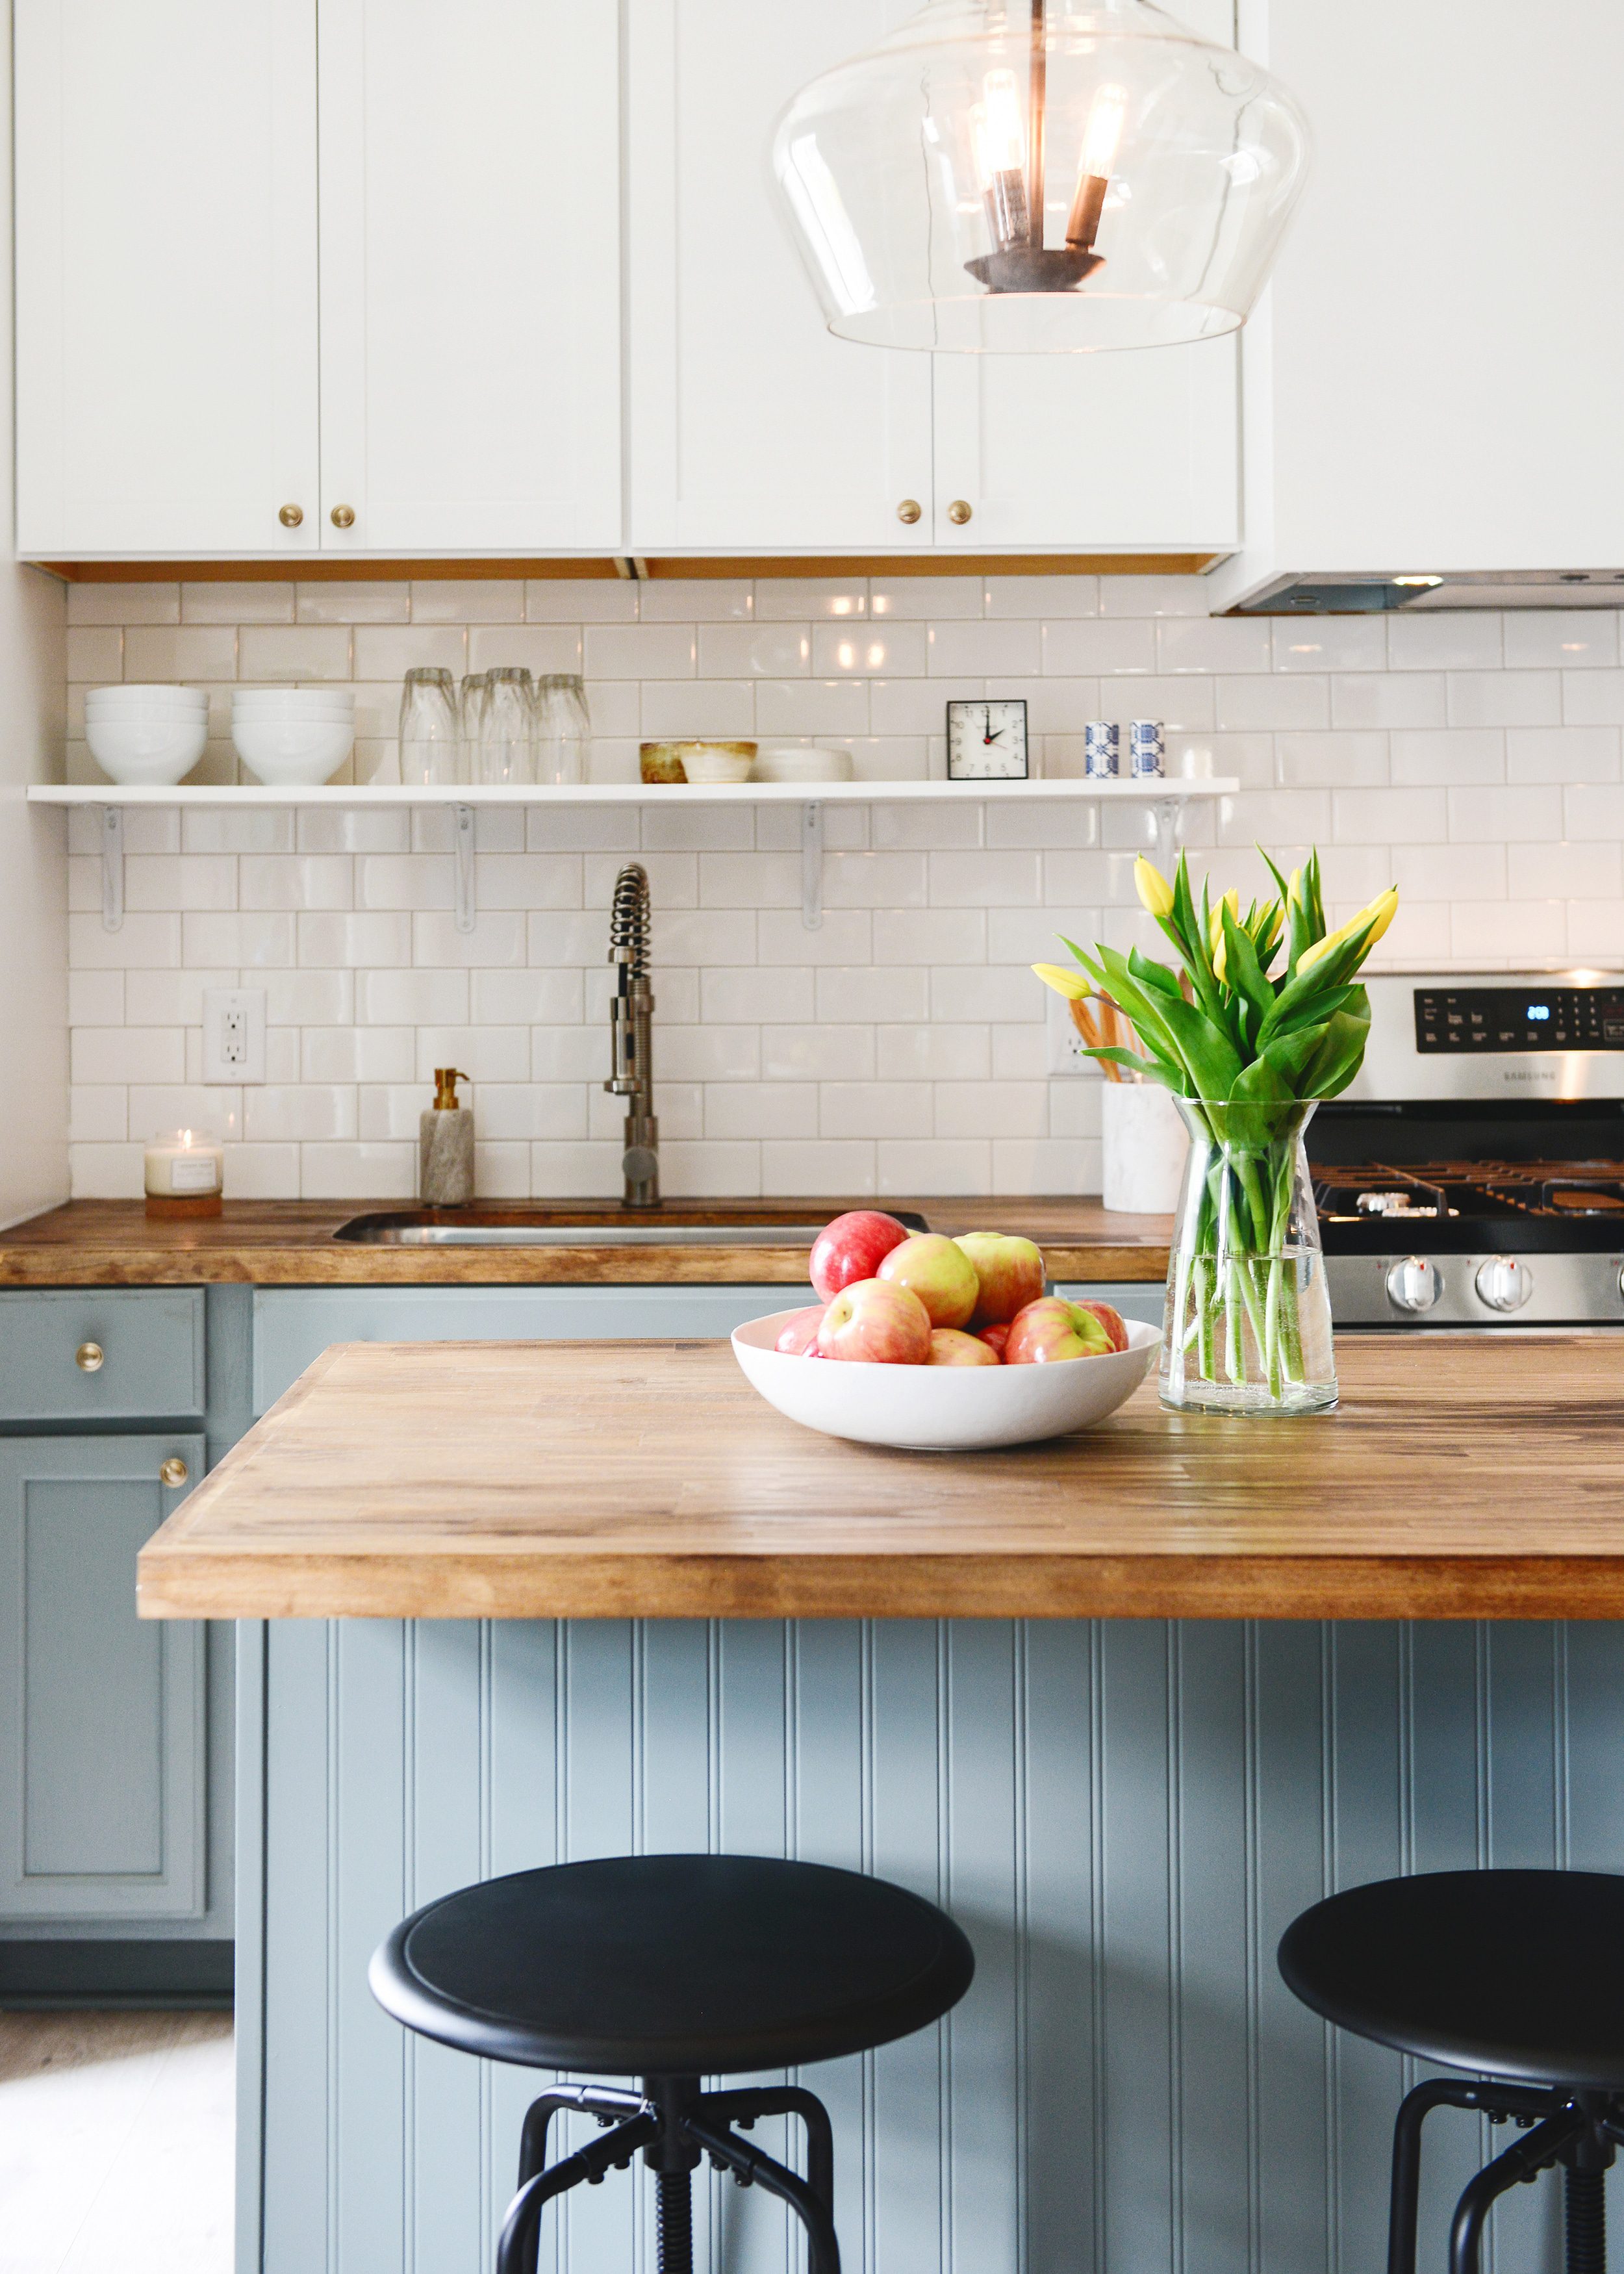
bookcase | counter stools | sectional | pouf
Before You Start
- Ensure that your surface is clean, dry and free of chips and peels.
- Repair any holes or imperfections with drywall spackle, wood filler or epoxy filler, and sand smooth! This is imperative for any type of painting project, from walls to doors to furniture.
- Depending on the project, you may need to caulk cracks or gaps and allow to dry a minimum of 1 day before painting.
- Have your paint supplies nearby and ready to go, and don’t forget a rag for any emergency drips or spills!
- Time flies when you have a good playlist at the ready.
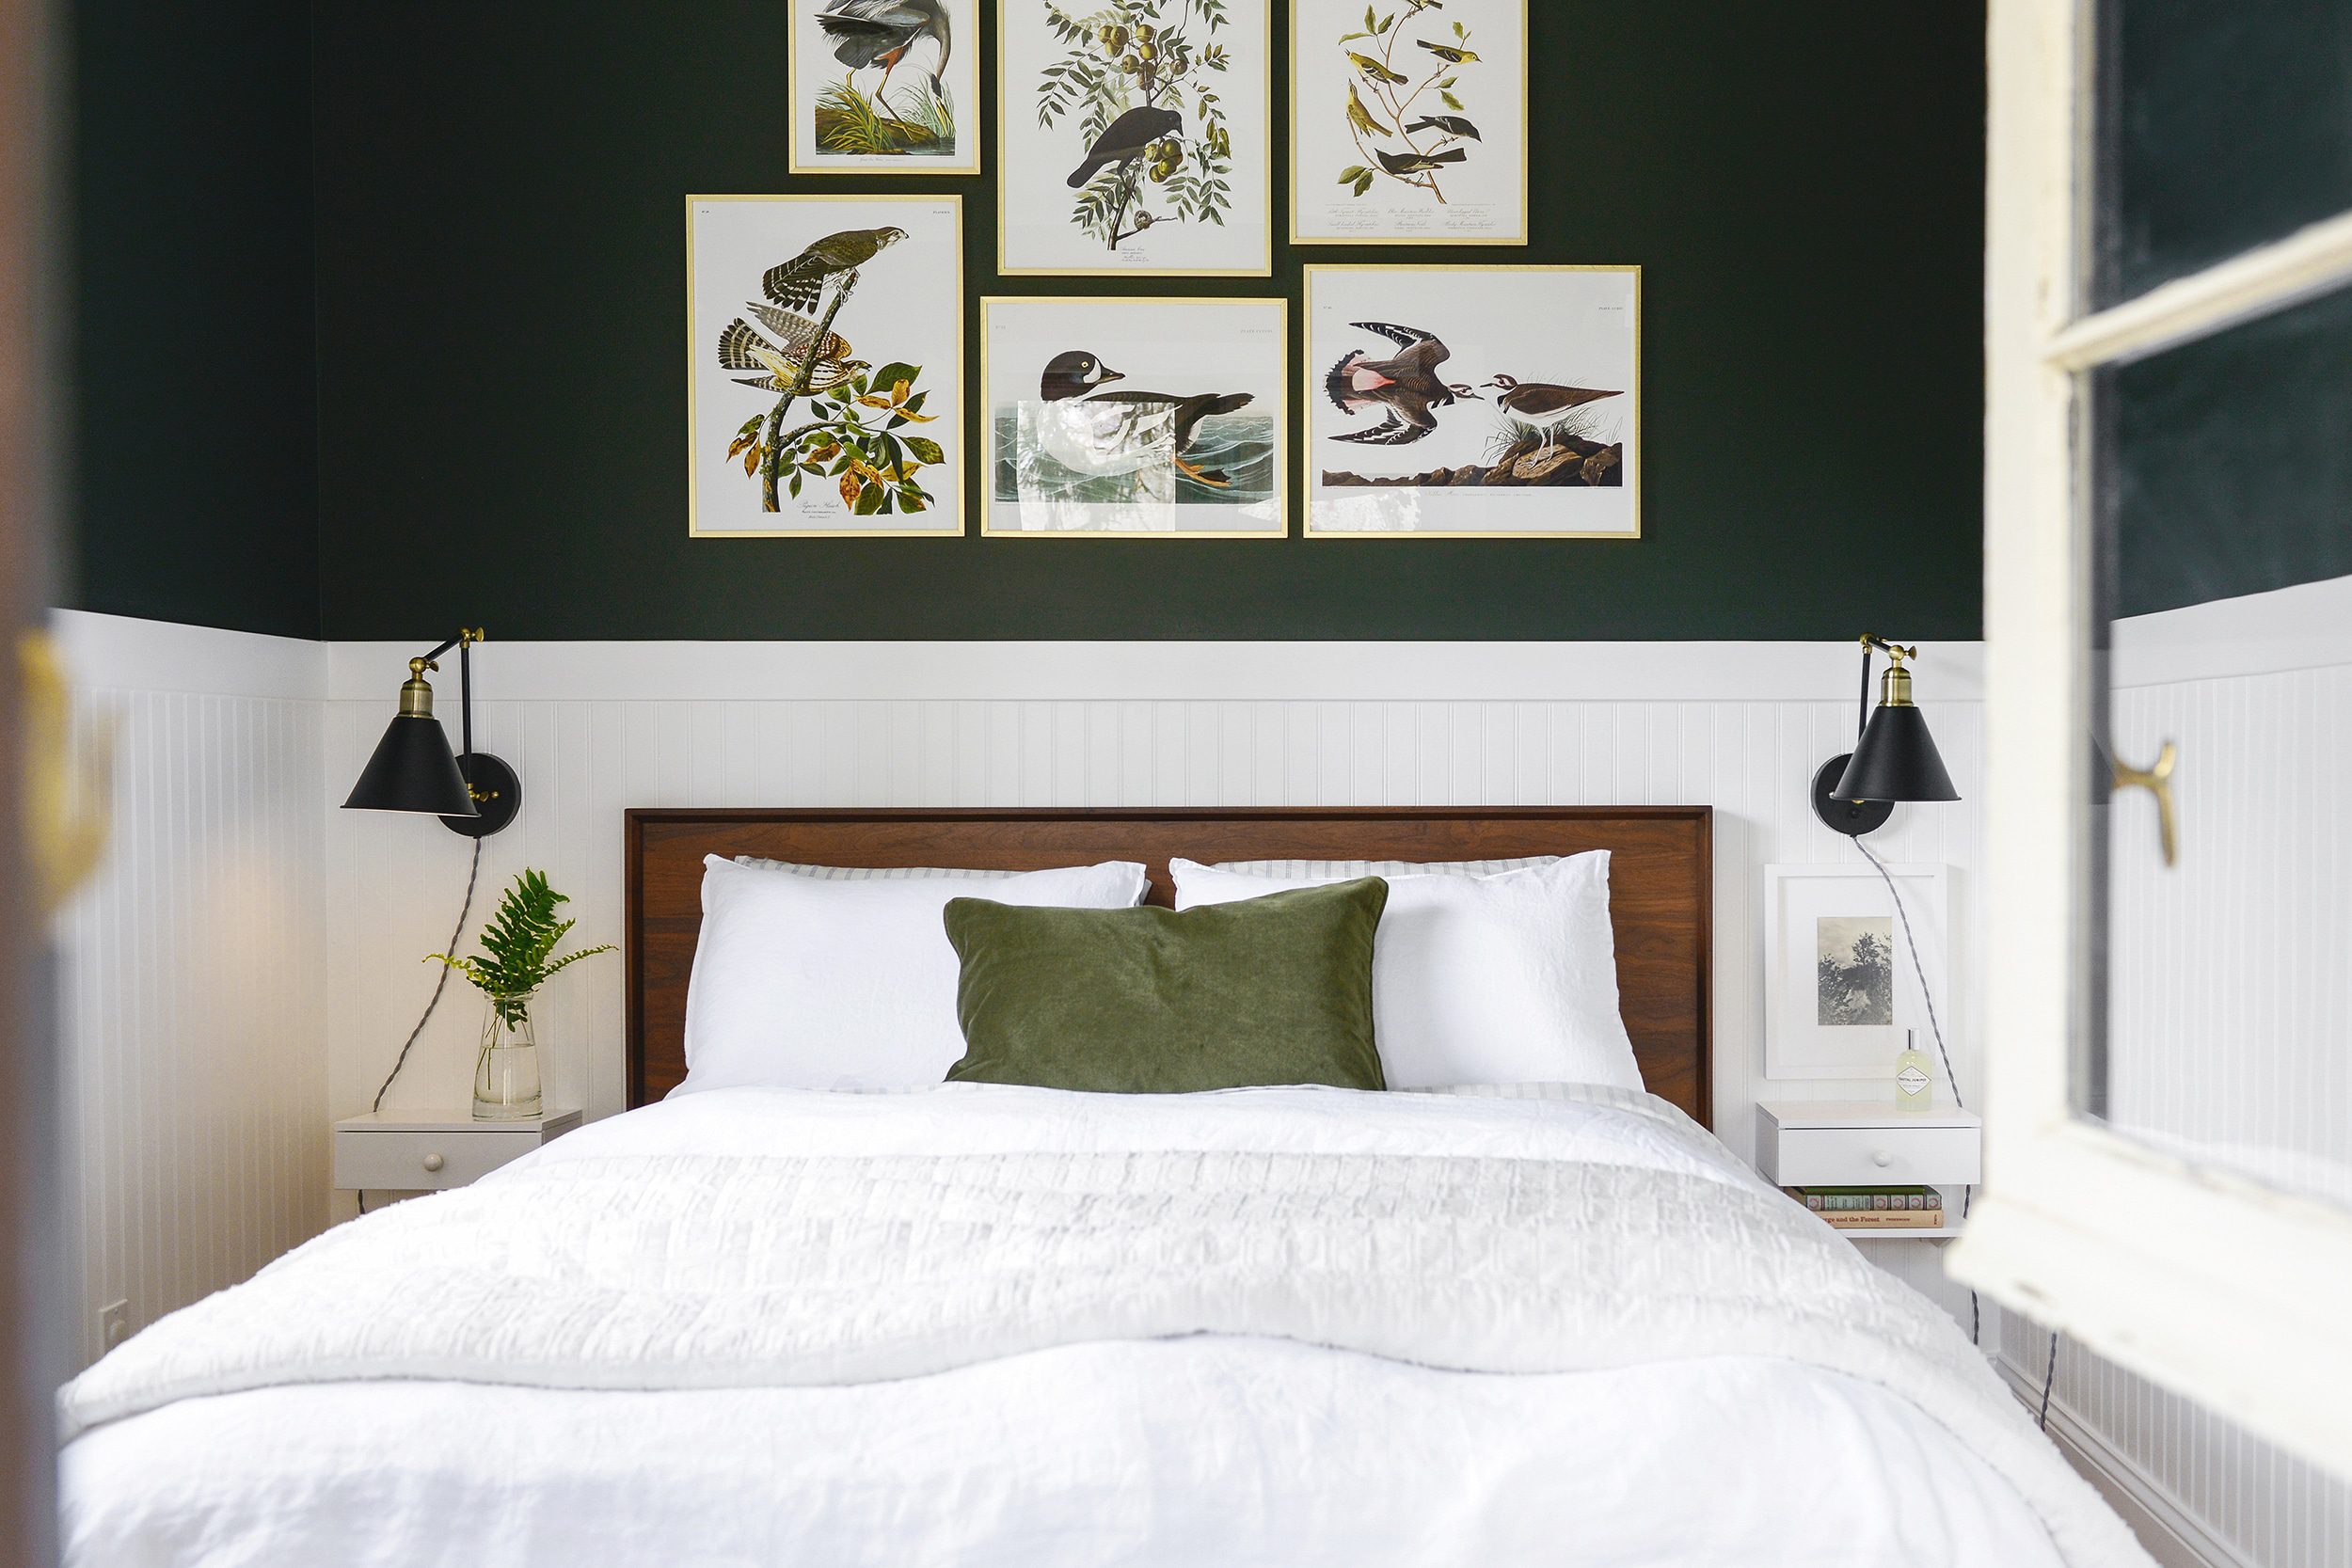
bed | sconces | frames + prints | bedside tables
Painting Tips + Tricks
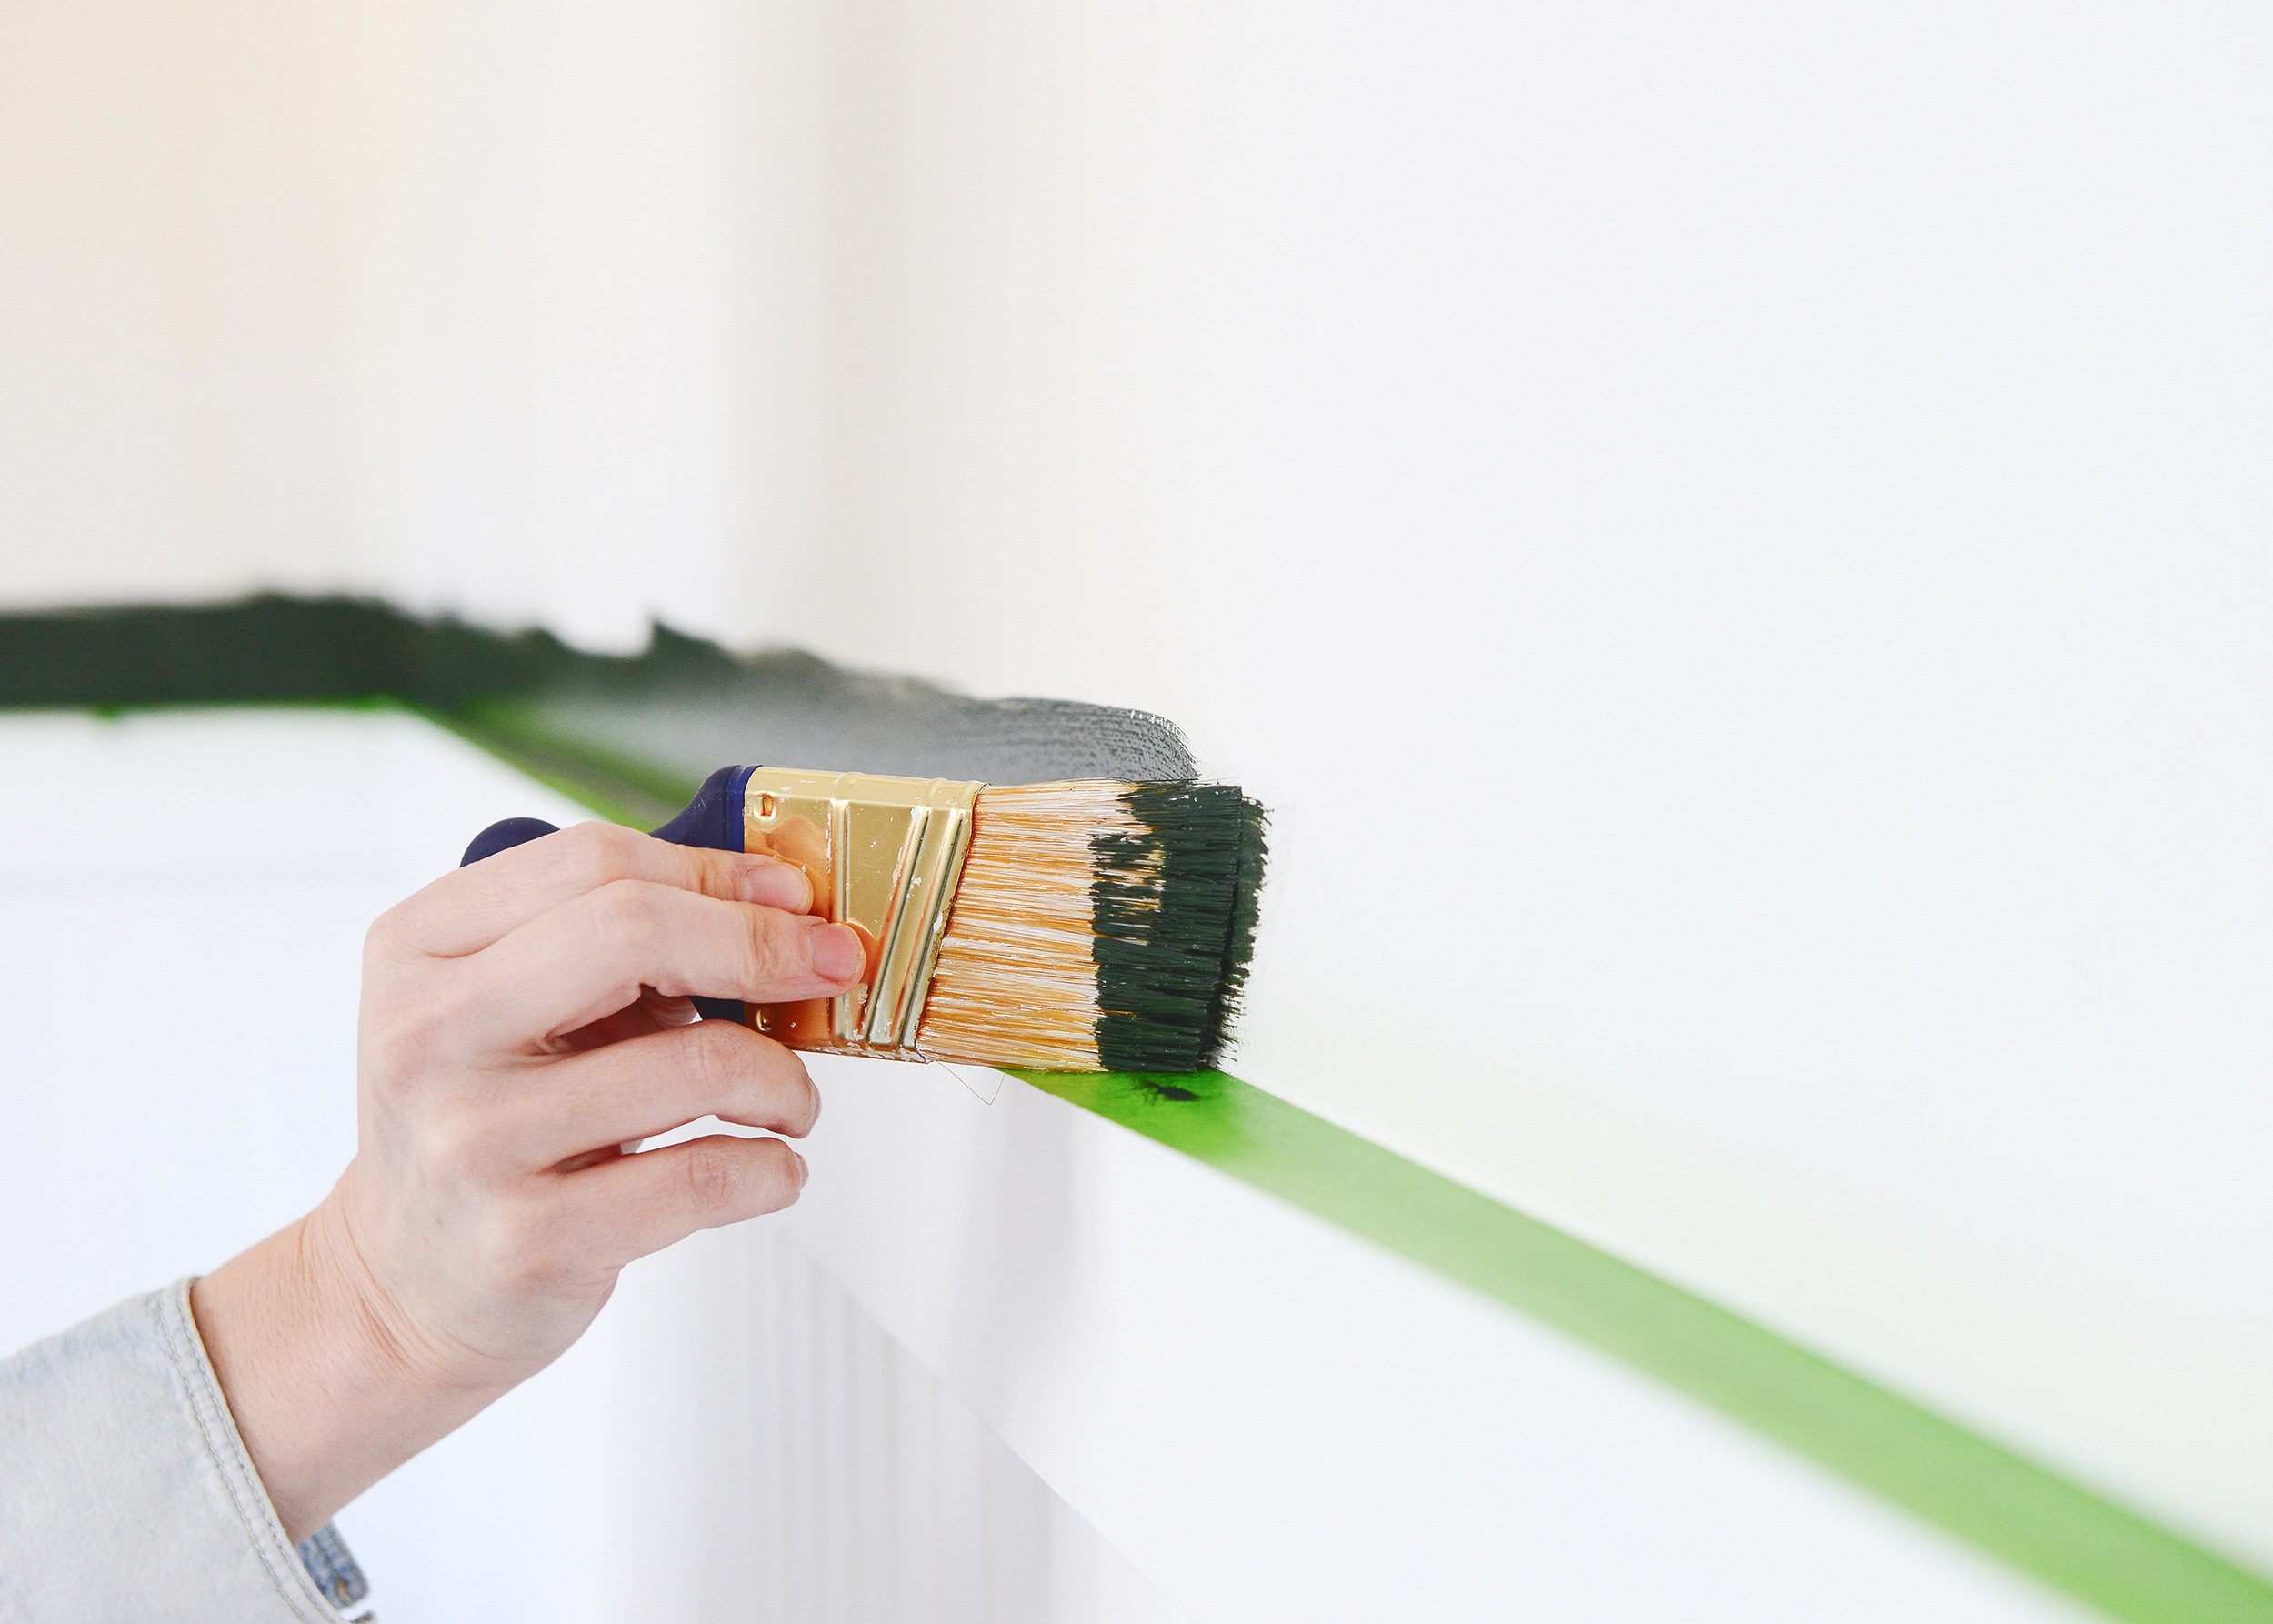
- If using a bold paint color, it’s a good idea to use painter’s tape for a crisp line. Apply tape no more than a day before the job, and peel up the tape immediately following the final coat! Peeling tape while the paint is still wet will allow for the cleanest line.
- Wrap a wet paint brush or roller in plastic (like saran wrap or an old grocery bag) and store it in the fridge to keep it wet for several days.
- A short-handled 2″ angle brush is your best friend for detail work. (We use this one!)

- If you have several almost-empty gallons, consider decanting the paint into quart cans like these to save space!
- If you have a lot of paint projects on your to-do list, it’s helpful to organize an entire bin dedicated to your paint supplies! We pack this sturdy bin full of trays, rollers, drop cloths, trim cups and miscellaneous paint supplies.
- As soon as you’re done painting, wash your tools immediately! We use nothing more than warm water and mild dish soap to get our brushes and rollers clean. We dispose of the roller covers.
How to Paint | Walls, Ceilings + Trim
- paint type: interior grade
- paint finish: flat for ceilings, flat or eggshell for walls, satin or semi-gloss for trim
- tools used: tray + liner, roller + cover (typically 3/8″ nap), roller extension, 2″ angle brush, drop cloth, painter’s tape (optional)

- Move furniture away from walls, remove any artwork, decor and switch plate covers.
- Clean the walls, ceilings and trim with water and mild dish soap, if necessary.
- Spackle any divots and sand. Fill any gaps between the trim and wall with caulk.
- In a perfect world, we would paint the ceilings first, then trim, then walls. To paint the ceiling, cut around the edges twice with this 2″ angle brush and roll two coats using a roller + extension.
- If painting baseboards and door / window trim, I do this with semi-gloss paint, and I paint ‘outside the lines’ of the trim. Once the trim paint is dry, I find that it’s much easier to cut back in with the wall color for a perfect line. Tip: If you’re only painting the baseboards and door / window trim, use painter’s tape to prevent bleed onto the wall color.
- We’ve found that trimming in with the wall color before rolling does the best job of hiding paint lines! I use the wall color with this 2″ angle brush around the ceiling, trim, all corners and around outlets and switches. I always do two coats of trim!
- Scott follows up with two coats of wall color using a roller, a roller extension (to get near the ceiling) and a 3/8″ nap roller cover.
- Remove any painter’s tape immediately.
See also: How we choose white paint colors, how we use foam board to help us, how we used a paint sprayer on walls and ceilings, and how we disguised an uneven ceiling with paint.
sconce | dip-dyed stool | laundry room
How to Paint | Doors
- paint type: interior grade
- paint finish: satin or semi-gloss, typically the same finish as the trim
- tools used: tray + liner, 6″ foam roller, 2″ angle brush, drop cloth, painter’s tape (optional) | paint sprayer
- Clean with water and mild dish soap, if necessary.
- If you have a wood door or window, repair any divots with wood putty and sand. Fill any large gaps between the panels with caulk, if you’d like.
- If there are glass panes on your door, scrape off any excess paint and debris.
- Removing the hardware is ideal, otherwise, tape around it.
- Apply painter’s tape to any glass.
- Using a paint-and-primer in one has served me well. I use this 2″ angle brush to get into the decorative trim, and then I use a 6″ foam roller to paint the panels and frame. I do this twice, sometimes three times depending on how dark I’m painting the door.
- Remove any painter’s tape immediately.
- Once dry, re-install the hardware, and resist closing the door or window for the remainder of the day!

Tip: If painting multiple doors at once, a paint sprayer will make the job go much faster! Protect the walls and floors with drop cloths and follow the instructions that come with your sprayer.
See also: How we painted our Chicago front door, how to repair + paint a front door, painting our windows + doors black, painting our French doors, and how we used a paint sprayer on our interior doors.
How to Paint | Wall Paneling
- paint type: interior grade paint-and-primer in one
- paint finish: satin or semi-gloss | high gloss for a bold statement
- tools used: tray + liner, 4 or 6″ foam roller, 2″ angle brush, drop cloth, painter’s tape (optional)
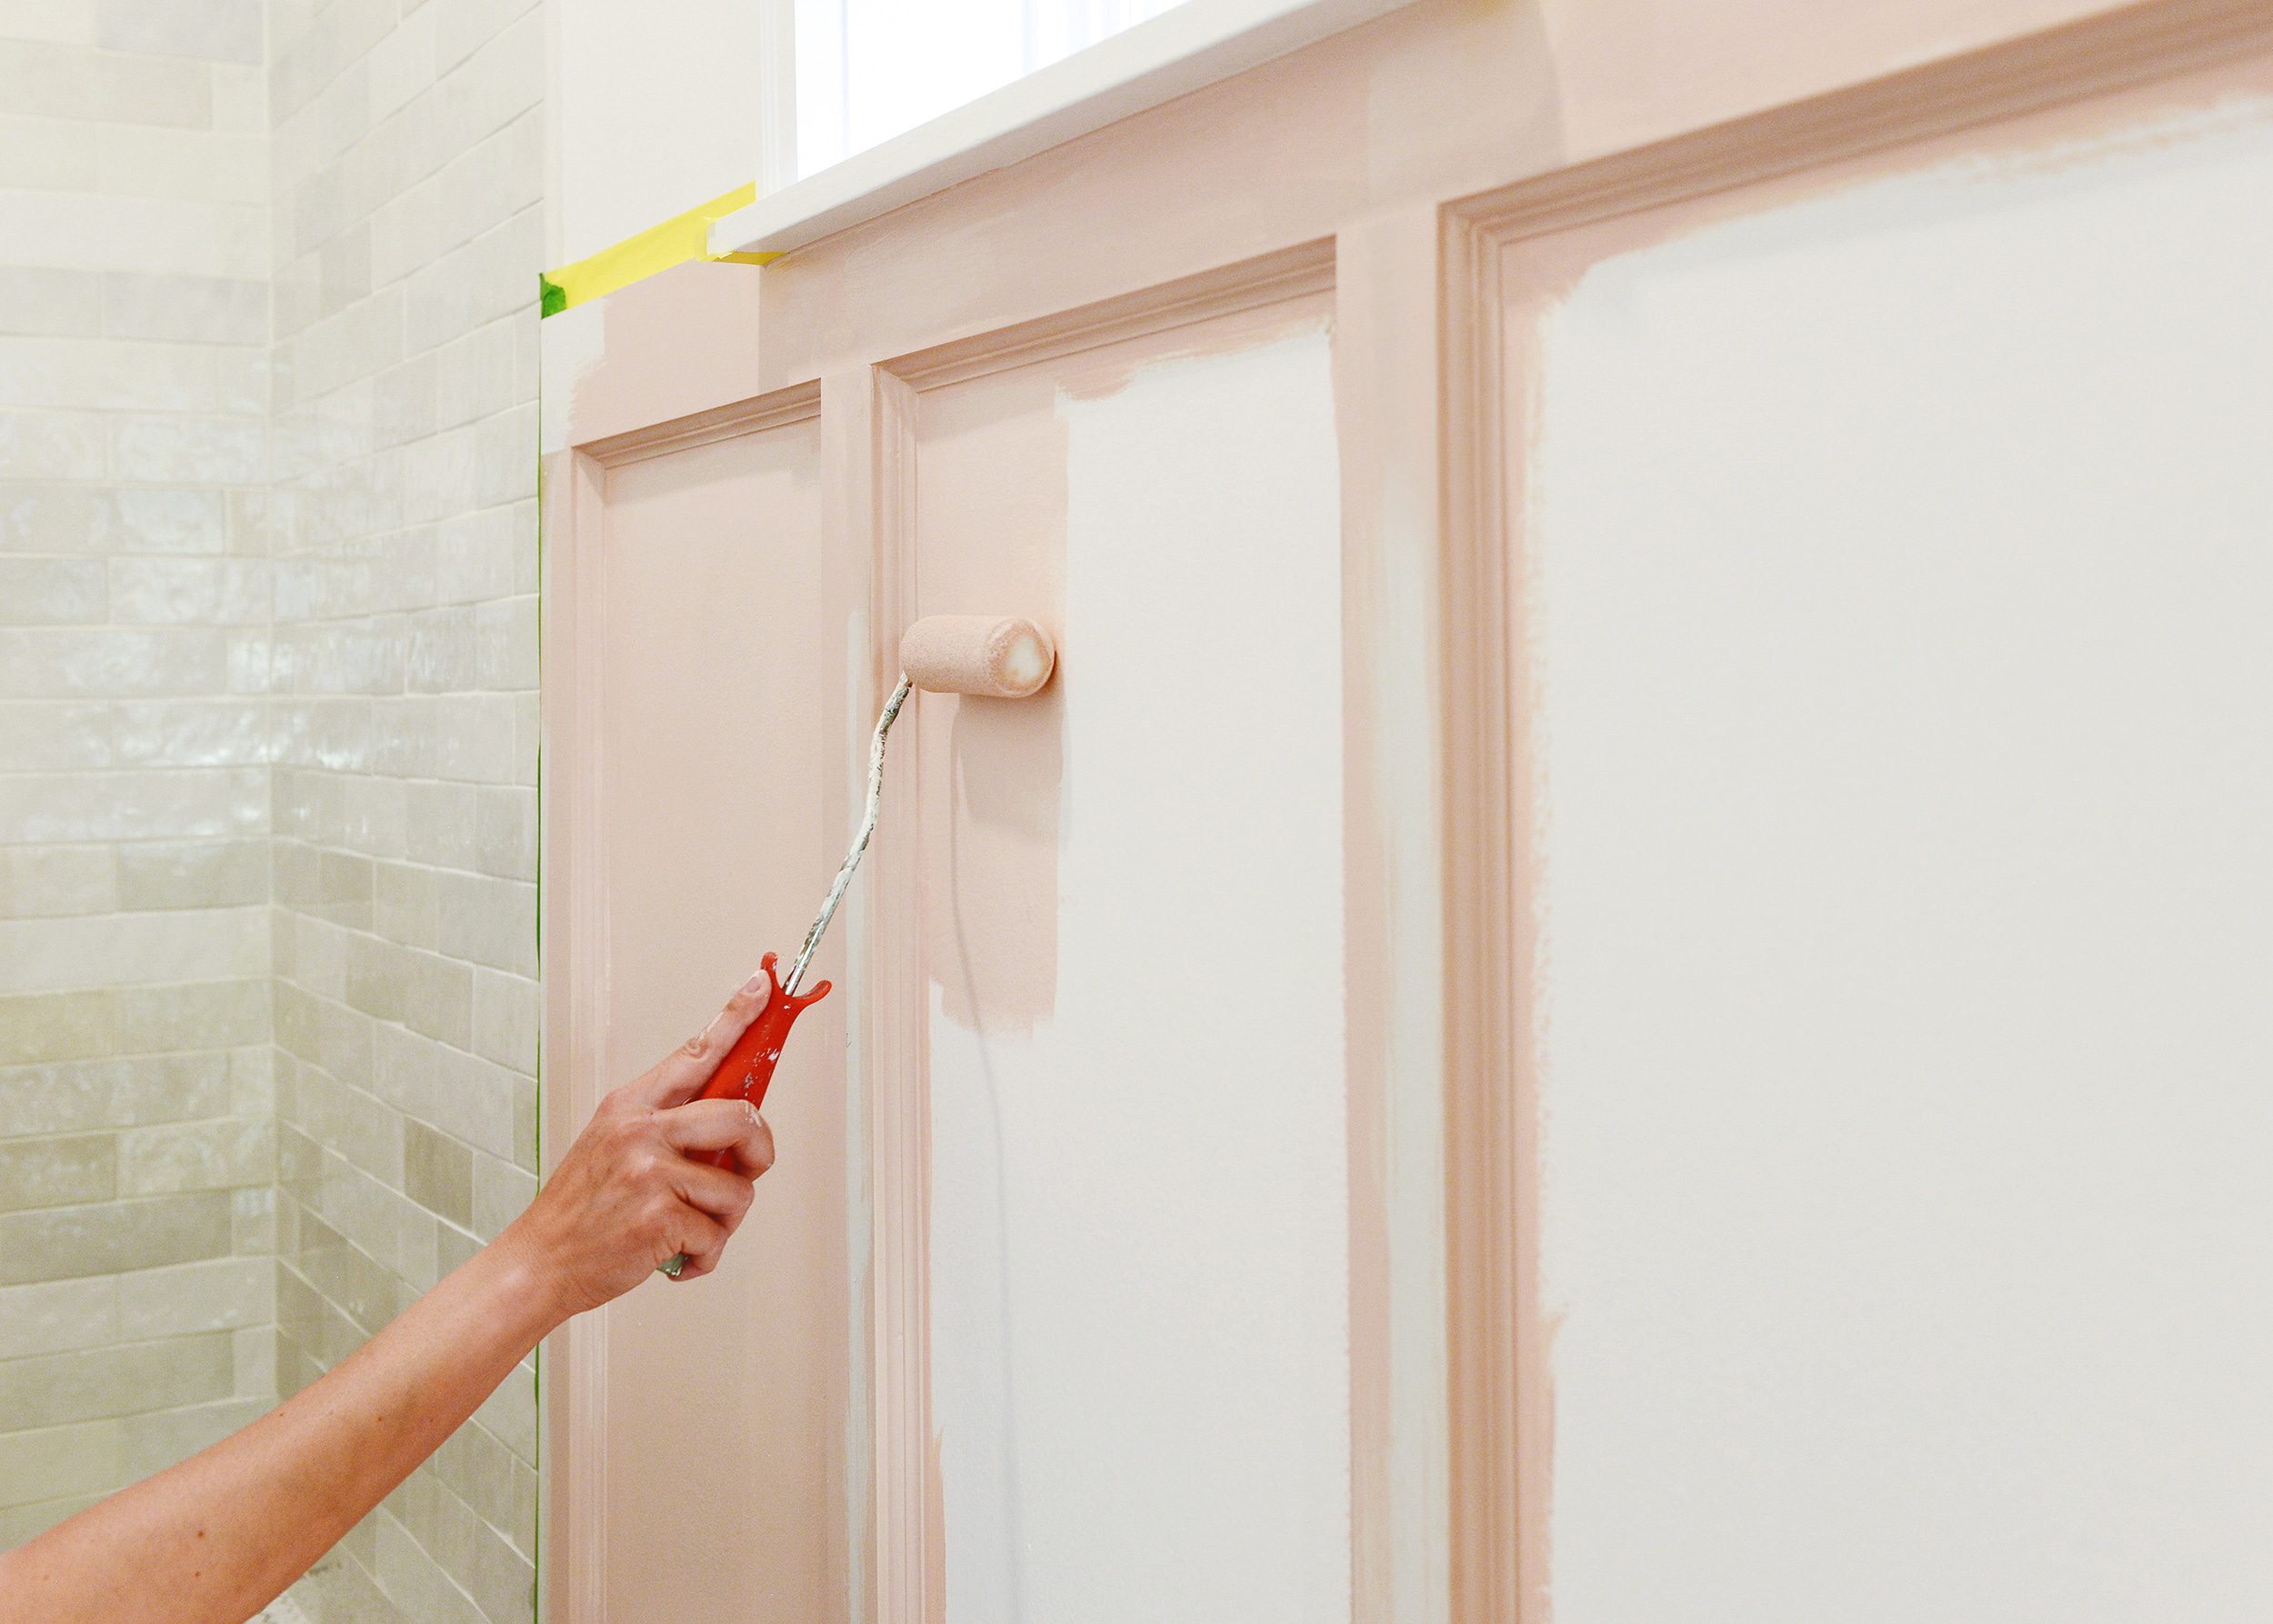
- Clean with water and mild dish soap, if necessary.
- Repair any divots with wood putty or spackle accordingly, and sand. Fill any large gaps between the panels with caulk, if you’d like.
- Apply painter’s tape where the paneling meets drywall.
- I use this 2″ angle brush to apply two coats of paint into the decorative details and all corners, and then I use a 4 or 6″ foam roller to paint the paneling (also two coats).
- Remove any painter’s tape immediately.
See also: Our board + batten, using painter’s tape with dark green paint and beadboard, and how we added beadboard to the laundry room
How to Paint | Large Furniture
- paint type: interior or exterior grade, dependent on if the piece will reside indoors or out
- paint finish: this is up to you! Look at photos of painted furniture that you love and take note of the finish. What speaks to you? Matte, satin or high gloss?
- protective finish: this is optional, but strongly recommended. I use and love Polycrylic (which doesn’t yellow over time!)
- tools used: tray + liner, 4 or 6″ foam roller, 2″ angle brush, sandpaper, drop cloth | paint sprayer
kitchen island | enamelware
- Clean with water and mild dish soap, if necessary.
- Remove hardware, if any.
- Repair any divots with wood putty or epoxy (like bondo), and sand.
- If there is a sheen to the item, lightly sand all over with a fine grit sandpaper (such as 220) for better paint adhesion.
- Apply painter’s tape to protect anything that shouldn’t be painted, such as drawers.
- I use this 2″ angle brush to apply two coats of paint into any decorative details, and then I use a 4 or 6″ foam roller to apply two coats of paint to larger surface areas.
- Once the paint is dry, I follow up with 2-3 coats of Polycrylic using the same method with my brush and foam roller. I follow the instructions on the can, but basically, I apply a coat every 2 hours with a light sand in-between (which helps with adhesion). Note: The final coat does not get sanded. For the smoothest results, do not overwork the Polcrylic! It self-levels nicely.
- Remove any painter’s tape immediately after the final coat of Polycrylic.
- Allow the item to dry for 2-3 days (that’s the hardest part!) before re-installing any hardware.
Tip 1: If your item does not require taping off of drawers, etc, a paint sprayer may work for you! Protect the walls and floors with drop cloths and follow the instructions that come with your sprayer.
Tip 2: The same steps above apply for painting cabinetry! There is one extra step I would include in the beginning, and that would be to use a deglosser if the existing cabinets have a slight sheen to them.
See also: How we painted our kitchen island, how we painted our media console with chalk paint, how we used a paint sprayer on our outdoor table, how we used a paint sprayer on our porch swing.
How to Paint | Small Furniture + Decor
- paint type: spray paint
- paint finish: this is up to you! Look at photos of painted furniture that you love and take note of the finish. What speaks to you? Matte, satin or high gloss?
- tools used: drop cloth, painter’s tape (optional)
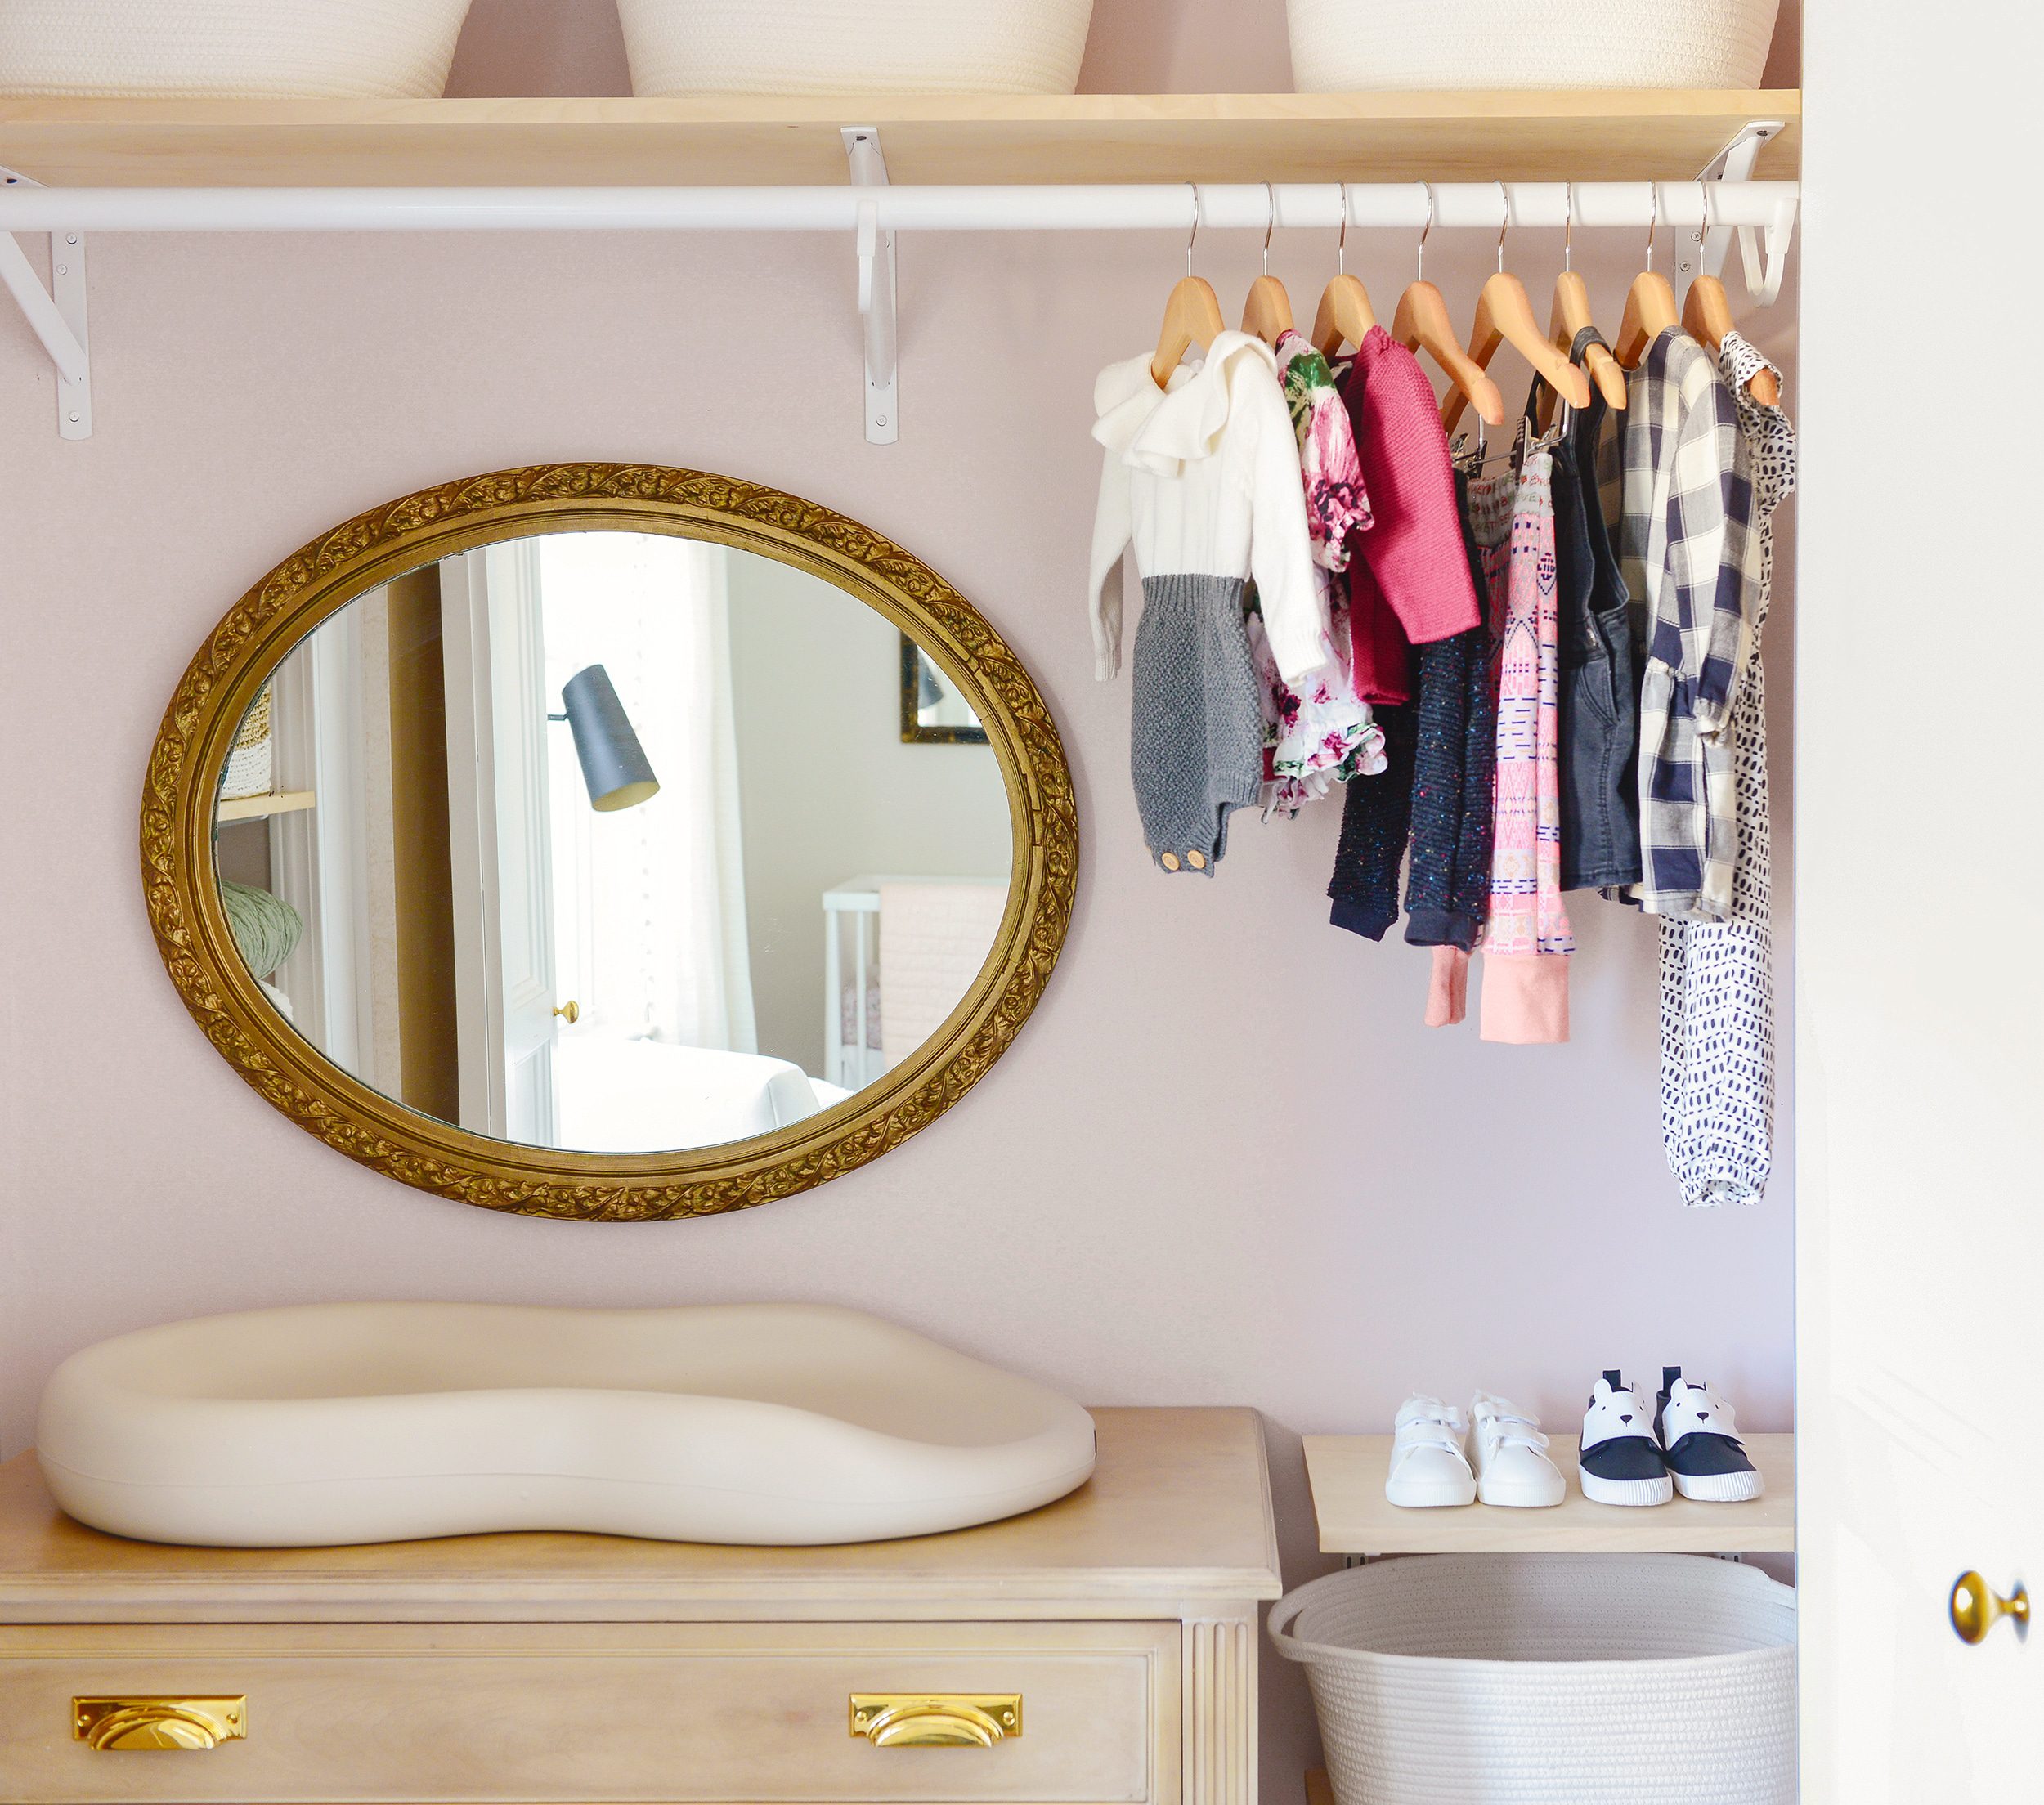
brass hardware | changing pad | rope baskets
- I’m a big fan of using spray paint on smaller furniture and decor (i.e., thrifted treasure, mirrors and frames)! Living in Chicago, I need to wait for a good-weather-day, because this project should be completed in a well-ventilated area.
- Lay down a drop cloth or piece of cardboard, large enough so that the item has 1-2′ of floor protection around it.
- Shake your spray paint really well, and shake it every time before another application.
- Most pieces take 2-3 light coats. Keep your hand moving if you’re spraying, and stay 10-12″ away from the item! Multiple light coats are better than one thick coat.
- Only a small amount of dry time is needed between coats for the best adhesion. I usually wait no more than 10-20 minutes between coats.
- Allow the item to dry for at least an entire day before bringing it back inside.
See also: How we revived our vintage sconces with spray paint, spray painting thrifted items.
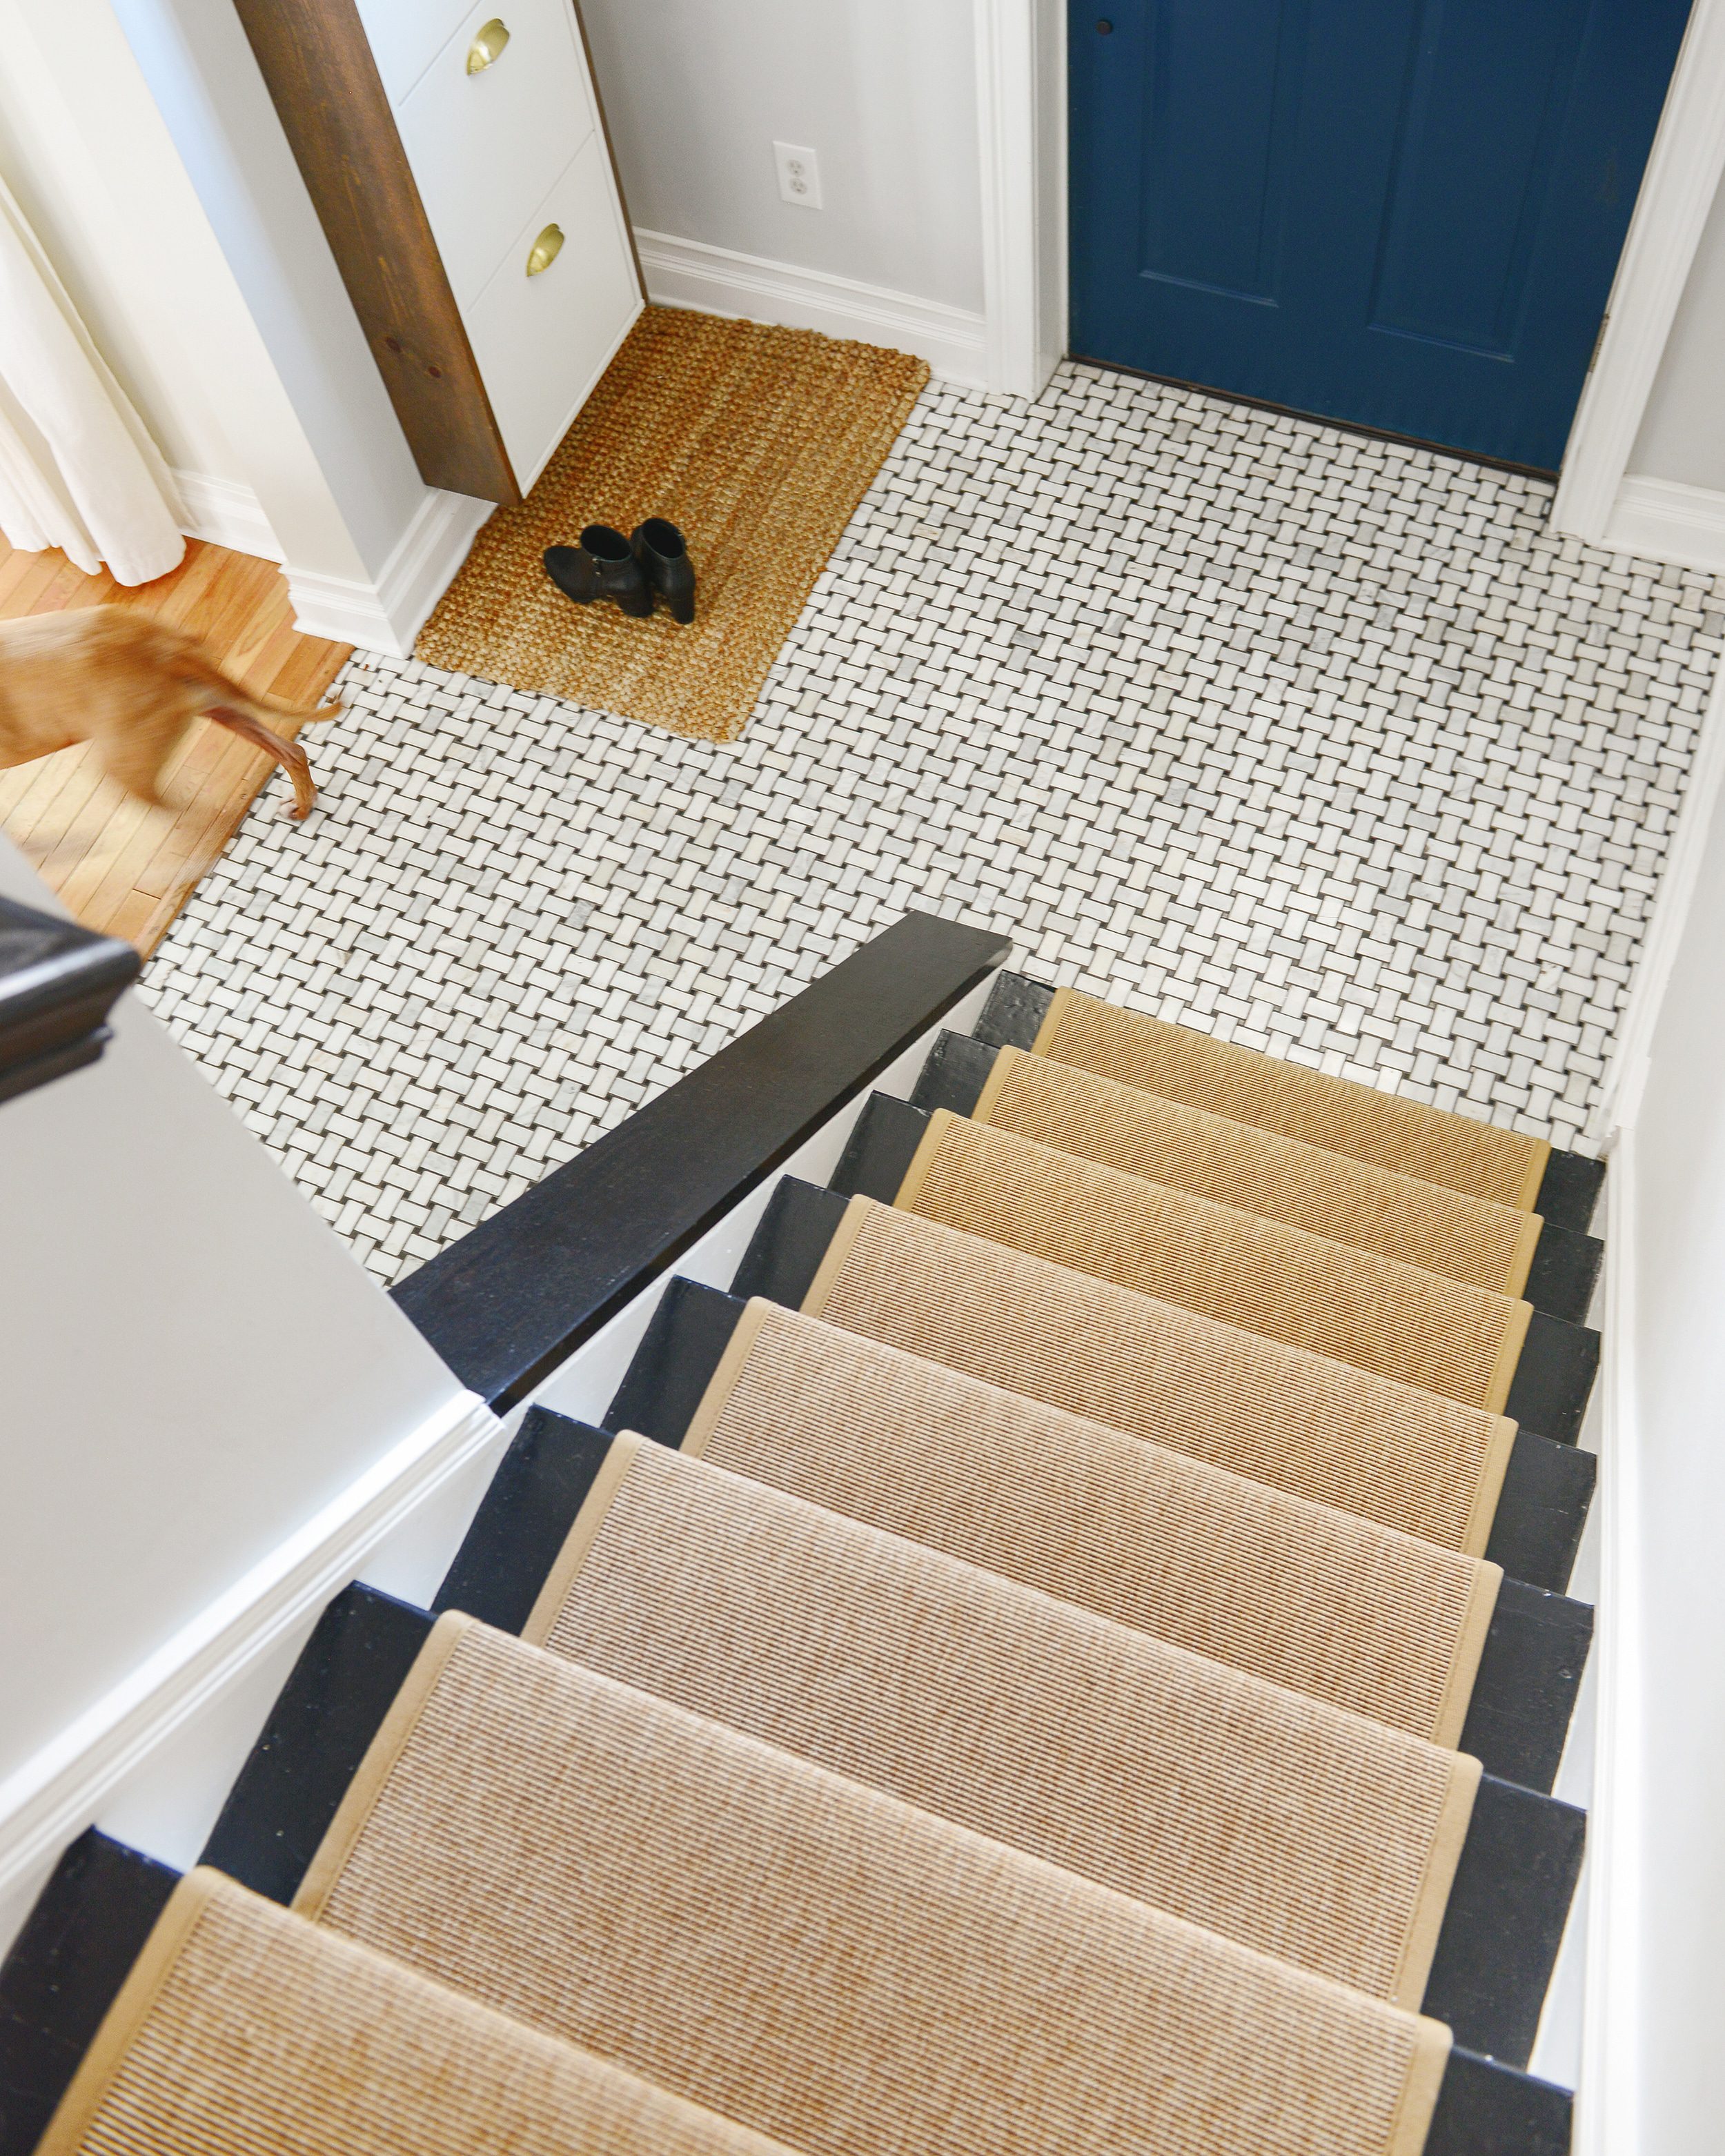
How to Paint | Stairs
- paint type: interior / exterior floor enamel for the treads, like this | interior for the risers
- paint finish: typically satin, with option to add a non-slip additive for the treads, satin or semi-gloss for the risers
- protective finish: this is optional, but strongly recommended. I’ve had amazing results with this Varathane Floor Finish!
- tools used: tray + liner, 4 or 6″ foam roller, 2″ angle brush, sandpaper, deglosser (optional), painter’s tape
- Clean with water and mild dish soap, if necessary. (Being that these are stairs, it’s going to be necessary!)
- Repair any divots with wood putty or epoxy (like bondo), and sand.
- You may want to use a deglosser if the existing stairs have a slight sheen to them. Afterwards, a light sanding with fine grit paper (such as 220) will help with paint adhesion.
- When painting our stairs (and boy, did I learn a lot!), I started with the risers. I used semi-gloss interior paint and this 2″ angle brush to get into the corners and any decorative details, and then I use a 4 or 6″ foam roller to apply two coats of paint to the riser. I encourage you to paint ‘outside the lines’ for this!
- Once the risers are dry, apply painter’s tape to protect them.
- A floor enamel is best for the treads, and you may want to add a non-slip additive (especially if you don’t plan on installing a runner). Using the 2″ angle brush again, apply two coats of paint around the tape lines, and follow up with two coats using the 4 or 6″ foam roller on the remainder of the tread.
- I found it easiest to start at the top and work my way down. If you have a high-traffic household, I’ve heard of people having success by painting every-other-step over the course of several days so that the stairs could be utilized!
- This Varathane Floor Finish saved my sanity and protected the paint on our stairs beautifully! However, note that can be slippery, so you may want to add the non-slip additive to this, unless you plan on installing a runner. I applied 4 coats of Floor Finish to the treads only (following the cans instructions) with great results.
- Remove any painter’s tape after the final coat of Floor Finish.
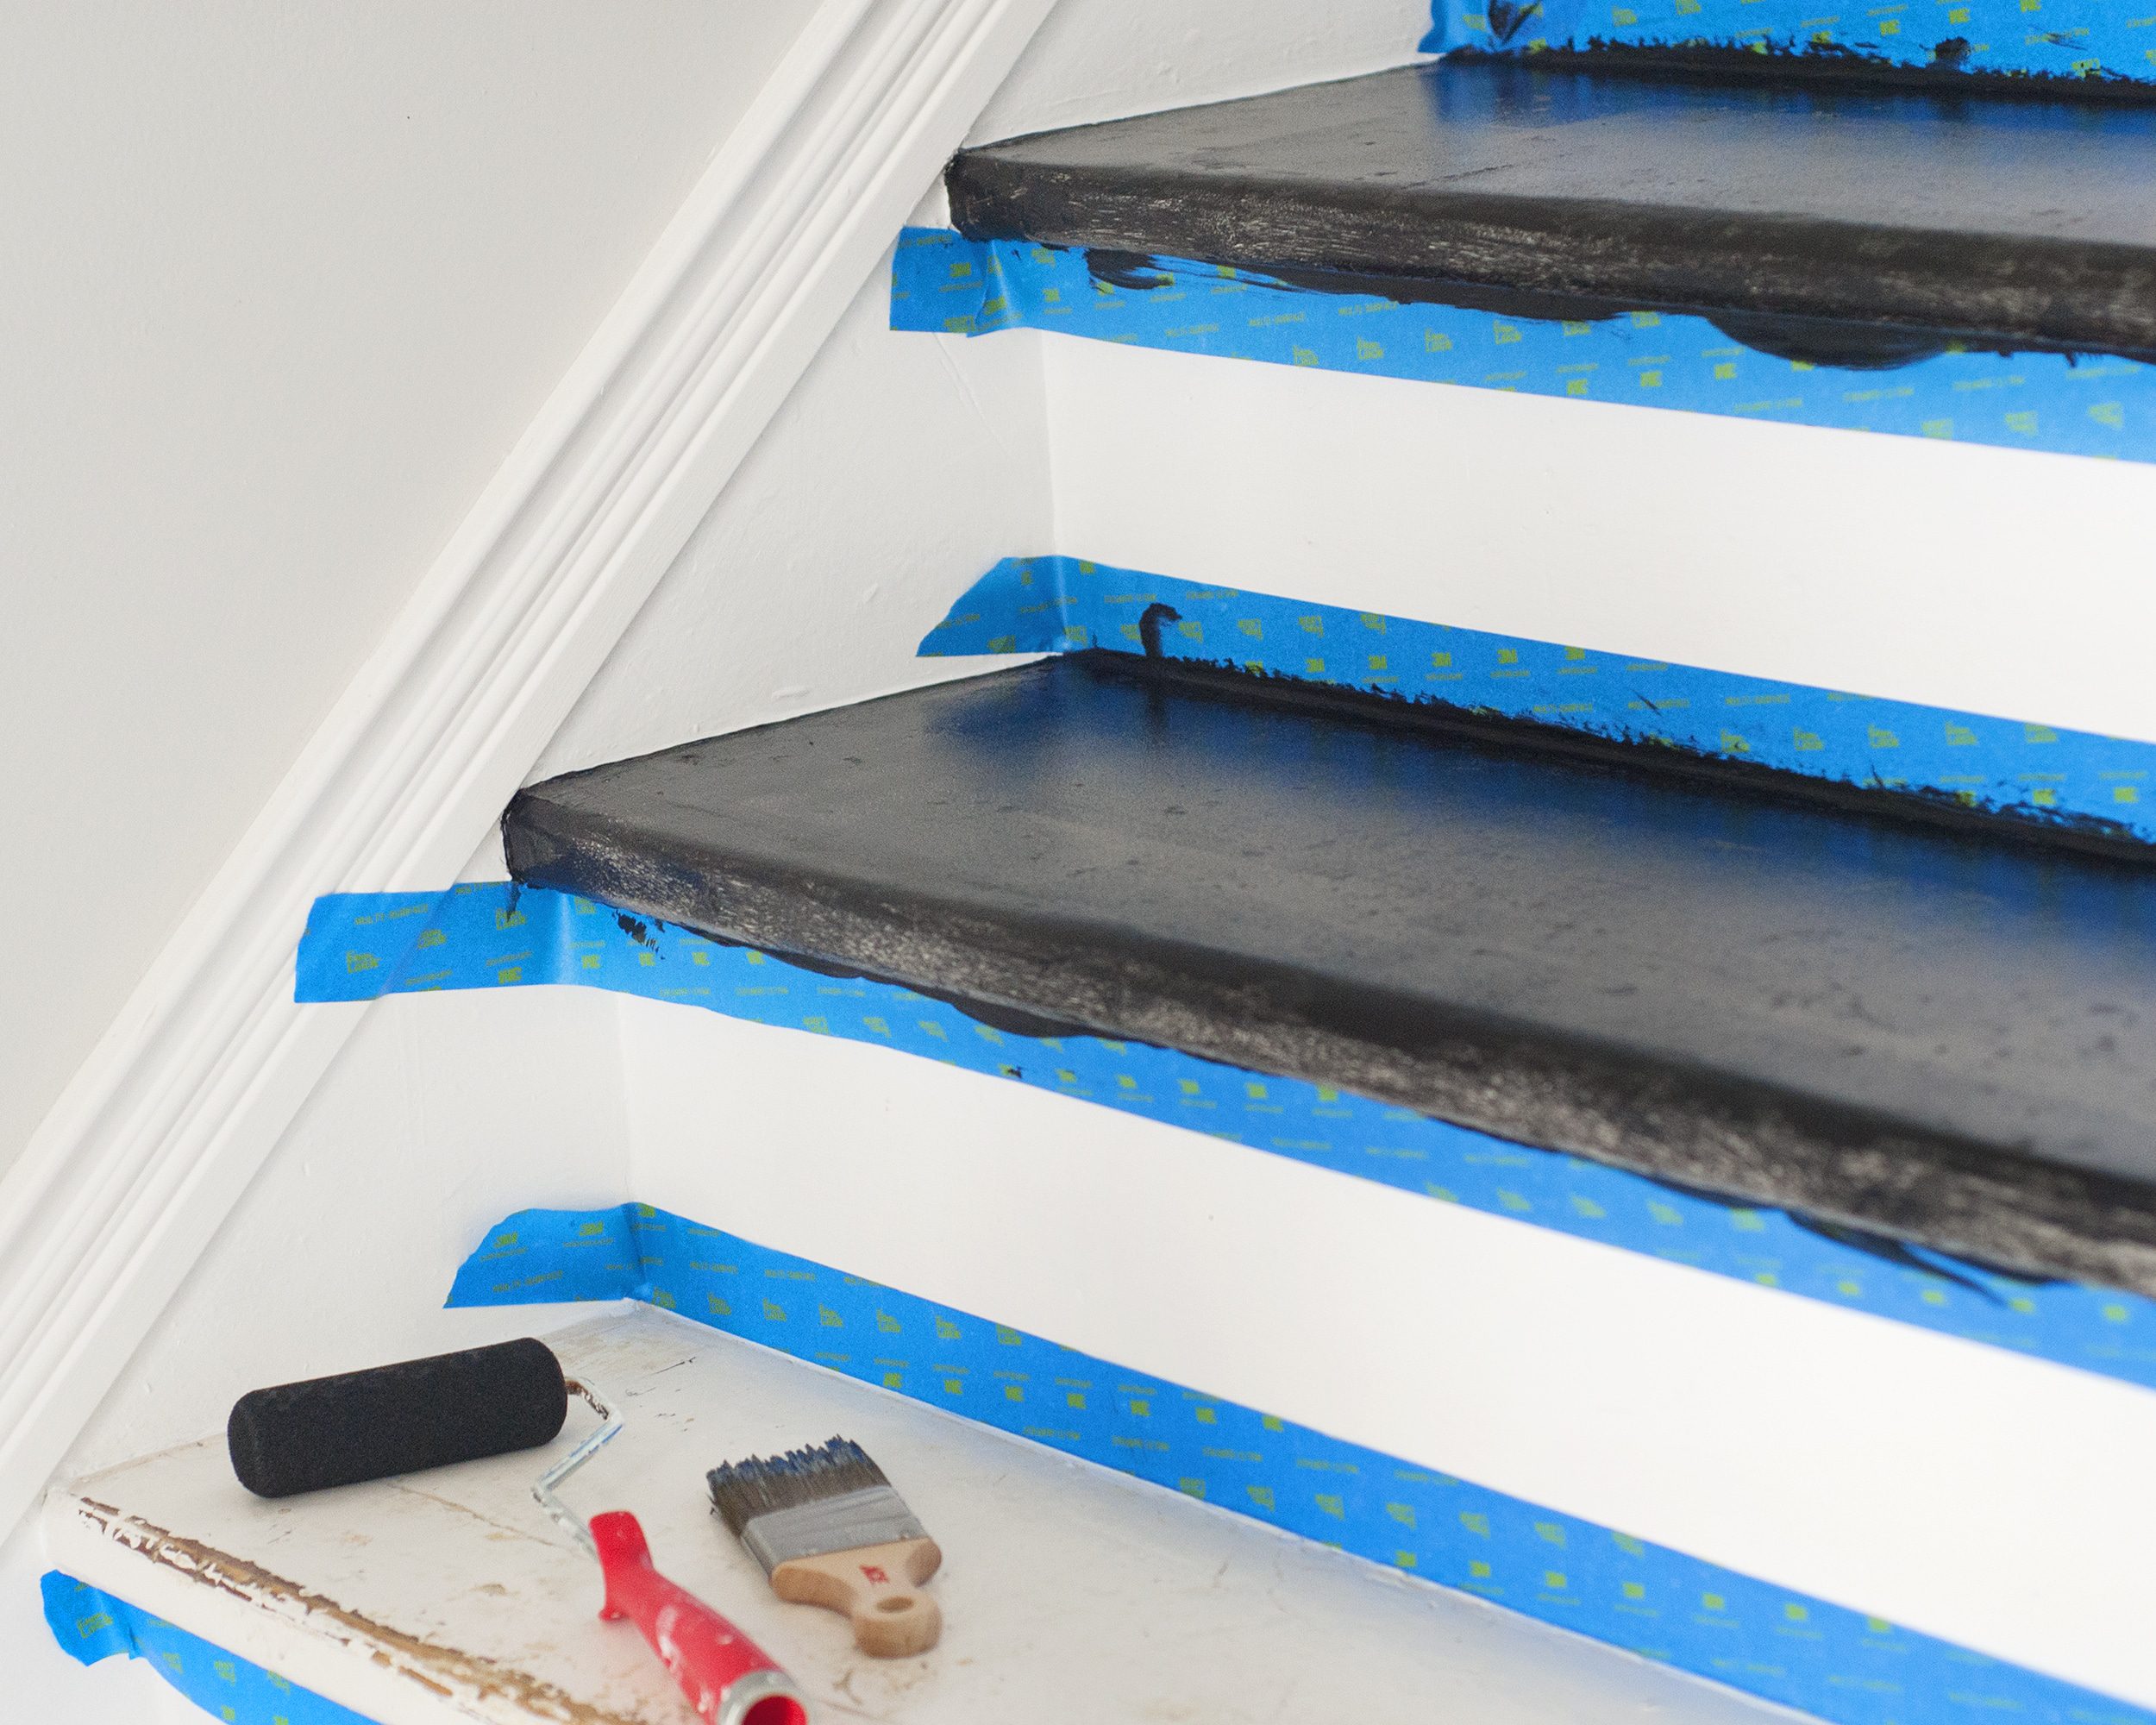
Note: Don’t start a stair painting project until you can dedicate several days to do so! Because each step – ha! – can take multiple days, you’ll want to avoid using the stairs as much as possible during this painting project.
See also: Using painter’s tape on our stairs, how we salvaged our painted stairs (when living with dogs), why we added a stair runner.
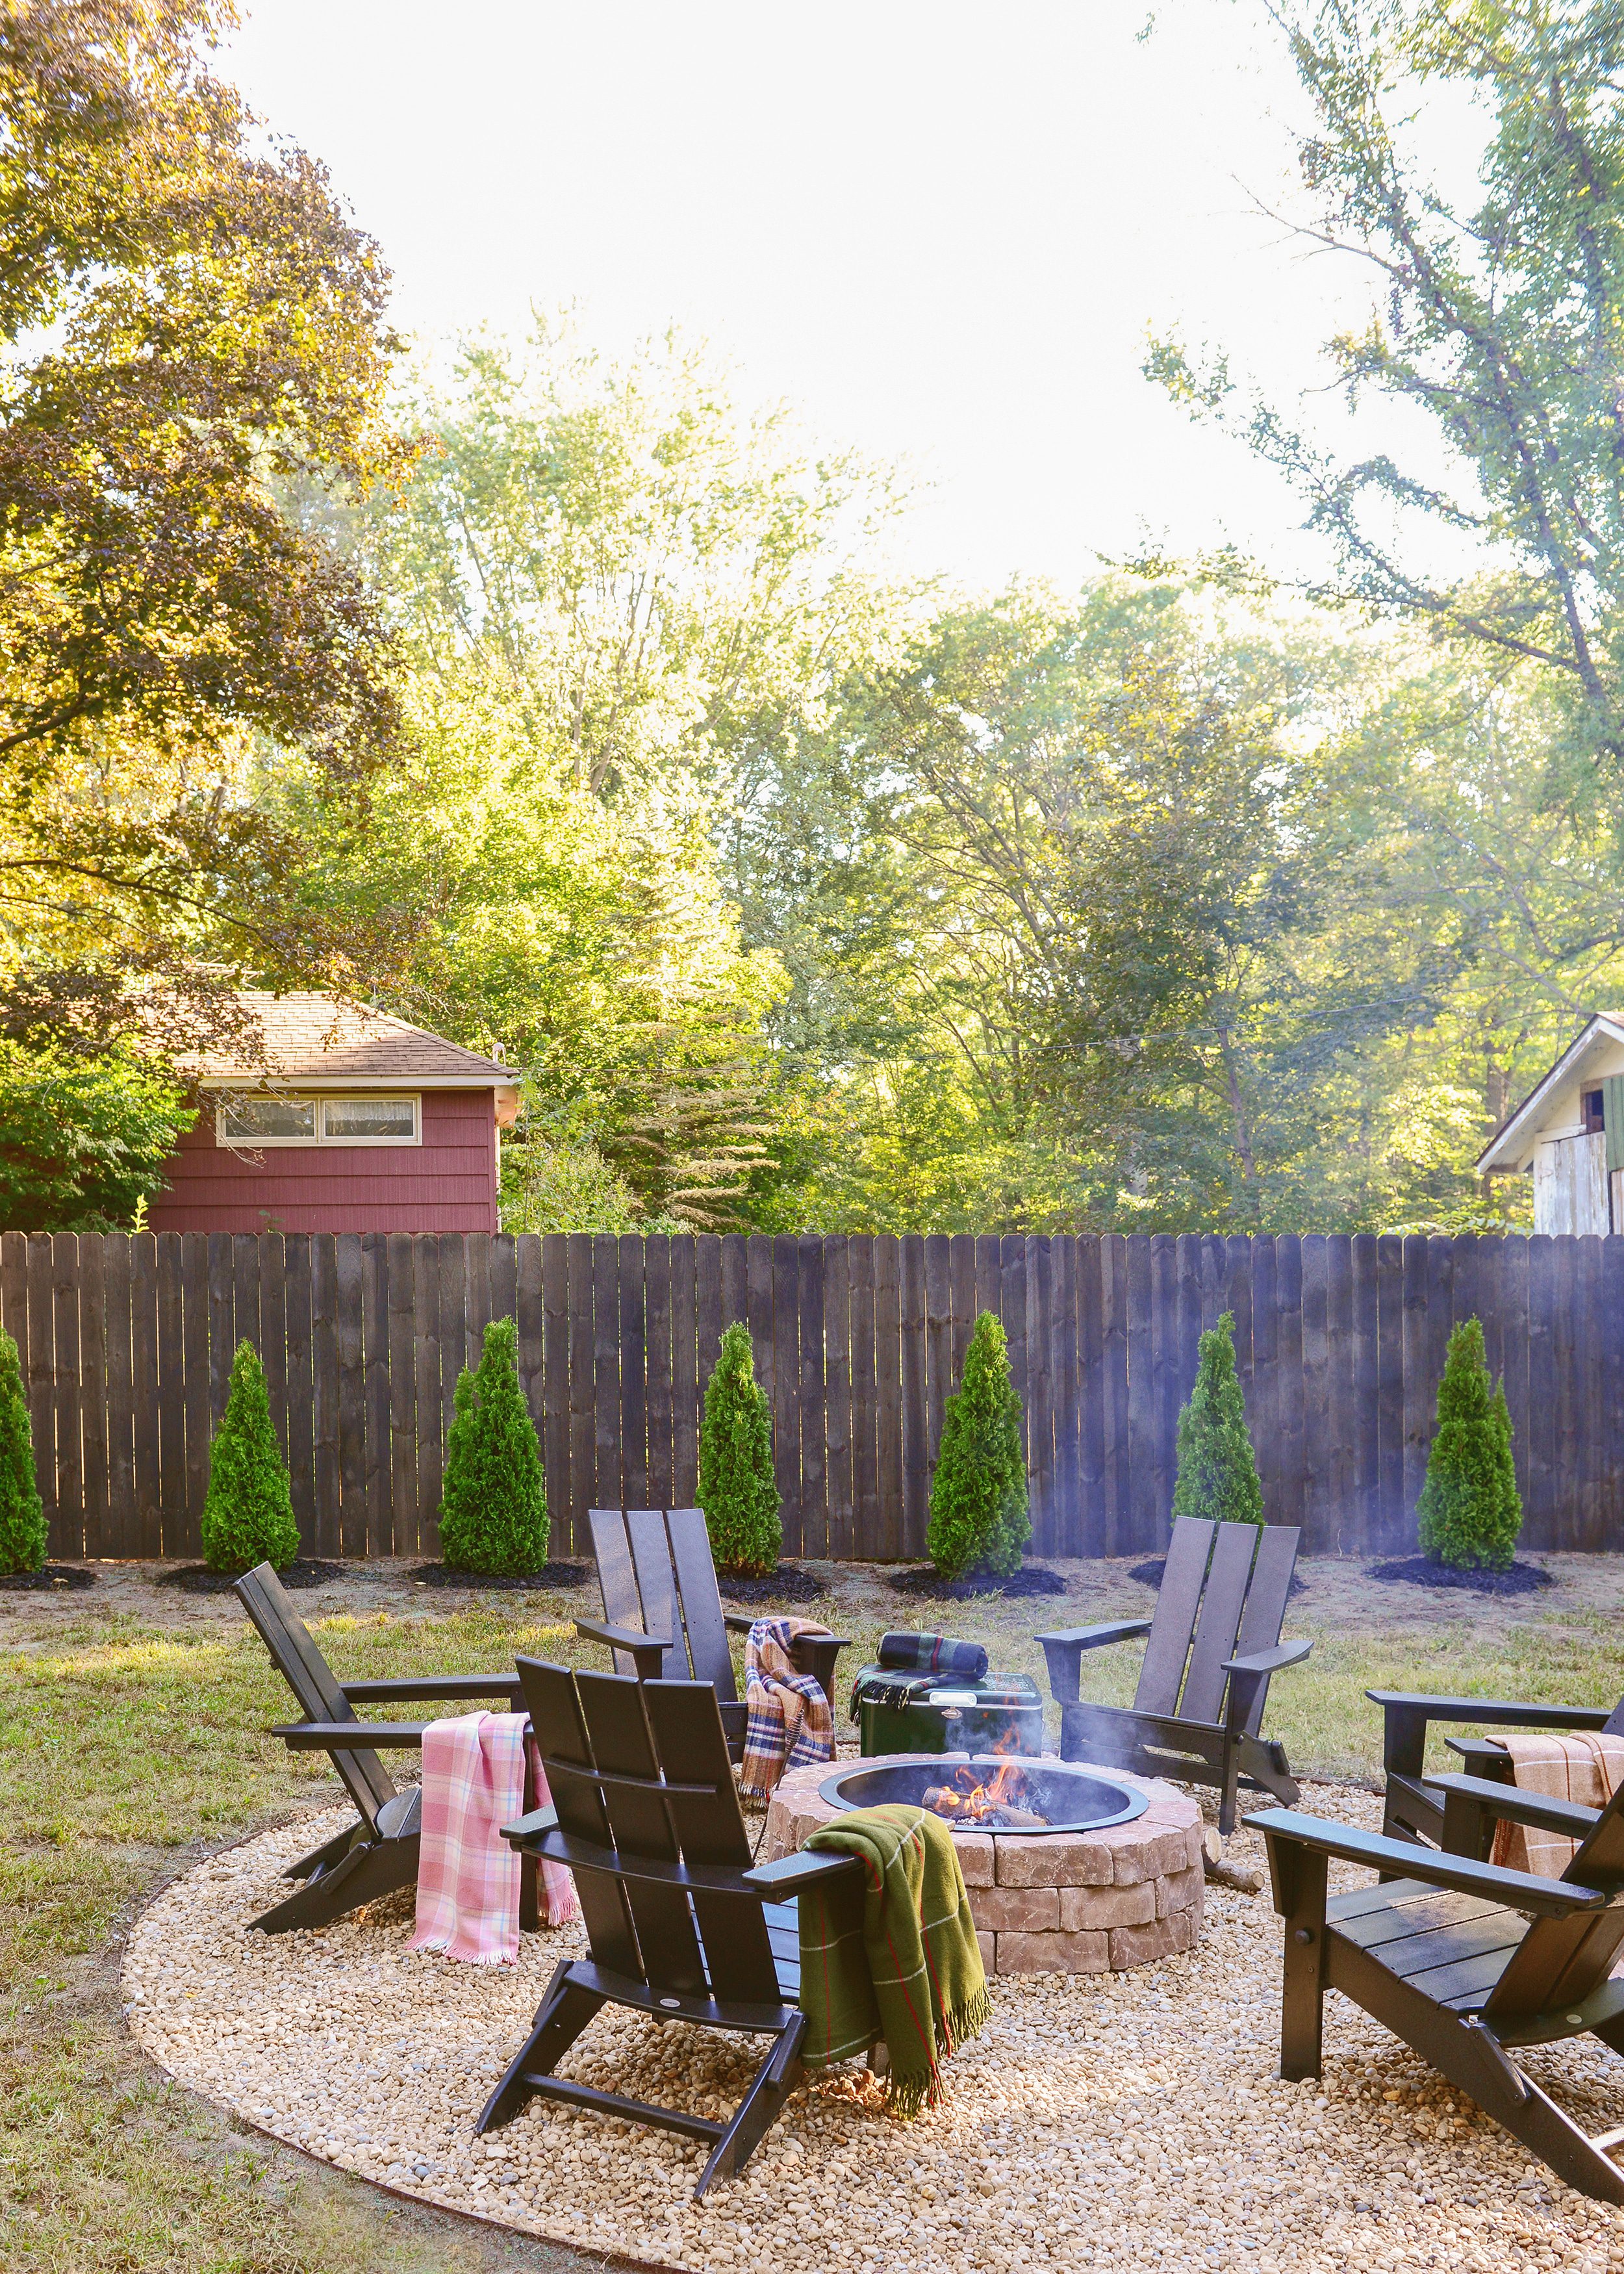
How to Paint | Exterior Surfaces
- paint type: exterior grade paint and / or stain
- paint finish: satin or semi-gloss for verticals (i.e., railings) | typically satin, with option to add a non-slip additive
- tools used: tray + liner, roller + cover (1/2″ nap for semi-smooth surfaces), roller extension, 2″ angle brush, drop cloth, painter’s tape (optional) | paint sprayer
planter
- Clean the verticals (i.e., railings) with a hose or pressure washer. Pressure wash the deck flooring.
- If you have a large area to cover, we’ve found that using drop cloths to protect the area around a porch or deck and utilizing a paint sprayer saves a lot of time! Otherwise, a 2″ angle brush and foam rollers (and patience!) can be used for all verticals.
- Similar to painting walls, we’ve found that trimming in with the deck color first does the best job of hiding paint / stain lines. I use the deck color with this 2″ angle brush around any railings. I always do two coats. Note: We prefer the look of opaque stain for our deck boards, but these same steps apply with floor paint or any stain.
- Scott follows up with two coats of deck color using a roller, a roller extension (to save his back) and a 1/2″ nap roller cover to get into all the grooves.
- Remove any painter’s tape immediately.
buffalo check throw | llama planter (similar) | pillows (similar) | side tables
Tip: a paint sprayer works wonders when painting or staining a fence! Use a brush to get paint / stain onto any edge close to a house or other structure, and use a sprayer for the large vertical surfaces. Follow the instructions that come with your sprayer.
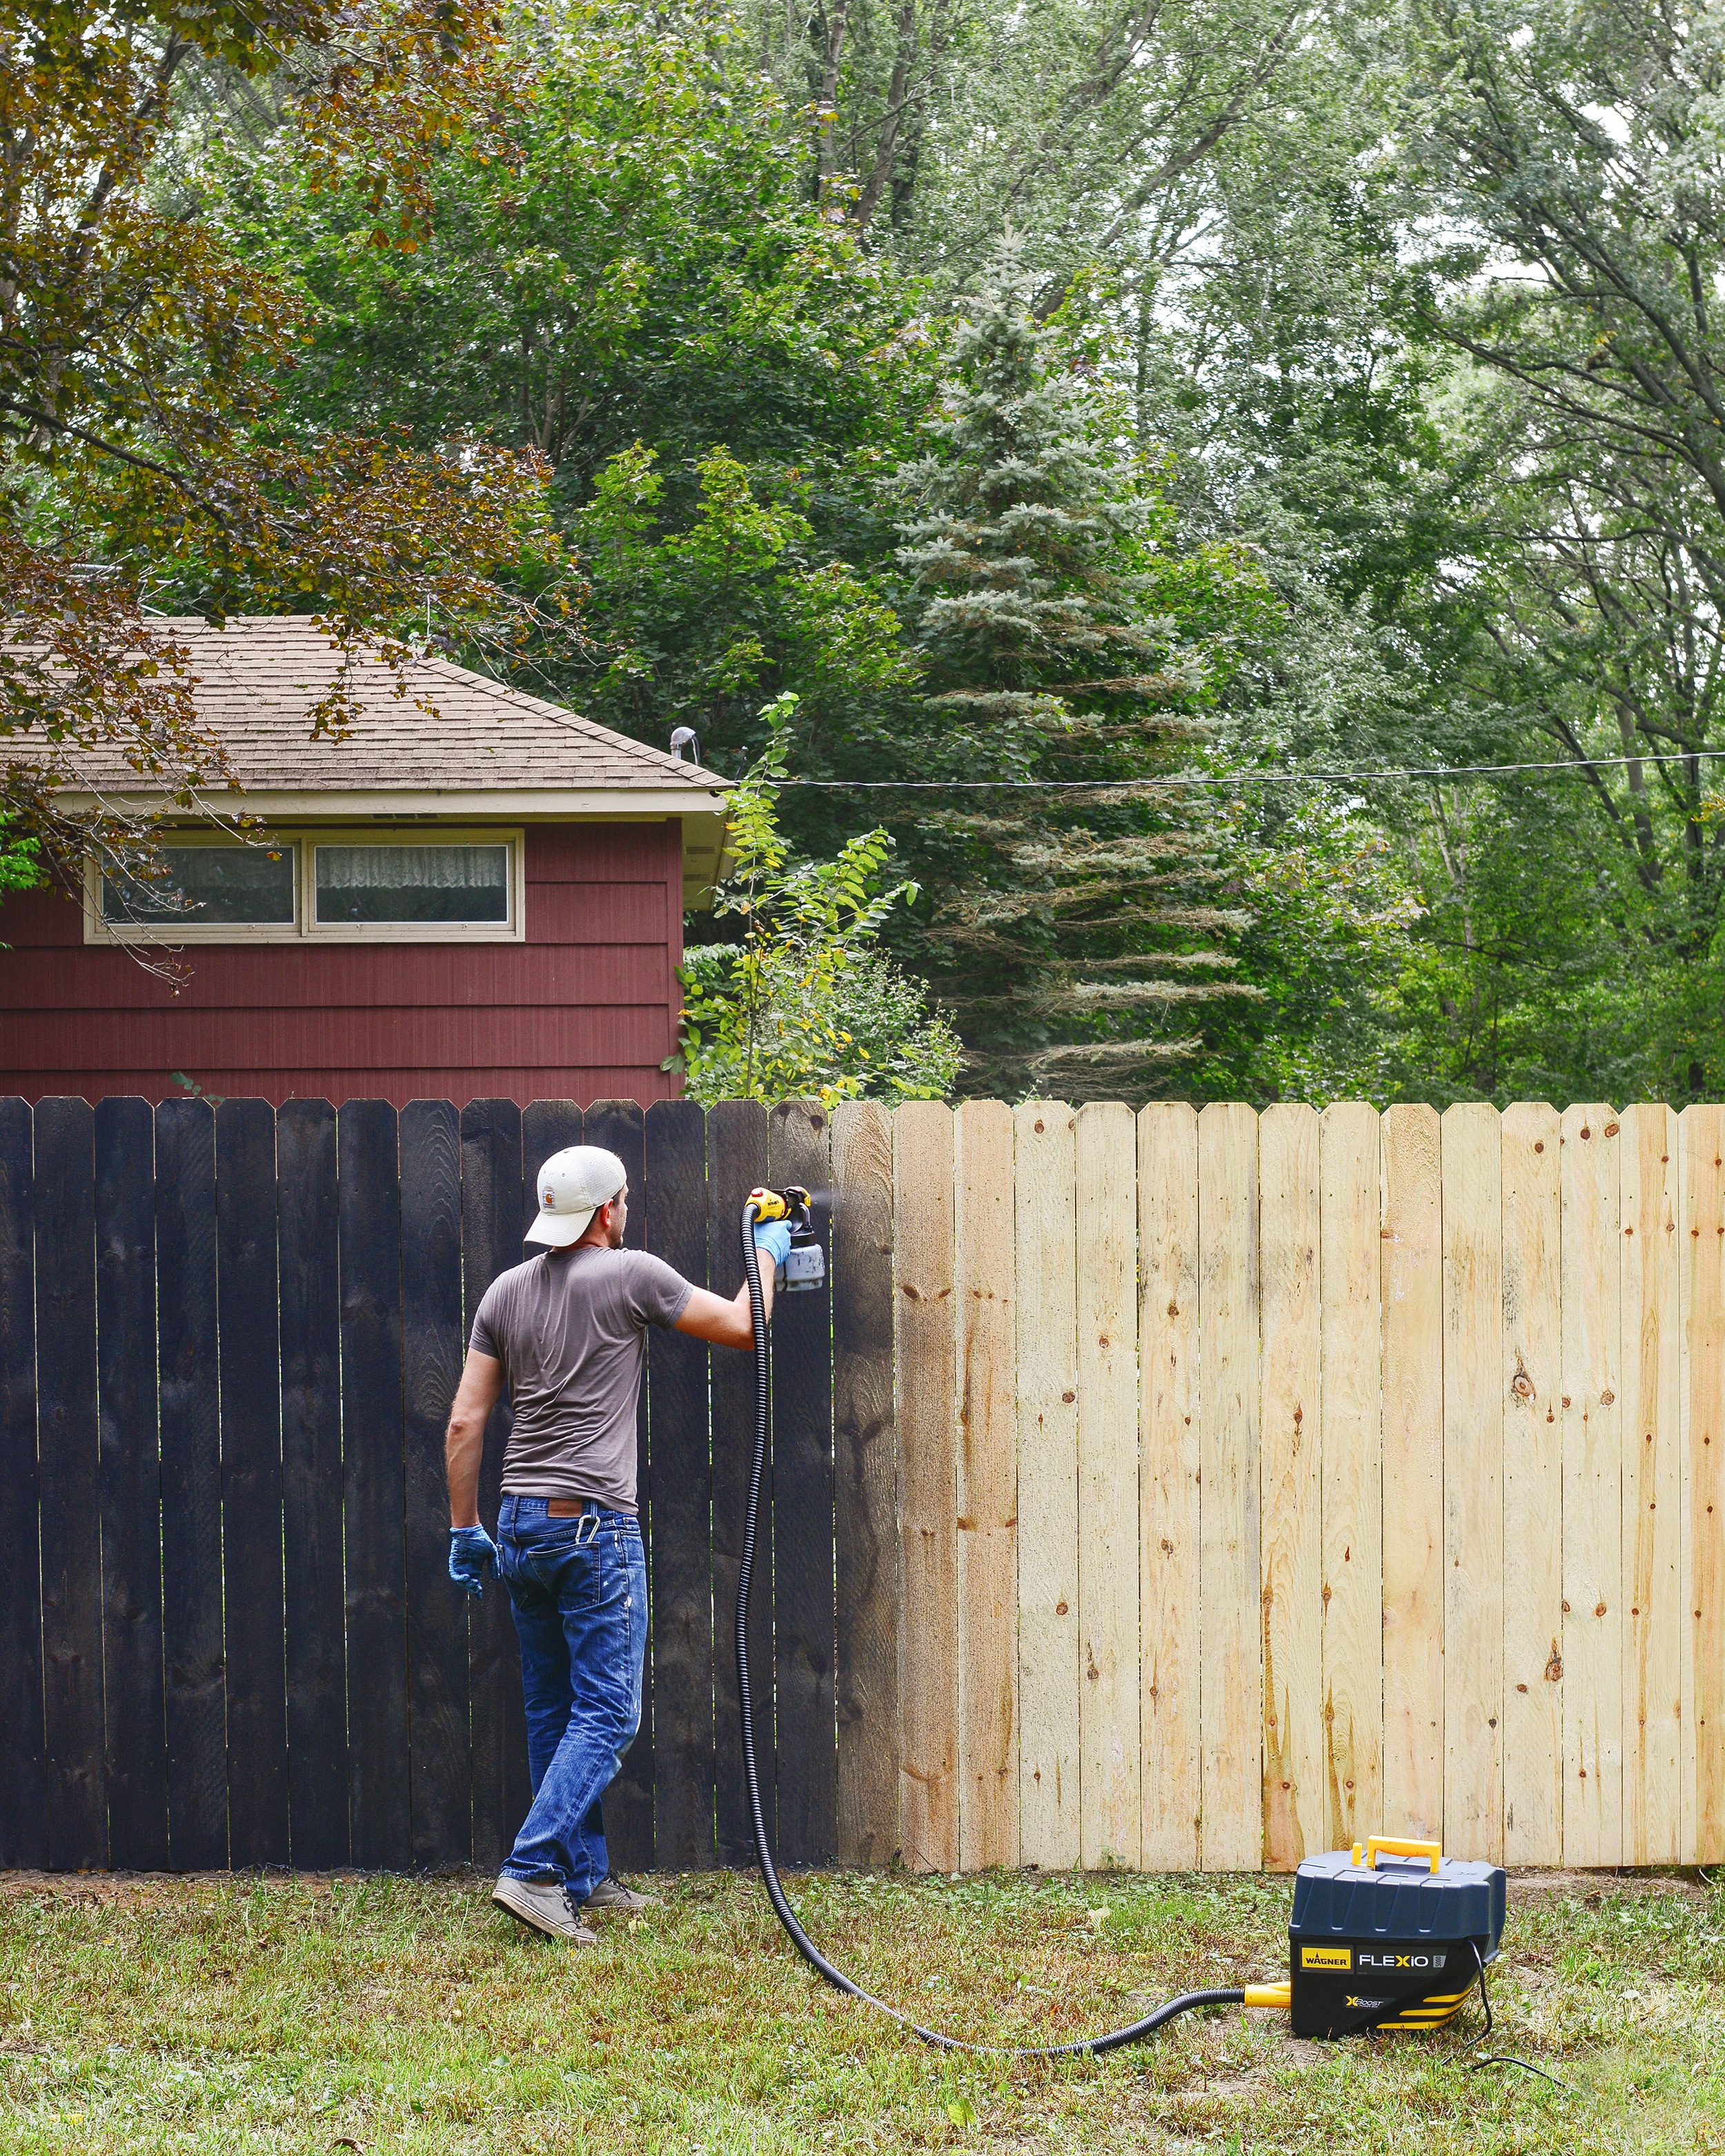
See also: Painting our porch railings with a paint sprayer, staining our front porch, hiring out exterior painting, and how to easily restain your deck.


Do you use chalk paint, and if not, why not? I know you used it on a credenza several years ago, but don’t recall your use of it on anything since.
We have used it in the past with great success! Chalk paint is essentially a one step process (meaning you can skip the primer or any sanding in most cases), and we found that it holds up incredibly well with a wax finish. For anyone interested, you can learn more about the process in this post.
Thanks for your reply, but what I’m wondering is why you choose not to use it in recent years? Do you think latex paint is a better option?
Wondering because I’m trying to decide what kind of paint to use on a bathroom cabinrt
I think it’s just personal preference! Chalk paint has a very specific look. It’s matte (a chalky finish), and it’s prone to showing more wear and tear, but not in a bad way. I think it’s why it’s used a lot for shabby chic projects, because it has a sort of vintage look to it that can age really beautifully. For a bathroom cabinet, I would probably use latex and Polycrylic, since it will be around water.
Do you have (or know anyone who has) experience with painting IKEA furniture? The white melamine specifically. I have to paint some parts of my kitchen cabinets for…dumb reasons…and I’m a little nervous about it. I imagine it would be some version of your listed steps for painting large furniture pieces, but would love to know if there’s anything specific before I jump in ????
We’ve painted IKEA furniture! We had great success by following the ‘large furniture’ steps, especially the part about sealing it with Polycrylic. Give it a light sand before you start for the best paint adhesion. You can do it!
Thank yooooooooouuuuuuuu!
Most recent lesson learned… make sure to caulk cracks with _paintable_ caulk! Ugghhh… that was not fun, especially since I was excited to use my new blog trick and caulked a loooot around some new trim we added.
Ohhhhh noooooo! Did you accidentally use silicone caulk? Latex caulk is the way to go with painting projects (plus it’s much easier to work with)!
Okayyyyy perfect timing on this. I have a front door painting project, a kitchen painting project, and a deck to seal – all within the next month or so. Also considering a refinishing of a dinged-up but incredible mid-mod sideboard. Thank you, thank you, thank you! xoxo
Ooooh one question though. Any issues with the fence stain / spray going through to the neighbor’s side?
Not even a little, but we didn’t have any gaps between the pickets. If you’re concerned or have gaps, you could staple plastic sheeting on the neighbor side to be extra careful!
I’m no stranger to painting, but I really appreciate this guide. I have several painting projects coming up. I’m planning to paint/stencil our kitchen floor (as an interim solution/experiment LOL). I found a bonding primer I want to use over the old vinyl-ish tiles, and I plan to use porch & floor paint. Since I want extra protection after all of that stenciling, I was thinking about using a few coats of polycrylic on top, but you mentioned the varathane. The background color will be white with the pattern being black. Do you think the varathane would yellow? (The can says “crystal clear” so I guess not?) Also, when you paint furniture and use polycrylic for added protection, do you wait a certain amount of time before applying the polycrylic, or just until it’s dry? Thanks!!!
The Varathane is SO tough, especially for foot traffic. I would GUESS that because it’s water based, it shouldn’t yellow (this is the same reason that Polycrylic doesn’t yellow). However, I can’t tell you that 100% because we only used the Varathane on the black treads. That said, if any part of it dripped onto the white risers (which it had to have!), there’s no yellow in sight.
Thanks!
Thanks for this! We’re currently building a small deck and will be using an opaque stain similar to what you guys did on your front porch. I couldn’t help but notice this part in your deck post about staining the new stairs: “You’ll notice that we’ve yet to paint our new front stairs. I did the water test on them last week (if the water beads up, they’re not ready to be coated), and they’re still a month (or two? Or three?) out from being ready for paint and stain.” What is the water test?!?!! Do we have to wait until the wood dries out before painting/staining? Tell me more!
Hi Zoe! If a bead of water soaks in, the wood is dry and ready to be stained/painted. If water beads up on the top, it means it’s still pretty wet. Does everyone follow this advice? Nooo… but here’s the thing: Stain and paint will adhere MUCH better to wood that is dry, I mean, obviously, right? But to be honest, we have been impatient in the past and stained wood that wasn’t completely dry, and we’ve been fine!
You mentioned to make sure your surface is free of paint chips or peel. I have some paint chips and peel on trim and doors. Would you recommend stripping and if so what products would you recommend?
First make sure it’s not lead-based paint. You can get a 3M test kit at the hardware store, and it’s really simple to use. If you’re not in the clear, you’ll want to call a professional to remove the lead paint, OR you can encapsulate the lead paint (which just means to put latex paint over it). If you ARE in the clear, you can scrape off the excess chips and sand it smooth, prime (optional), paint.
This is so helpful- thank you for this! What do you do about outlet covers in rooms where you have colored trim? Like in your new small bath? Are they still white? Also- bonus question- do you have any tips on removing old paint from door hardware? We live in an old house and the original door hinges are all graveyards to past owners paint projects. Thank you again!
We don’t have any outlet covers over the board and batten, but if we did, we would leave them white. If the walls were black, we’d get a black outlet cover, otherwise, white will always clean and fresh – much more so than a painted cover, I think.
Oh, meant to answer the bonus question, haha. Here’s a whole post on how we removed paint from hardware using the boiling method! https://yellowbrickhome.com/how-to-de-lacquer-age-brass/
Thank you so much!! x2!
Is it really okay to leave tape on until the second coat is finished? We’ve always pulled it off between each coat (total pain of course) because I feared we’d still get that chippy, uneven edge if we didn’t. Now I’m wondering if we made extra work for ourselves all these years!
We’ve always leave the tape on until after the second coat with no issues at all! The trick is to make sure you pull it up while the paint is still wet/damp, and don’t wait too long between coats!
We usually wait at least a day between coats. Is that too long? Also, I thought of a tip I don’t think I saw on your post. We run a damp rag over the painters tape to make sure it’s really flat and adhered to the wall.
We usually wait no more than 30-45 minutes!
Hi, this info is so helpful! So last fall I painted my dining room and paint dripped on my old wood floors. I went with the cheap drop cloth unfortunately. Do you recommend anything specifically for removing the paint? Thank you !
Goo Gone works wonders.
You showed some paint designs made with tape. My best tip for getting a sharp line with tape mid wall is to tape, paint in the color that will be on the other side of the tape, let dry, and then paint the color you want. The first color seals any gaps in your tape really well so you get a perfect line.
We’ve heard that works well! Although to save some time, we think that FrogTape is magical.
How do you paint over trim/doors that already have a satin or semi-gloss finish? Is it necessary to sand everything down first?
A light sanding with 220 grit paper is all you need! That extra step should only take you 15 minutes and you’ll be happier with the results in the long run.
First of all, THANK YOU!! This is an amazing guide, and will be so useful to have in one place to refer back to :) Question: If you are adding trim to a painted wall can you describe the process? Pain trim, attach trim, caulk seam, fill holes, paint trim again? This has confused me because I have always painted a wall with trim already attached. We have an old home and I will be refinishing some of the trim wood trim (not painting it), when I reattach it would I caulk between the trim and wall? Thanks!
It really depends! Ideally, you could the wall first, attach trim, caulk trim with paintable latex caulk, paint trim (and go over onto the wall a little), then cut back in with the wall color. The reason being, you want to make sure you’re fully encapsulating the caulk with paint.
In your case, I think it depends on how even your walls are if you’ll want to caulk the wood trim. I would guess that because it’s an old home, they’re not super even… so I would attach the trim, tape it off close to the wall, caulk and then cut back in with the wall color to encapsulate the caulk.
This post is so helpful – thank you for writing everything down! We’re in the middle of installing board & batten in our kitchen, which is almost to the painting stage…. we also need to prime and paint our master bedroom ceiling which suffered from water damage a month ago. Grrrrrrrr….. It’s finally dry and we have kept mold/mildew from forming but it’s badly stained. I’m planning on using Kilz primer, but would love to know if you have any other suggestions!
Actually, I can’t seem to find the Kilz primer online that I bought years ago, but there is a Zinsser/Rustoleum Mold Killing primer at Lowes that I will probably get instead
We love Zinsser BIN 1-2-3 primer! It works awesome.
Love the paint tutorial! How about a tutorial on how to properly caulk?
I would never trust painting my own furniture. Not on the furniture that is used on a daily basis in my home. I would probably start out buying furniture (small furniture) from garage sales and practice maybe restoring them and then reselling it back on craigslist or something. I don’t want my wife to kill me, that’s why I would start out that way. Then once I become sufficient in my painting skills, I would definetly do my own furniture. But that’s just me. You can do it my way, or you can just call a handyman or someone that has way more experience. Thanks for the article. When I get the guts to paint my own furniture I’ll let y’all know. haha
This was everything I needed! Thanks for this blog post!
Love hearing this!
Perfect timing! We just moved and I started priming the new house today!
This is a great post! Do you have any tips on what type of paint to get? We recently bought a house and have some painting to do, but I’m overwhelmed with all the paint choices. Picked some SW colors I love, but grappling with whether to get the contractor grade SW paint (Promar200) that I can get through my realtor, use Valspar (which I used once before and had no issues with), or upgrade to something better (but what??). If you could shed any light on what you look for when picking a paint brand/line within the brand I would be so grateful!
We’ve used valspar reserve and LOVED it. We’ve also used SW Emerald and loved that too!
Hi Kim! Wonderful post. This is helping me with a few painting projects. I wasn’t aware of the polycrylic step for cabinets, though I definitely see why you would want the extra protection. Does this still apply for enamel paints like Benjamin Moore Advance?
Hi Elizabeth, I think with really high quality paints, you might get away without protecting the surface for cabinet fronts… but for furniture where you lay things on the surface (such as a coffee table, end table, etc), I’d recommend using Polycrylic no matter what!
Thanks for this painting review. I’m wondering if you’ve ever painted bathroom tile. We’ve just moved in to a house with bathroom tile that’s been painted pretty well with good adhesion. There are a few spots that need additional paint. I’m wondering what to use. We don’t want to replace the tile yet or remodel the bathroom, but I would consider re- painting the entire tiled interior of the bath and shower area to make it all consistent and freshly coated in that alcove of sorts. I see there are epoxy-style tile and tub paints, but I guess I’m wondering if a good 2-part floor paint (for painting over tile and grout) would work as well or if I’m overthinking it and any paint will do. We had our tub reglazed with great results by Correa Coatings based on your suggestion. Thanks for the excellent blog and details!
We’ve not done it, but I believe there is paint specifically for painting tile!
I reference this post all the time, so thank you!! Any specific recommendations for panting stair handrails? Struggling big time with visible brush strokes and chipping.
The best tip we have for high-wear/high-touch surfaces like stairs or handrails would be to use a strong primer and a protective topcoat like Polycrylic. Hope this helps!