

We had 8″ of underutilized space in our kitchen, which gave us an opportunity to DIY a simple cookbook nook! Here’s how we made it.
I can’t even begin to tell you how many times we revised the plans for the Unit 2 kitchen. Five times? Ten times? I lost track. Every time I thought we’d nailed the design, I’d wake up at 2 AM with yet another revelation, log into my IKEA Planner and play swap-the-cabinets, only to realize that I had already tried that (like, 3 iterations ago)!
Problem Solving our Kitchen Design
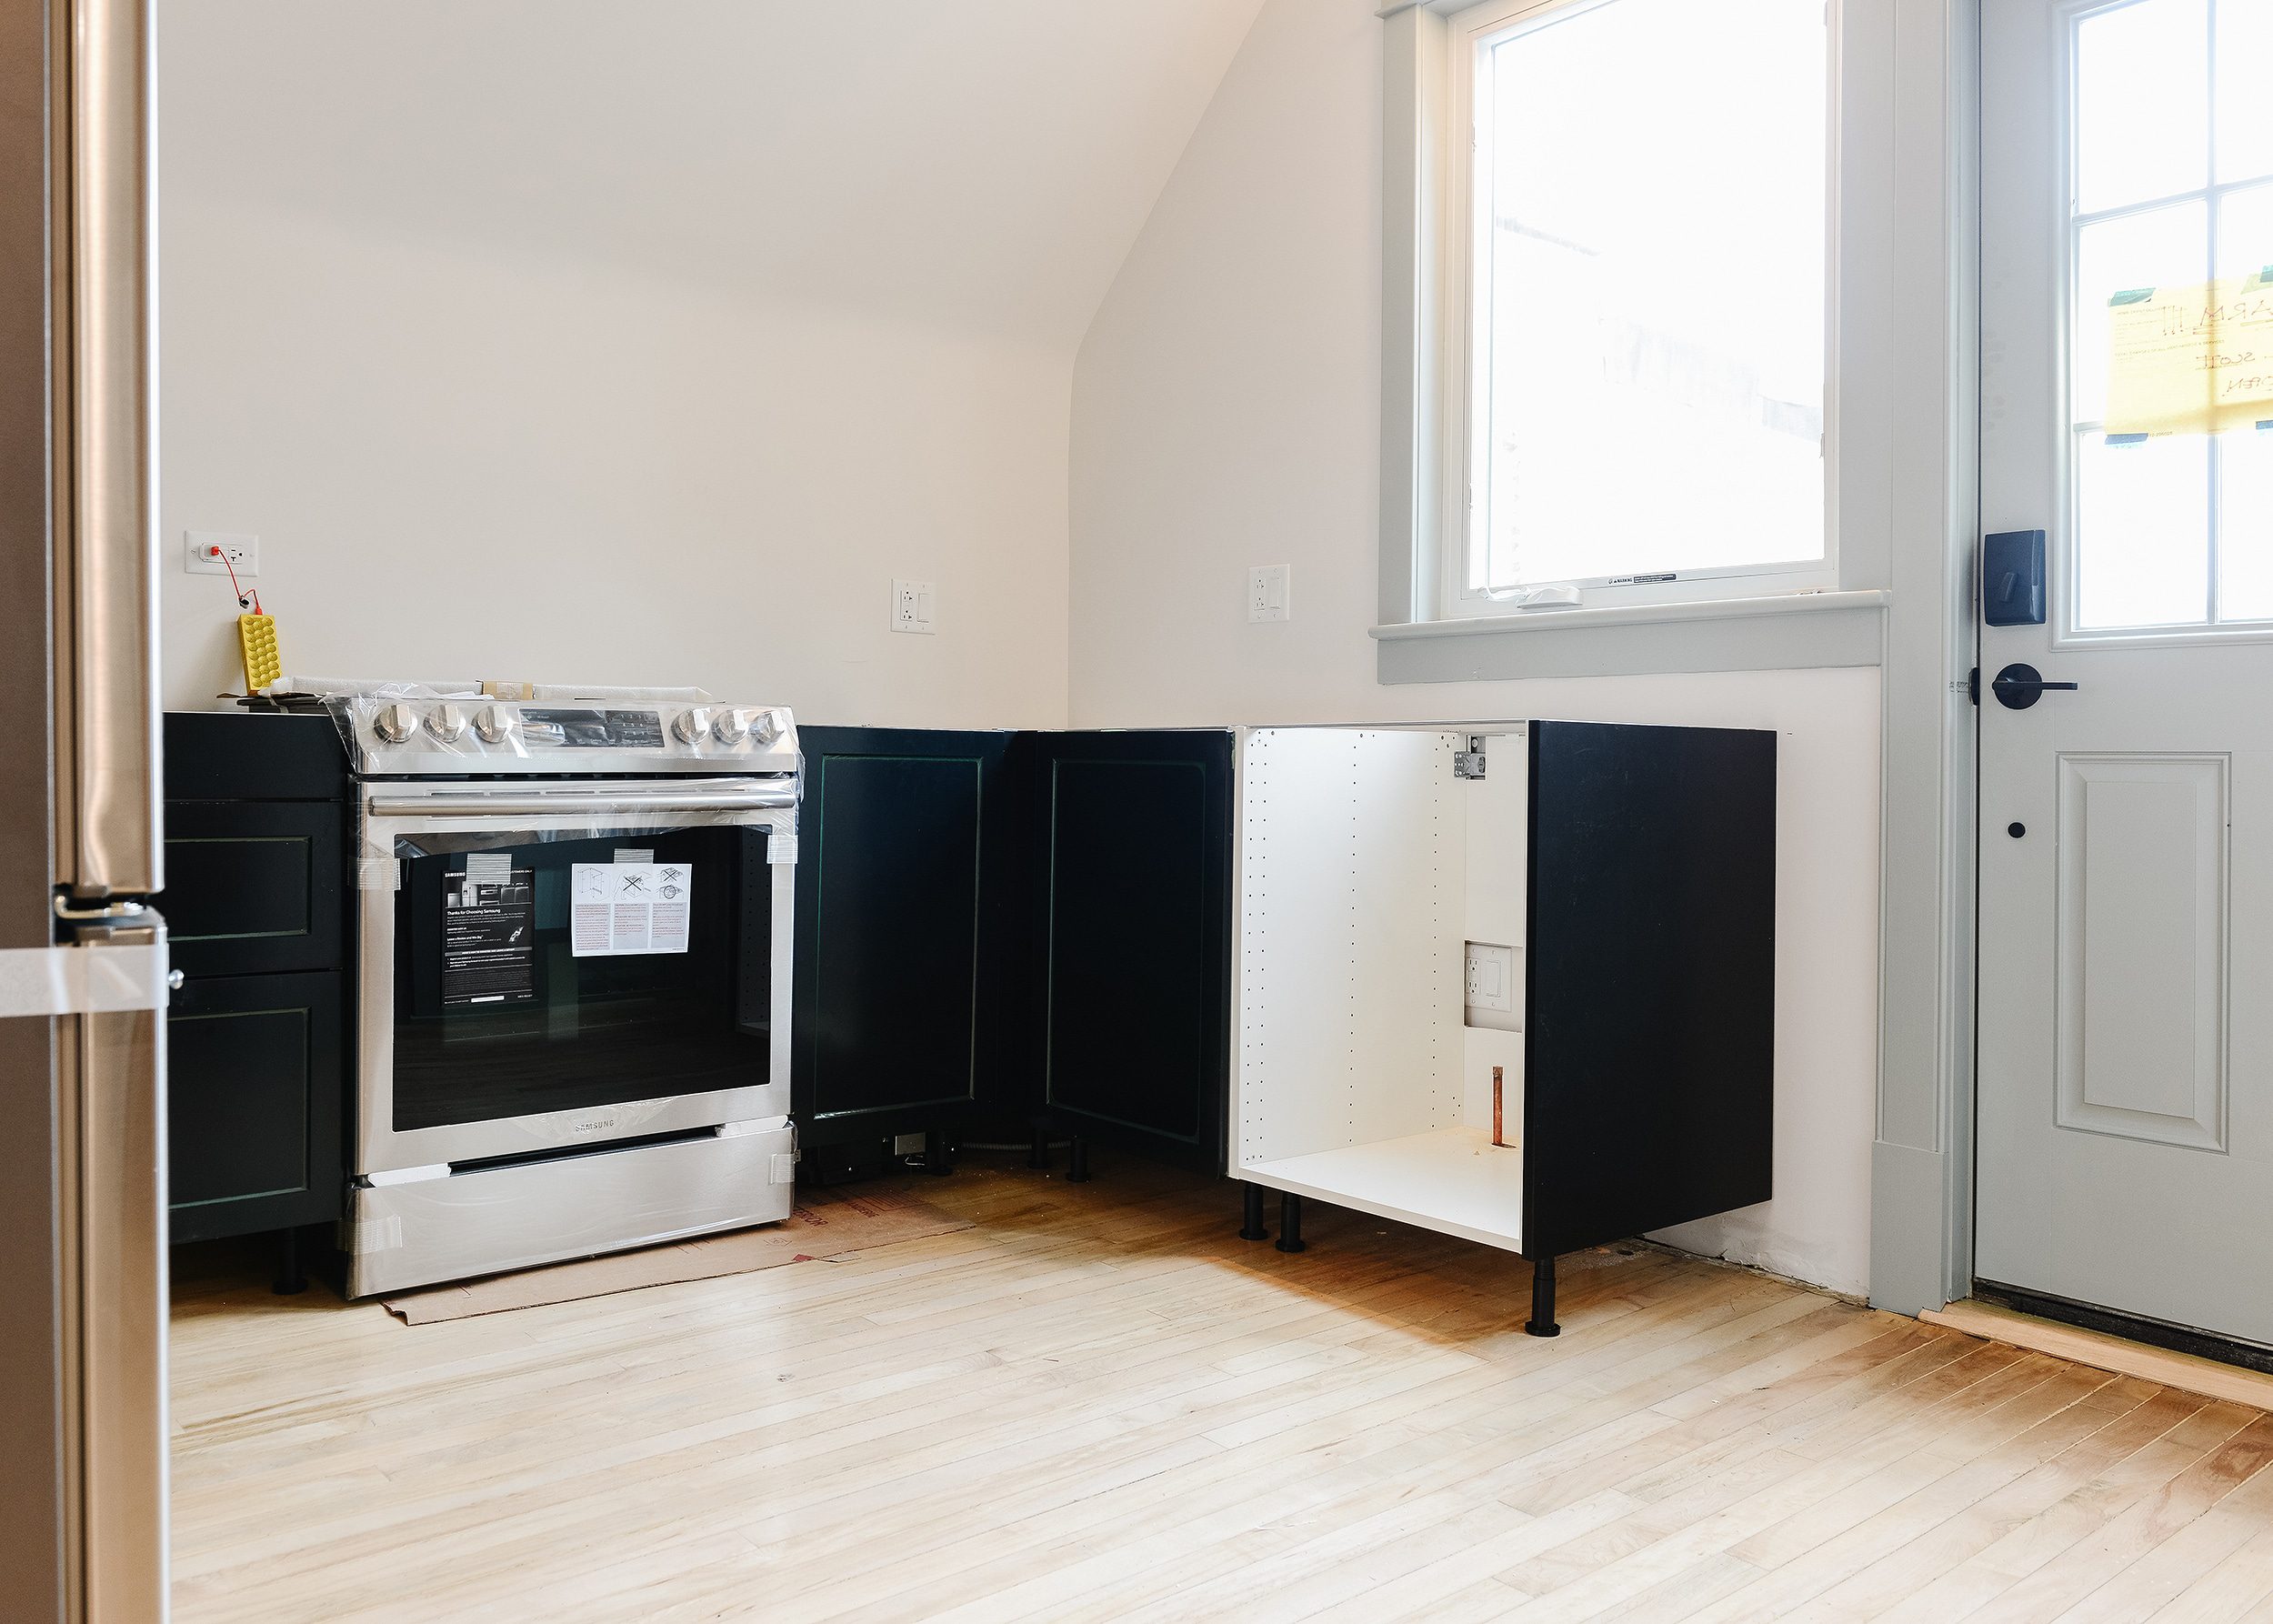
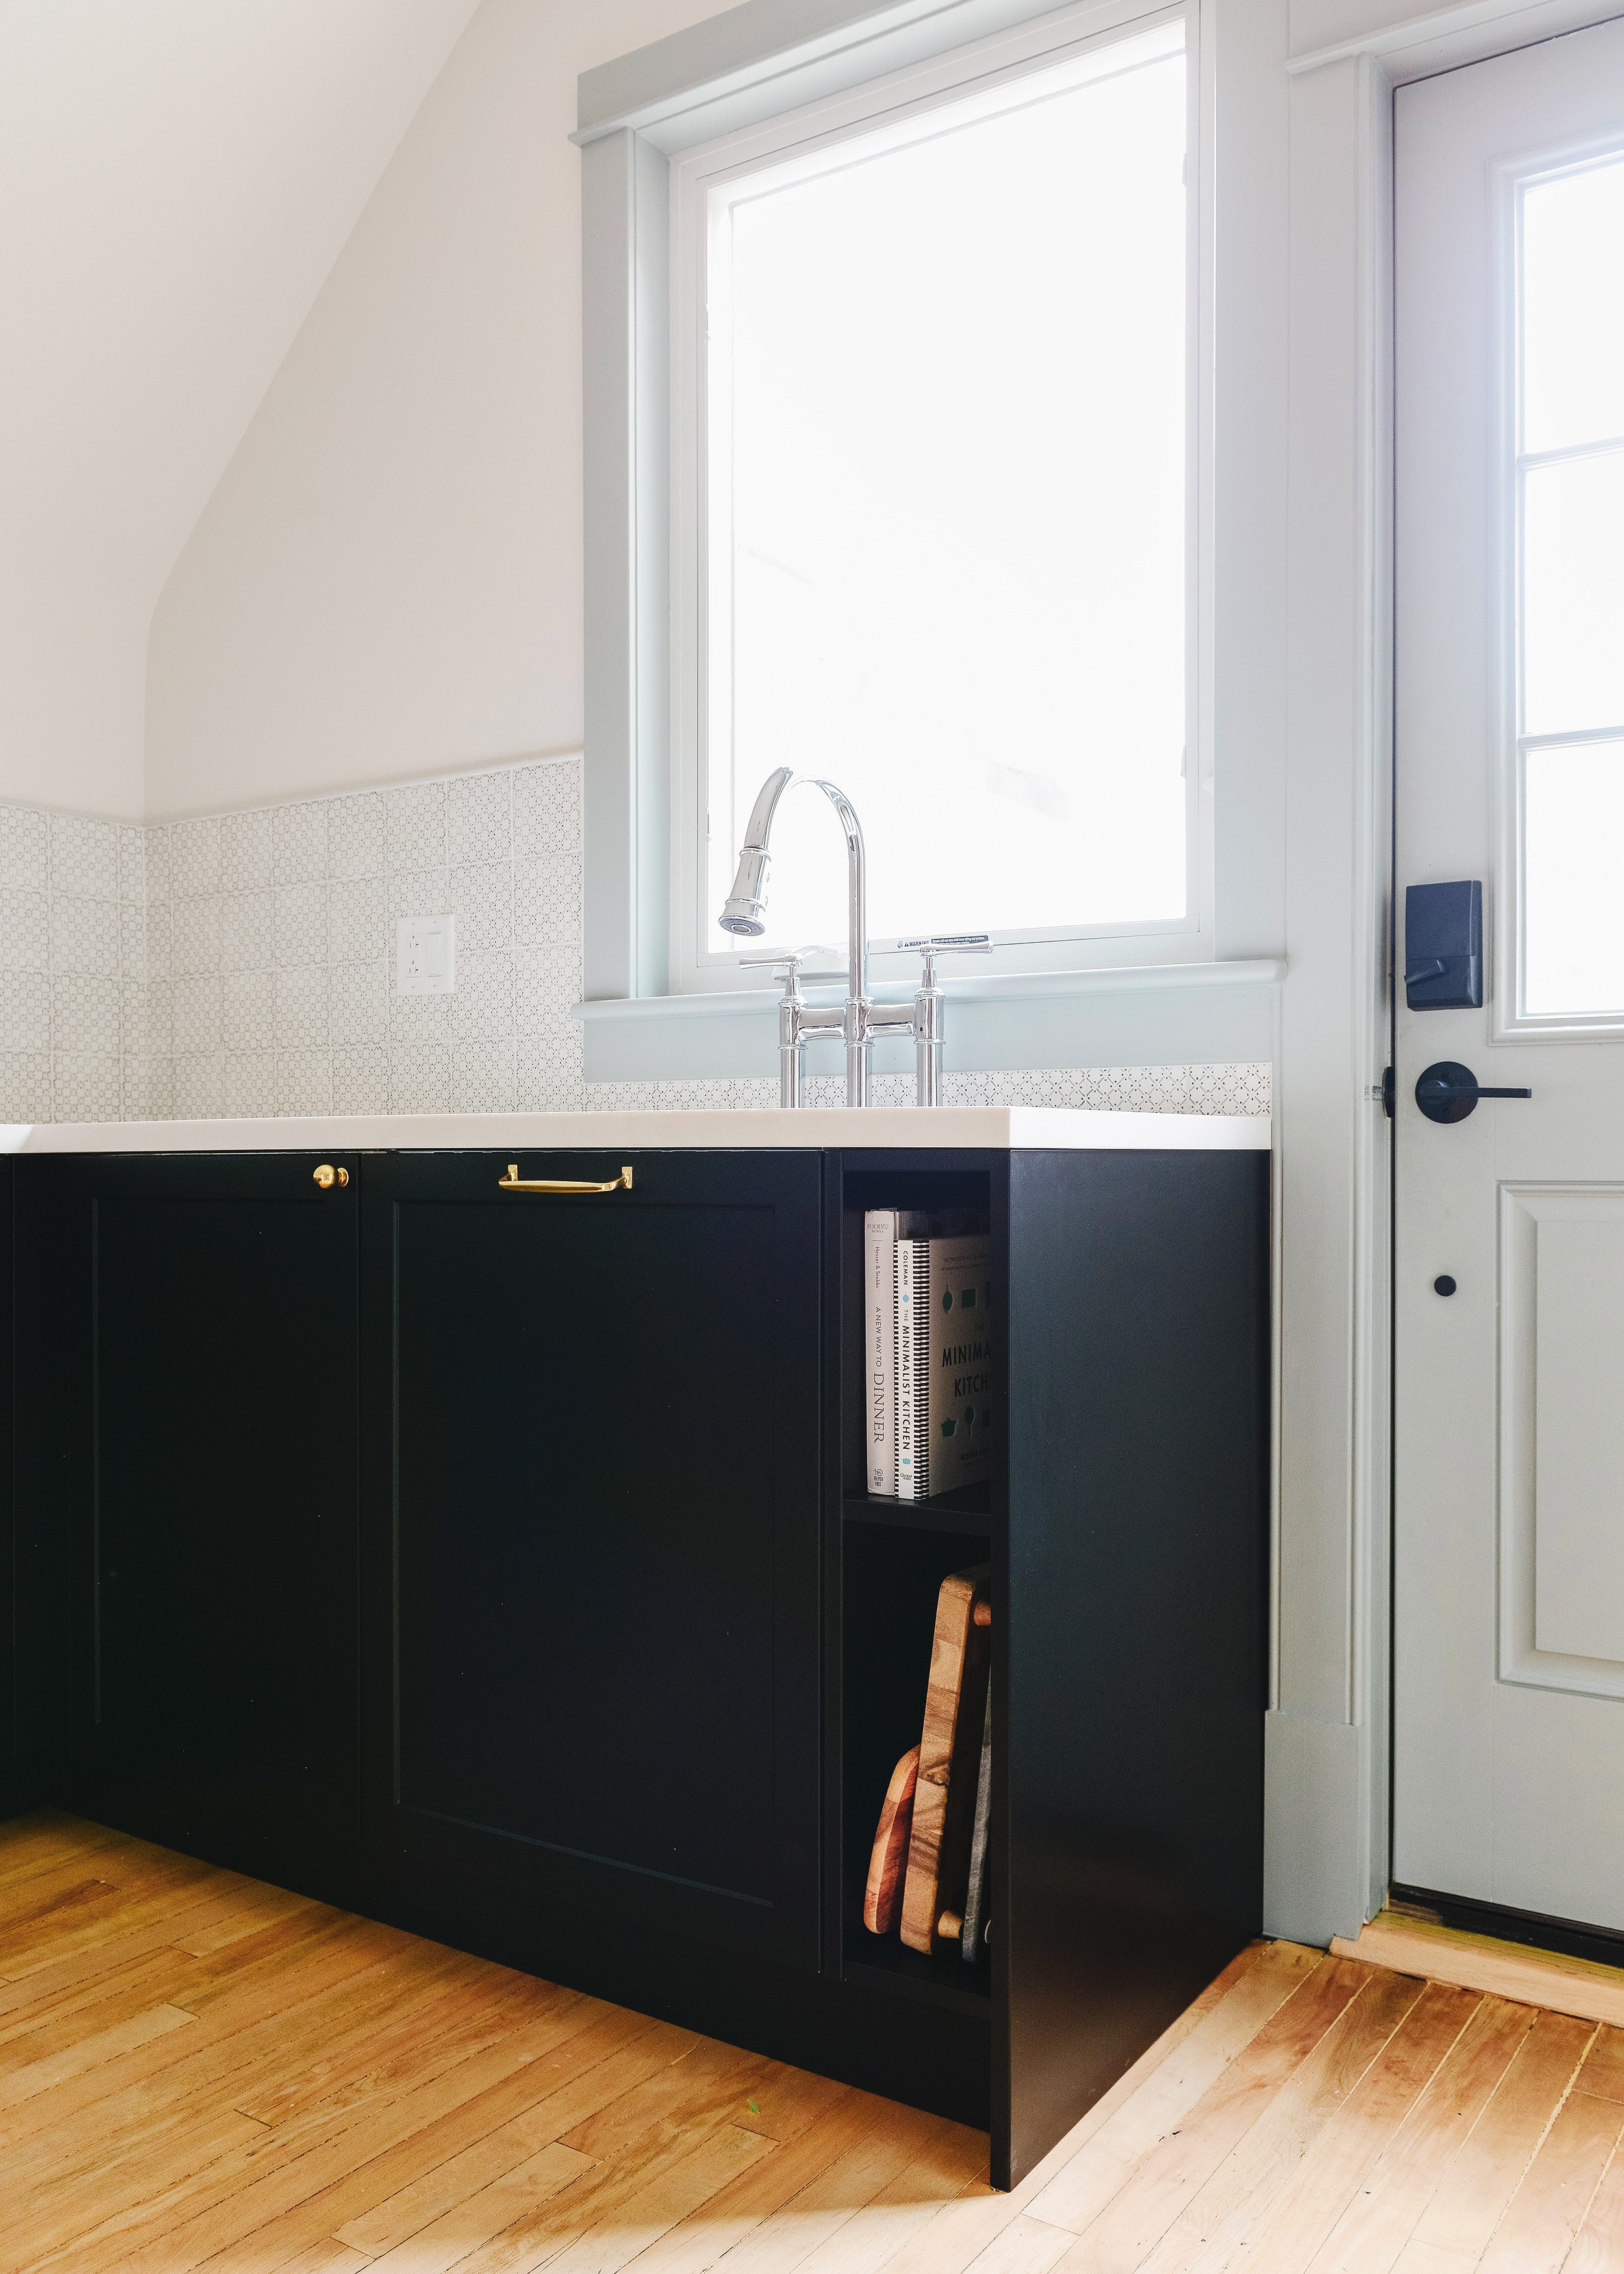
The biggest problem we ran into was the sink cabinet. During our quest for a perfectly centered sink – in which the faucet and hardware align down the middle of the window – we were stumped time and time again. The issue ultimately came down to the stock options at IKEA. We needed an extra inch of wall space to go up a size, and stepping down a size left a sizeable 8″ gap to the right of the run of cabinets:
How the Cookbook Nook was Born
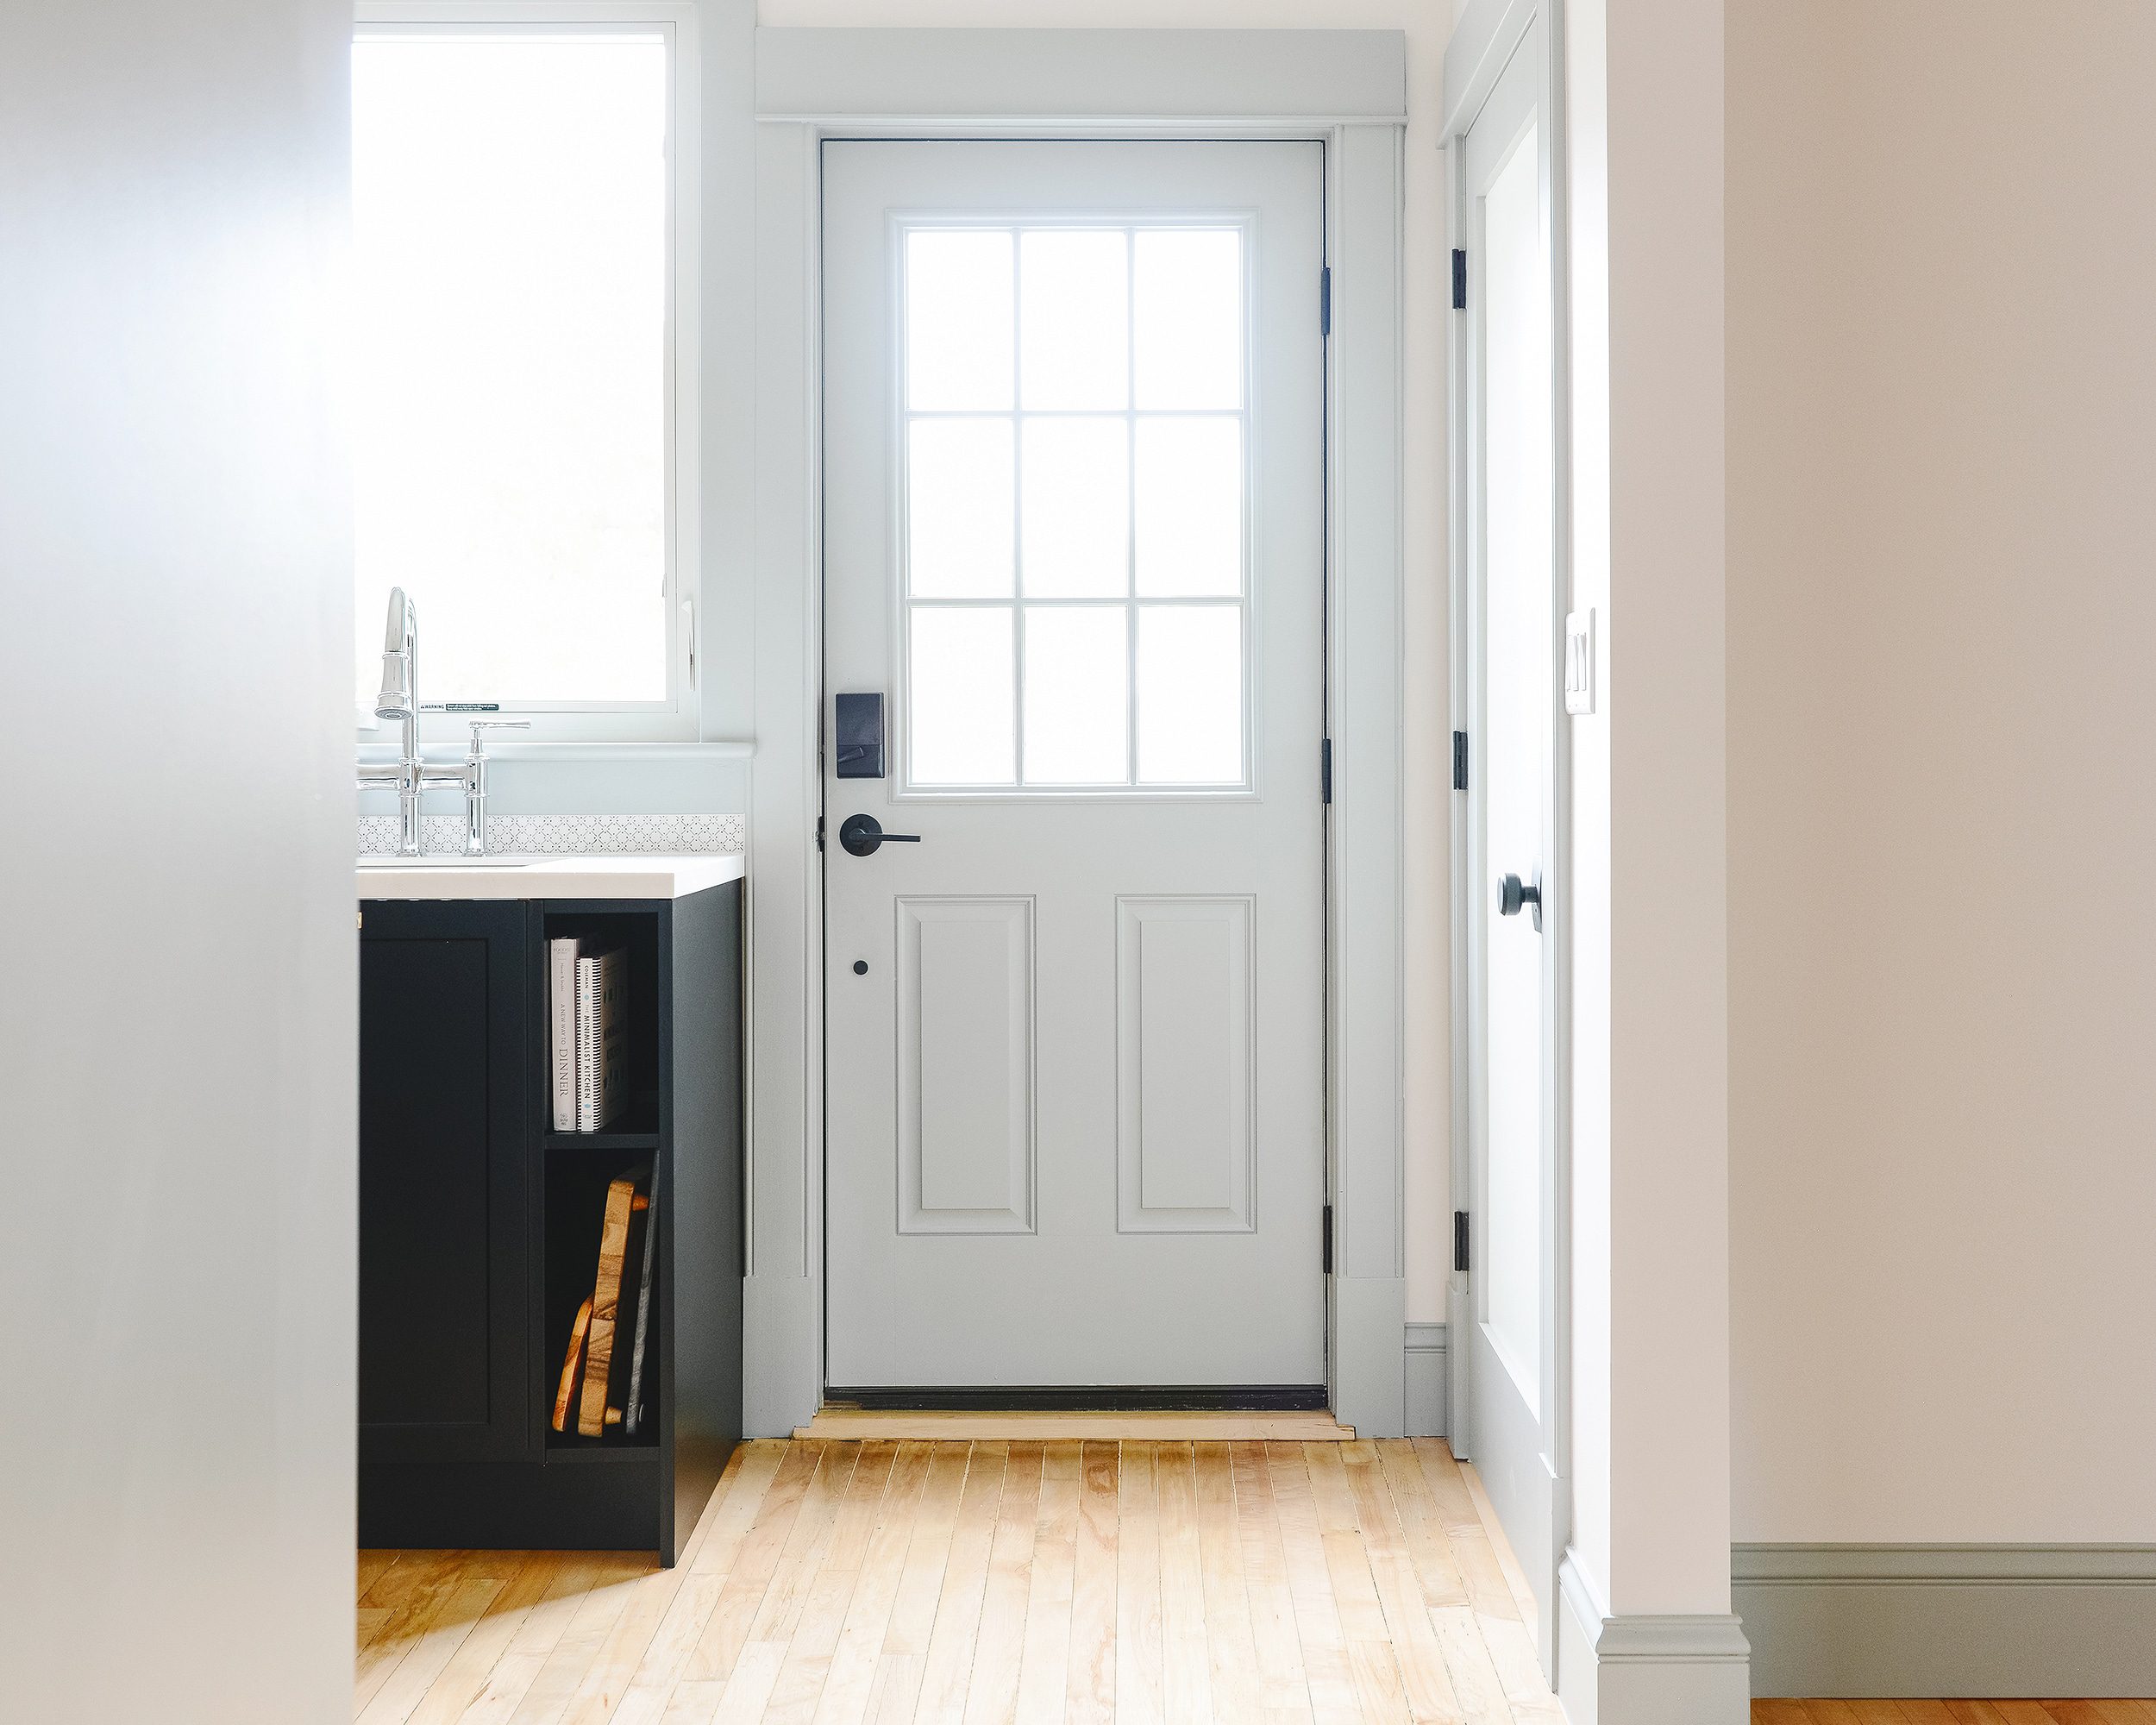
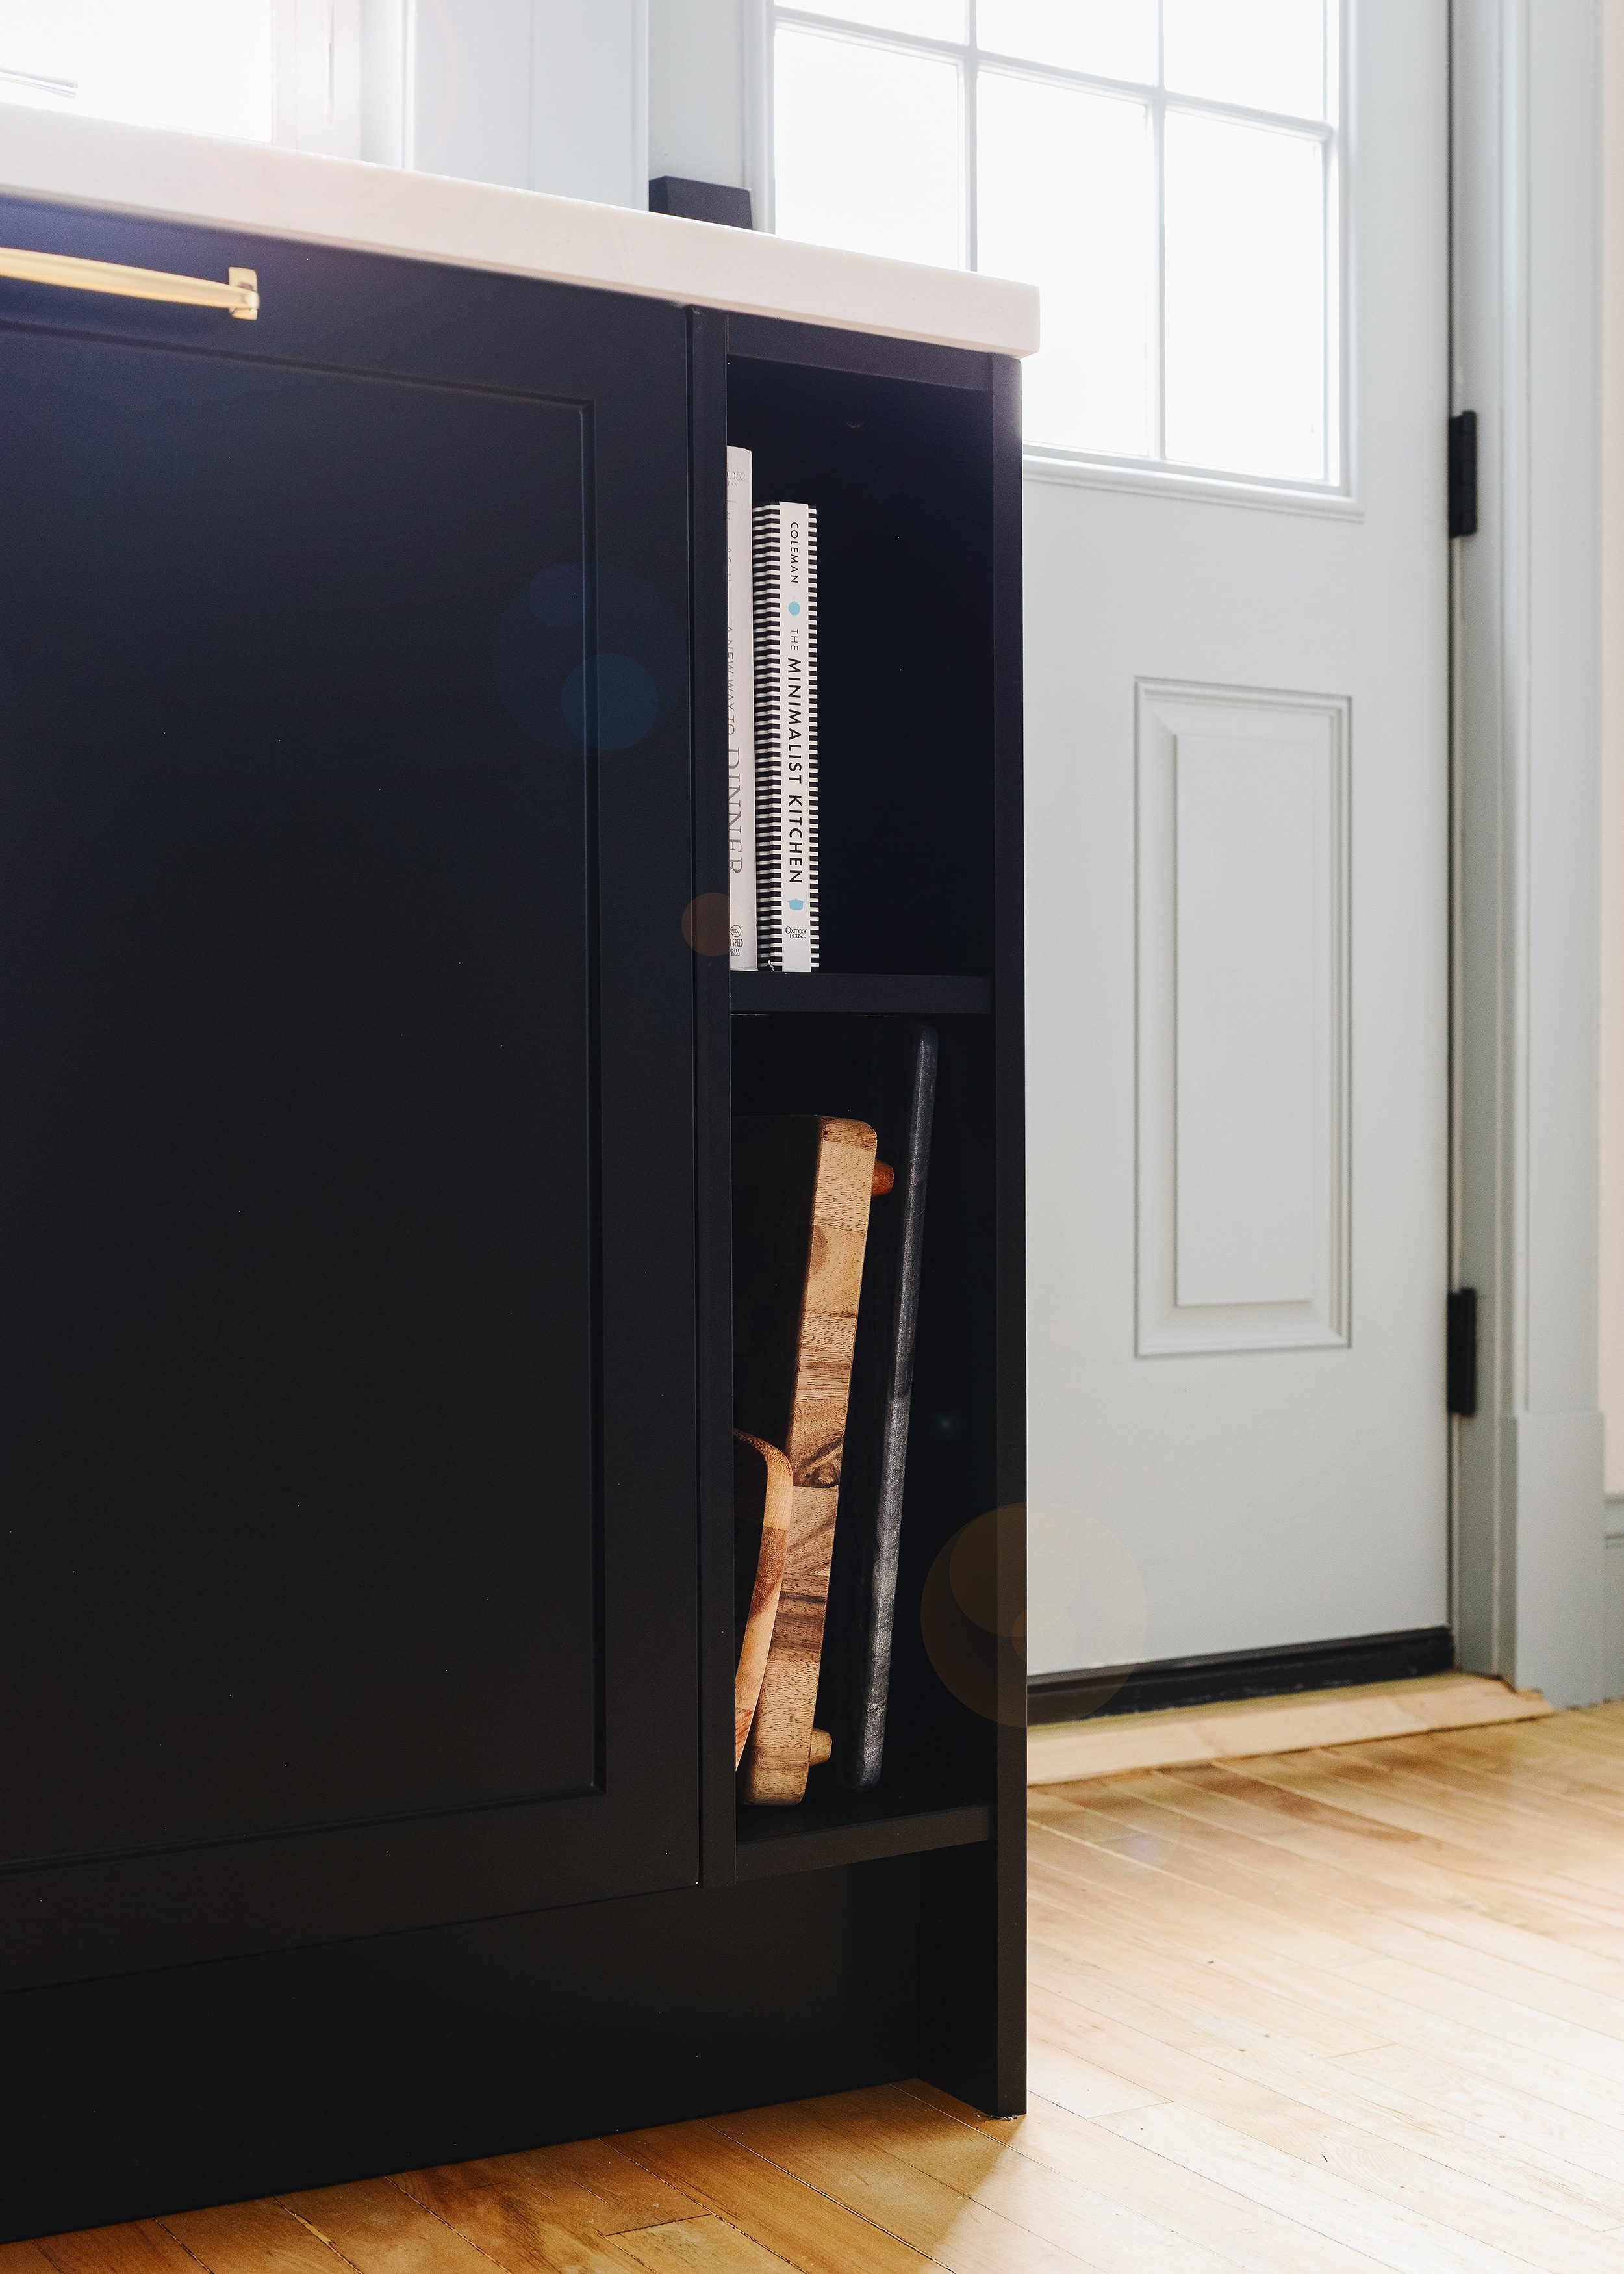
Above, you can see the dead space to the right of the sink cabinet, which is centered directly beneath the window. But one magical evening, I had my middle-of-the-night revelation! A cookbook nook! 8″ is more than enough space to squeeze in additional storage, and better yet, it would carry us over to the door trim. The latter is also important, because it would give us a stopping point for our tile backsplash.
You can also see that our cabinet was already boxed in with a Semihandmade matte black panel. What we should have done was to create the nook before attaching the side panel to the sink cabinet, but instead, we ended up building the nook by adding on to the existing cabinetry. That said, our plans would work well for anyone who is looking to extend their cabinets for an added storage boost!
Note: We used Semihandmade panels that matched our cabinet doors, but MDF or plywood (with banded edges) painted to match your cabinetry would work well.
1| Measure In 3 Places
Walls and floors are rarely level, and that is especially true in an old house. We started by measuring the dimensions for our outside panel, and we based it off of the sink cabinet side panel. We measured left, right and center, and took a note of each number.
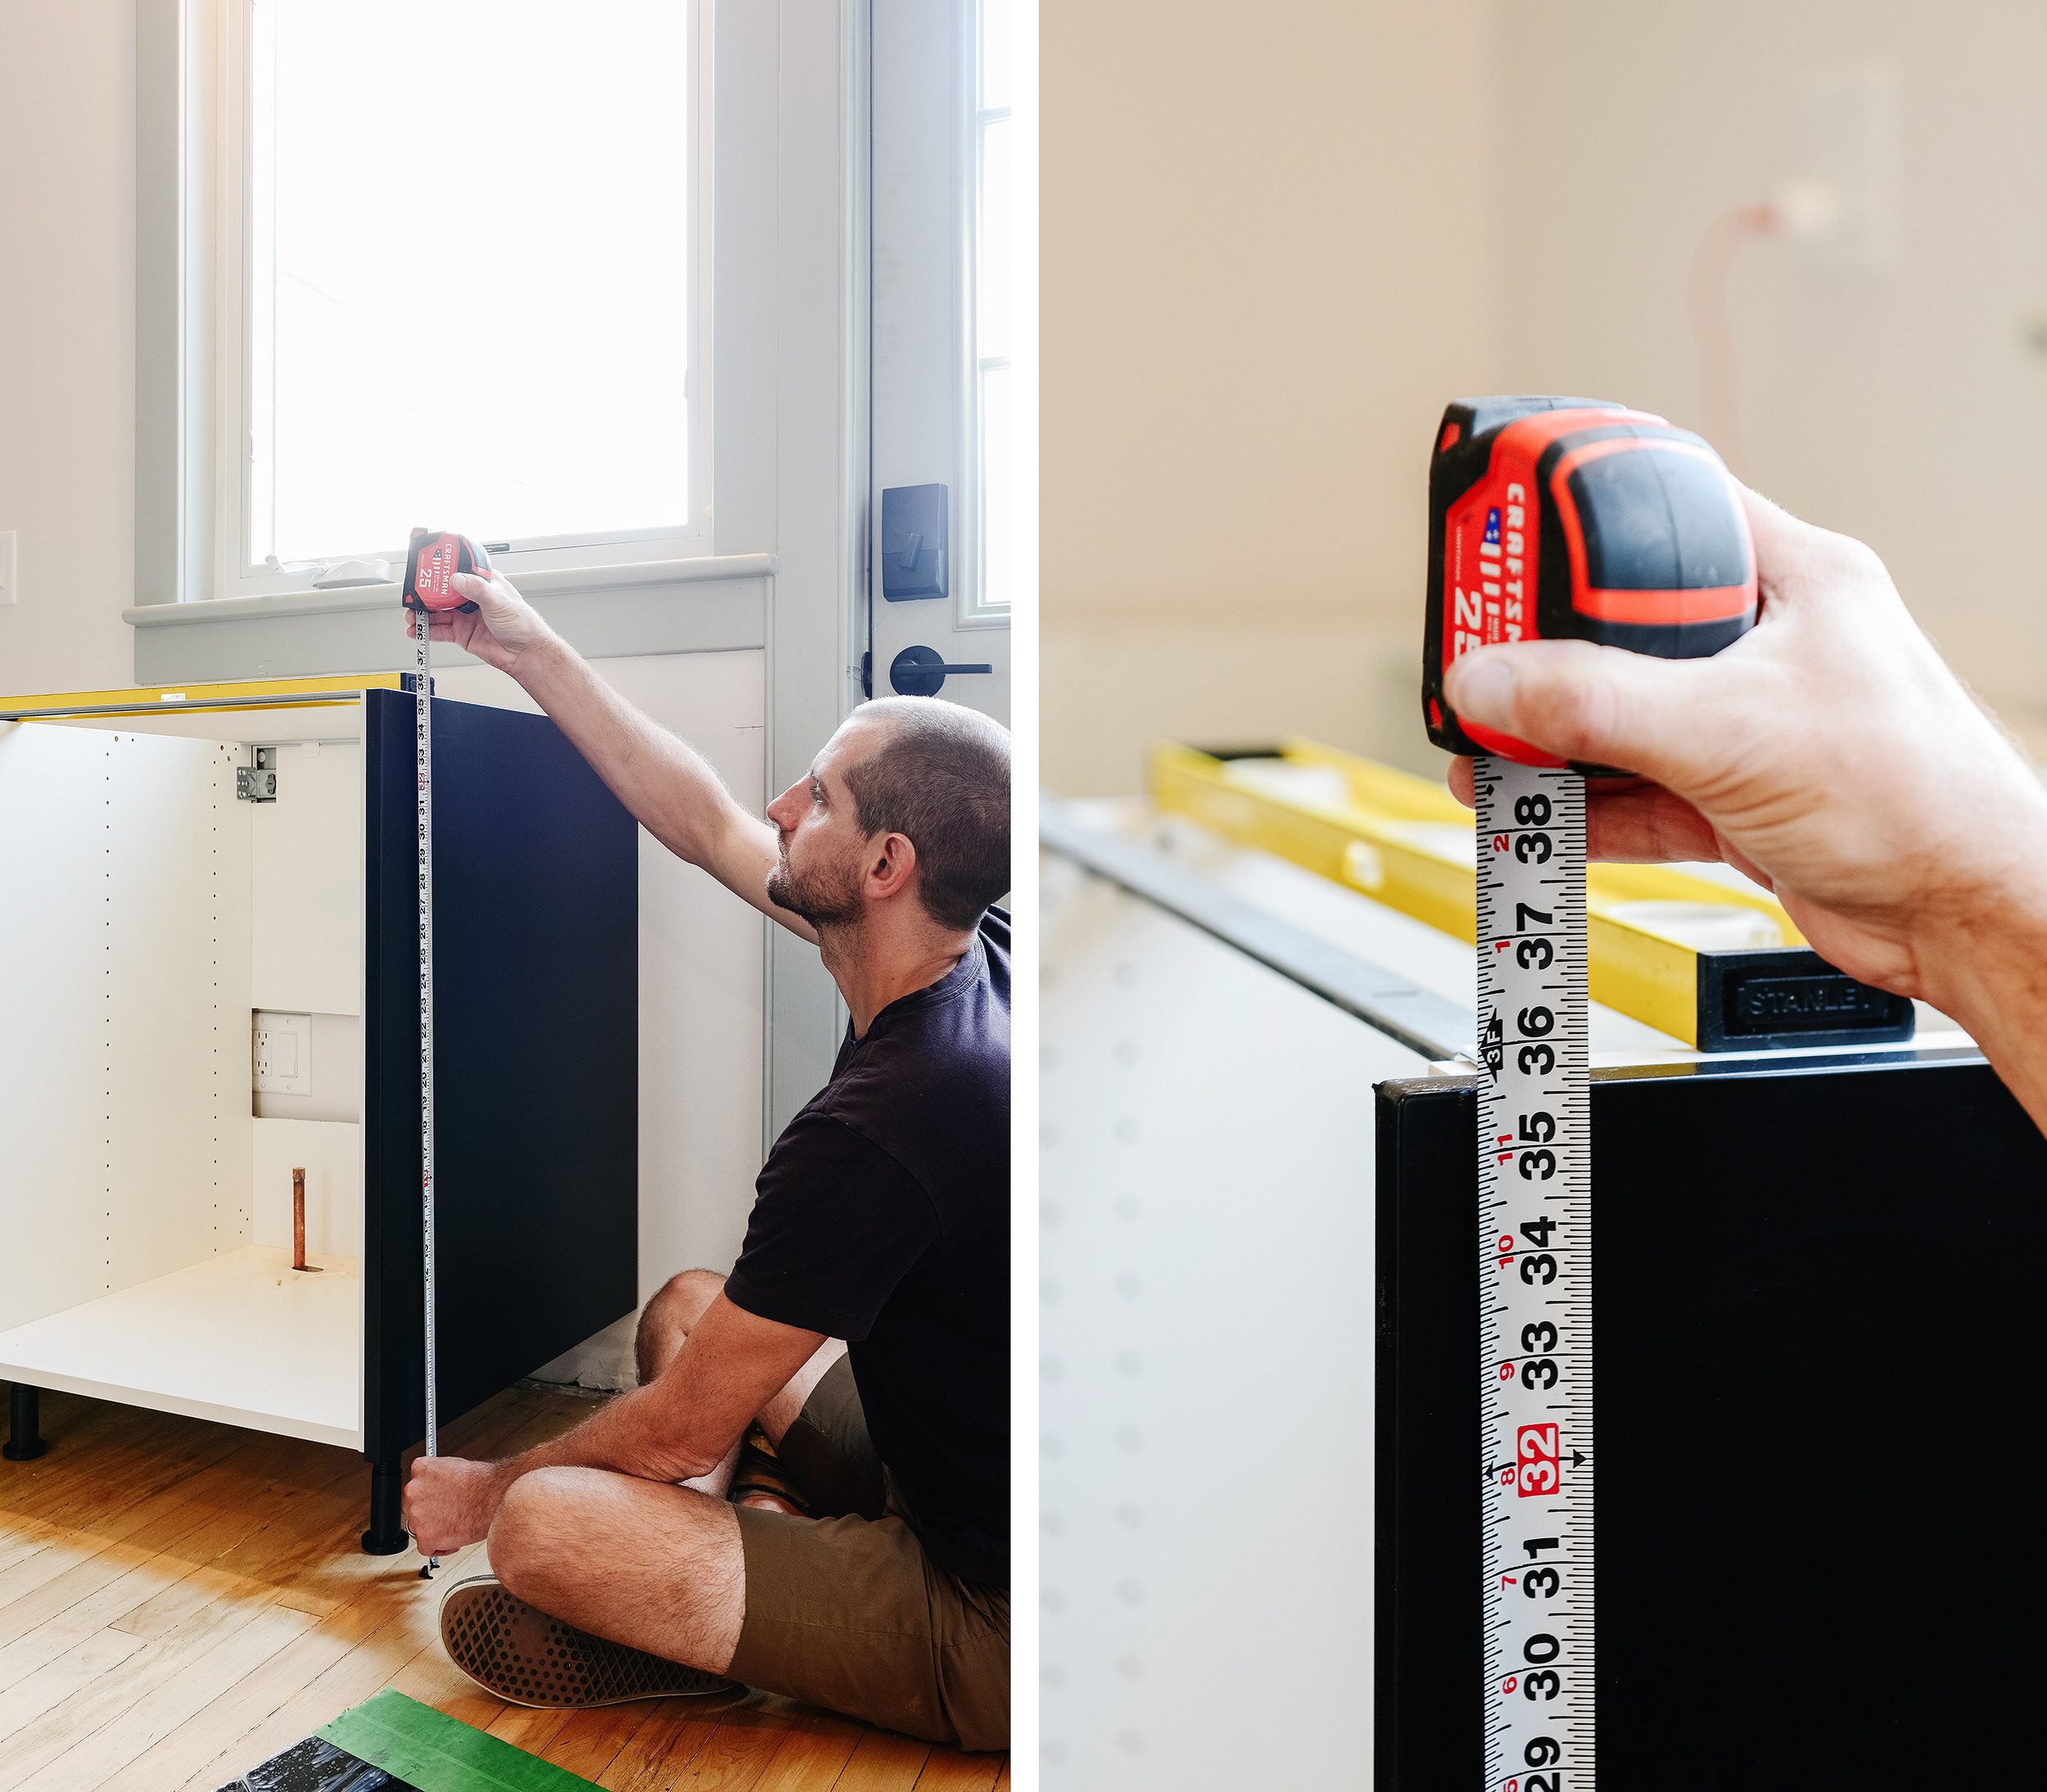
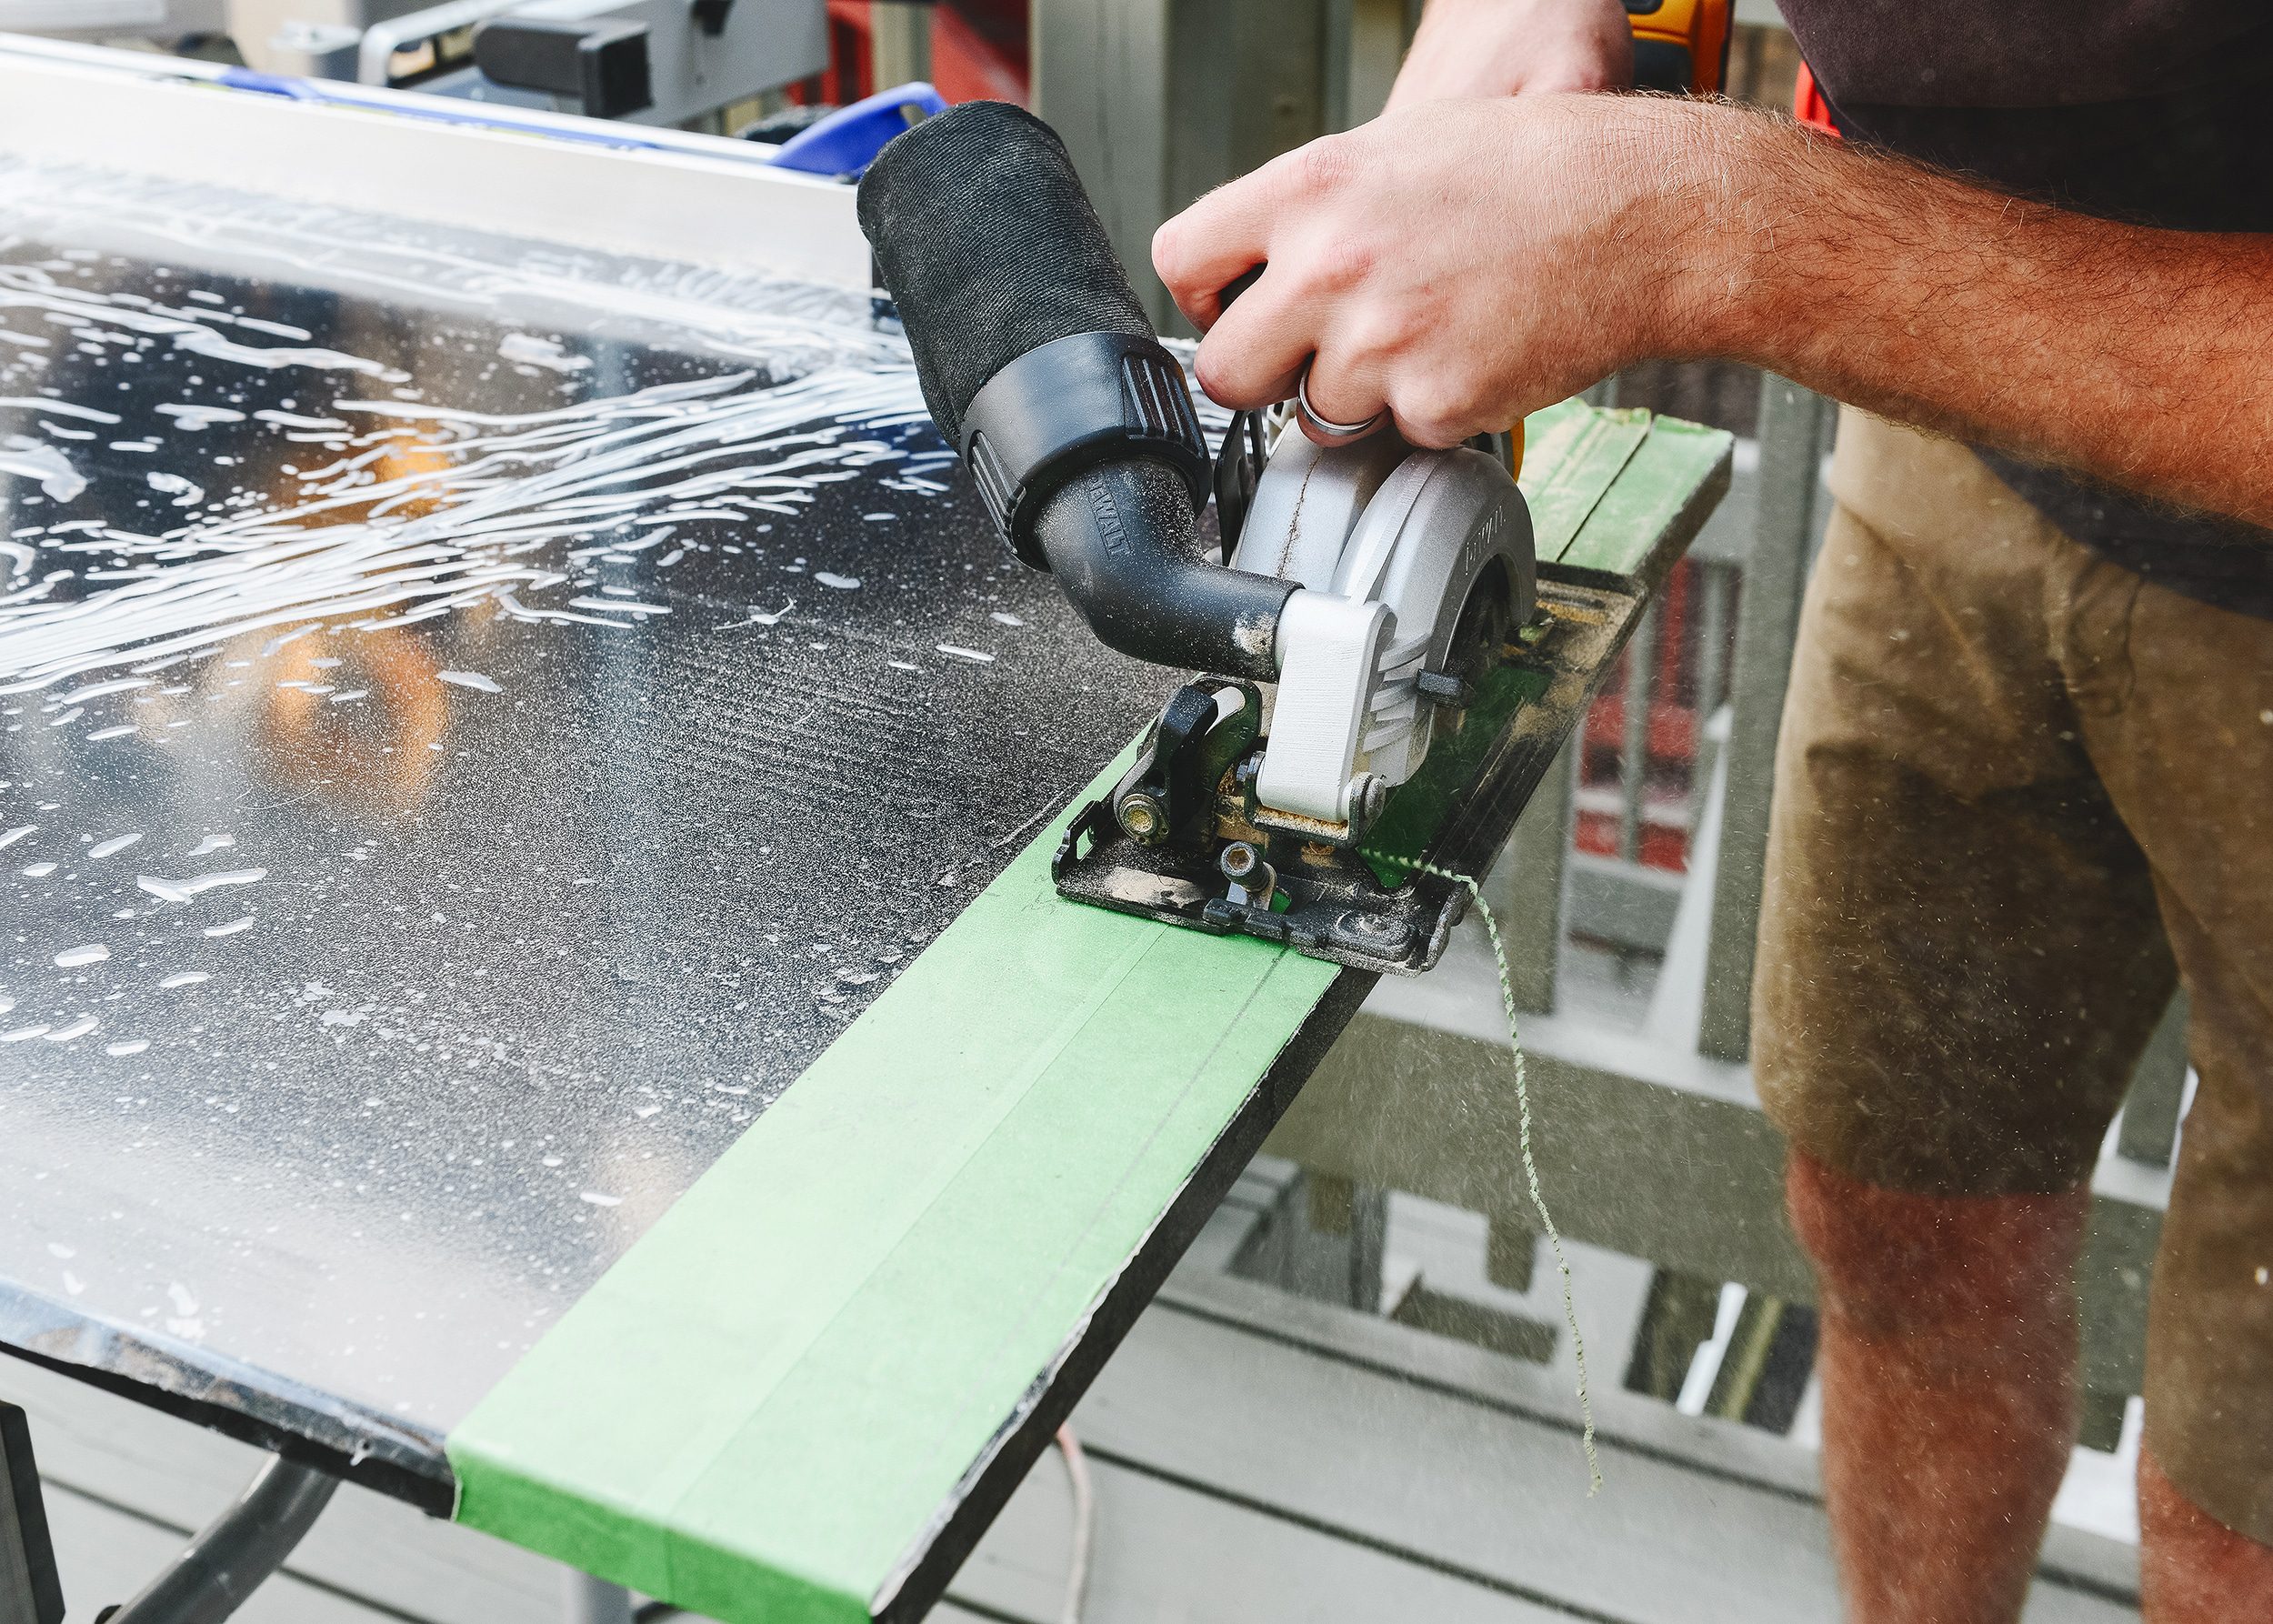
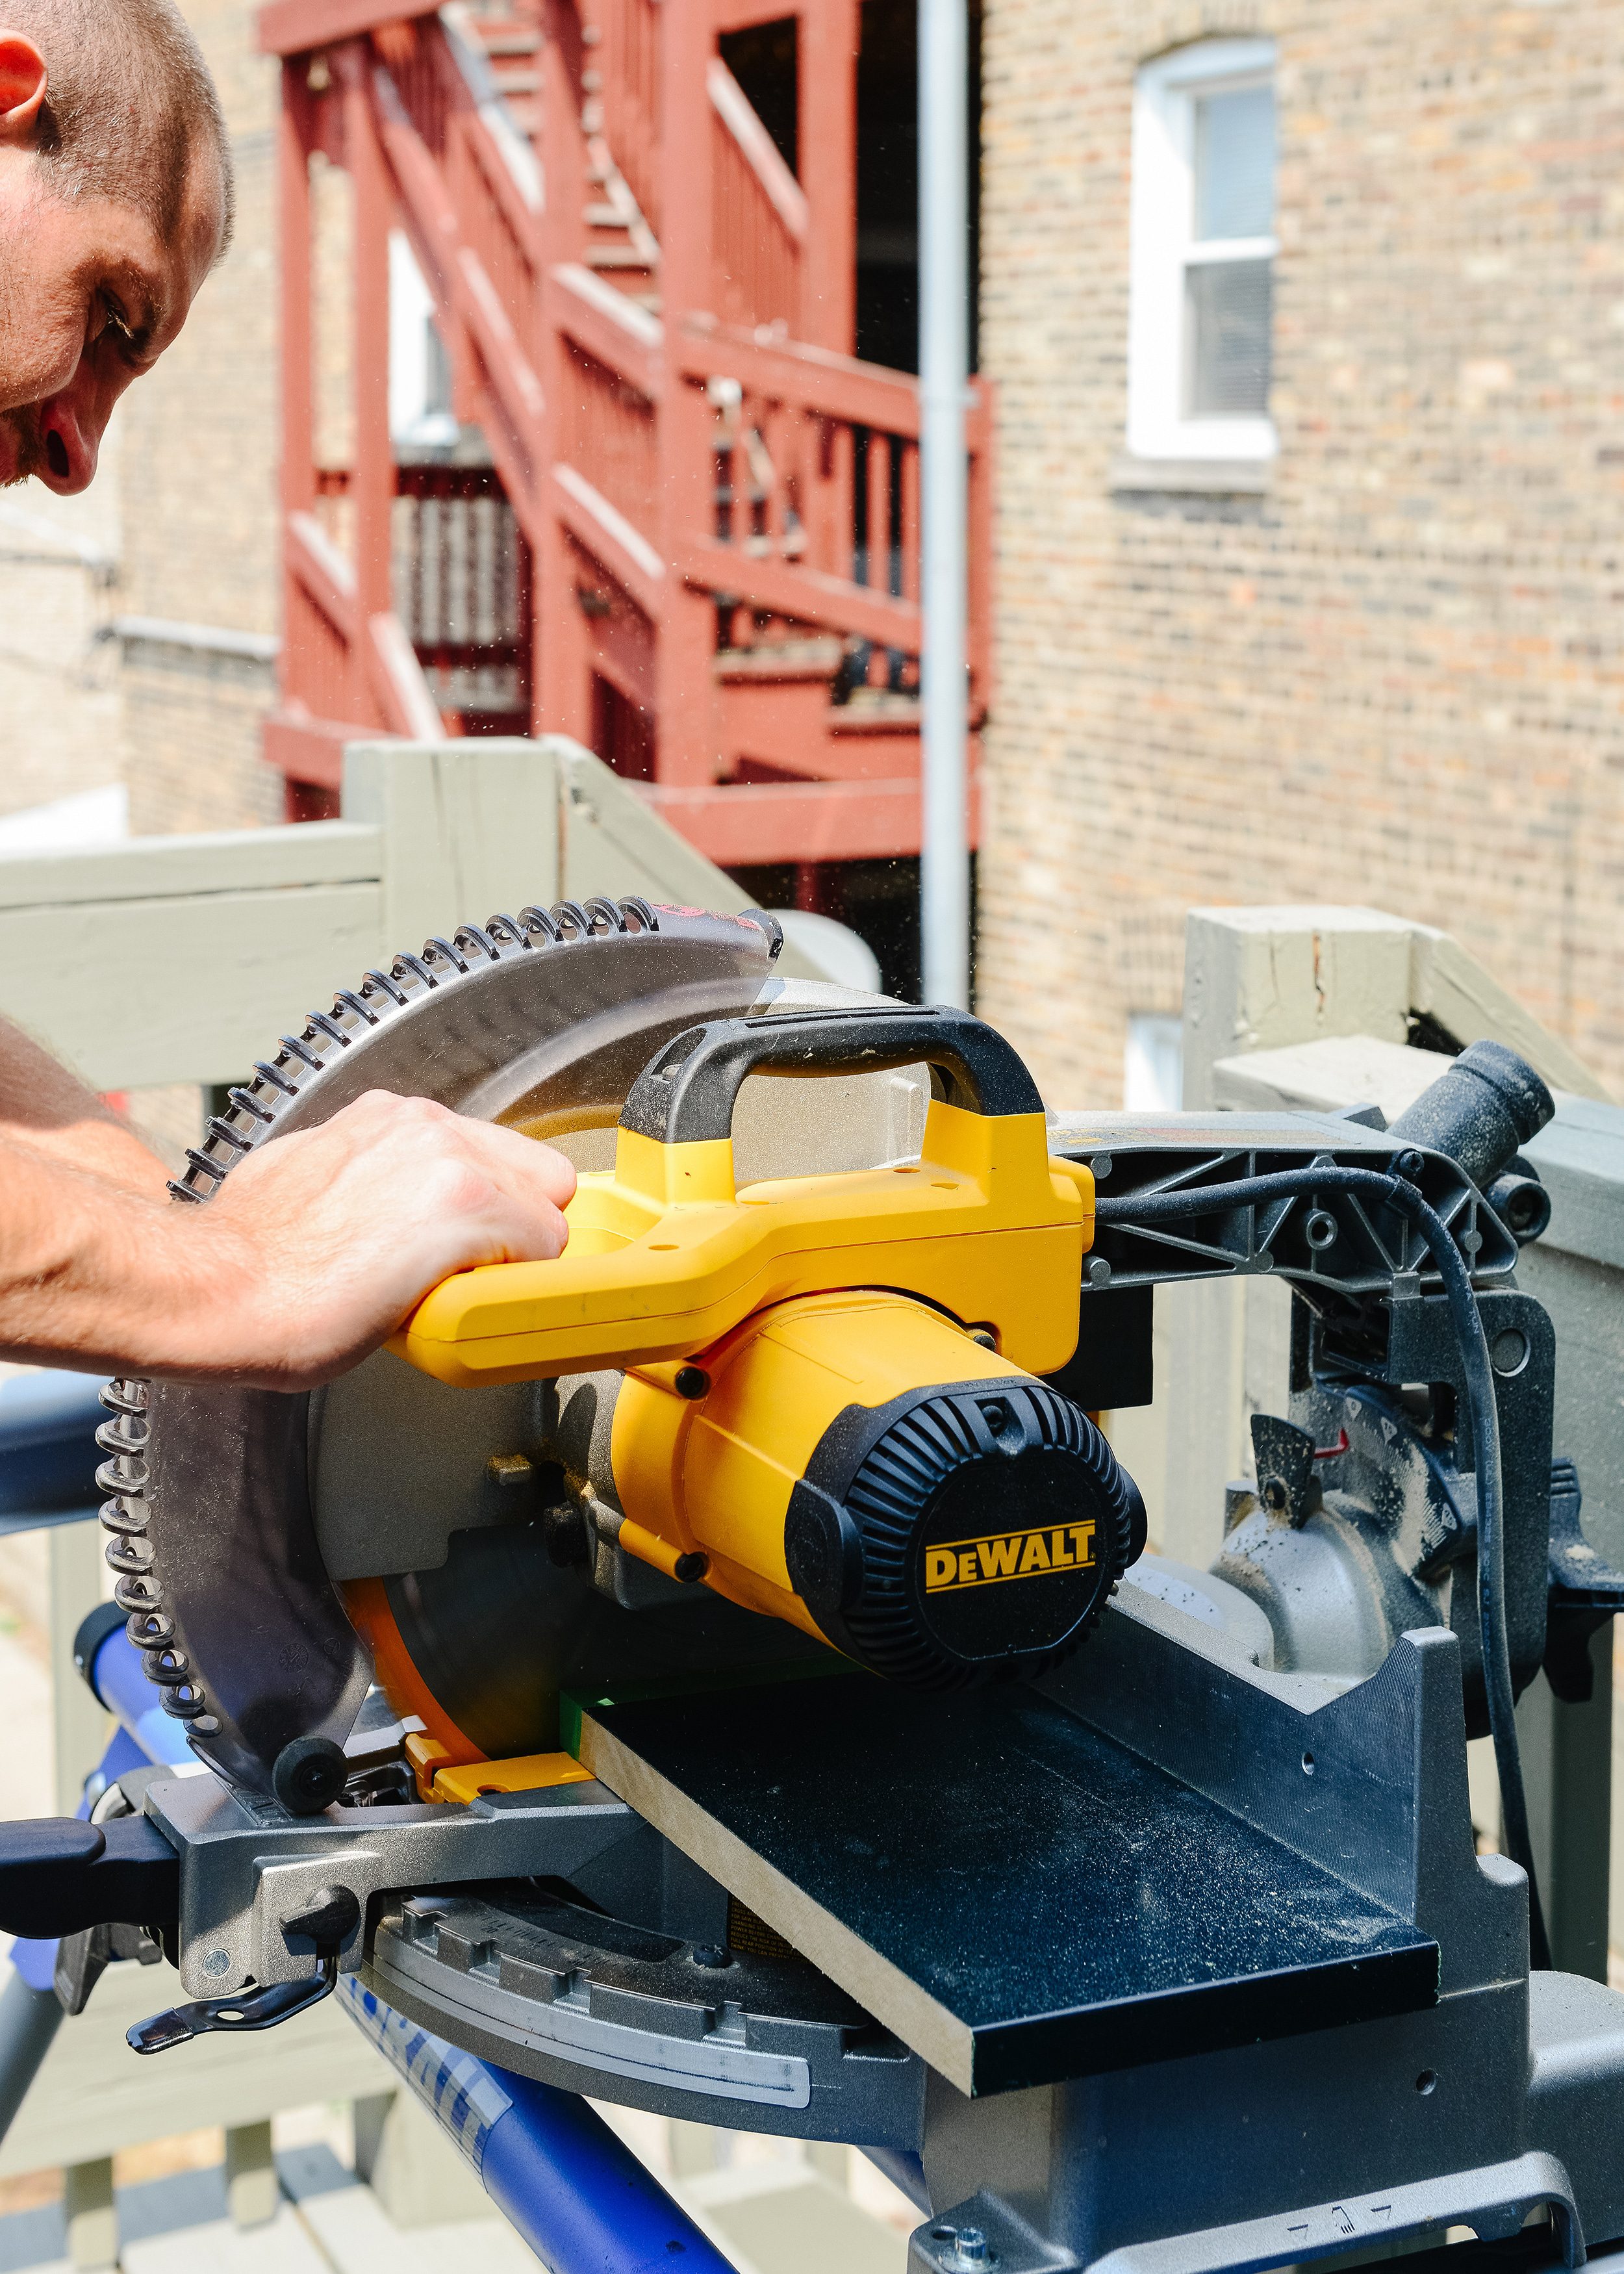
2| Use a Straight Edge to Connect the Dots + Make the Cut
Along the bottom of our panel, we made a mark for each measurement and used a straight edge to draw and connect our dots. We had about a half-inch difference from front to back, which is why measuring in 3 places is so important!
Tip: Cover your panel with painter’s tape before making any cuts. This helps to prevent the wood from chipping.
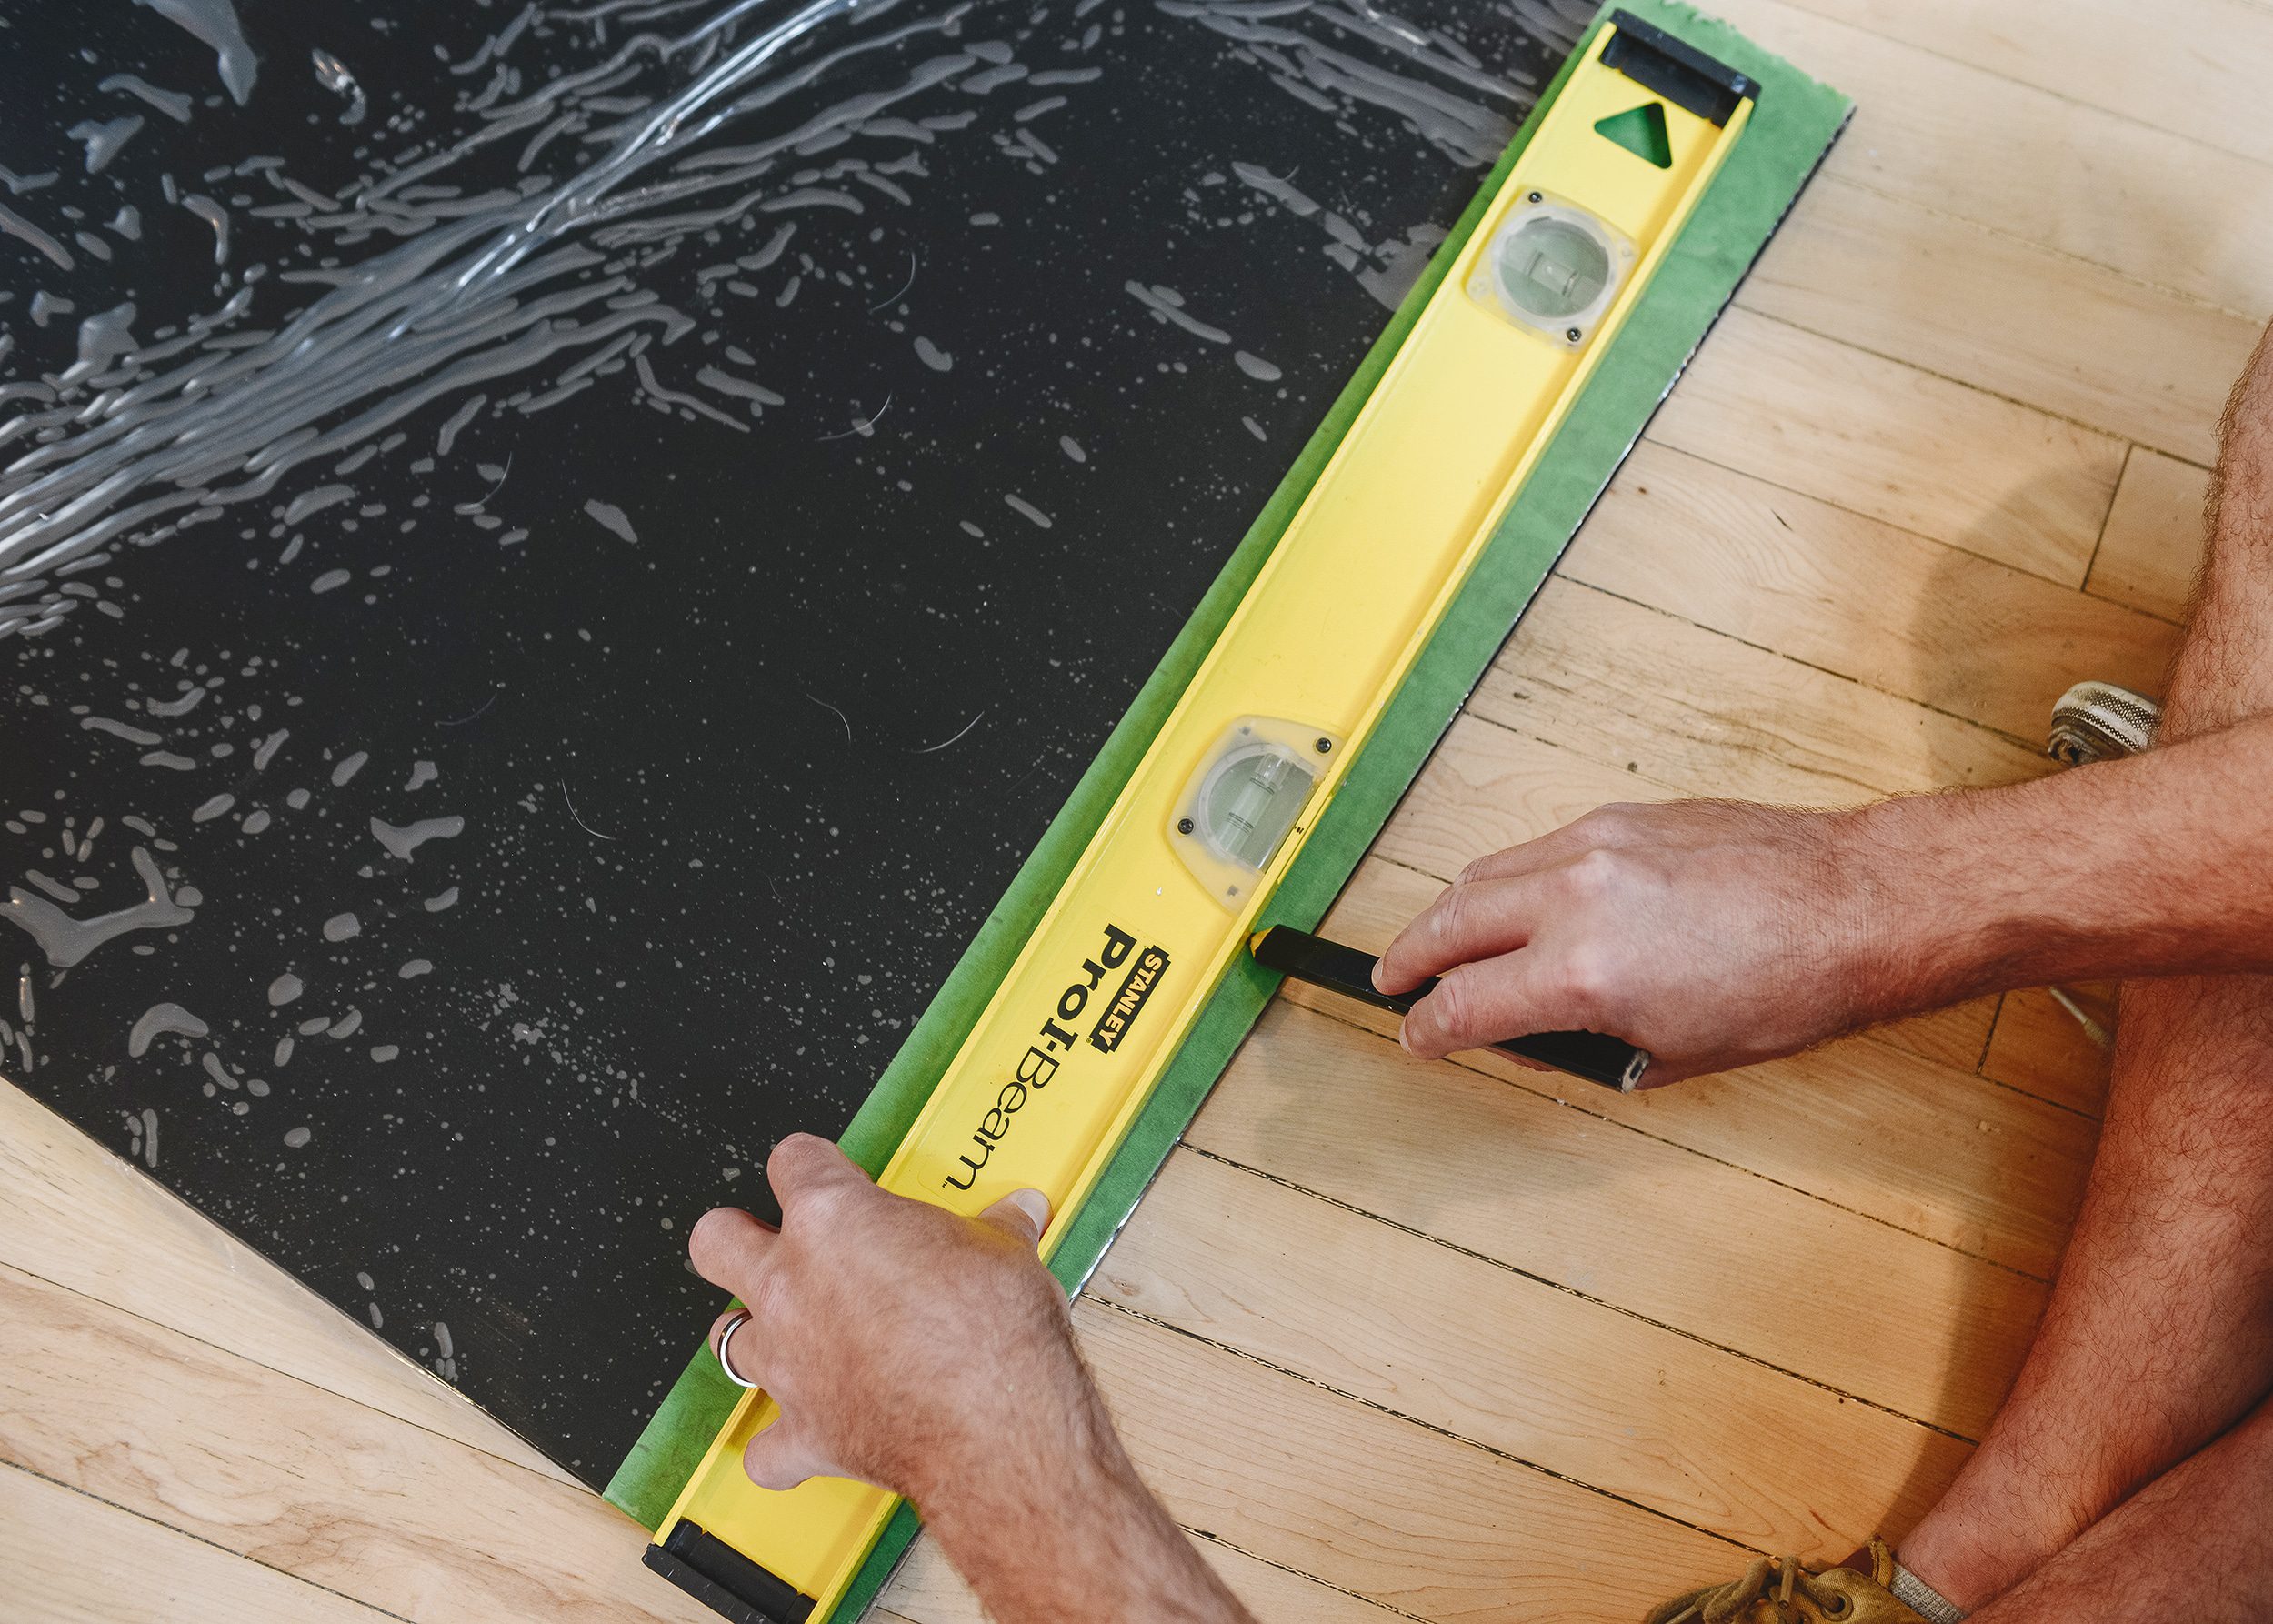
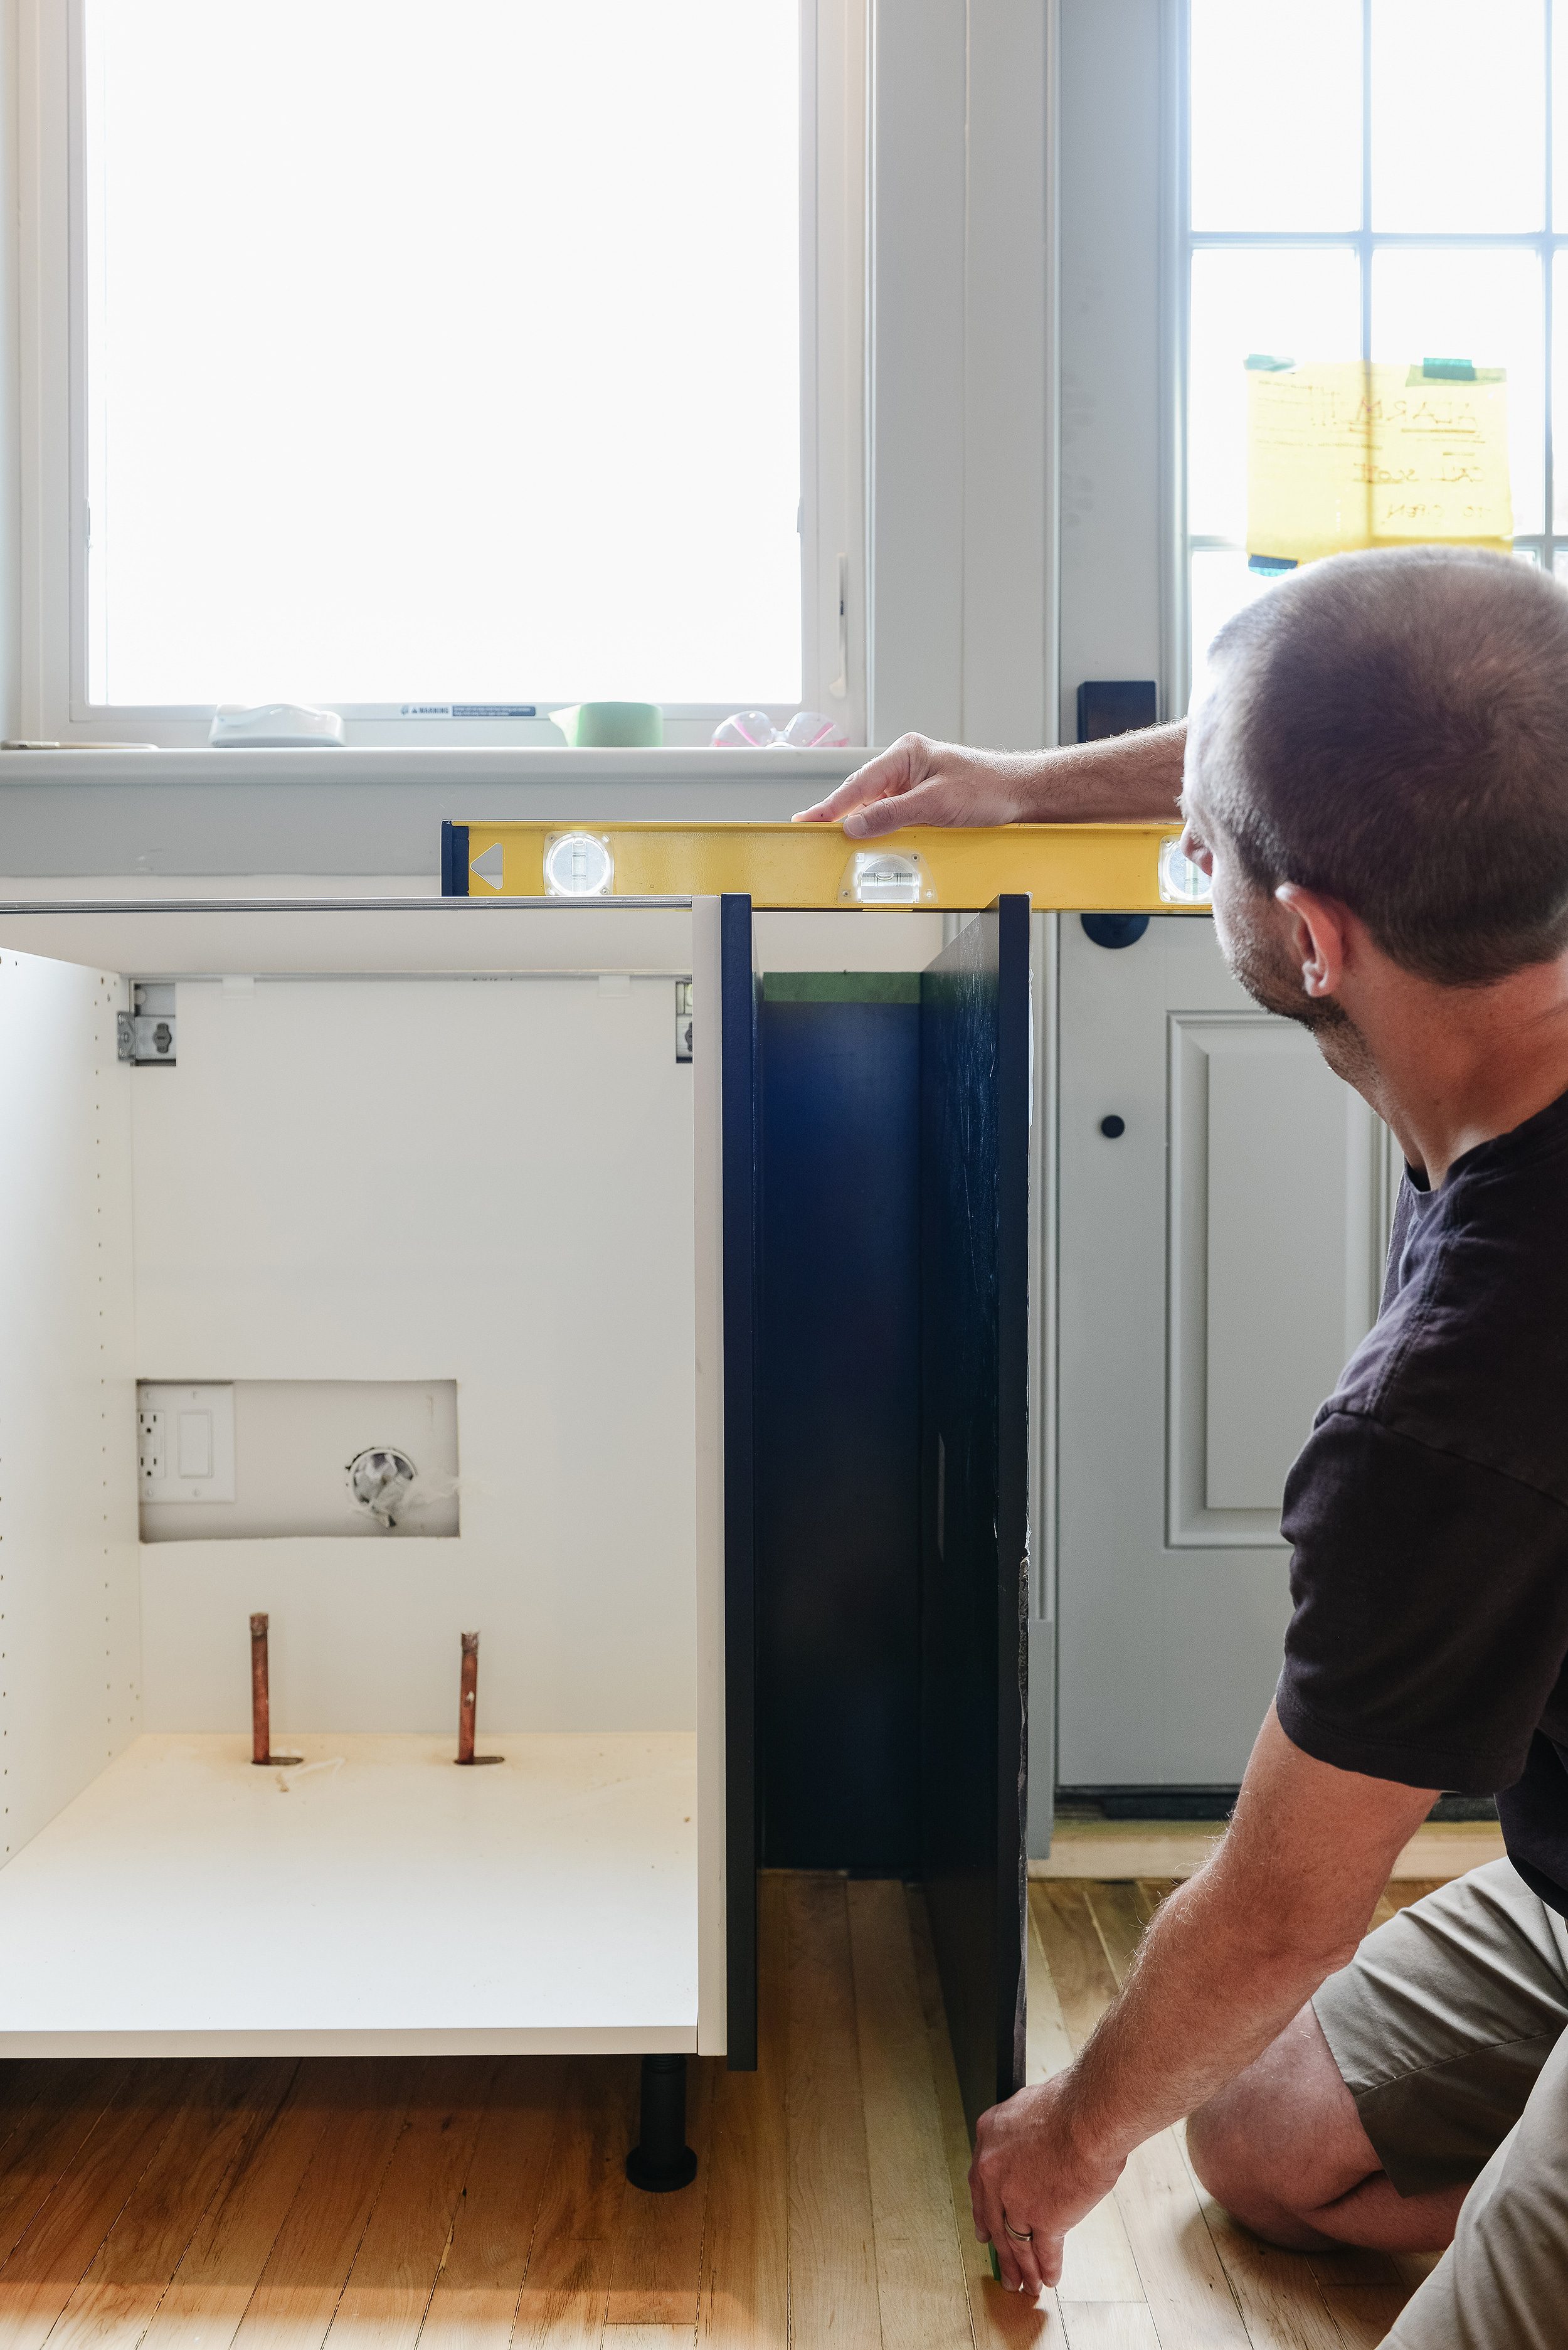
3| Check for Level
We brought the cut piece back inside and held it in place for leveling. Always, always, always level. Always! Once we confirmed that our nook end panel was in line with the sink cabinet, we moved onto the next step.
4| Cut + Prepare the Shelves
Using the same matte black panels, we cut down four boards for the top, middle, bottom and back of the nook.
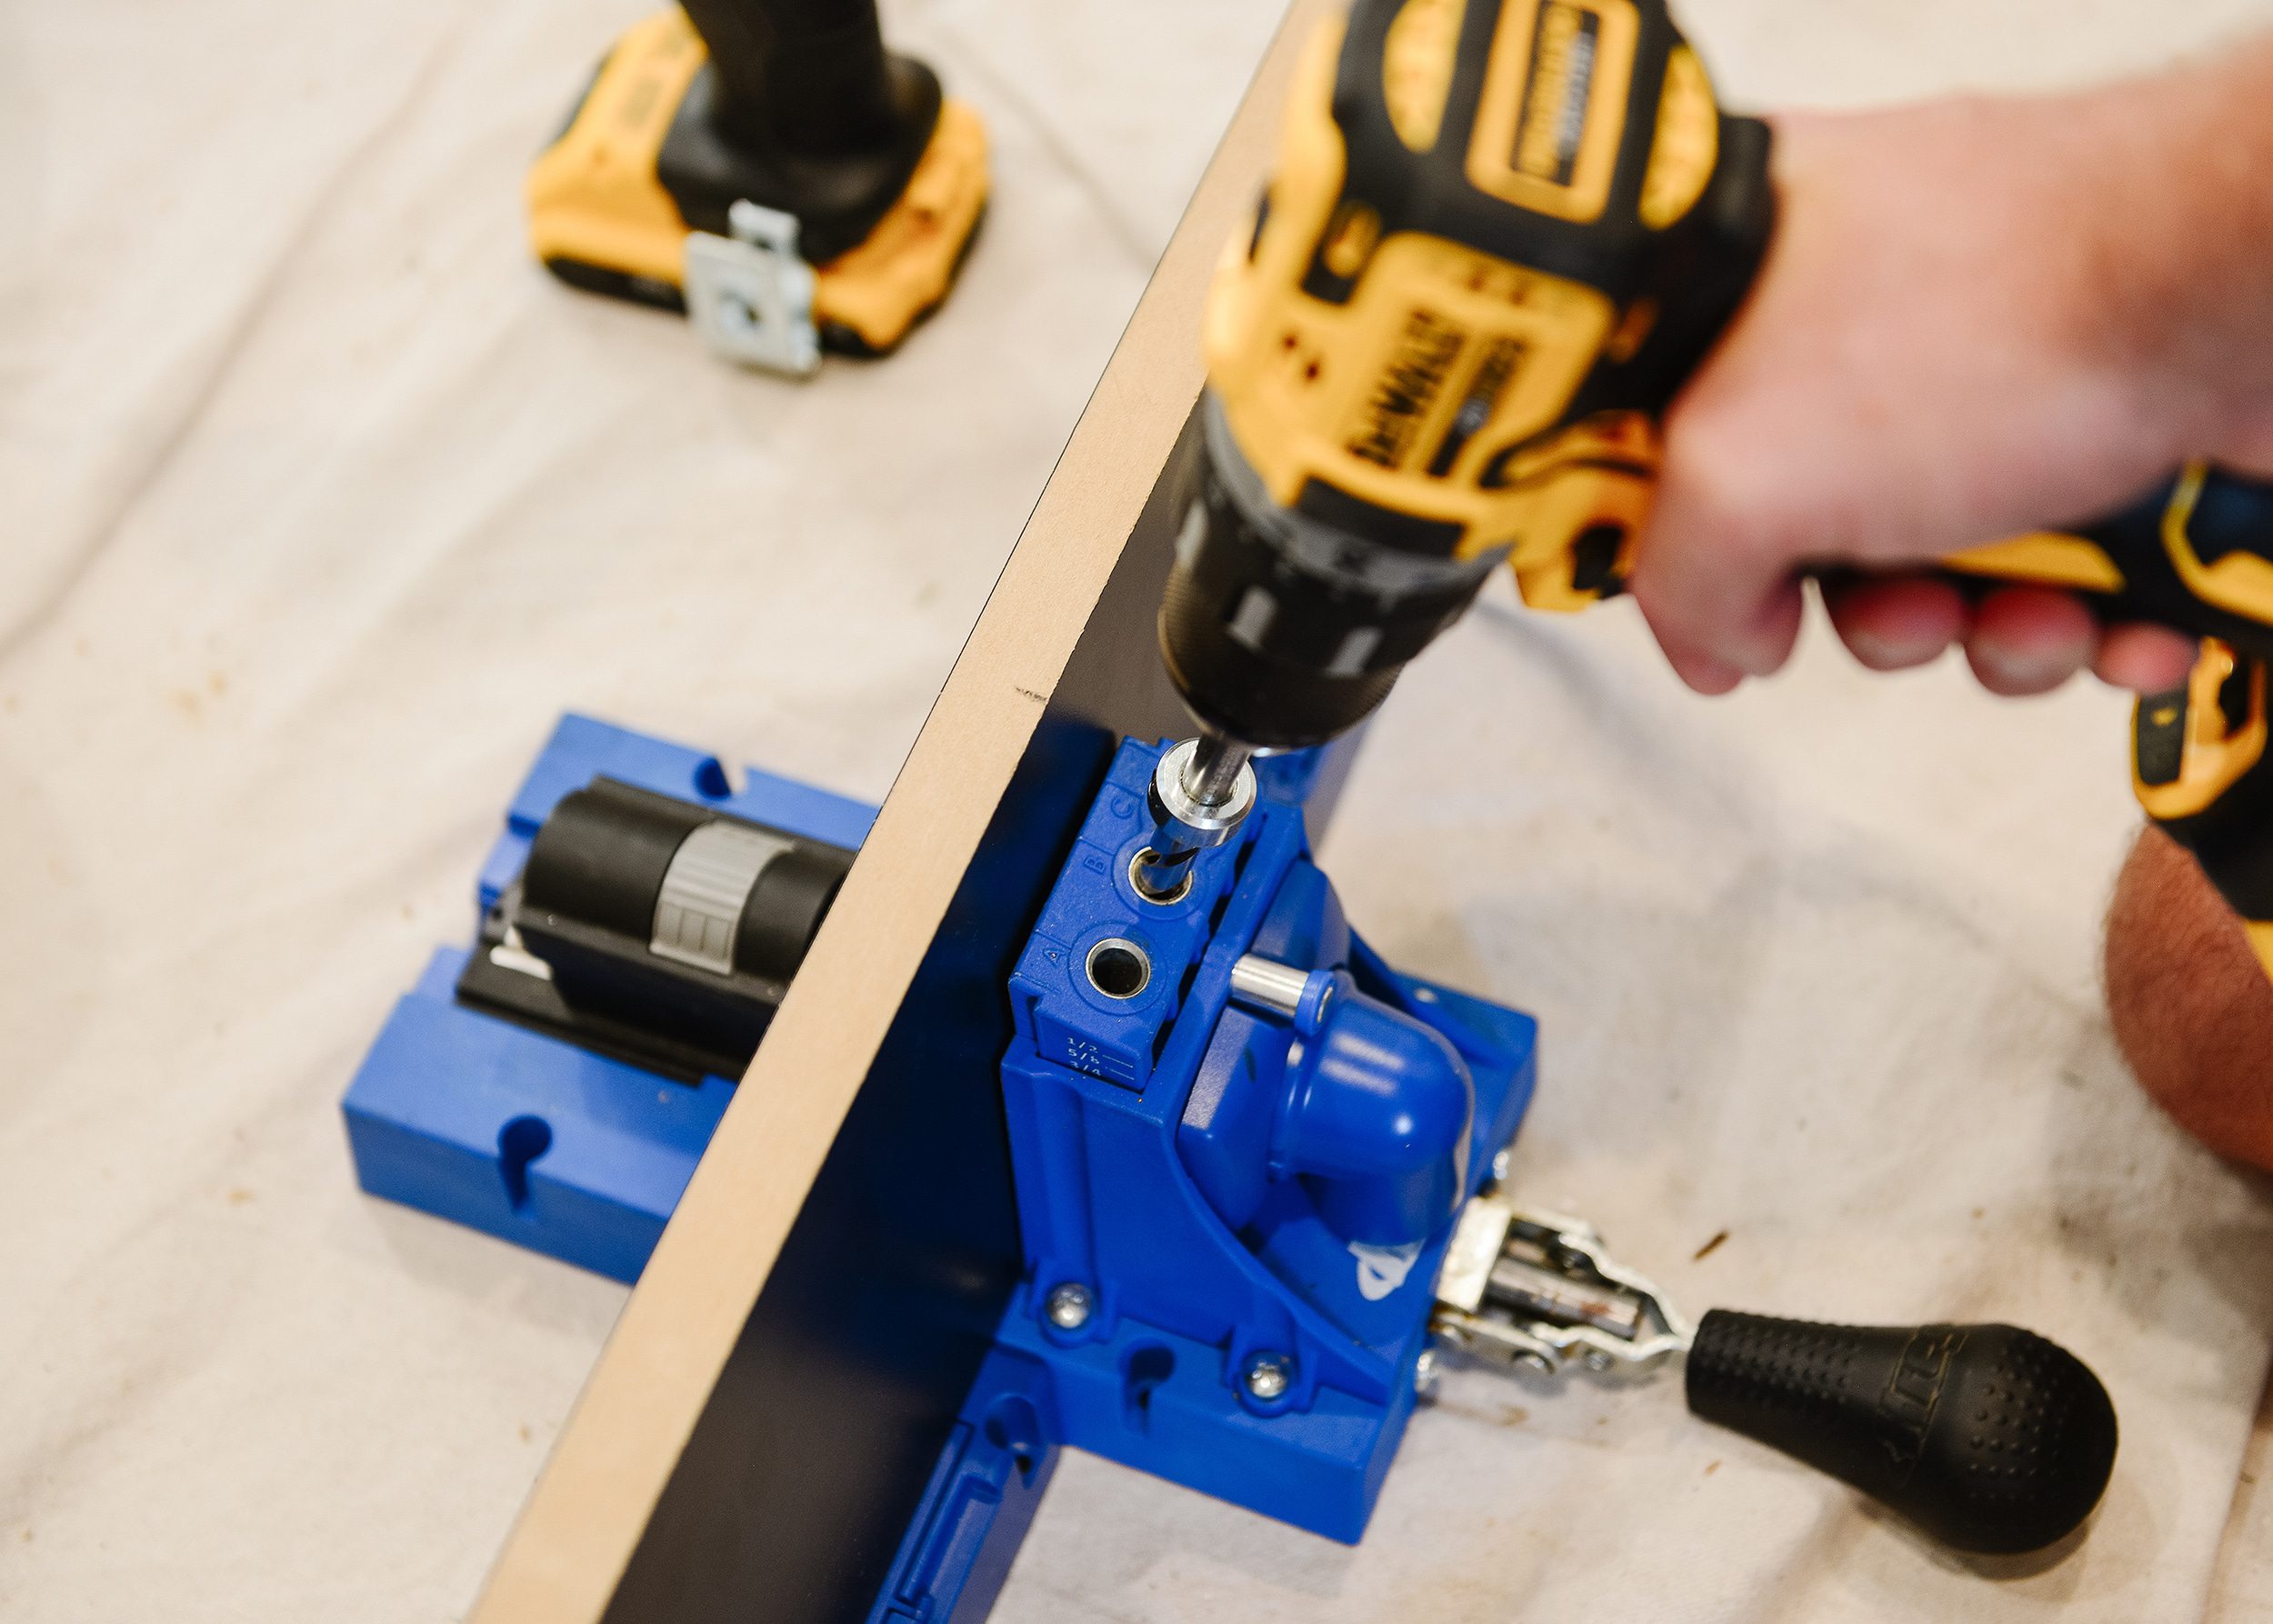
To secure these shelves to the nook panel, we opted to use our Kreg jig so that the fasteners would be concealed. Each shelf got 6 Kreg holes – or pocket holes – 3 along each side.
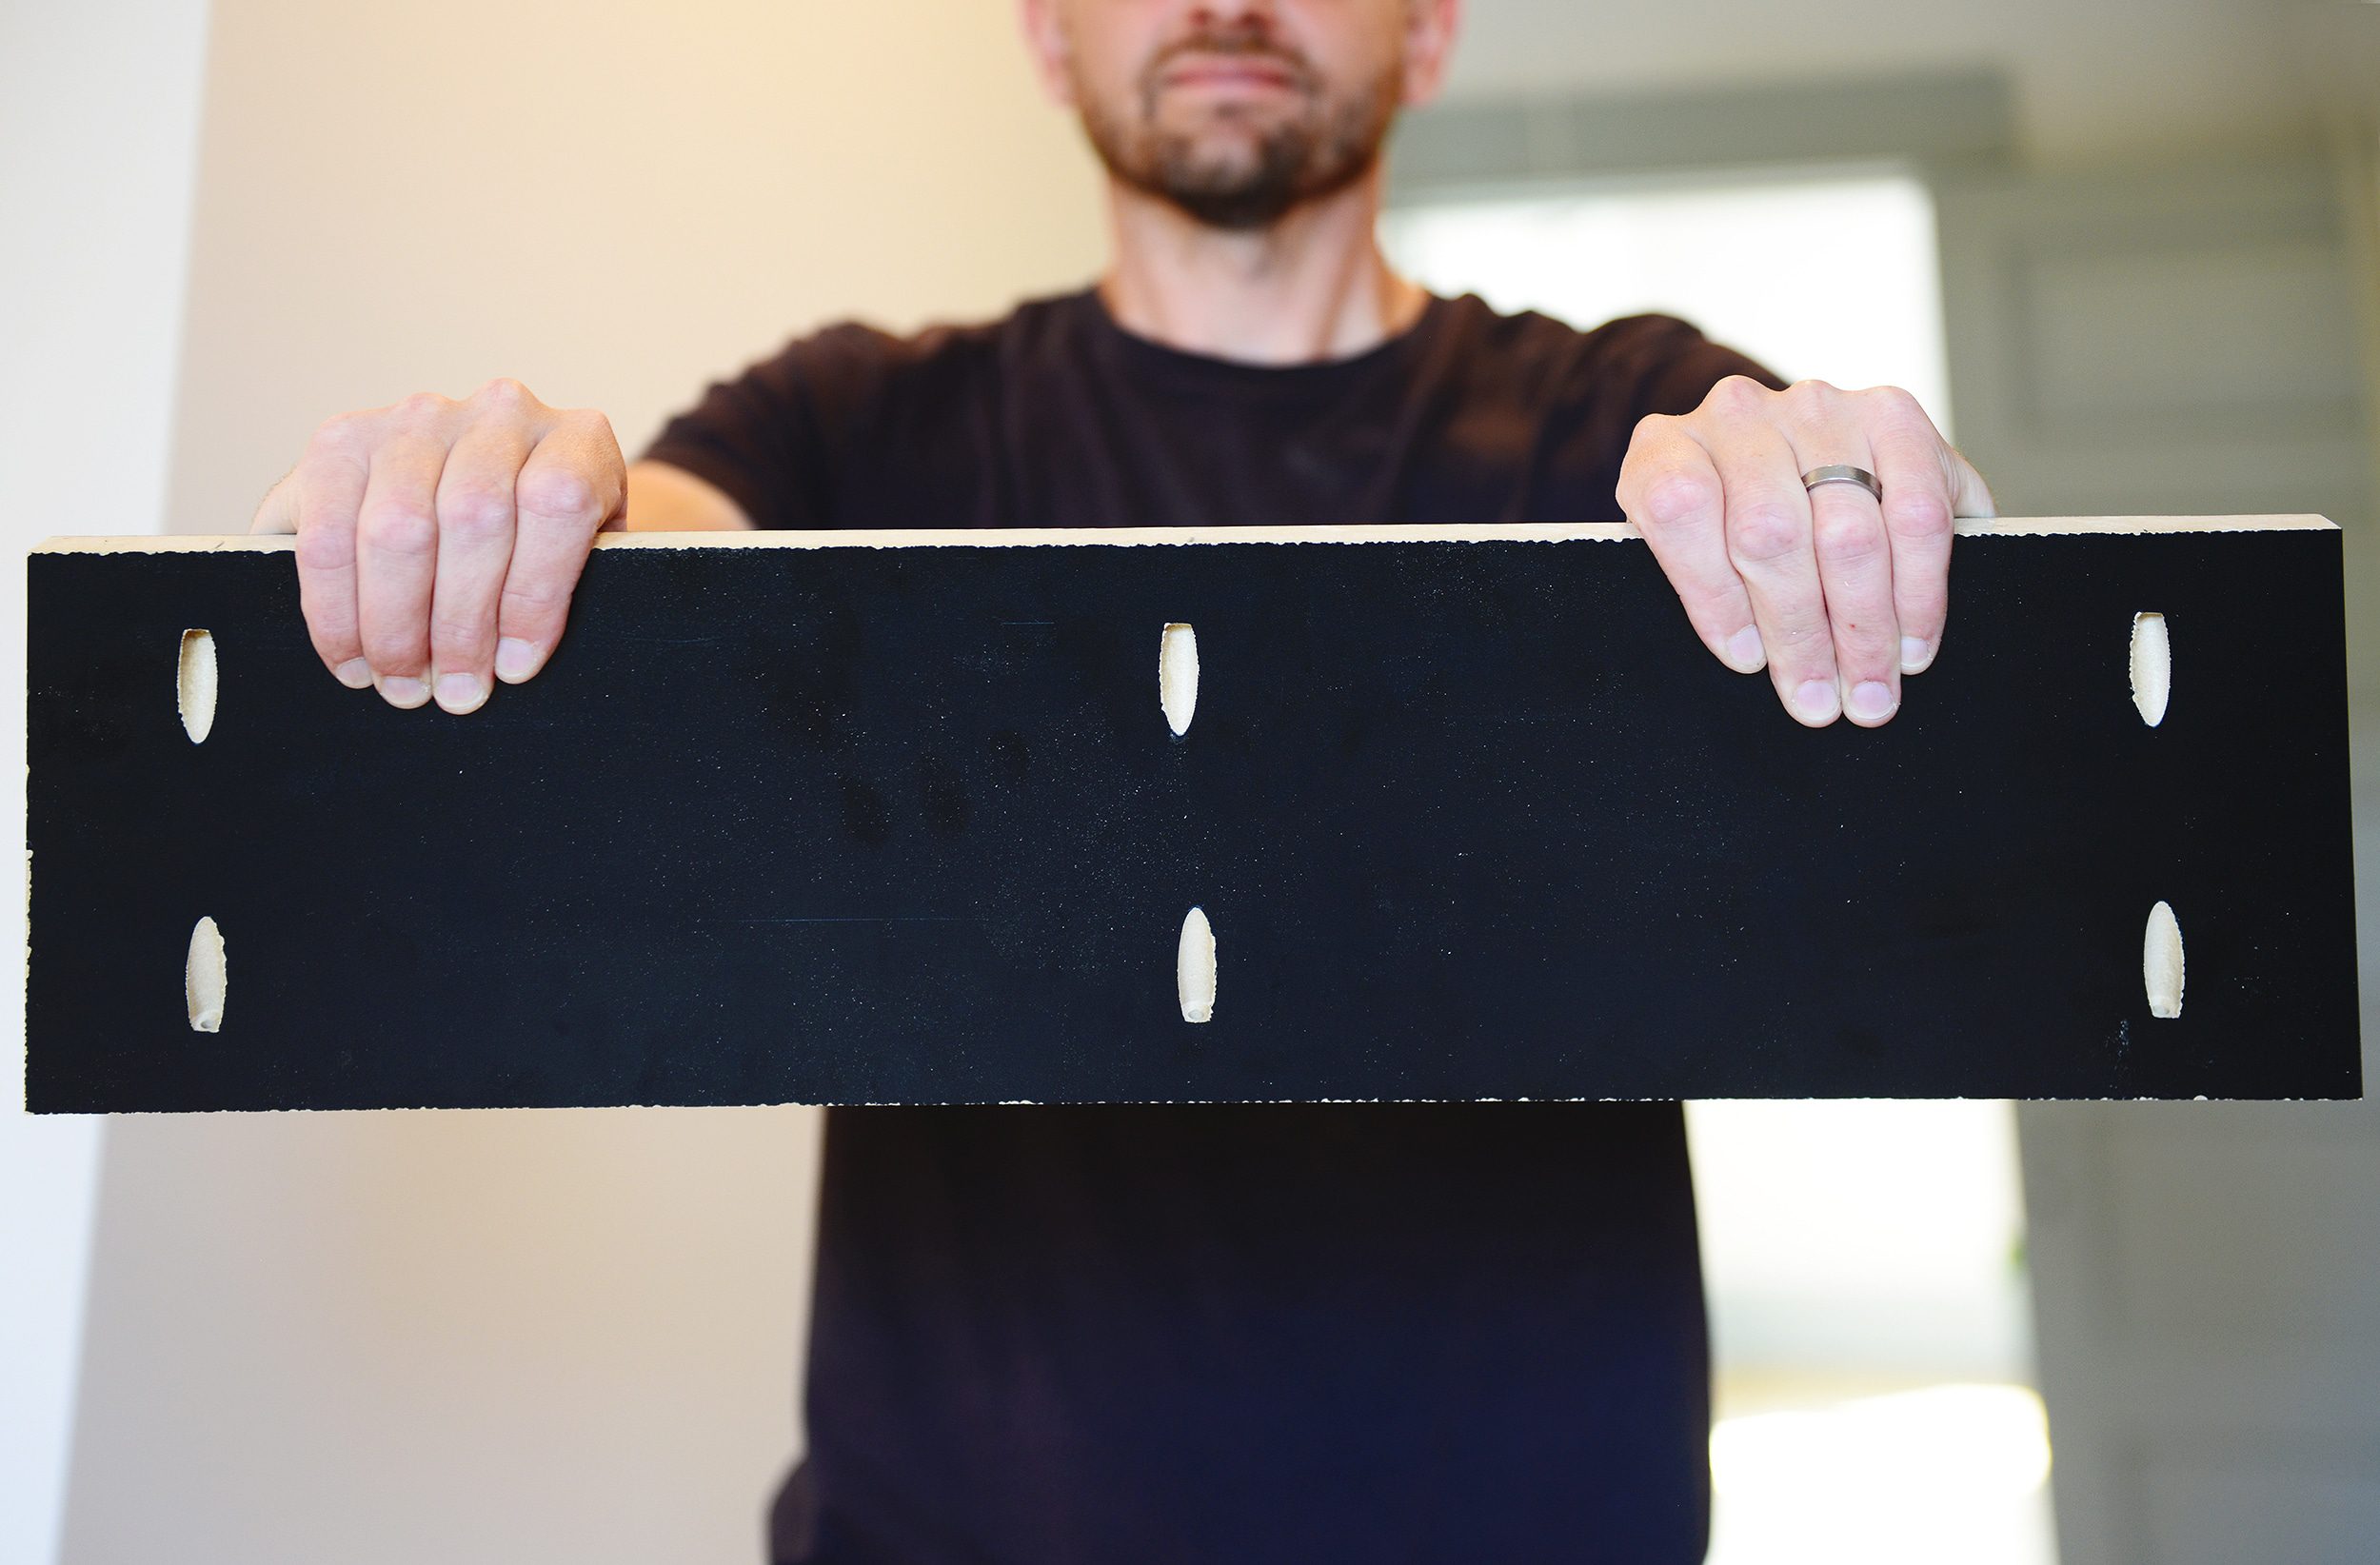
Here’s the kicker: We were careful to add our pocket holes to the underside of the shelf and bottom piece, but we added pocket holes to the TOP of the top. More on why we did that in a second.
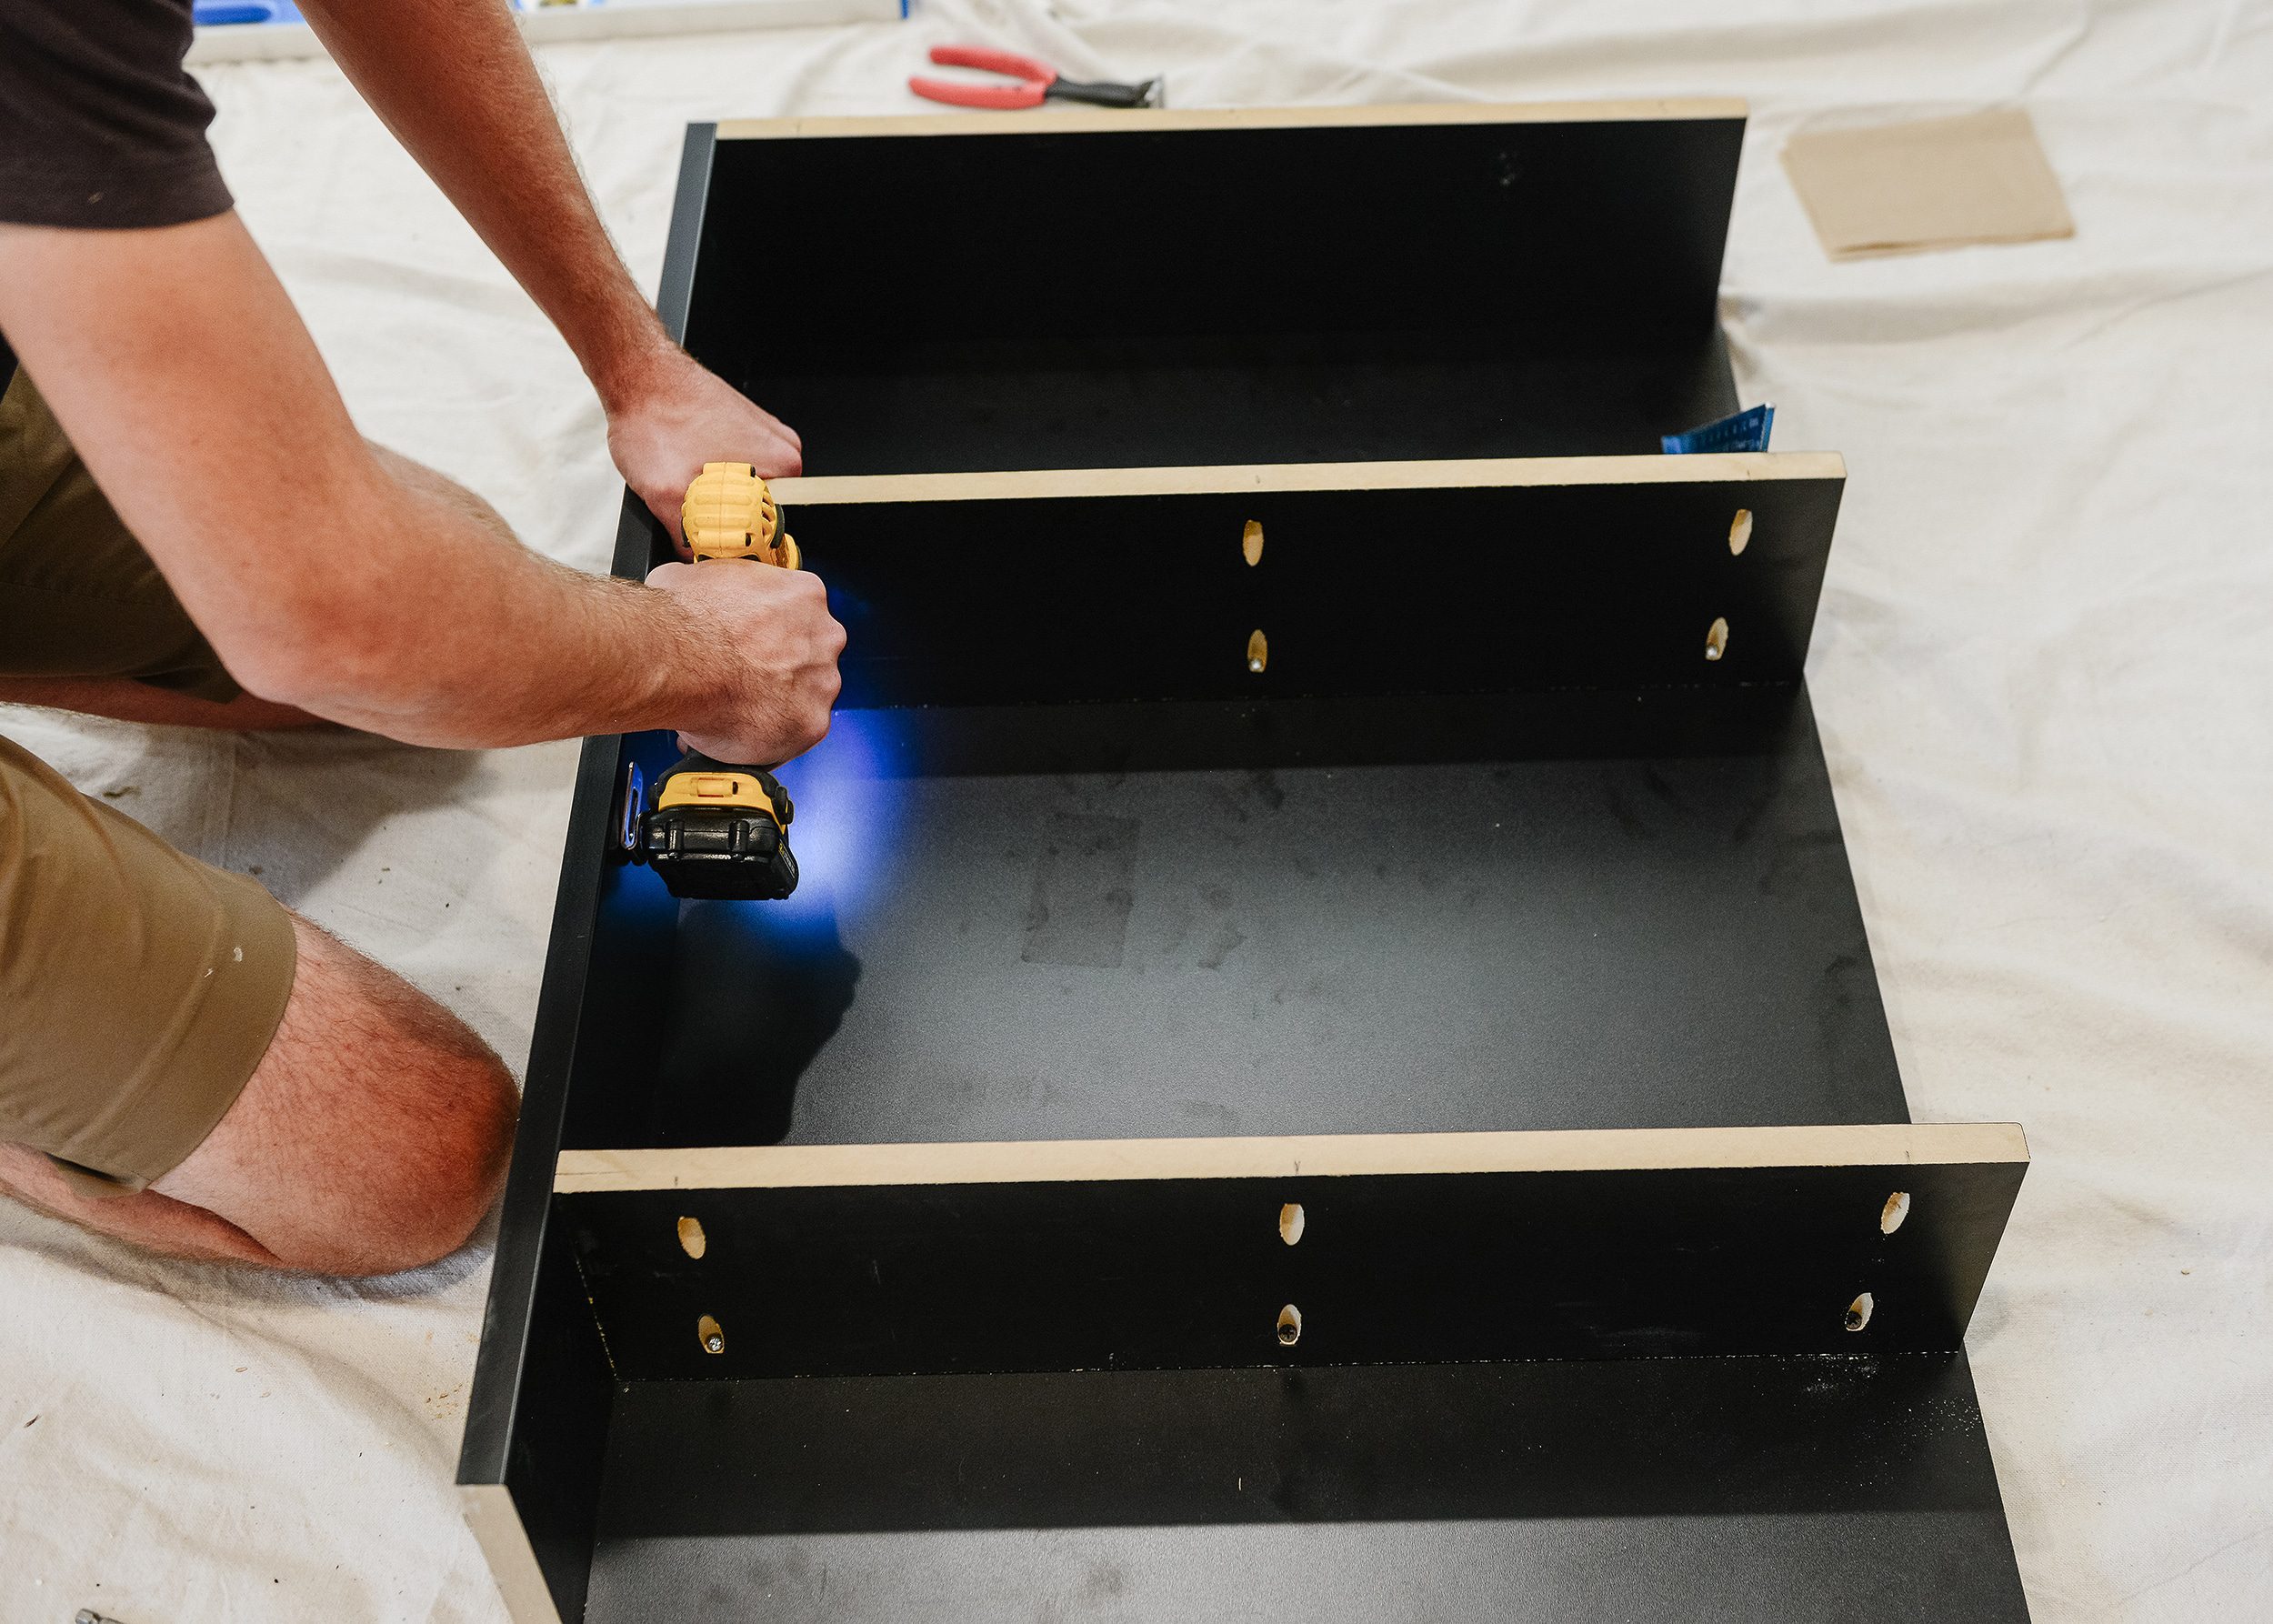
5| Attach the Shelves
With the pocket holes we just added, we could now attach the shelves and back to the panel we cut in step 2! For the back panel, we just attached using wood screws from behind, since you’ll never, ever see the attachment points.
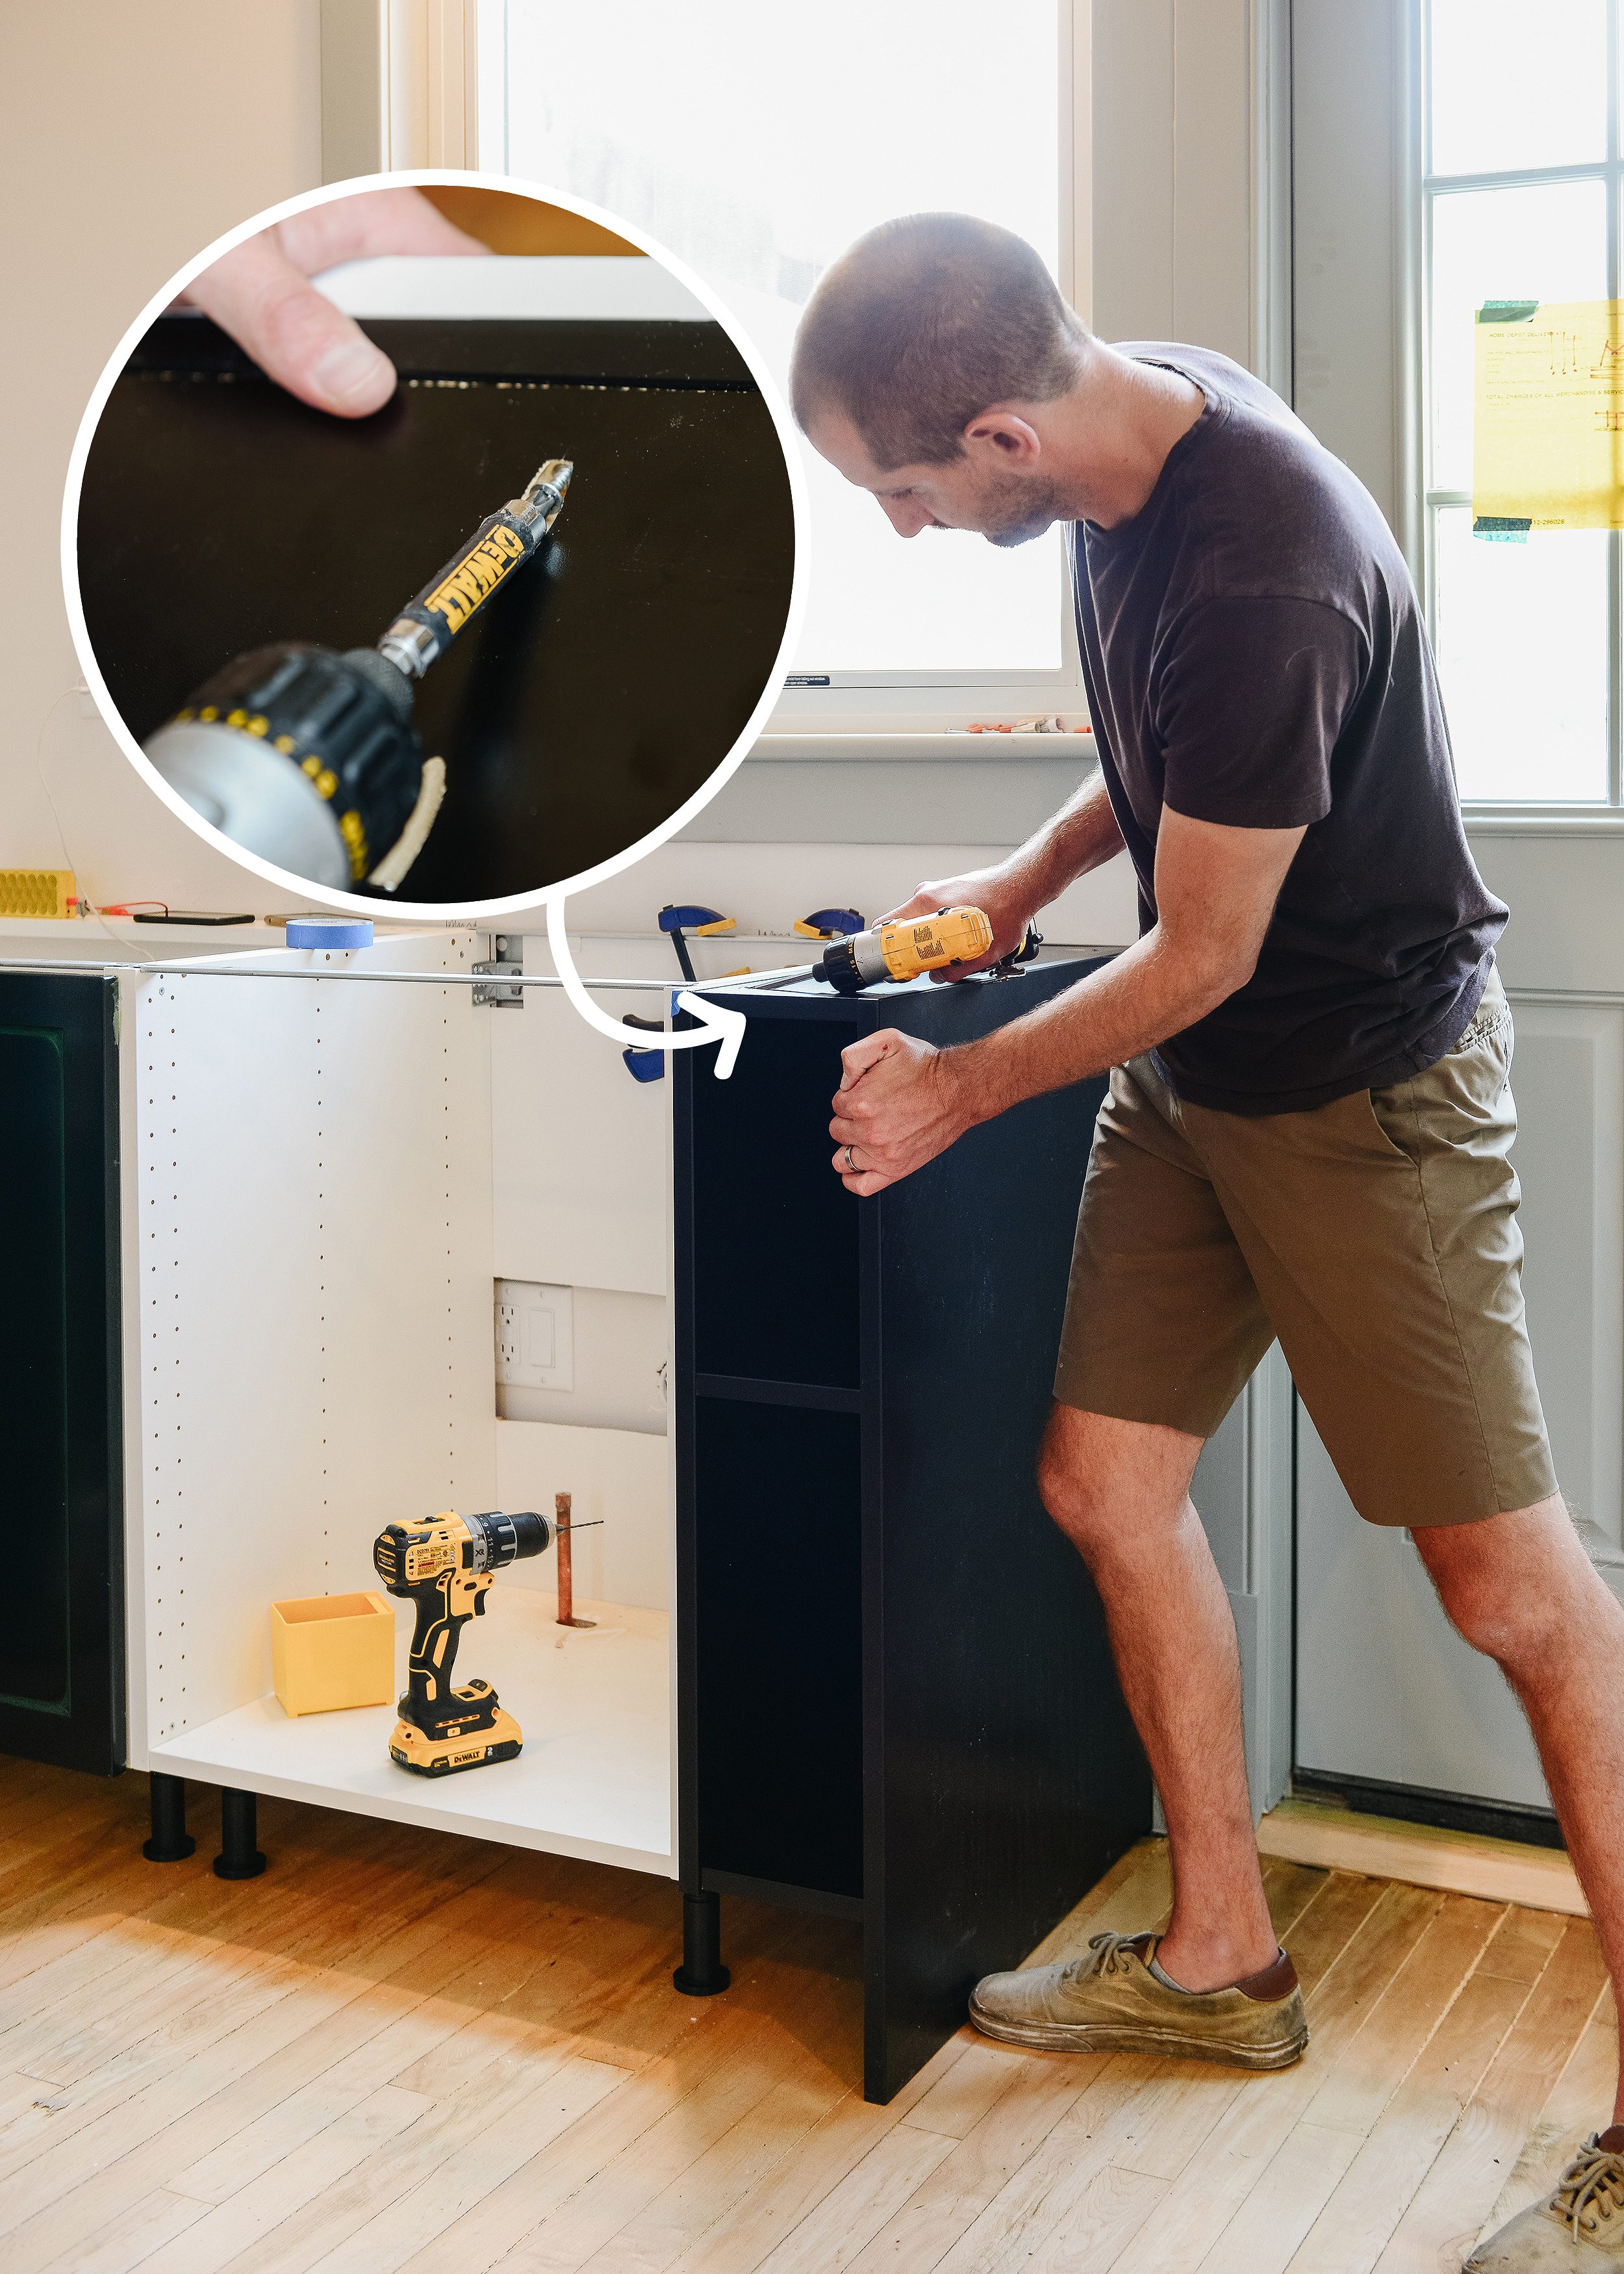
Below, Scott is attaching the top to the sink cabinet. This is why we added our Kreg pocket holes to the top of this panel – it would allow for the fasteners to be concealed completely once the countertop is in place!
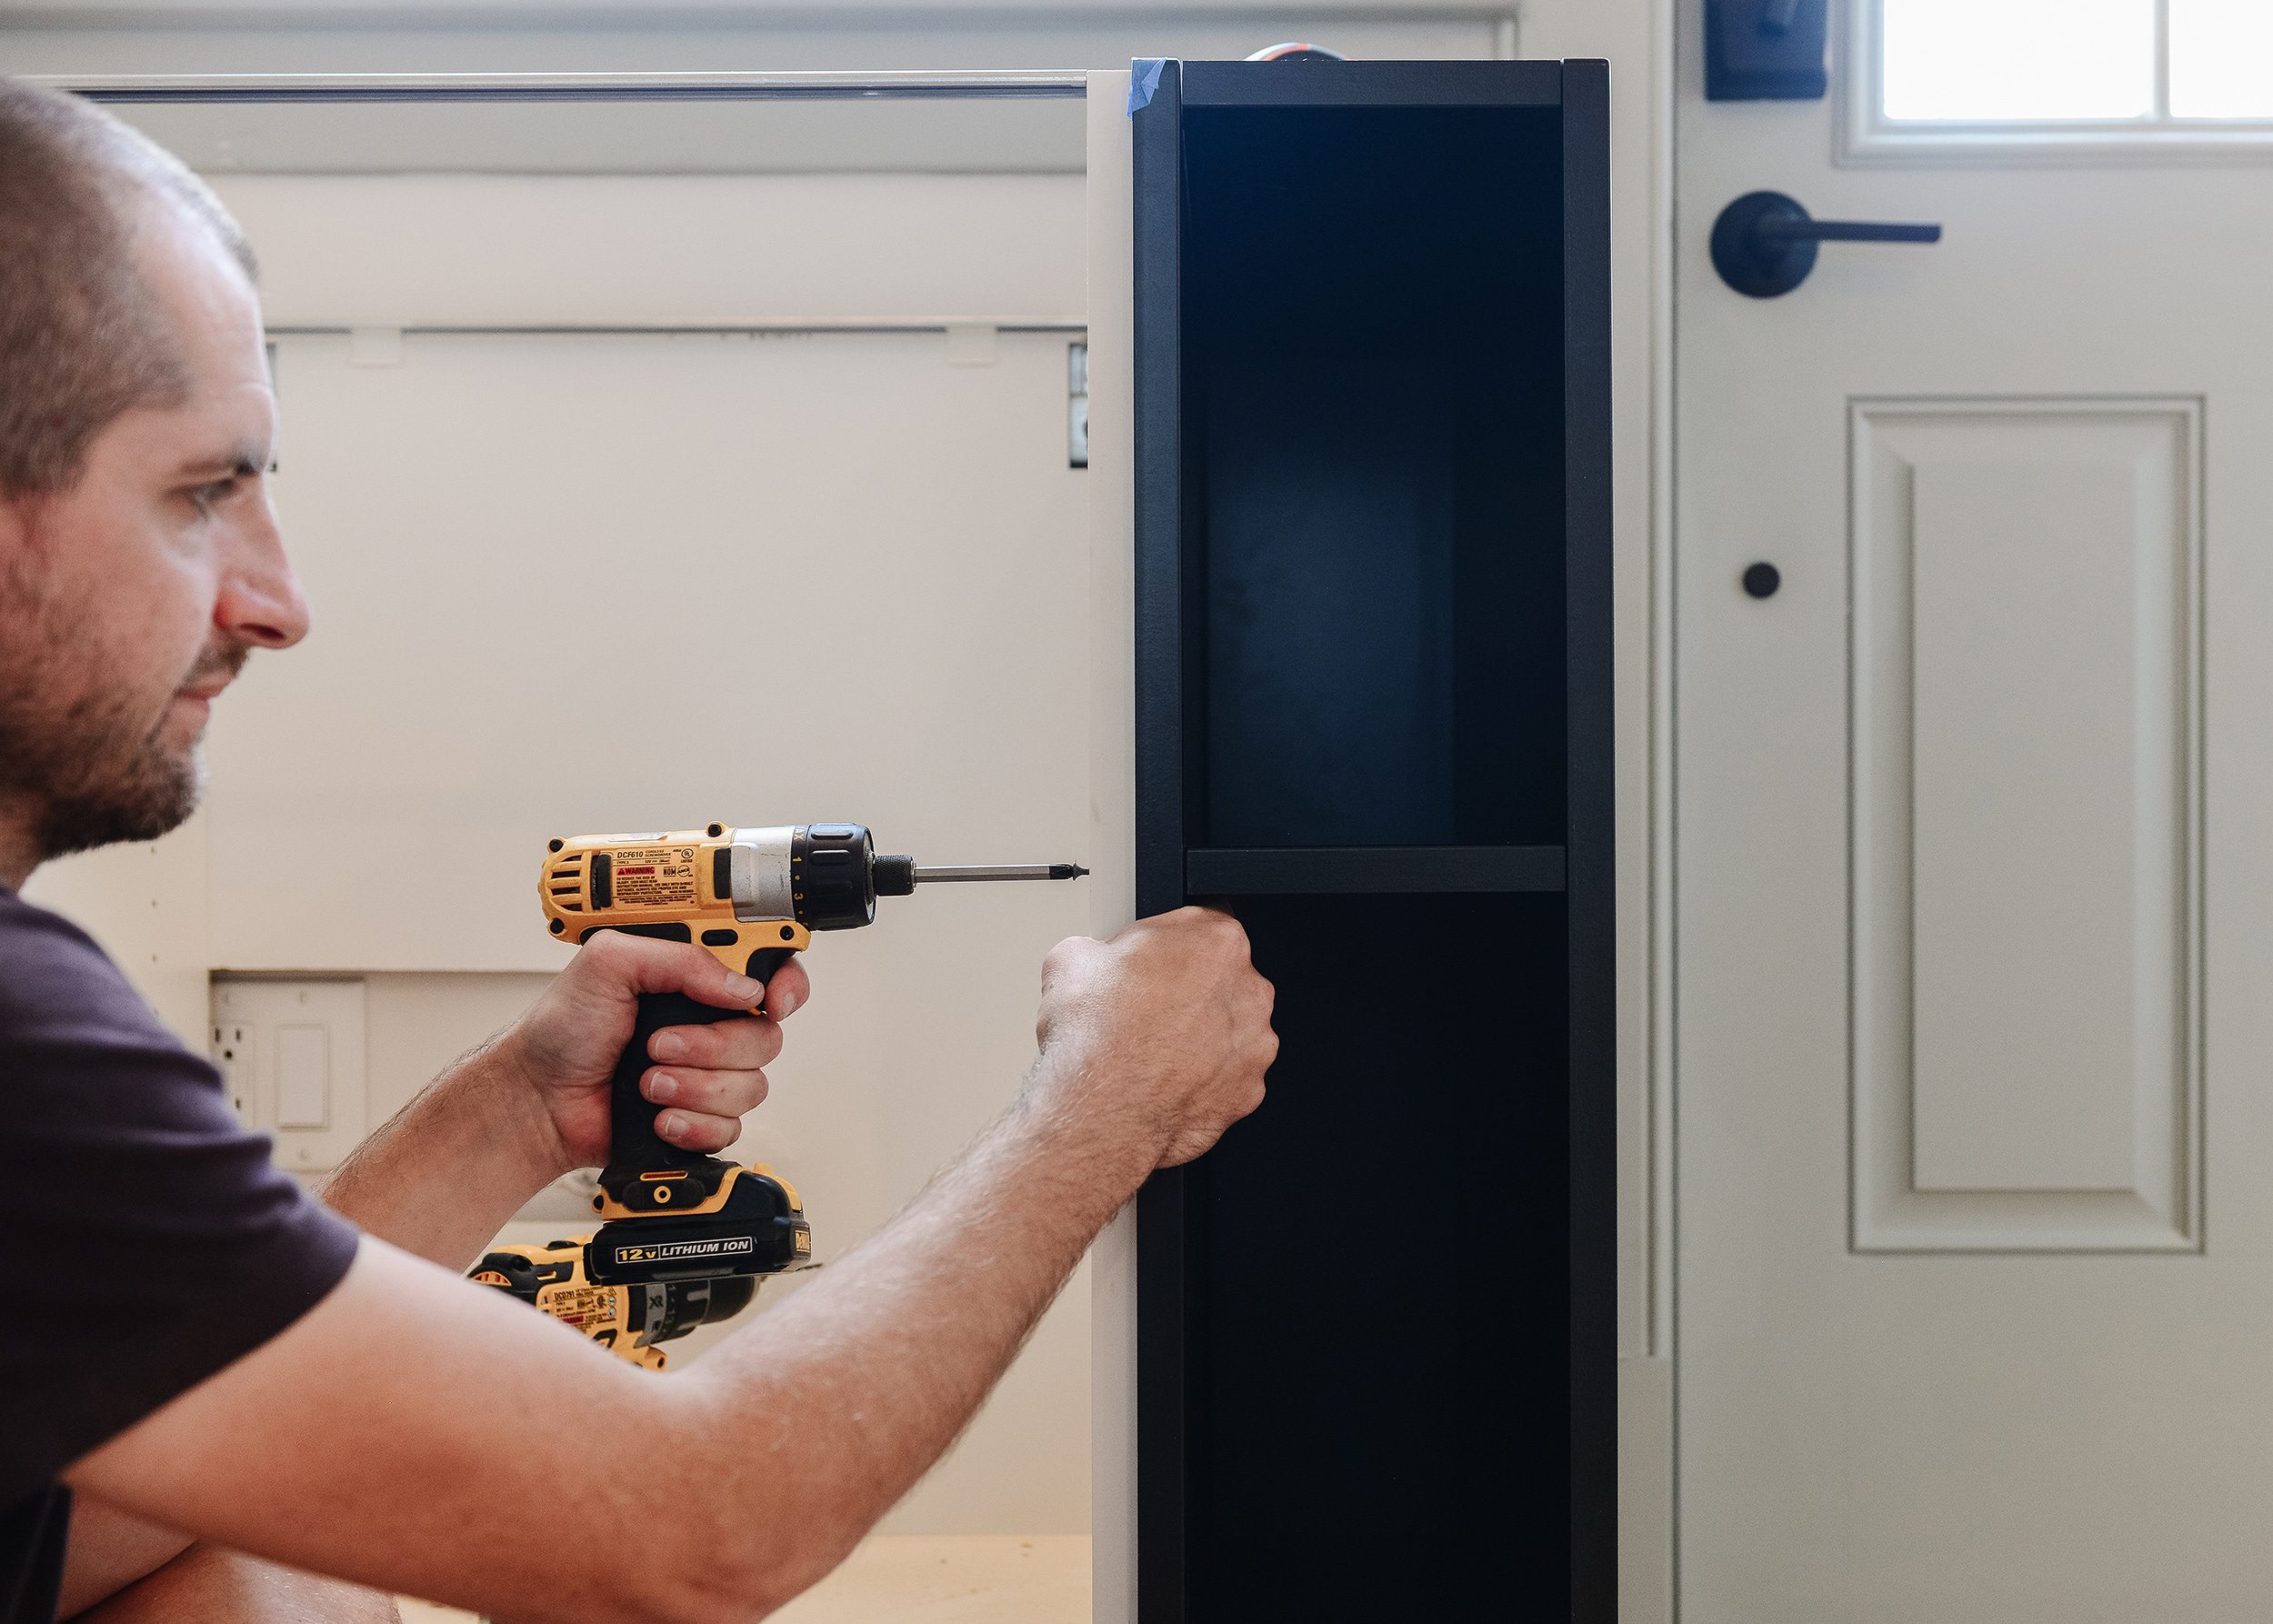
6| Install the Nook to Cabinetry
Finally, we further secured our (almost complete!) cookbook nook to the existing sink cabinet by drilling from the sink side, into the new nook. Nice and sturdy!
Tip: Always be sure to choose a screw length that is no longer than the materials you’re using.
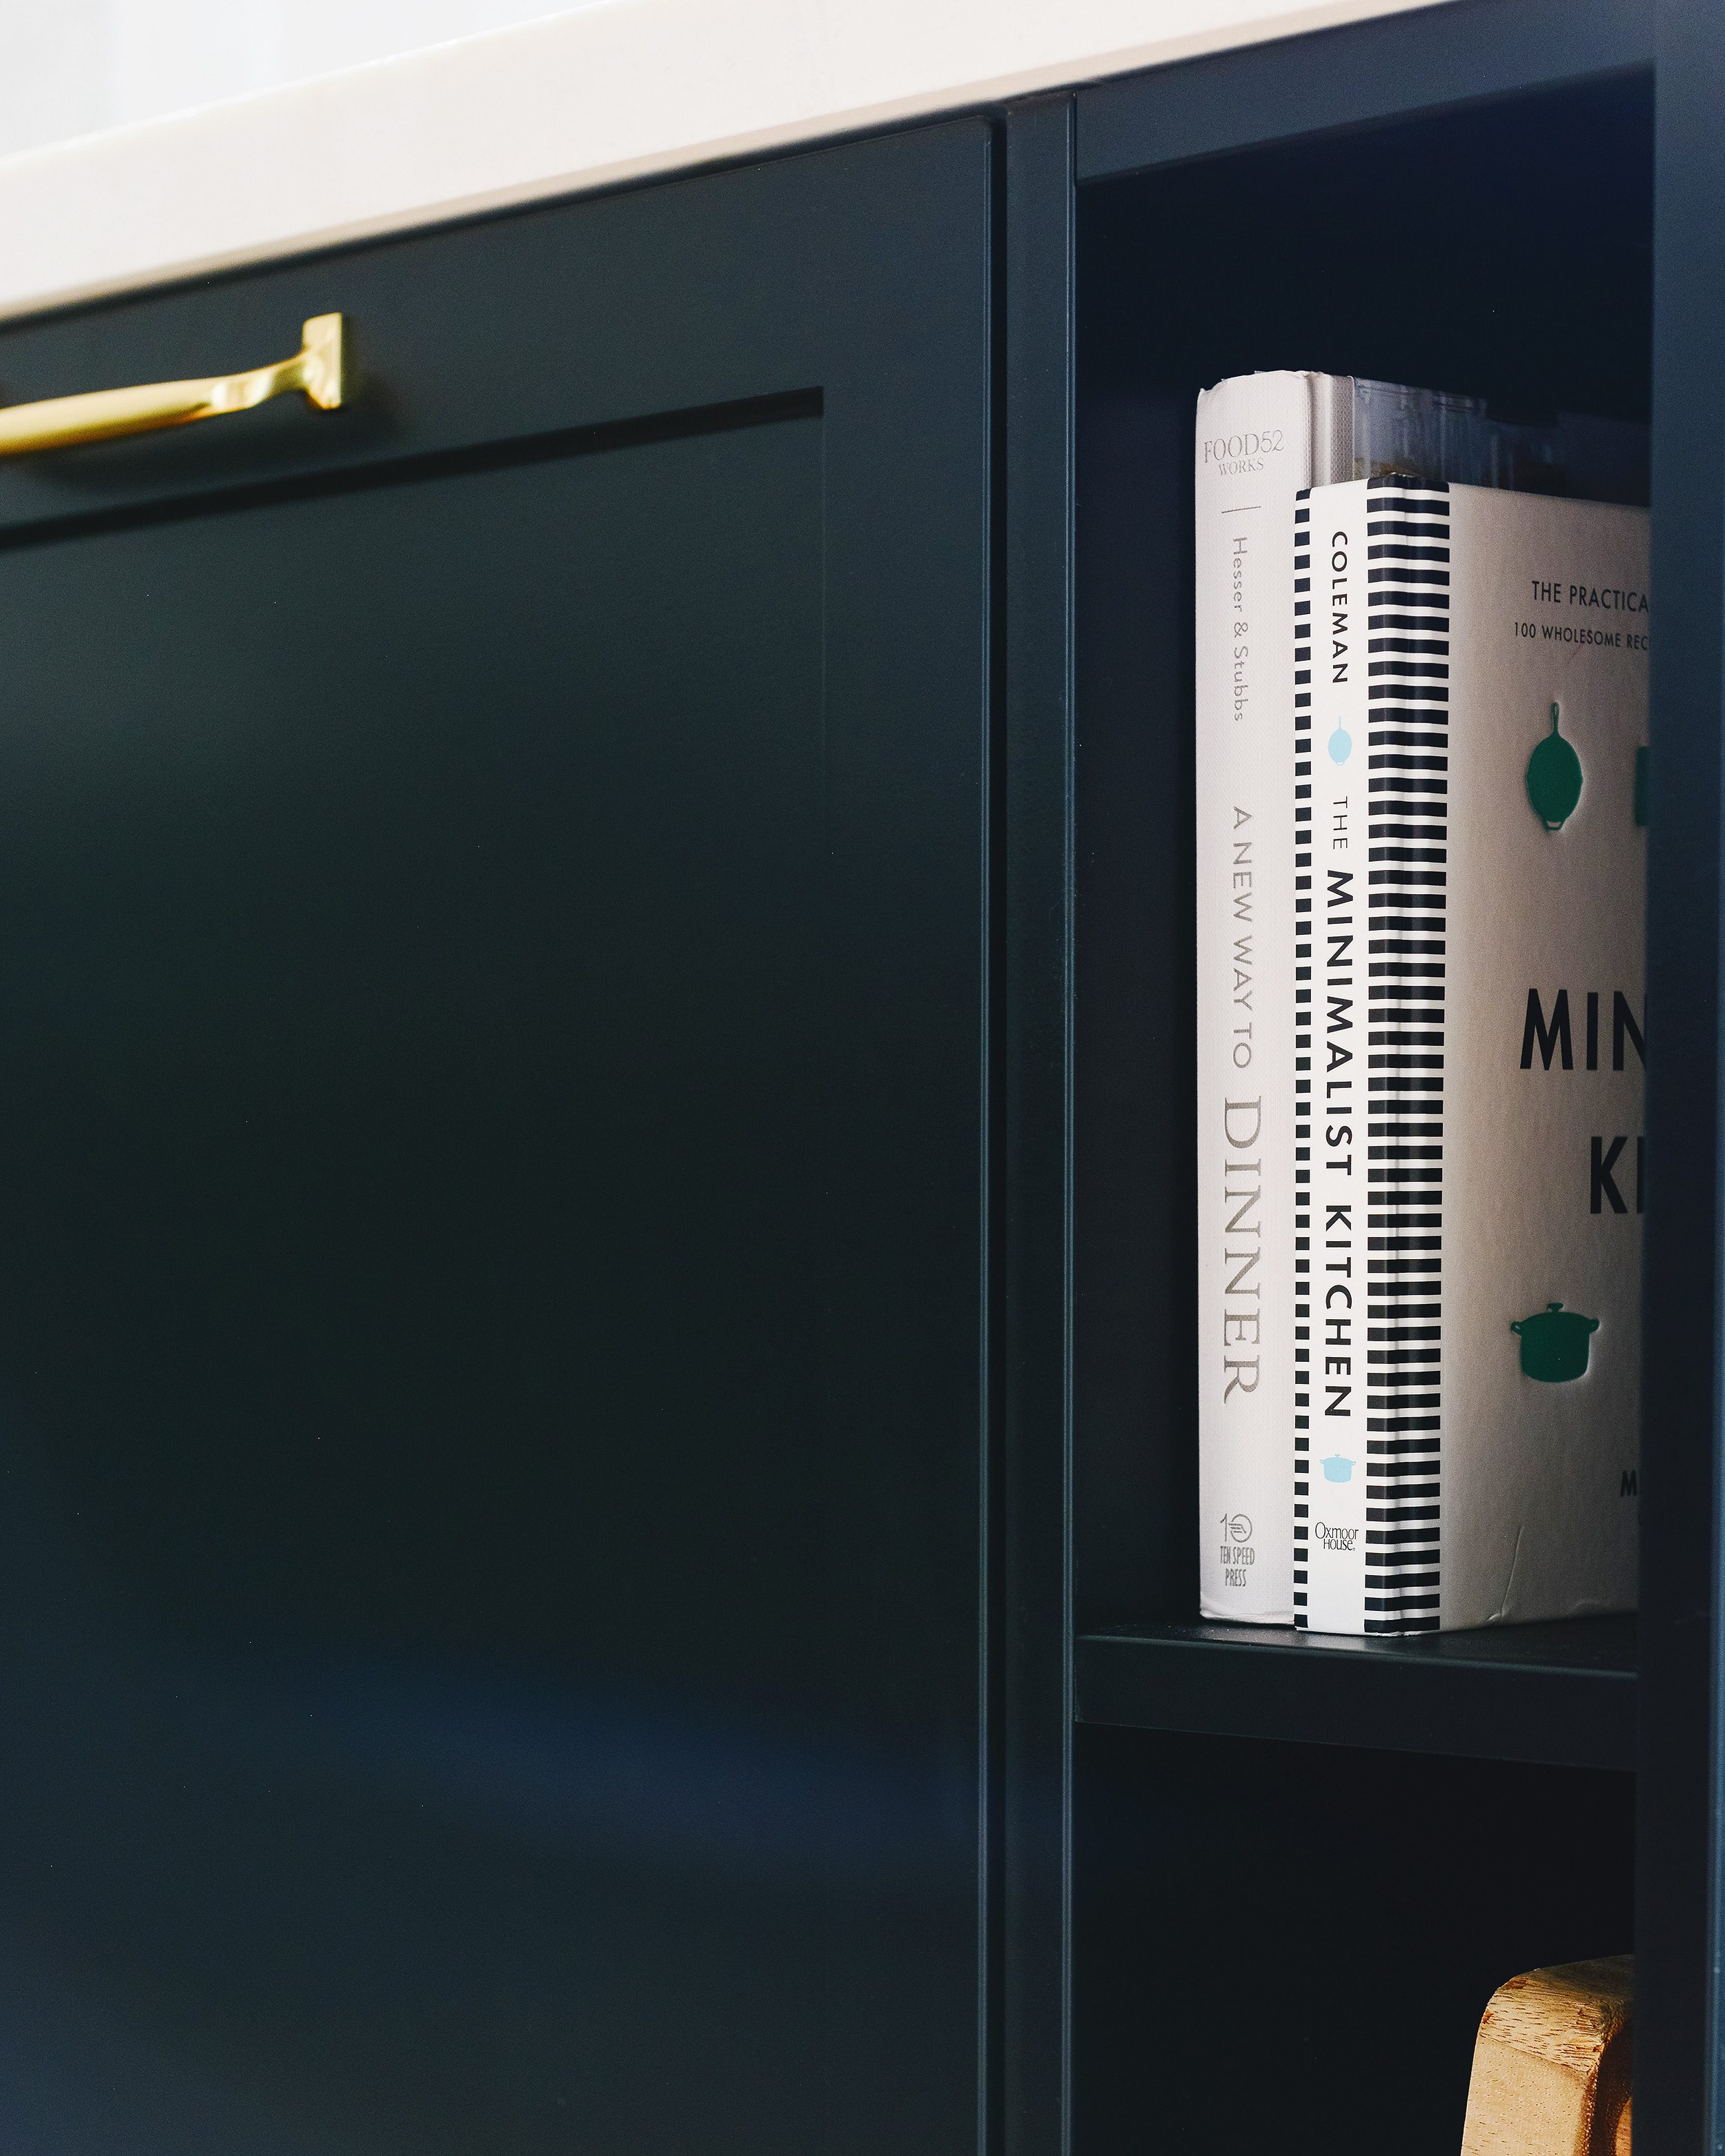
7| Load ‘Em Up + Enjoy the Extra Storage!

In the end, we added over 6″ of usable space, with two deep pockets. What we love about this nook is that our future tenant can use these for whatever they wish! Cookbooks, cutting boards, tea towels, wine bottles, and the list goes on.
Let us know if you give this a try, and be sure to tag @yellowbrickhome if you do! We’d love to see how you add storage to your current configuration – whether it’s in a kitchen, bathroom or play room!
PS: Here’s another DIY storage solution in an unlikely place – a behind-the-sofa console! Need more storage in the bathroom? This is how we added and modified a cabinet to hold towels and toiletries.
In This Post:


Nice job! You guys think of everything!
We never waste an inch! Haha
I can’t tell what I love more…. the added nook, the trim color, the black cabinets, the door hardware, the chrome sink, the tile, the brass knobs…. so, so good together!
Thank you!
What a cool idea!!
Love seeing a sneak peak of the counter and backlash! Can’t wait to see the final look!
Yeah! I’m writing a post about that pretty backsplash now and hope to share more about it soon! It’s better than we imagined.
Very nice use of the space. We had the same issue at our last house and left the void but had the countertop overhang to the door frame. Then we put a tall slender garbage can under the countertop and it became the easiest trash dispenser ever (nothing to touch with dirty hands, and it was tall enough to hide the waste and the narrow opening hid under the overhang)
Oooh, that’s smart!
So to make this, the materials you used was the extra cabinetry side paneling from semi handmade? Or did you use sanded plywood or mdf board with matching cabinet paint? Would it be possible to do the latter if you didn’t have extra cabinetry?
We used Semihandmade panels, but YES, you could ABSOLUTELY use plywood or project panels (depending on the size of your nook) and paint to match existing cabinetry! That’s what I love about this DIY.
Love this! Quick question. Did you special order panels that come themafoiled on both sides or did you paint the inside to match? Curious because my Semihandmade panels only matched on one side and were white on the inside when I ordered last year. What you guys did looks so professional and completely custom!
The Matte Black has a thermafoil on the outside and around all the edges, but the back is still finished and looks nice. We were just sure to put the thermafoil side facing out/up depending on which side we were working on!