

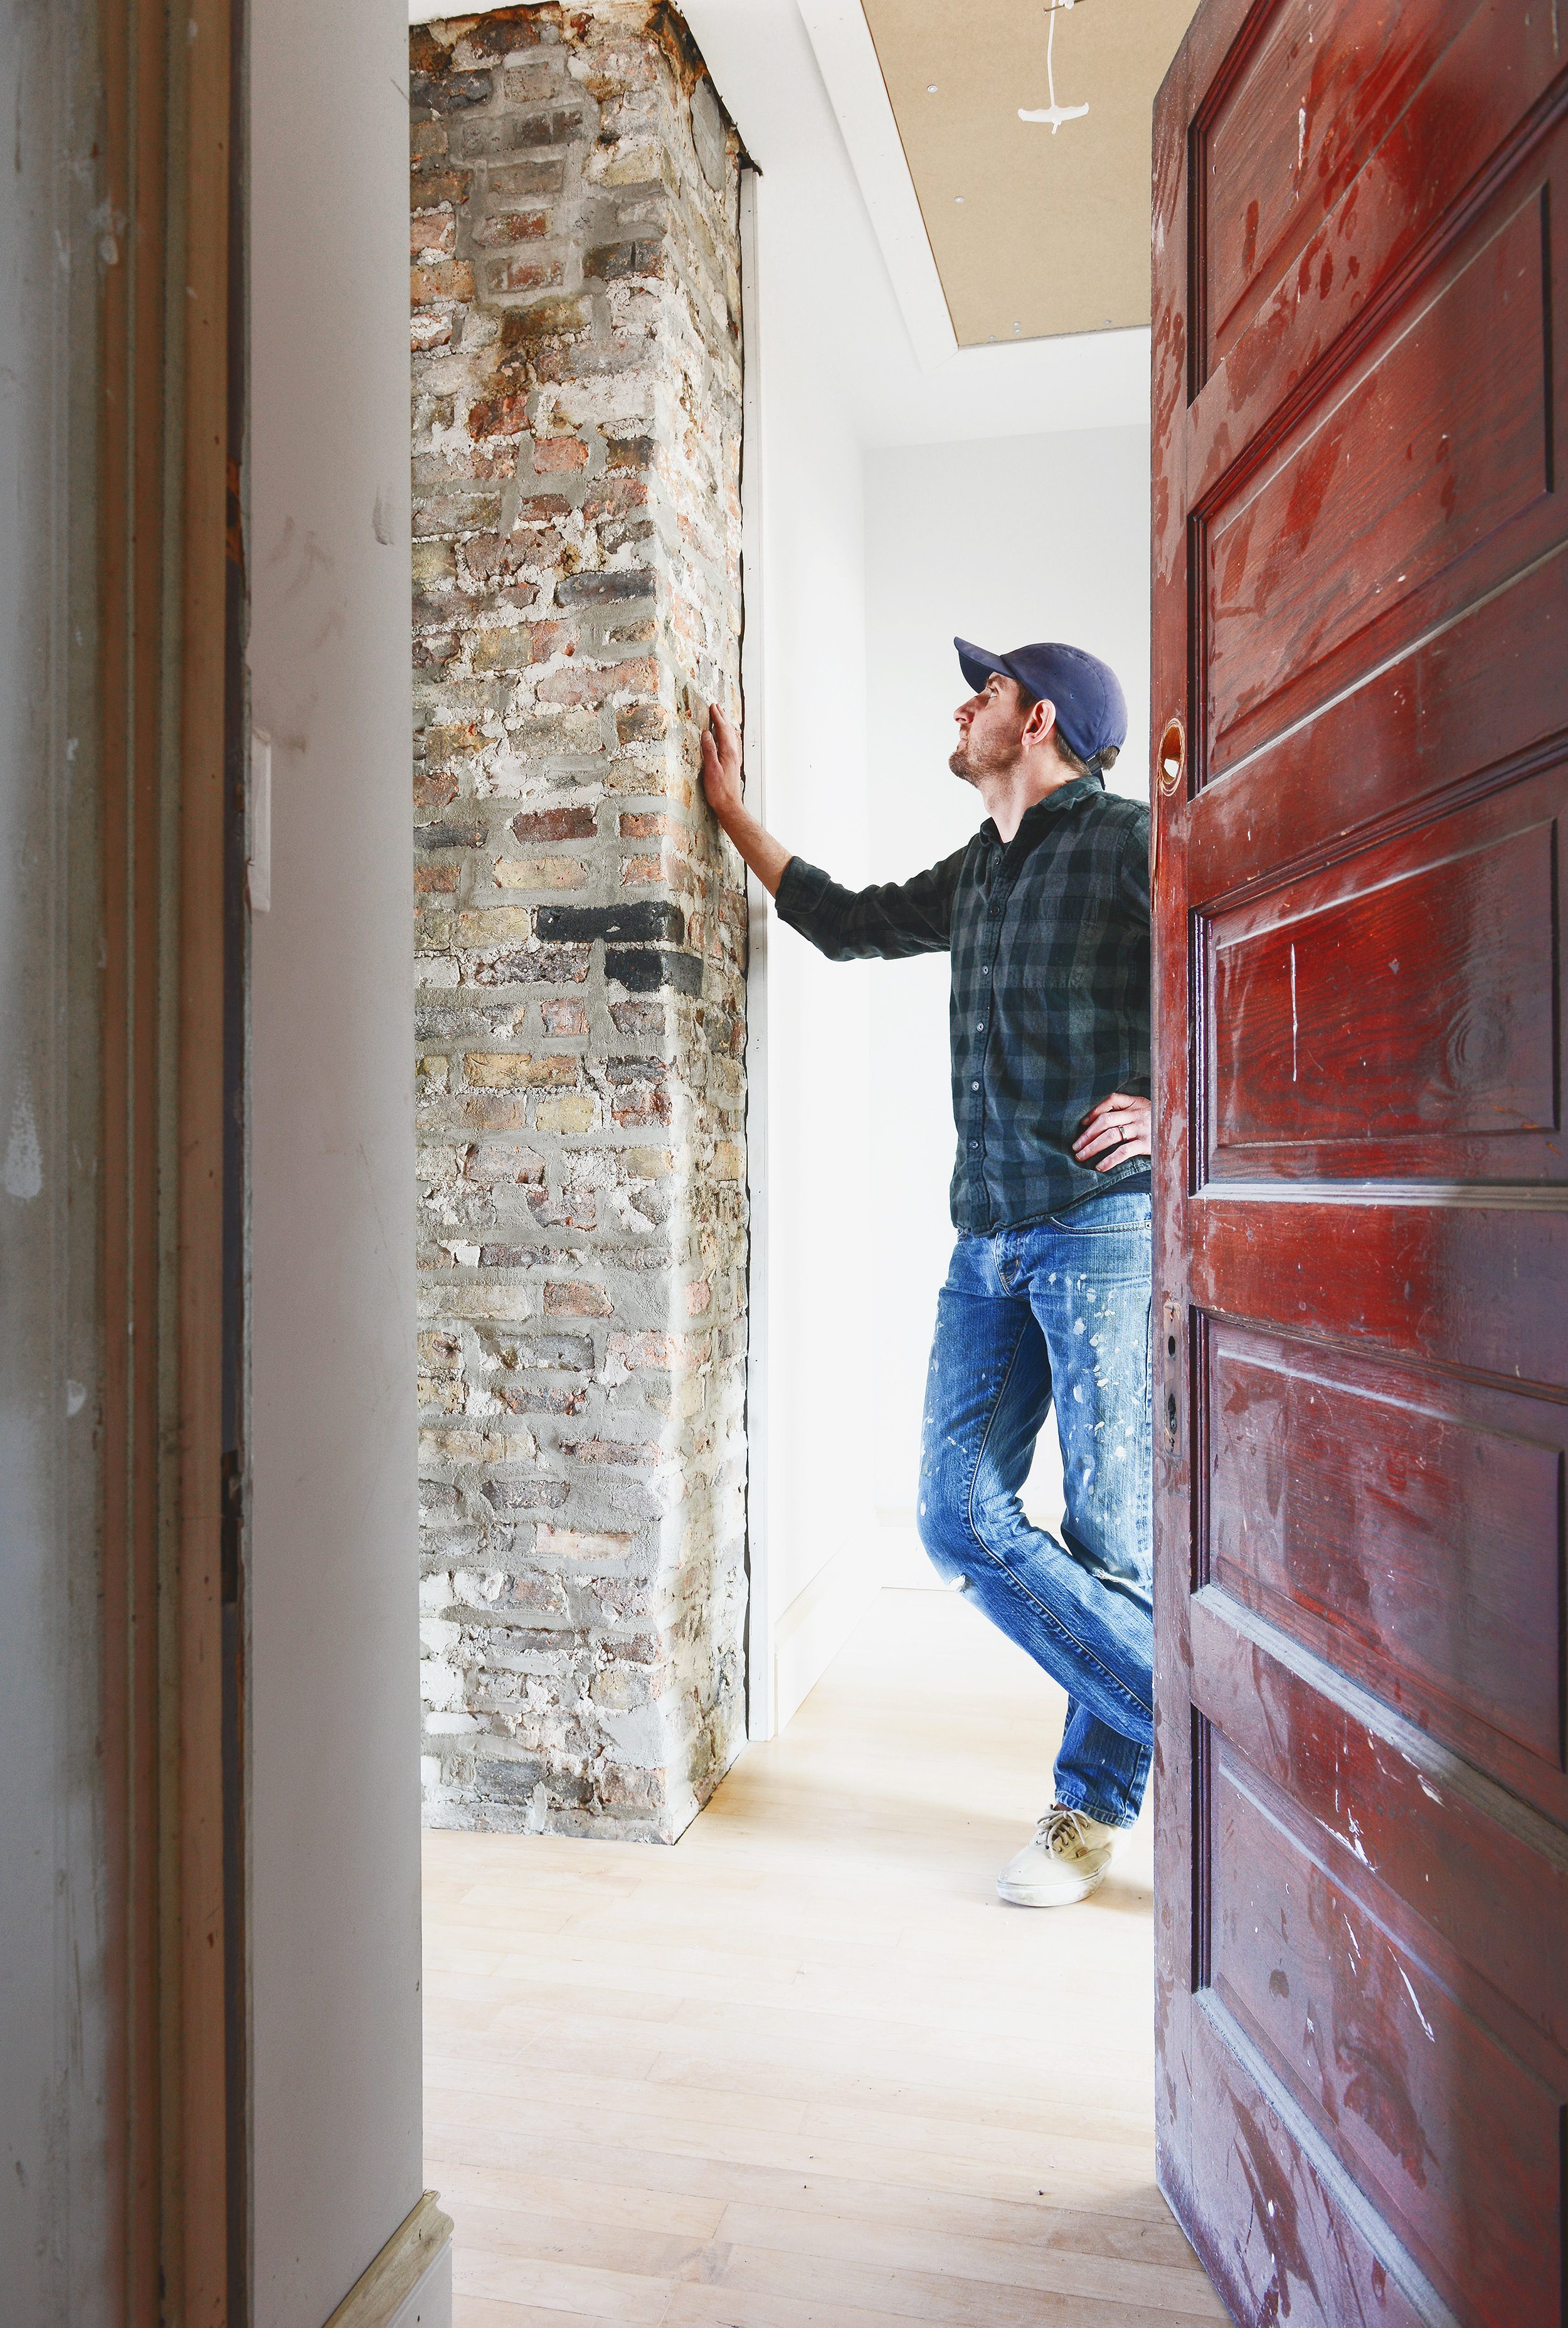
We’ve always loved the look of imperfect old brick chimneys. When the opportunity to expose the one in our ongoing Two Flat project presented itself, we jumped on it! Today, we’re breaking down the final step of cleaning and sealing the brick to provide a beautiful protective finish and eliminate dust later on.
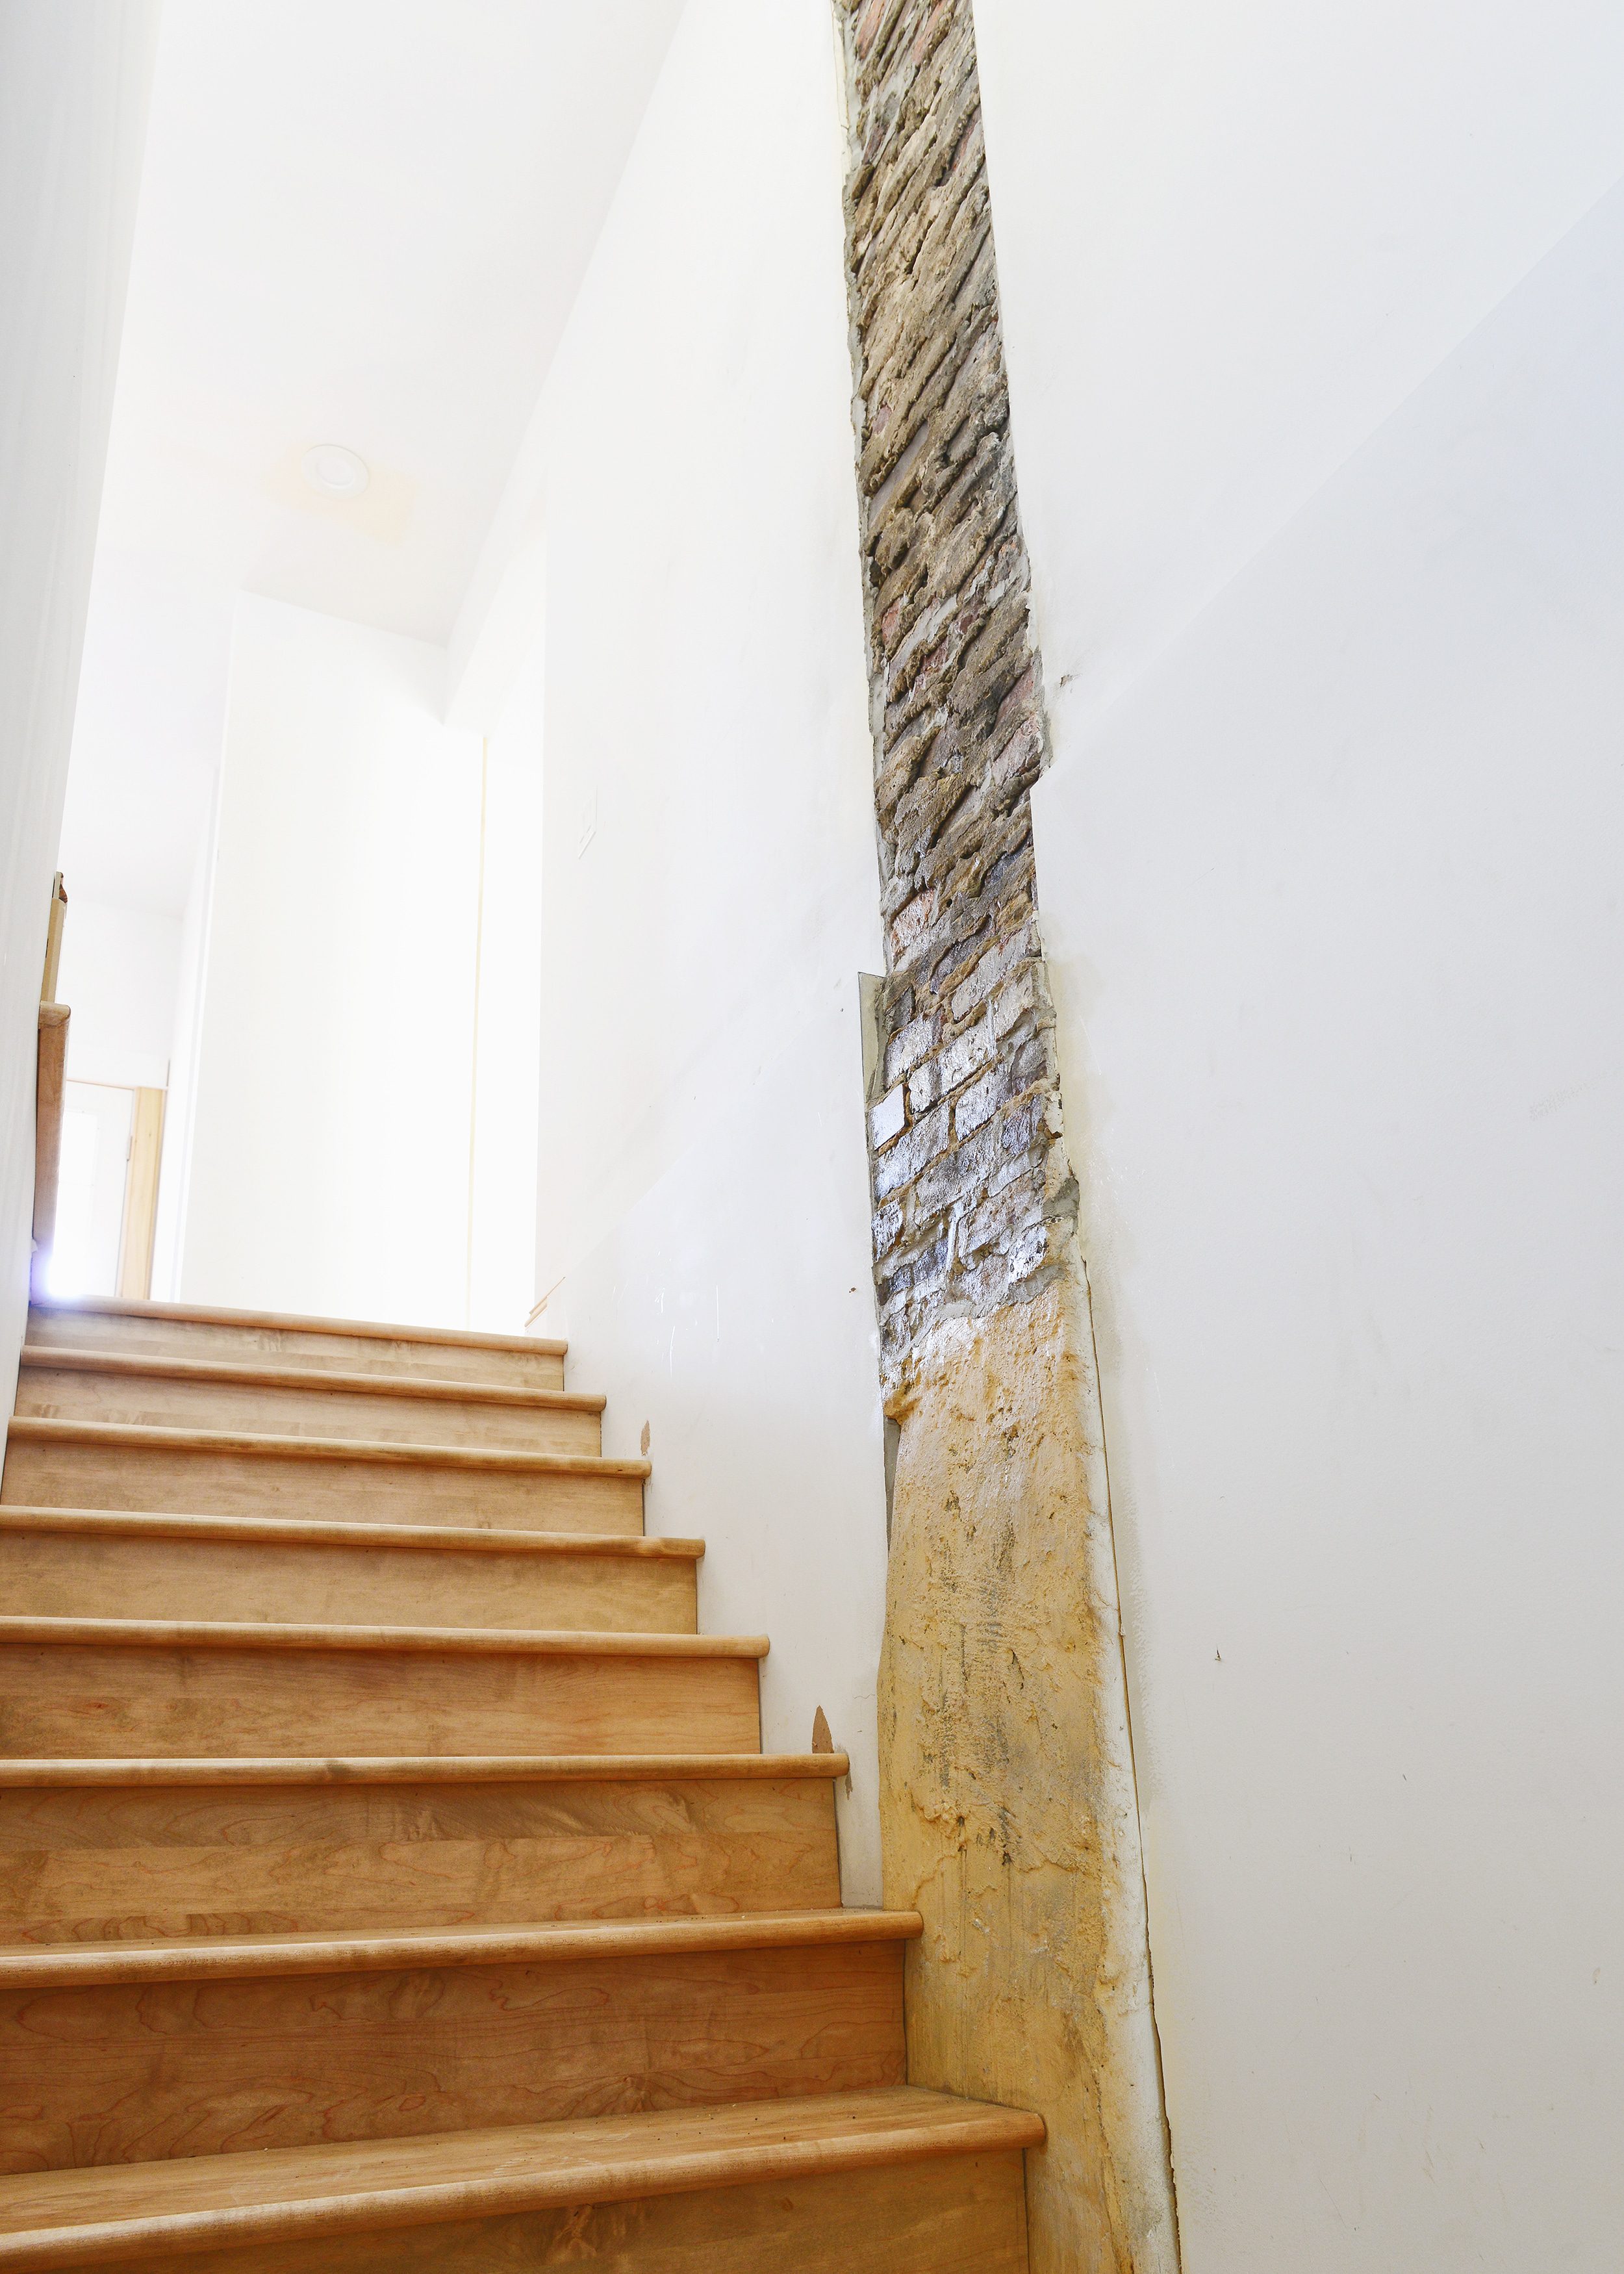
With the exception of a few small bits of trim that we’ll address before paint, the exposed chimneys at the Two Flat are scrubbed and sealed! We’re no strangers to this step of the process and it always feels incredibly satisfying to see what the ‘perfect imperfections’ look like when finished. We completed the first step in this fairly dirty process a few months back, then had our favorite concrete contractor come in for some interior tuck pointing to backfill the spots where the mortar had crumbled over the years. Once the trim work was complete and the dust had settled, we were ready to get sealing!
It’s worth mentioning that each of these steps happened on every chimney surface. While the photos reflect the steps in appropriate order, they highlight different sections of chimney. This one chimney can be seen from four rooms, so for reference, we’ve noted the location of each photo in the captions.
In This Post
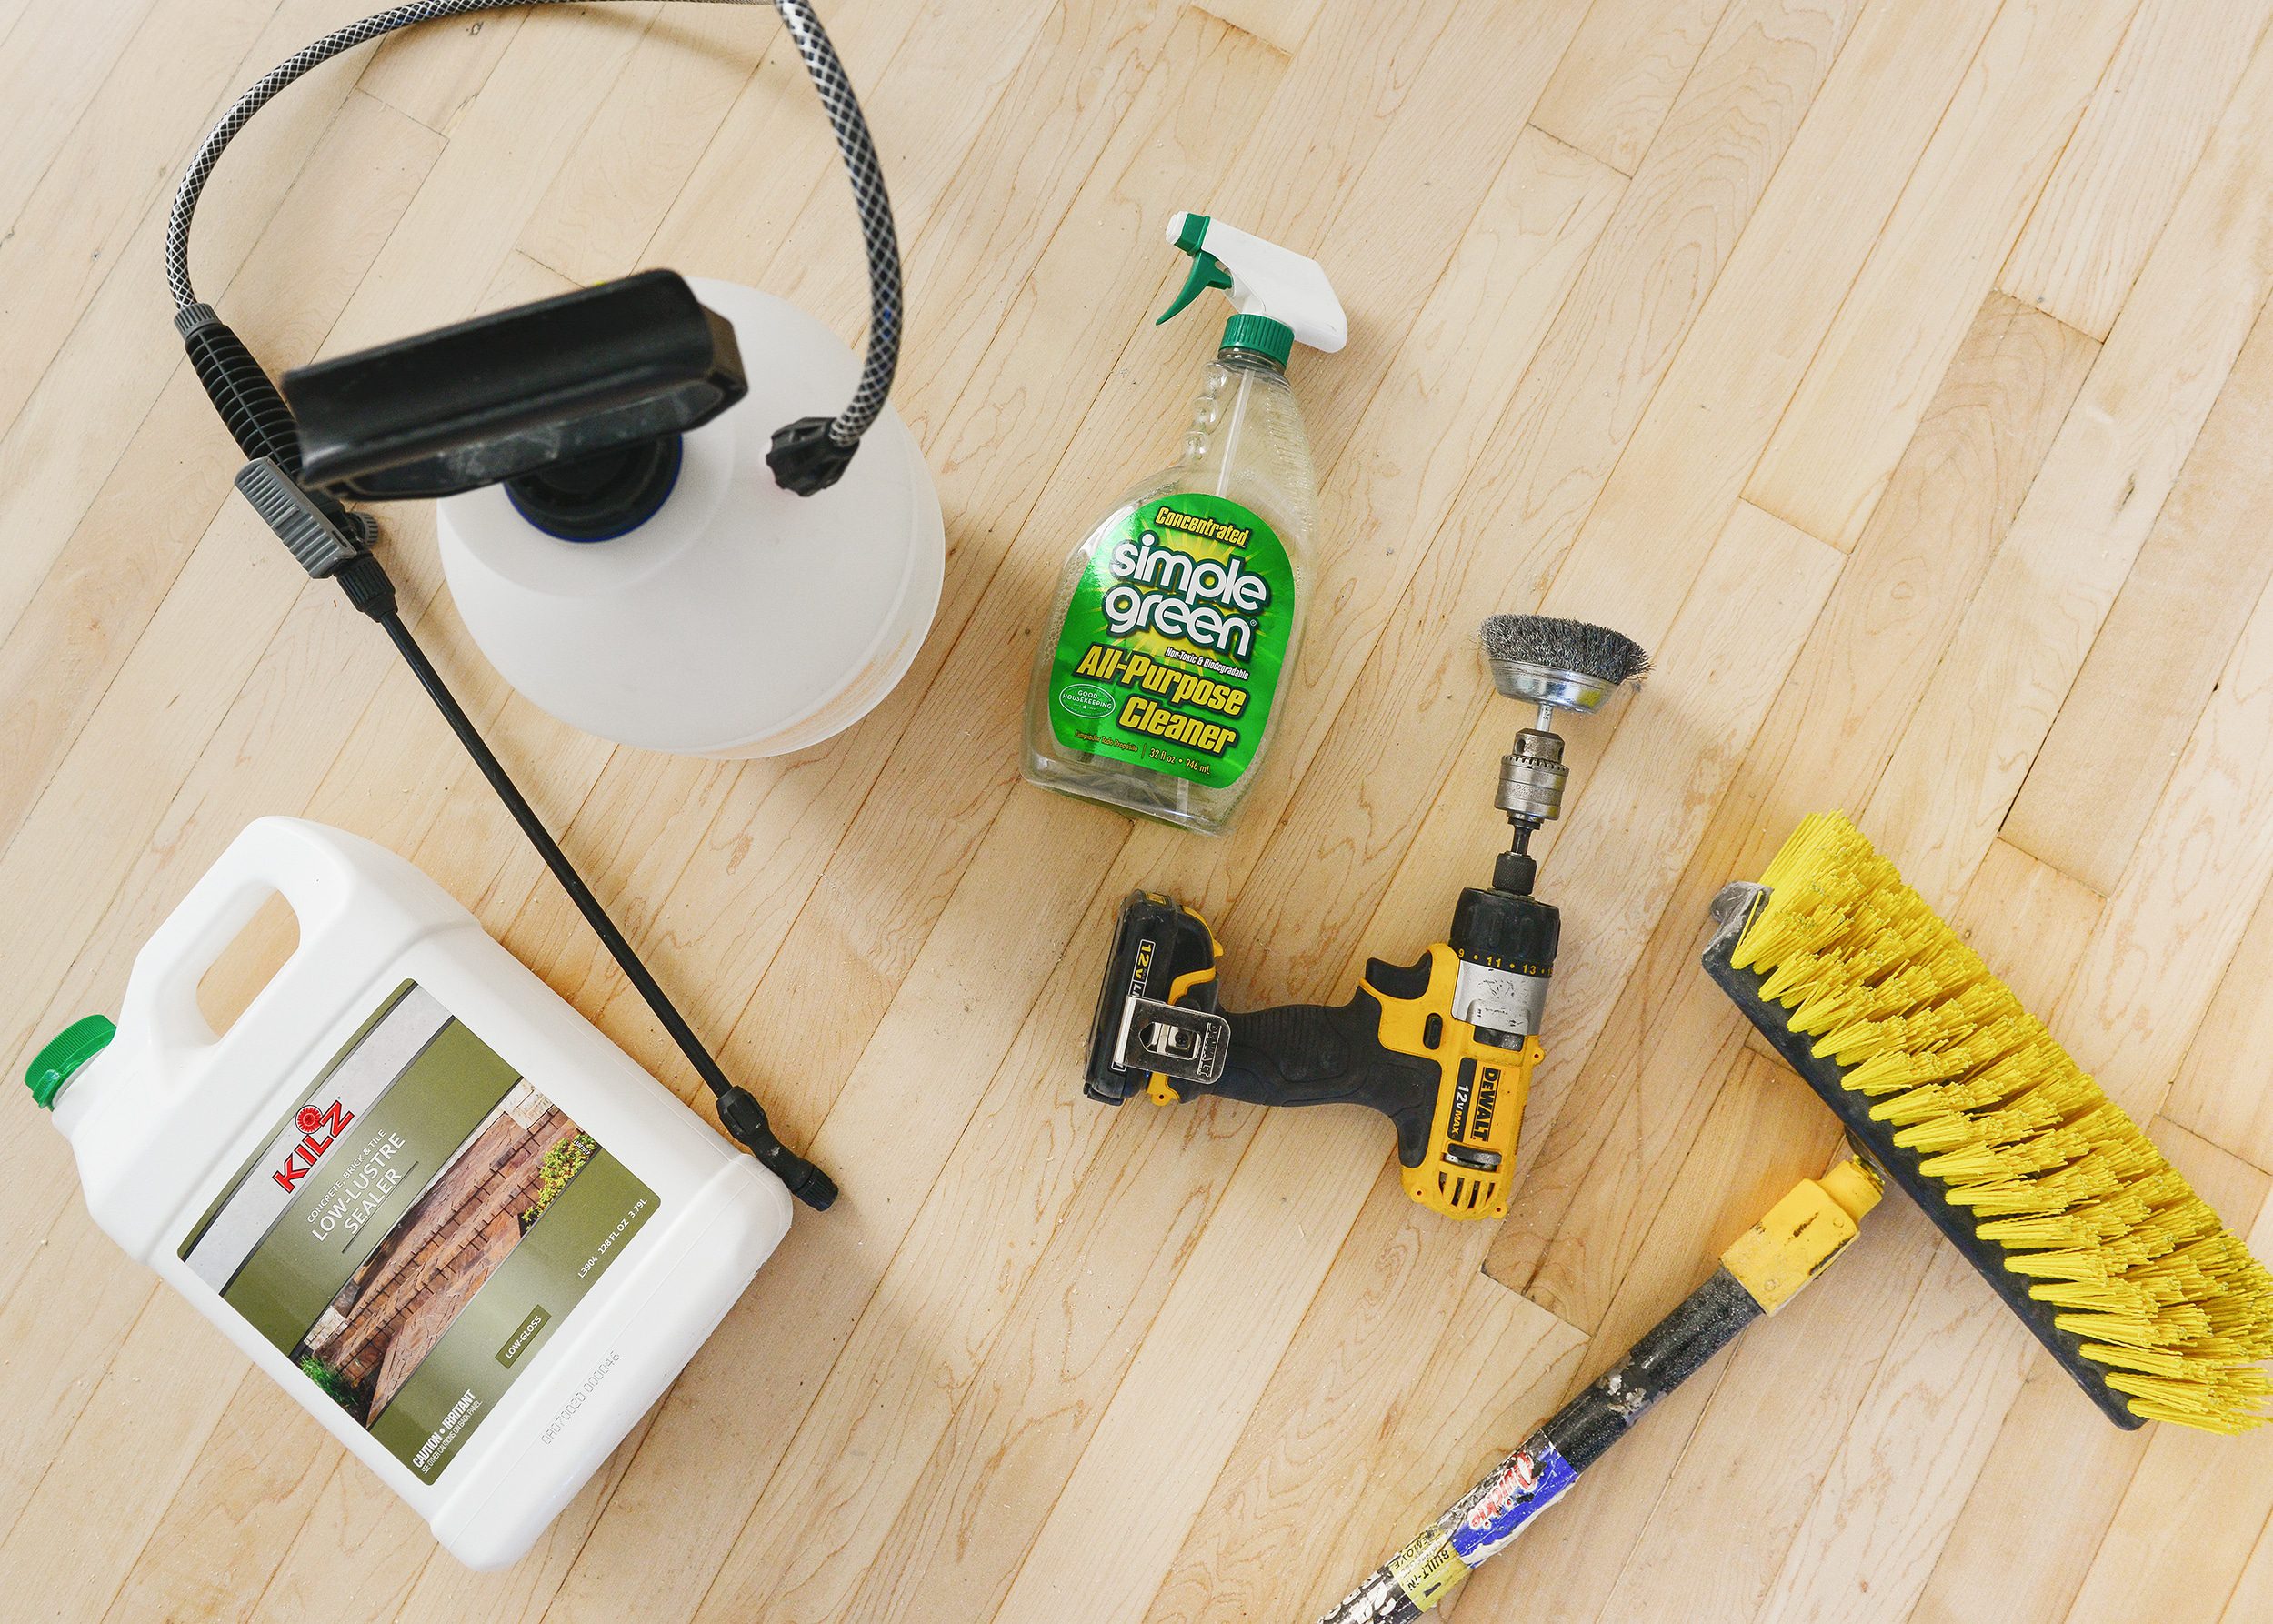
Tools + Supplies Used
- Simple Green – diluted approximately 4:1
- Drill
- Wire wheel (or wire brush)
- Pump sprayer
- Deck brush + handle (similar)
- Drop cloths (or old towels) for surface protection
- Kilz Low Lustre Sealer
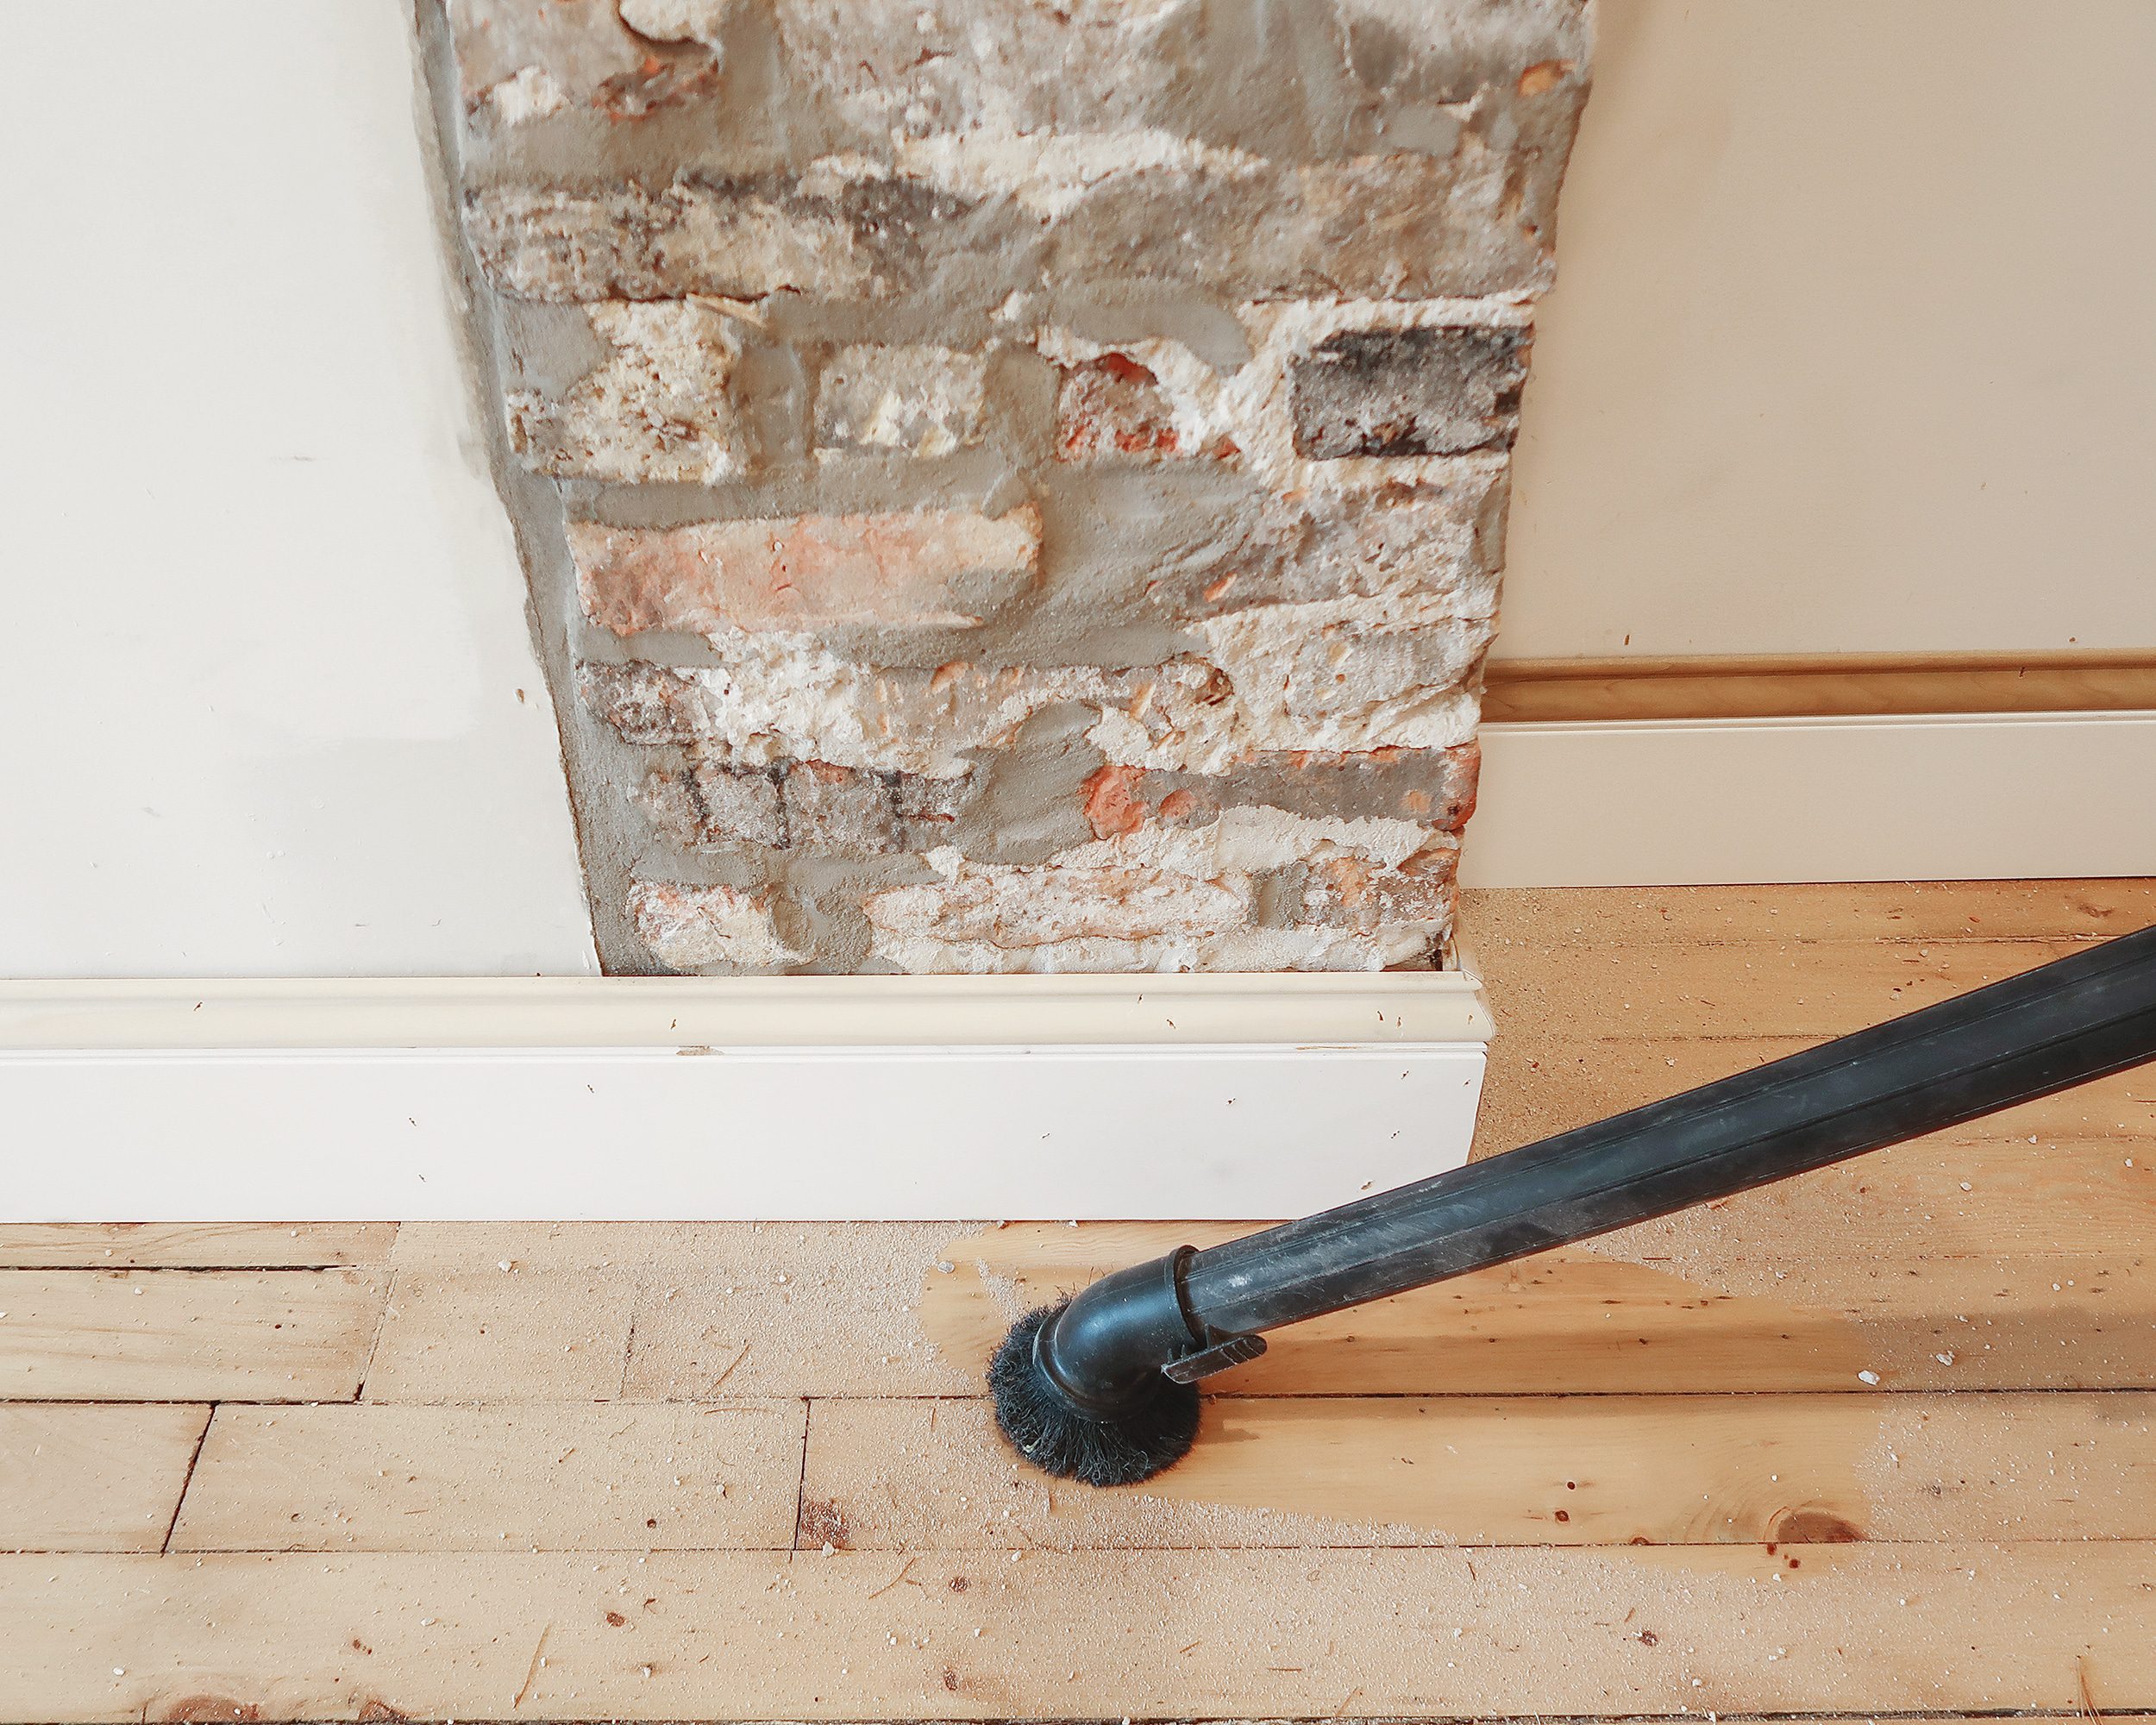
1 | Brush & Vac
We started the project by giving every portion of chimney a quick dry brush with the deck brush and a once-over with the wet/dry vac to remove any loose bits. Glasses and a mask were crucial here, as these old bricks were dustier than we anticipated! We didn’t hesitate to get a little aggressive with our brushing since we wanted anything that was eventually going to come loose to come loose now. This step was intended to allow us to start with a clean slate since the house had been so dusty leading up to this point, but we knew we’d be making much more of a mess shortly!
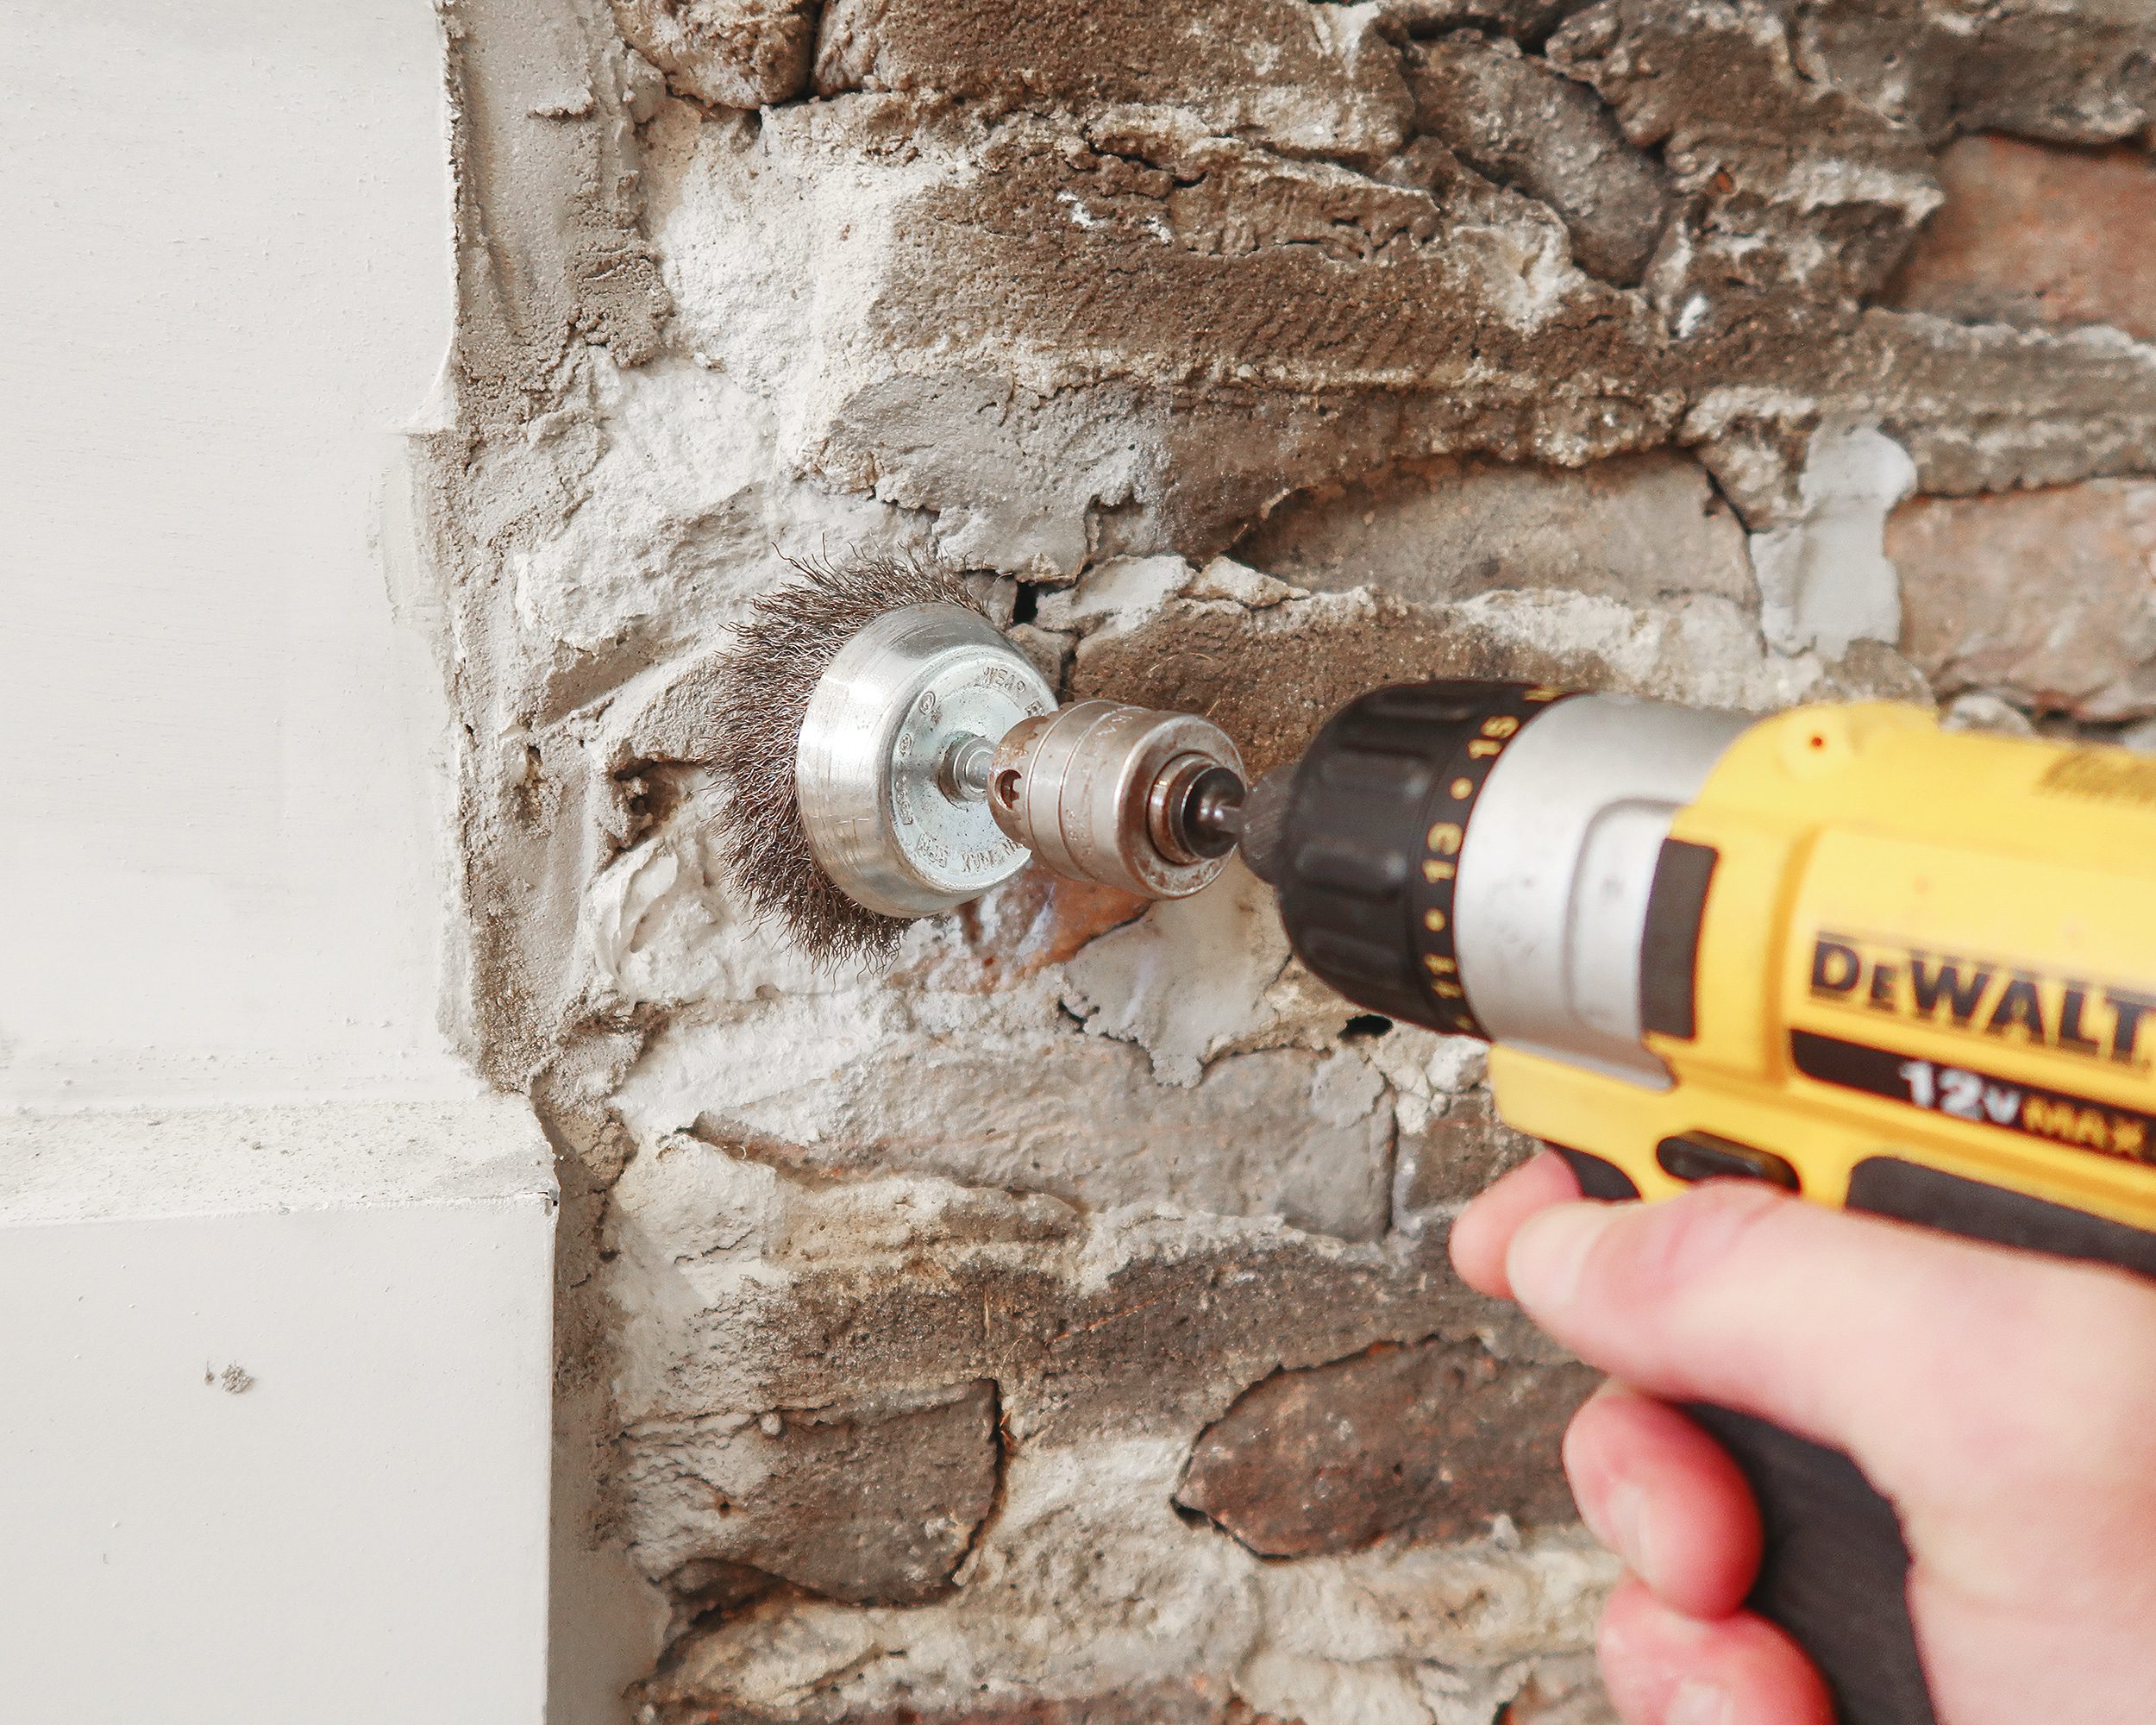
2 | Wire Wheel (+ Vac)
Once the loose bits were knocked down and cleaned up, we moved on to the next dusty step. We popped the wire wheel onto our handy little drill/driver and started in on the rough spots. There were a few areas of primer overspray that we wanted to remove and we also wanted to smooth out any uneven areas in the new mortar. The wire wheel helped make quick work of the problem areas and we were ready to start scrubbing. Again!
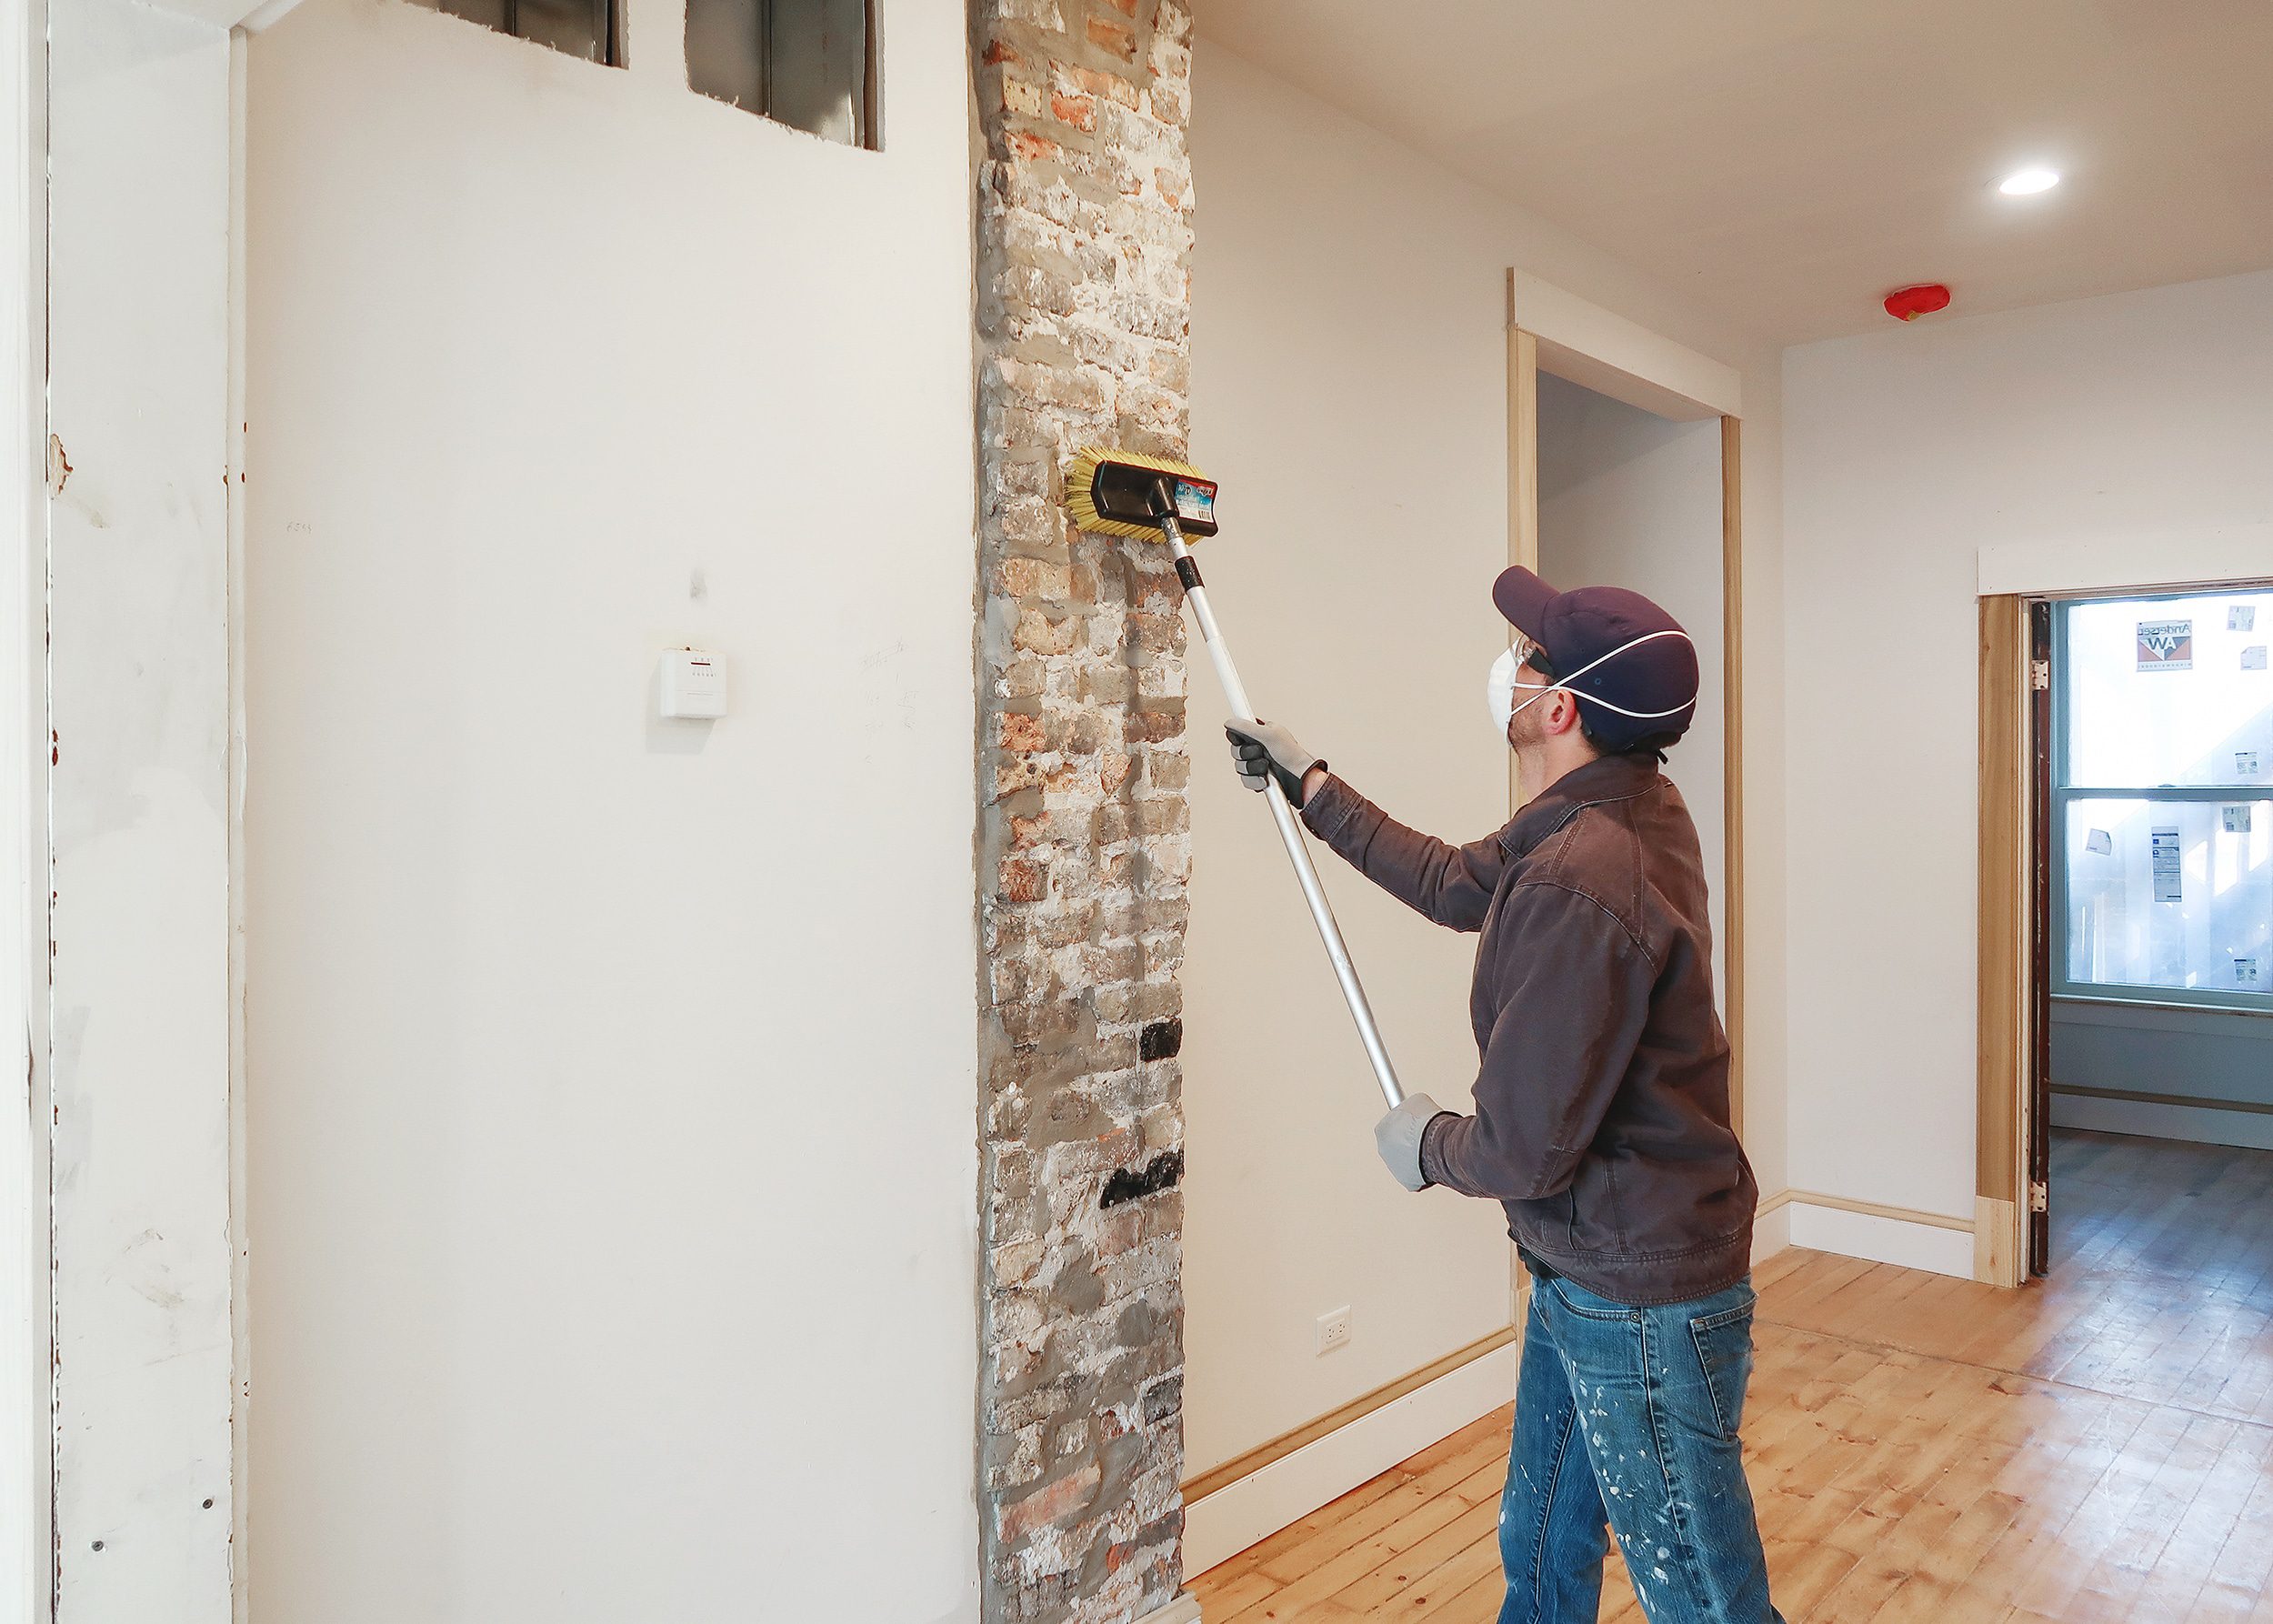
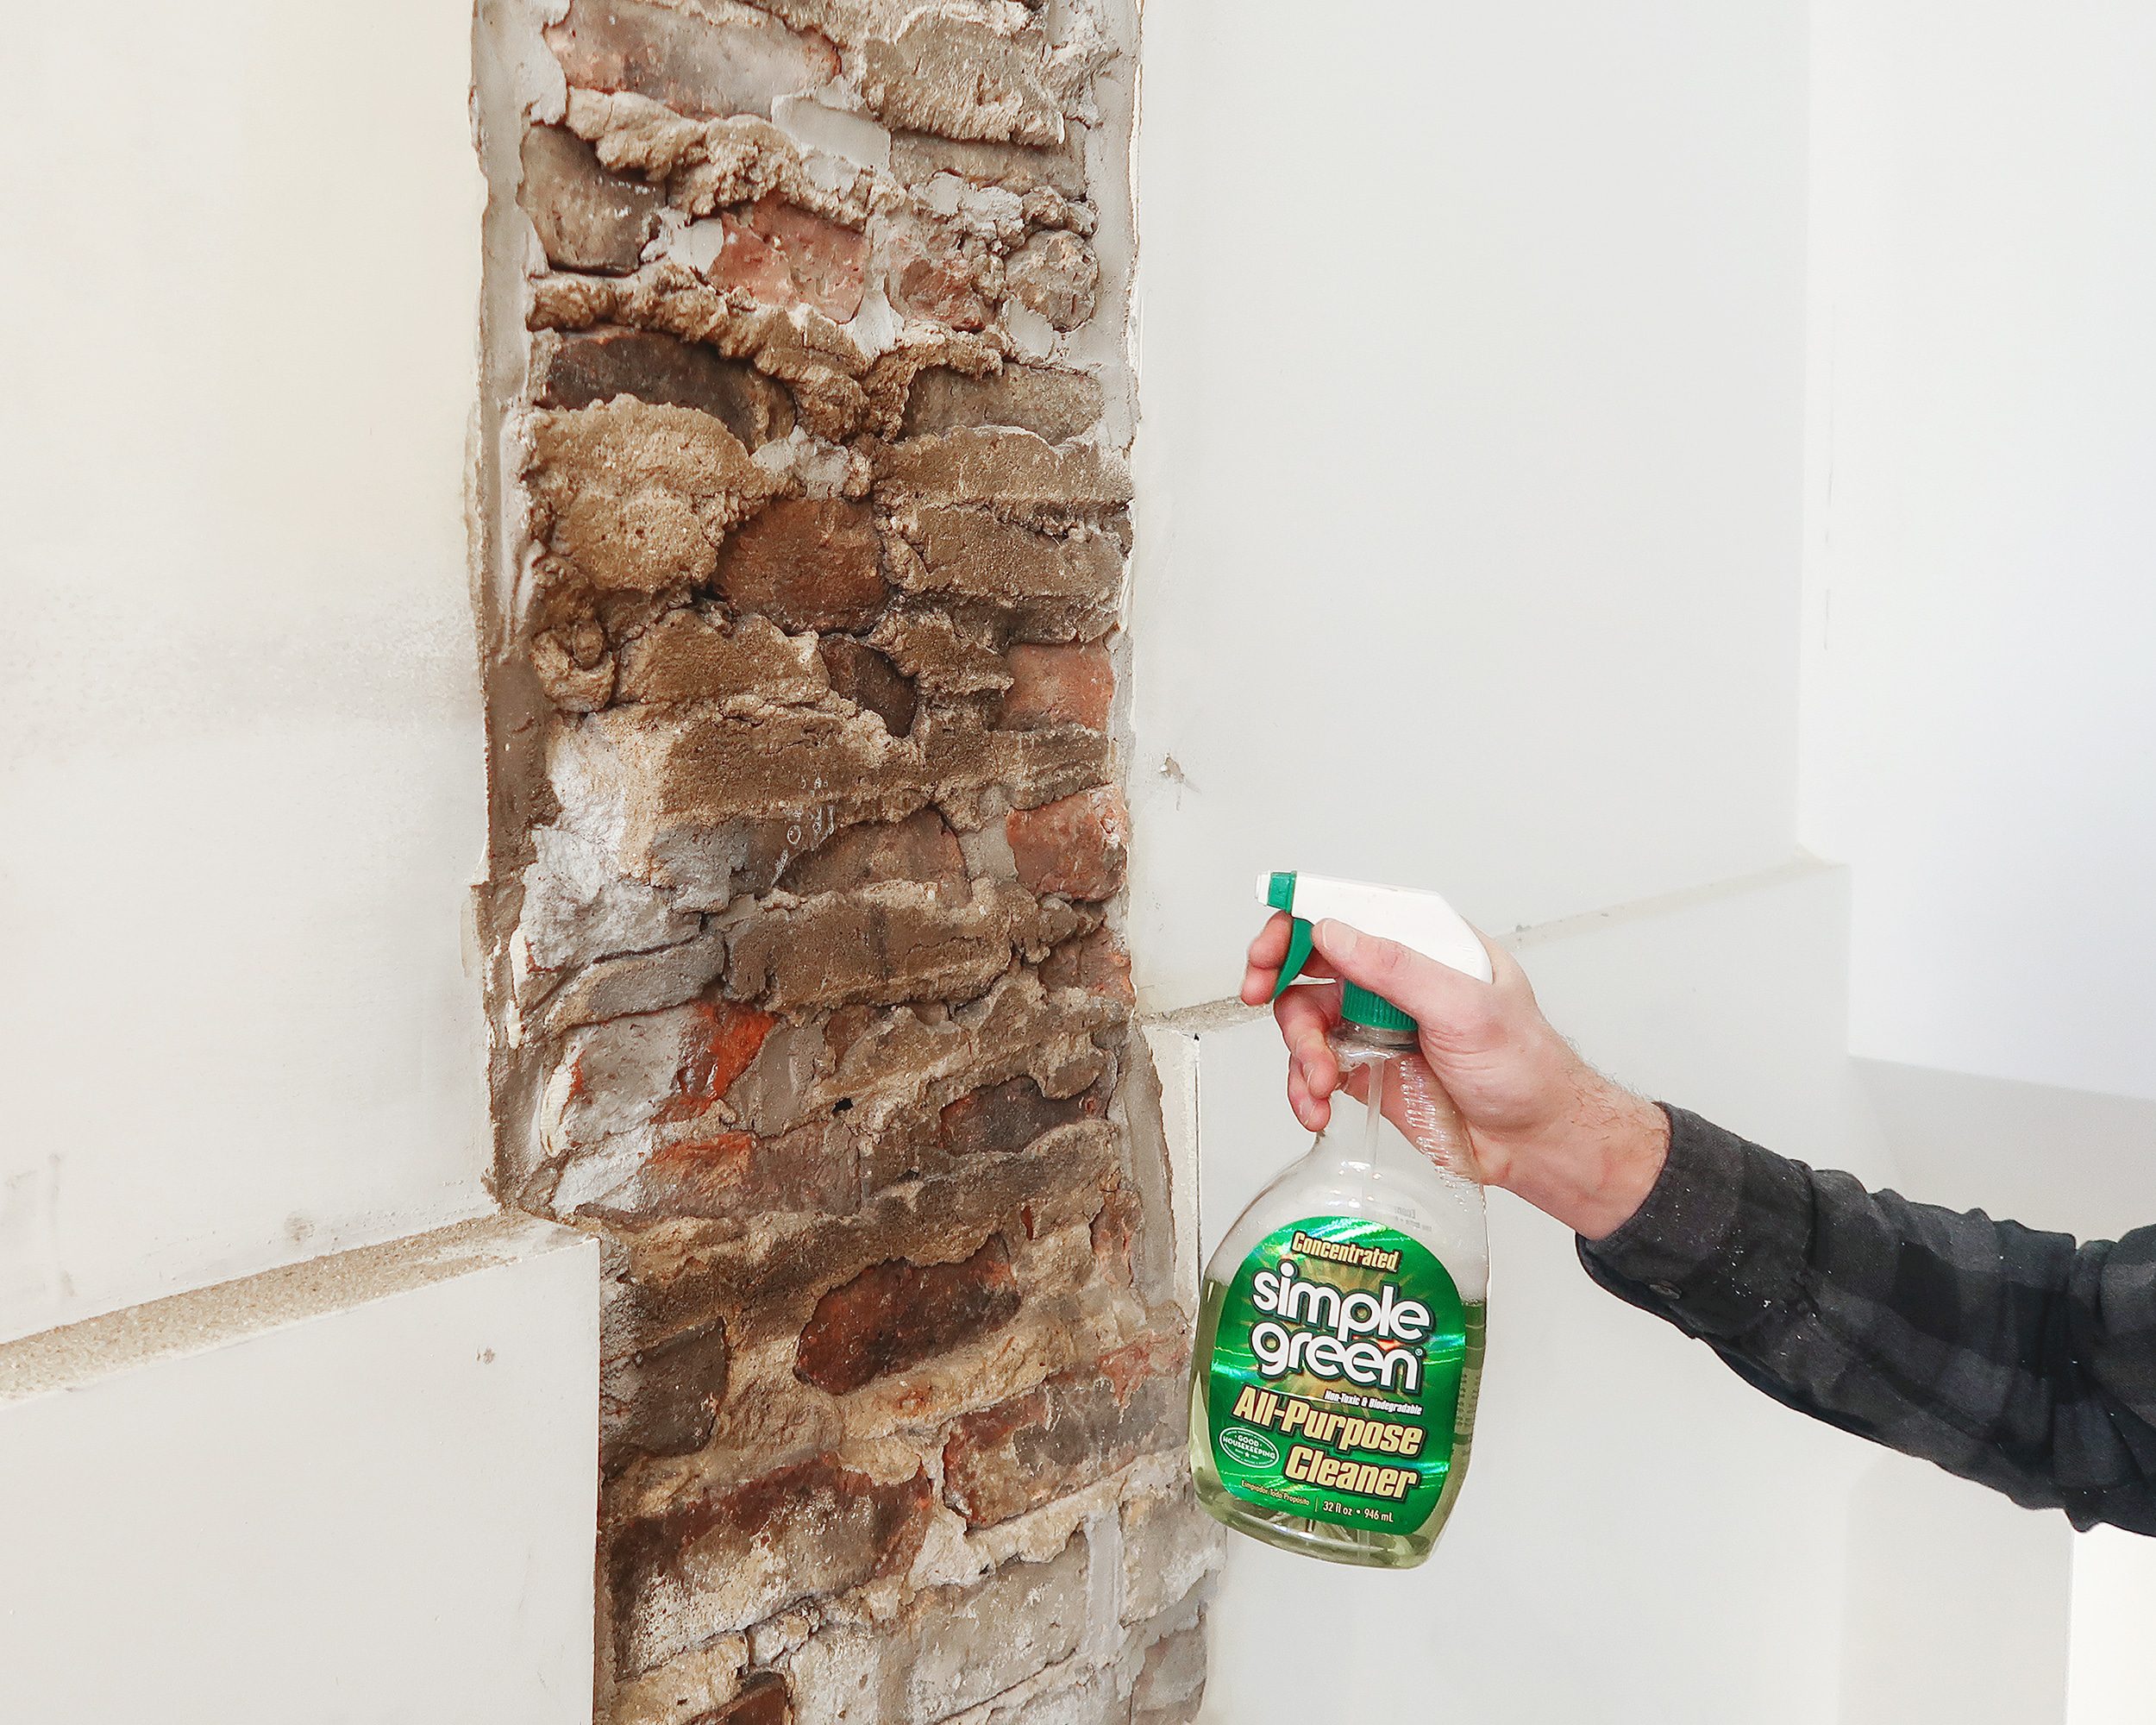
3 | Spray Cleaner + Brush Again
Now that all of the loose bits and rough spots were removed, it was time to remove actual soil. We started this step of the process by laying drop cloths around our work area to protect our newly finished floors. Next we liberally sprayed a 4:1 ratio of Simple Green over small sections of chimney and allowed it to sit for a couple of minutes.
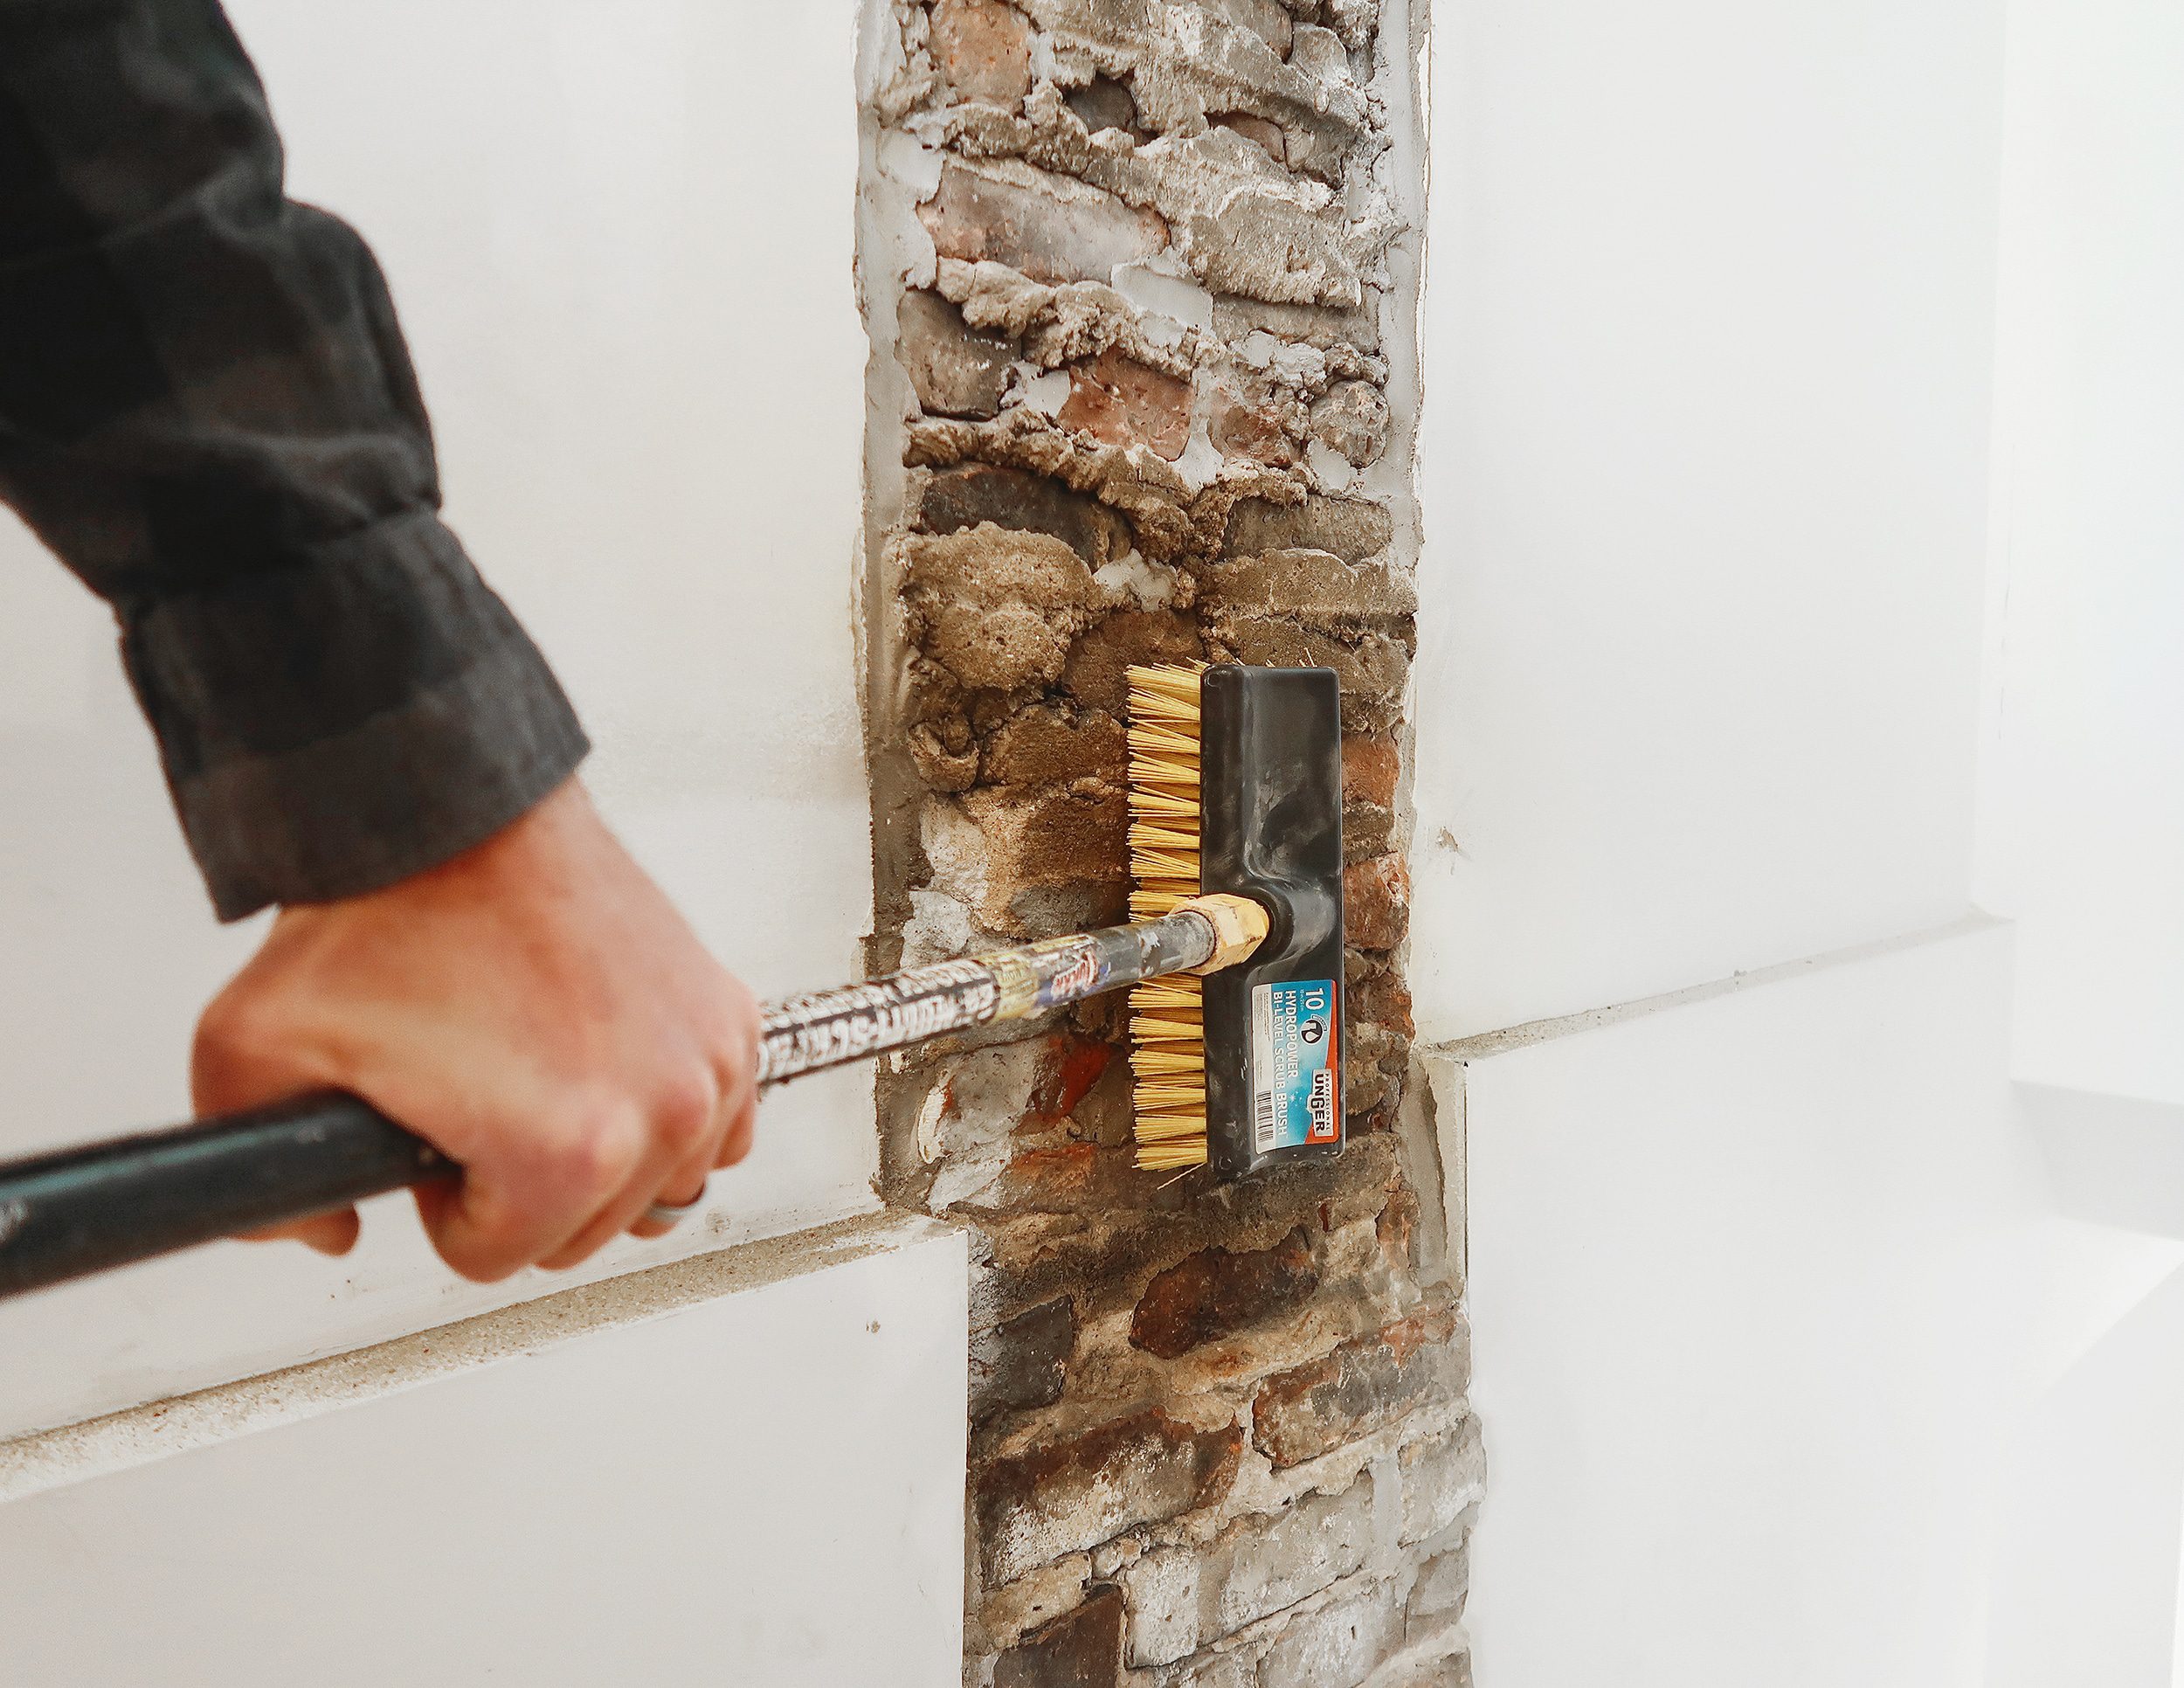
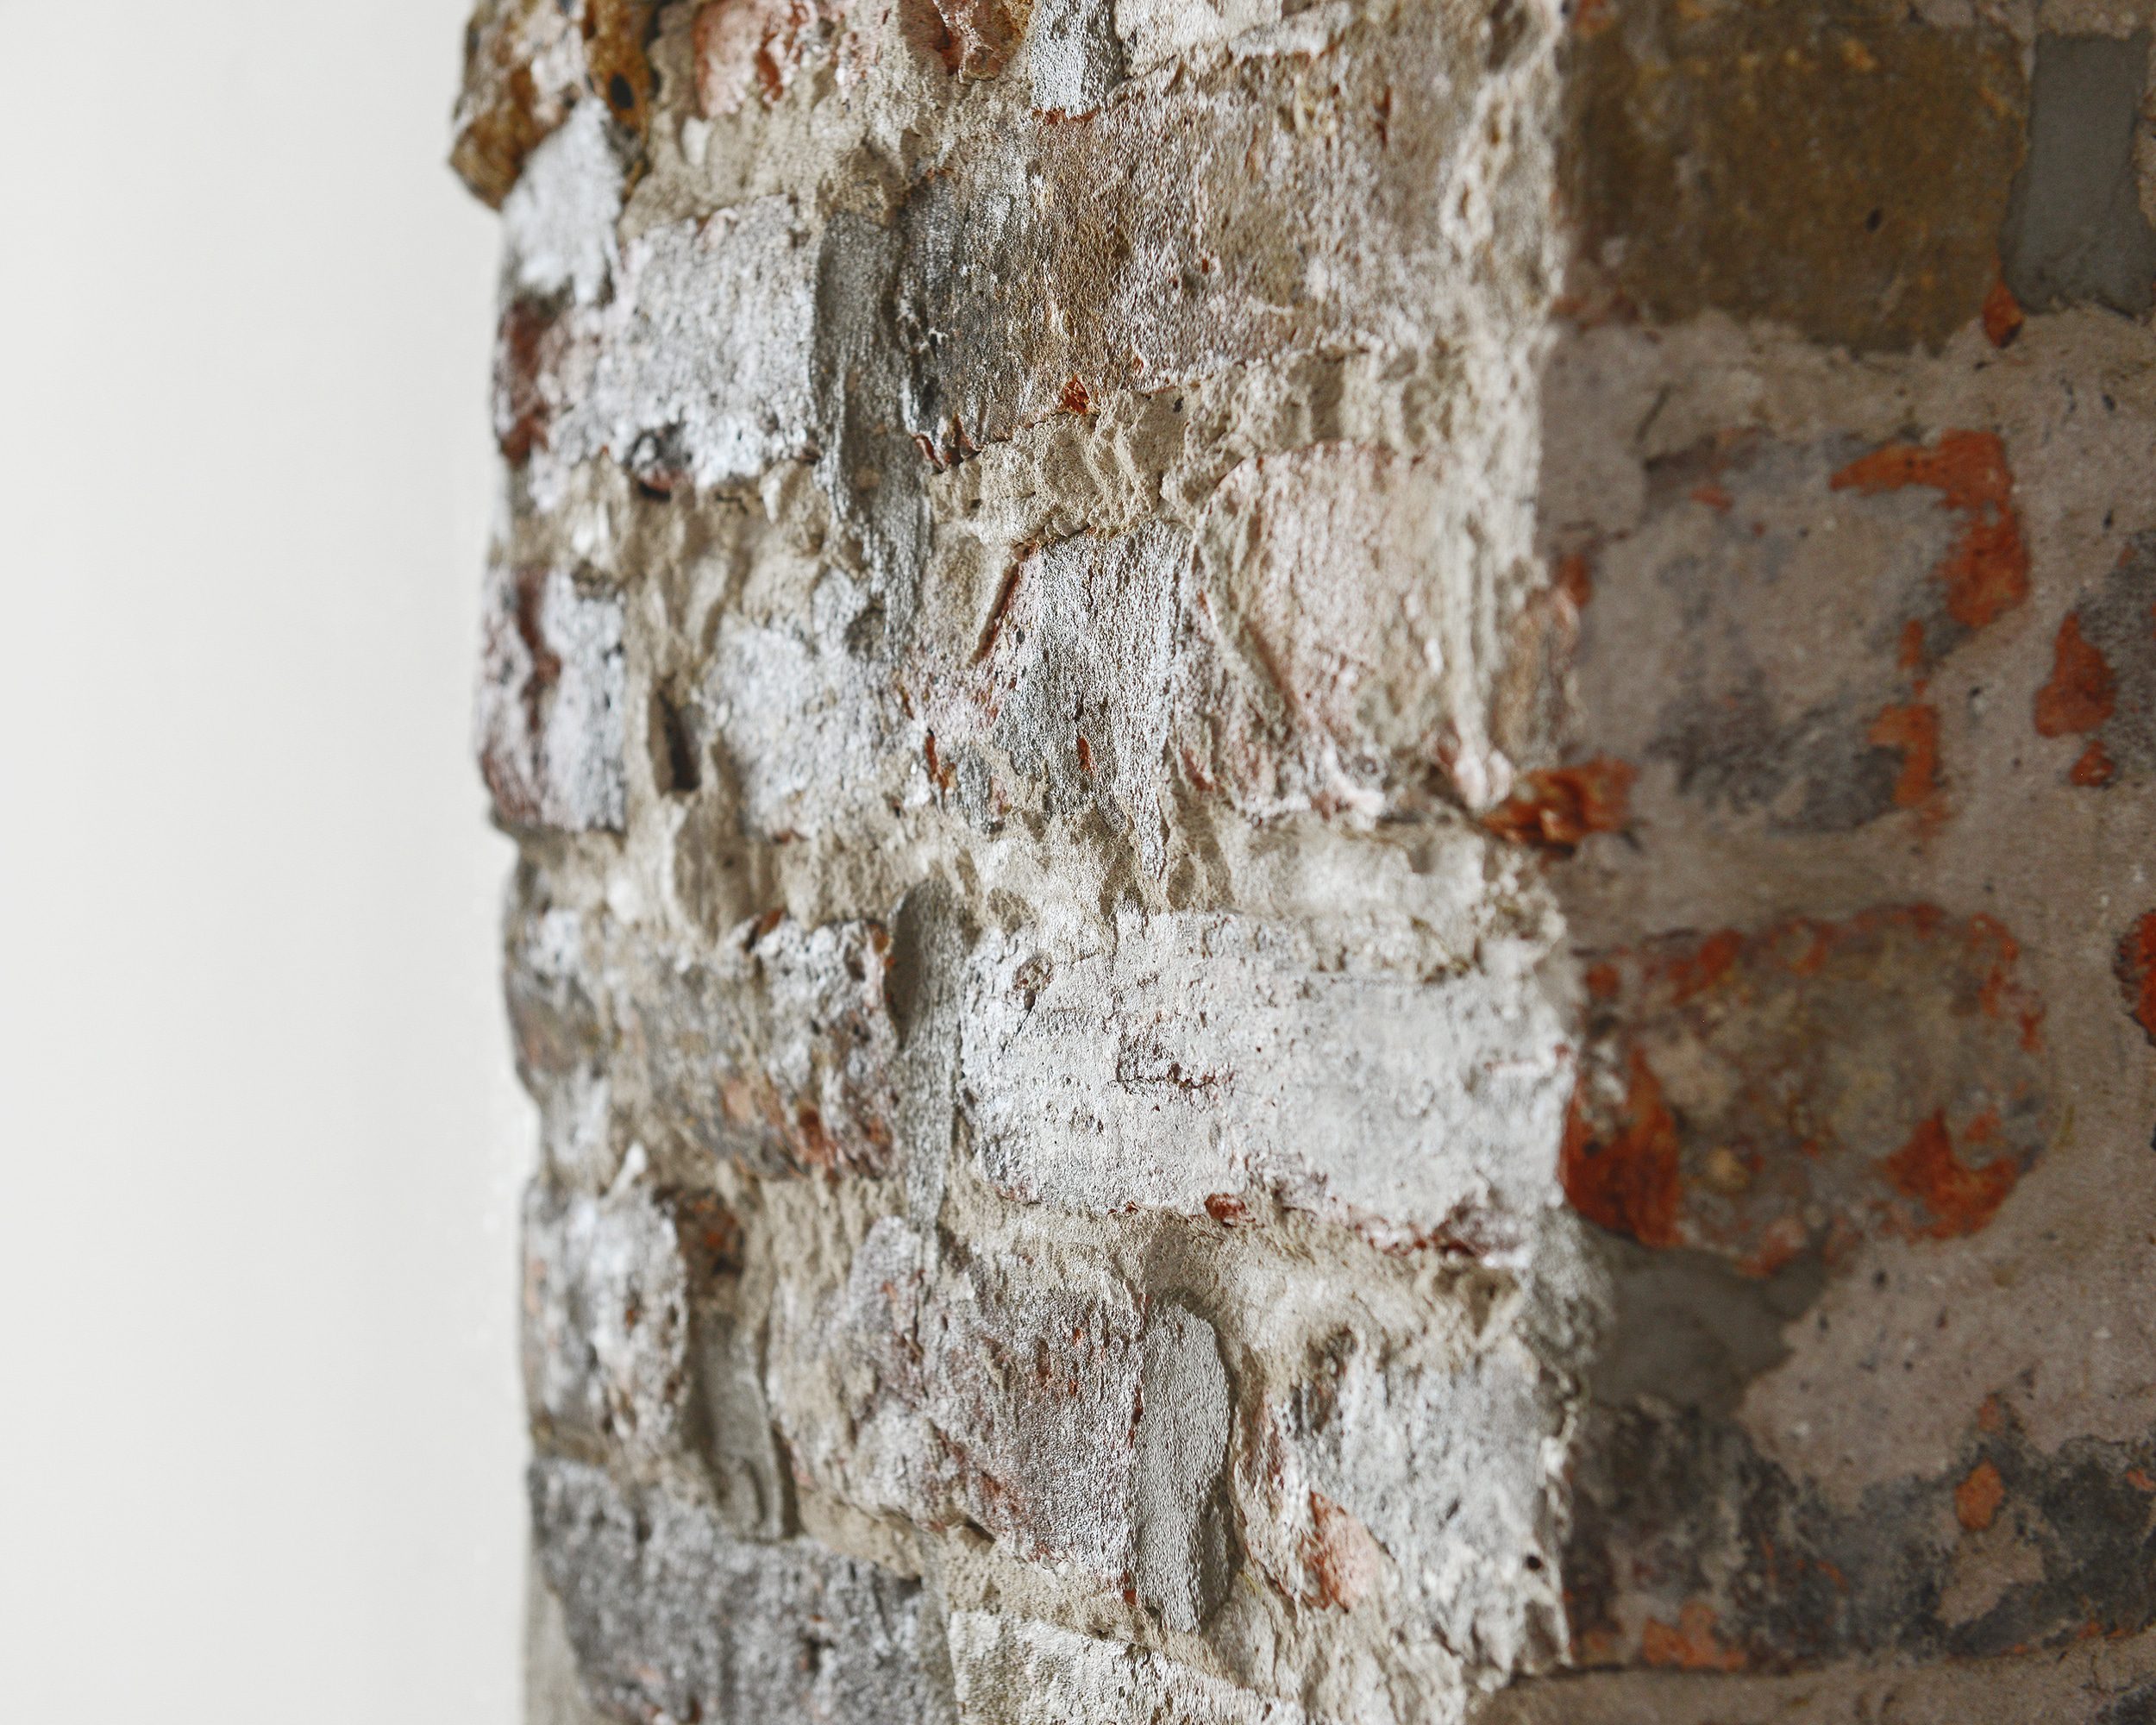
Once we’d allowed time for the cleaner to penetrate, we aggressively brushed all of the surfaces with our deck brush one more time. We were very surprised to see the bricks actually change color! It turns out that a century of being encased in cracked plaster, then undergoing an entire house worth of down-to-the-studs renovation really builds up the dirt!
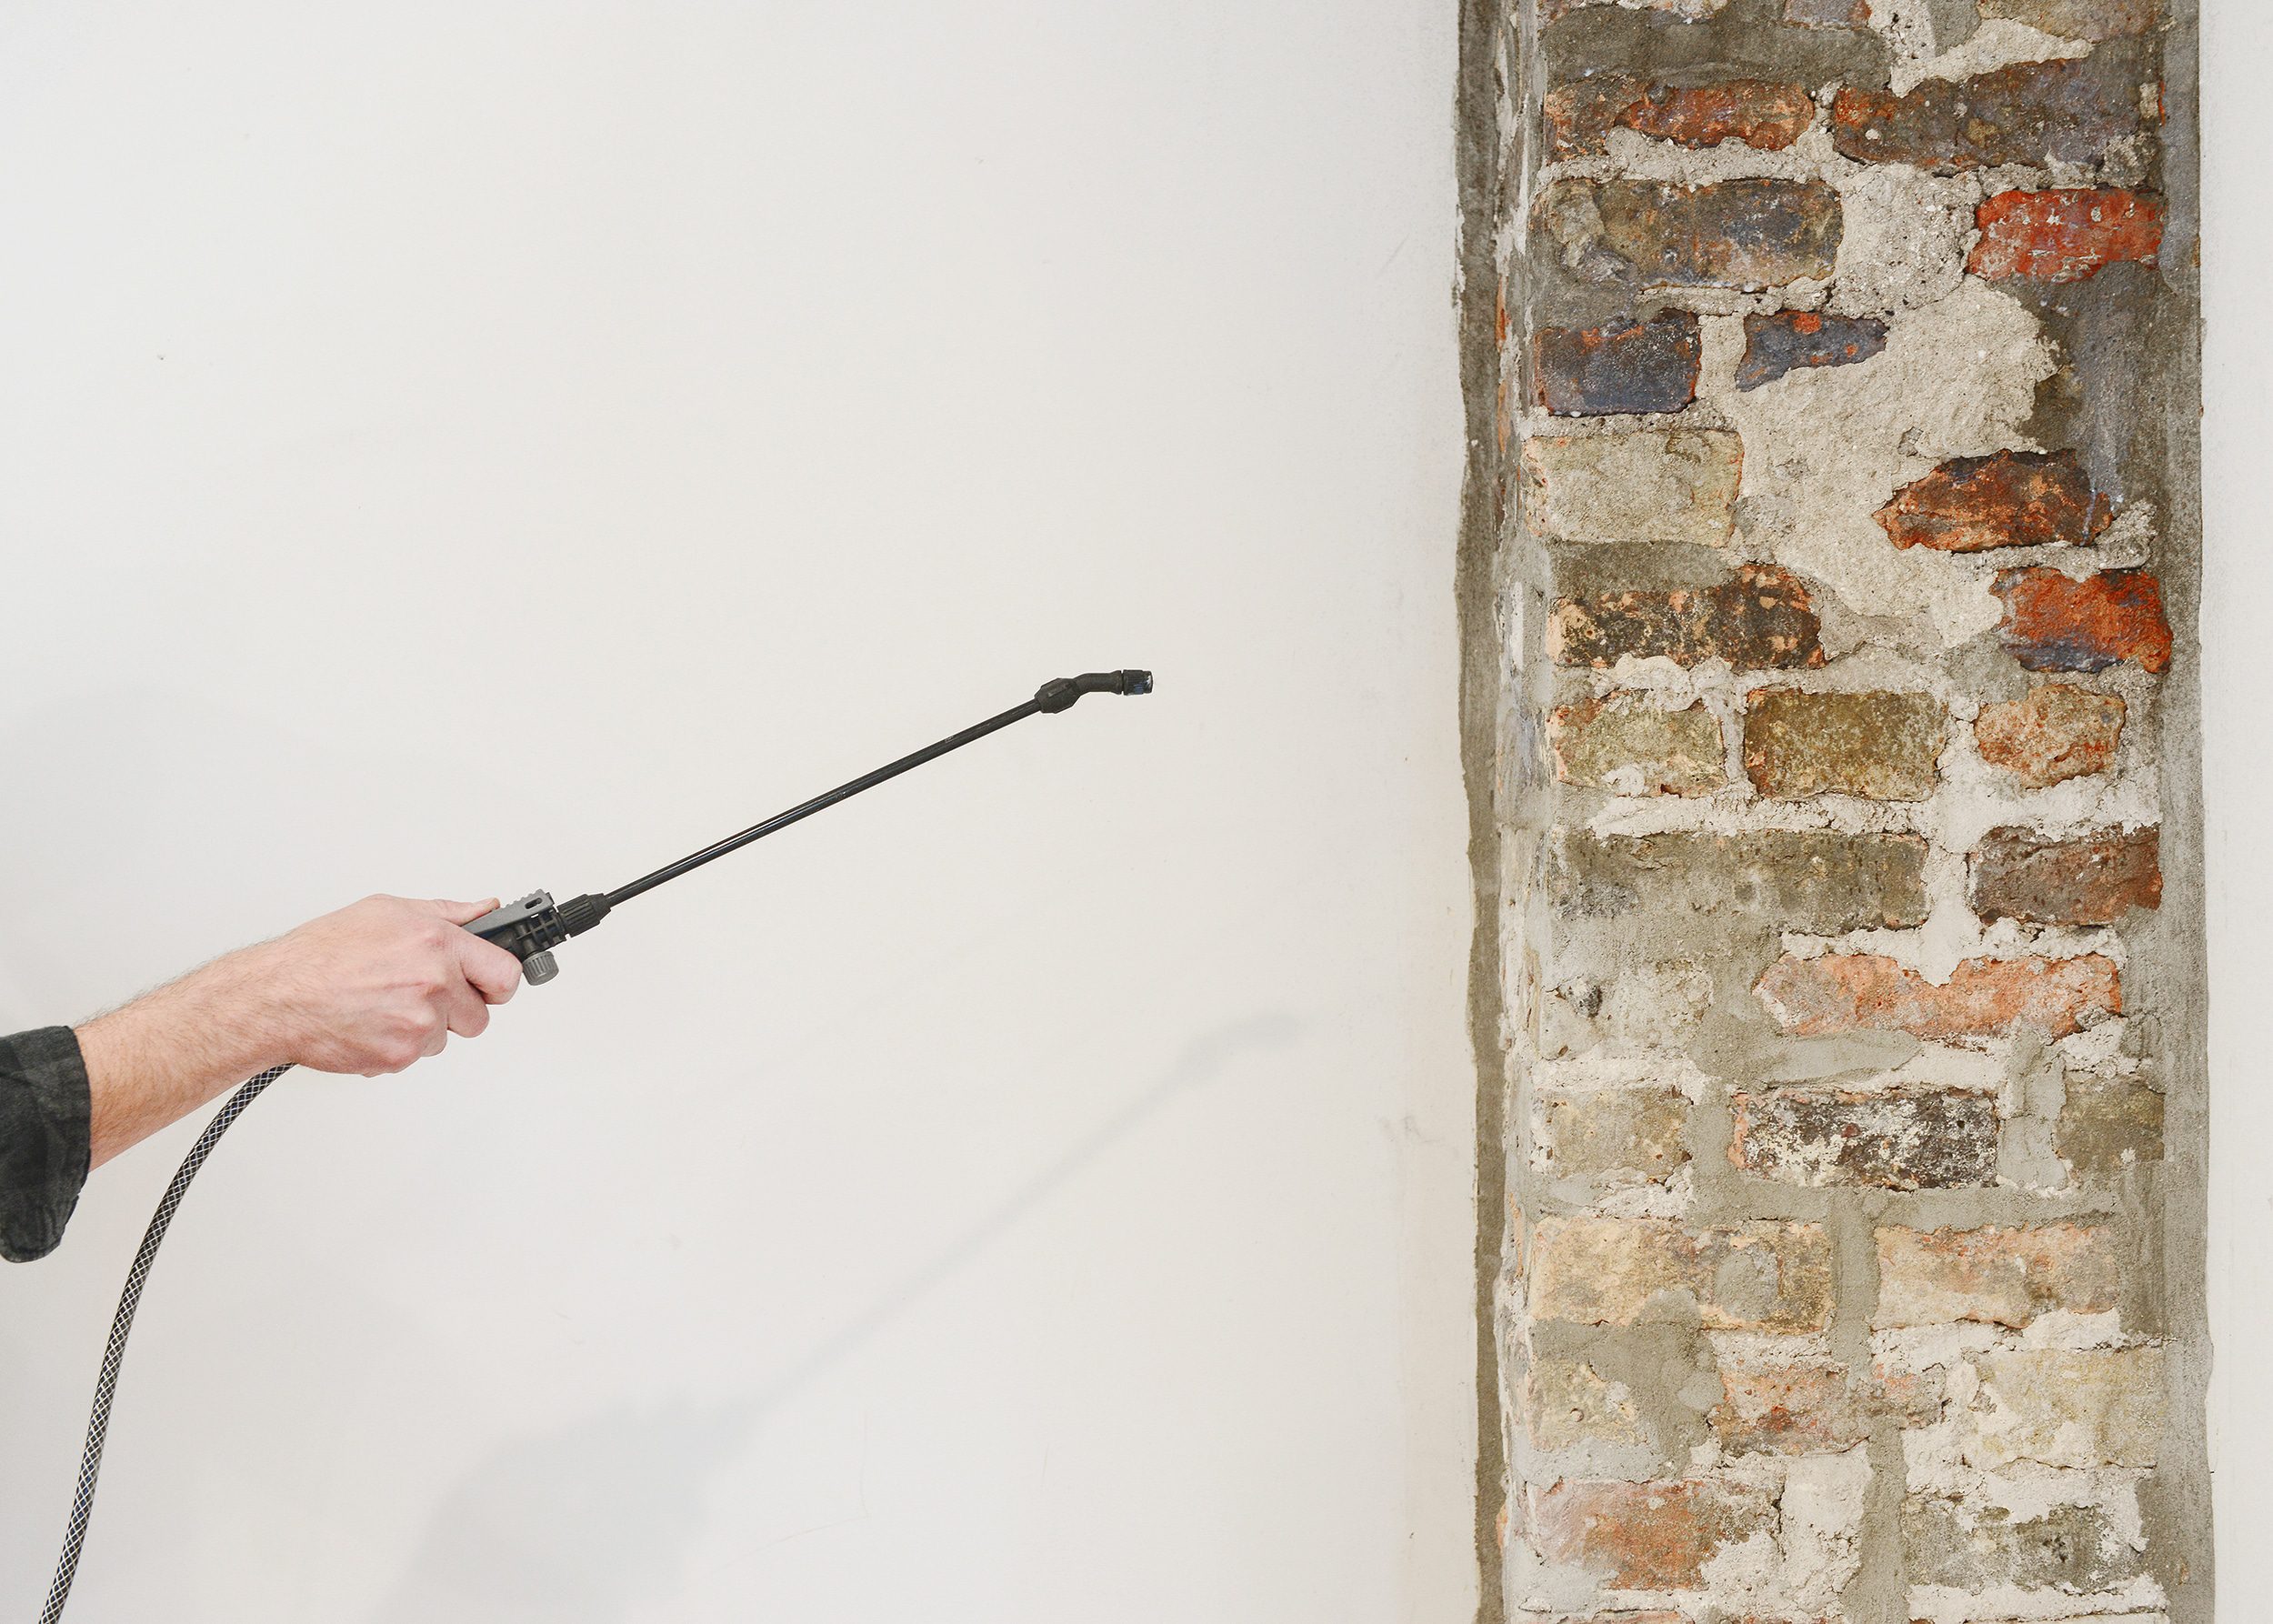
4 | Seal (+ Additional Coats if Needed)
After we’d allowed the bricks to air dry for a few hours, it was time to spray our sealer. This step was as simple as shaking up the jug of sealer and carefully pouring it into the pump sprayer.

Once the sprayer was pumped up and pressurized, we carefully sprayed one even coat of sealer onto the bricks (again with drop cloths in place to protect the floors and trim). That’s pretty much it! The sealer requires 4 hours of cure time between additional coats, so we gave everything one final inspection to make sure there were no drips or drops then called it a day.
The next morning, we popped back over for a quick inspection and decided to apply a second coat for good measure. It likely wasn’t necessary, but we wanted to make sure that the uneven, porous surface was thoroughly coated before calling the project done.
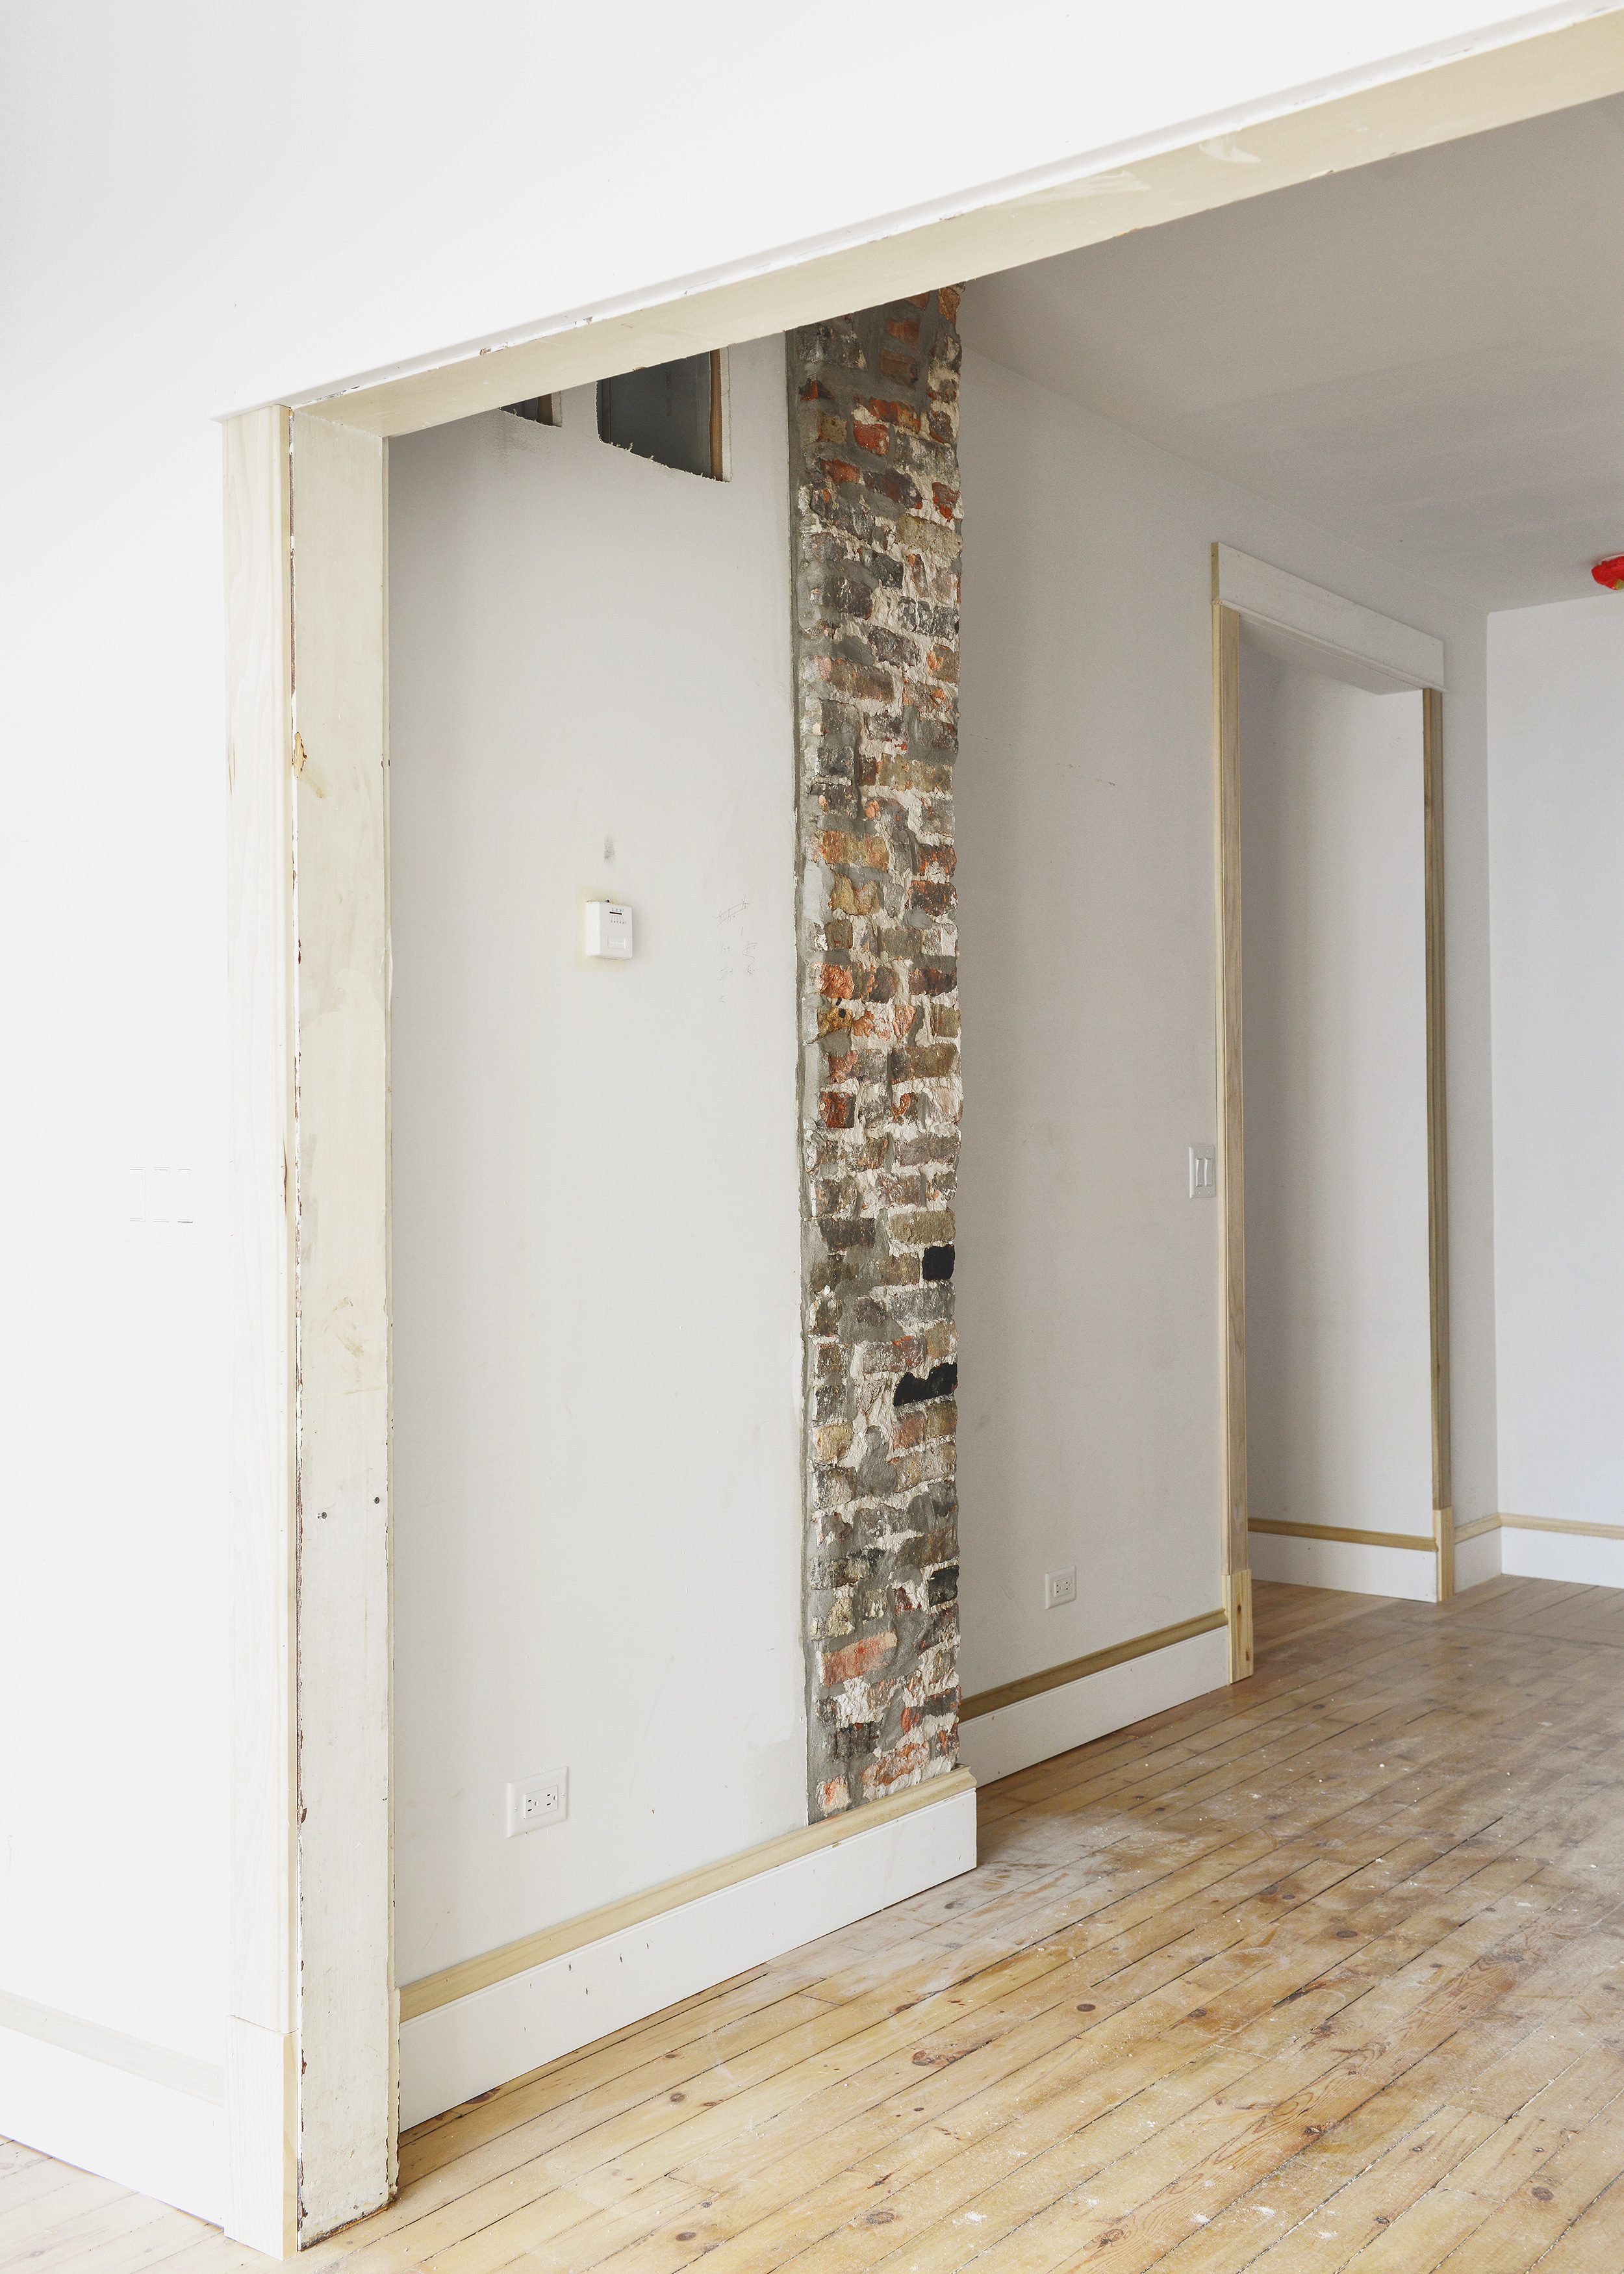
As a quick refresher, here’s a quick before/during/after of the dining room in Unit 1. For reference, the first photo was taken just before we started the chiseling project, the second was taken just before the tuckpointing and the third was taken after the final cleaning and sealing.
Before | Unit 1 Dining Room
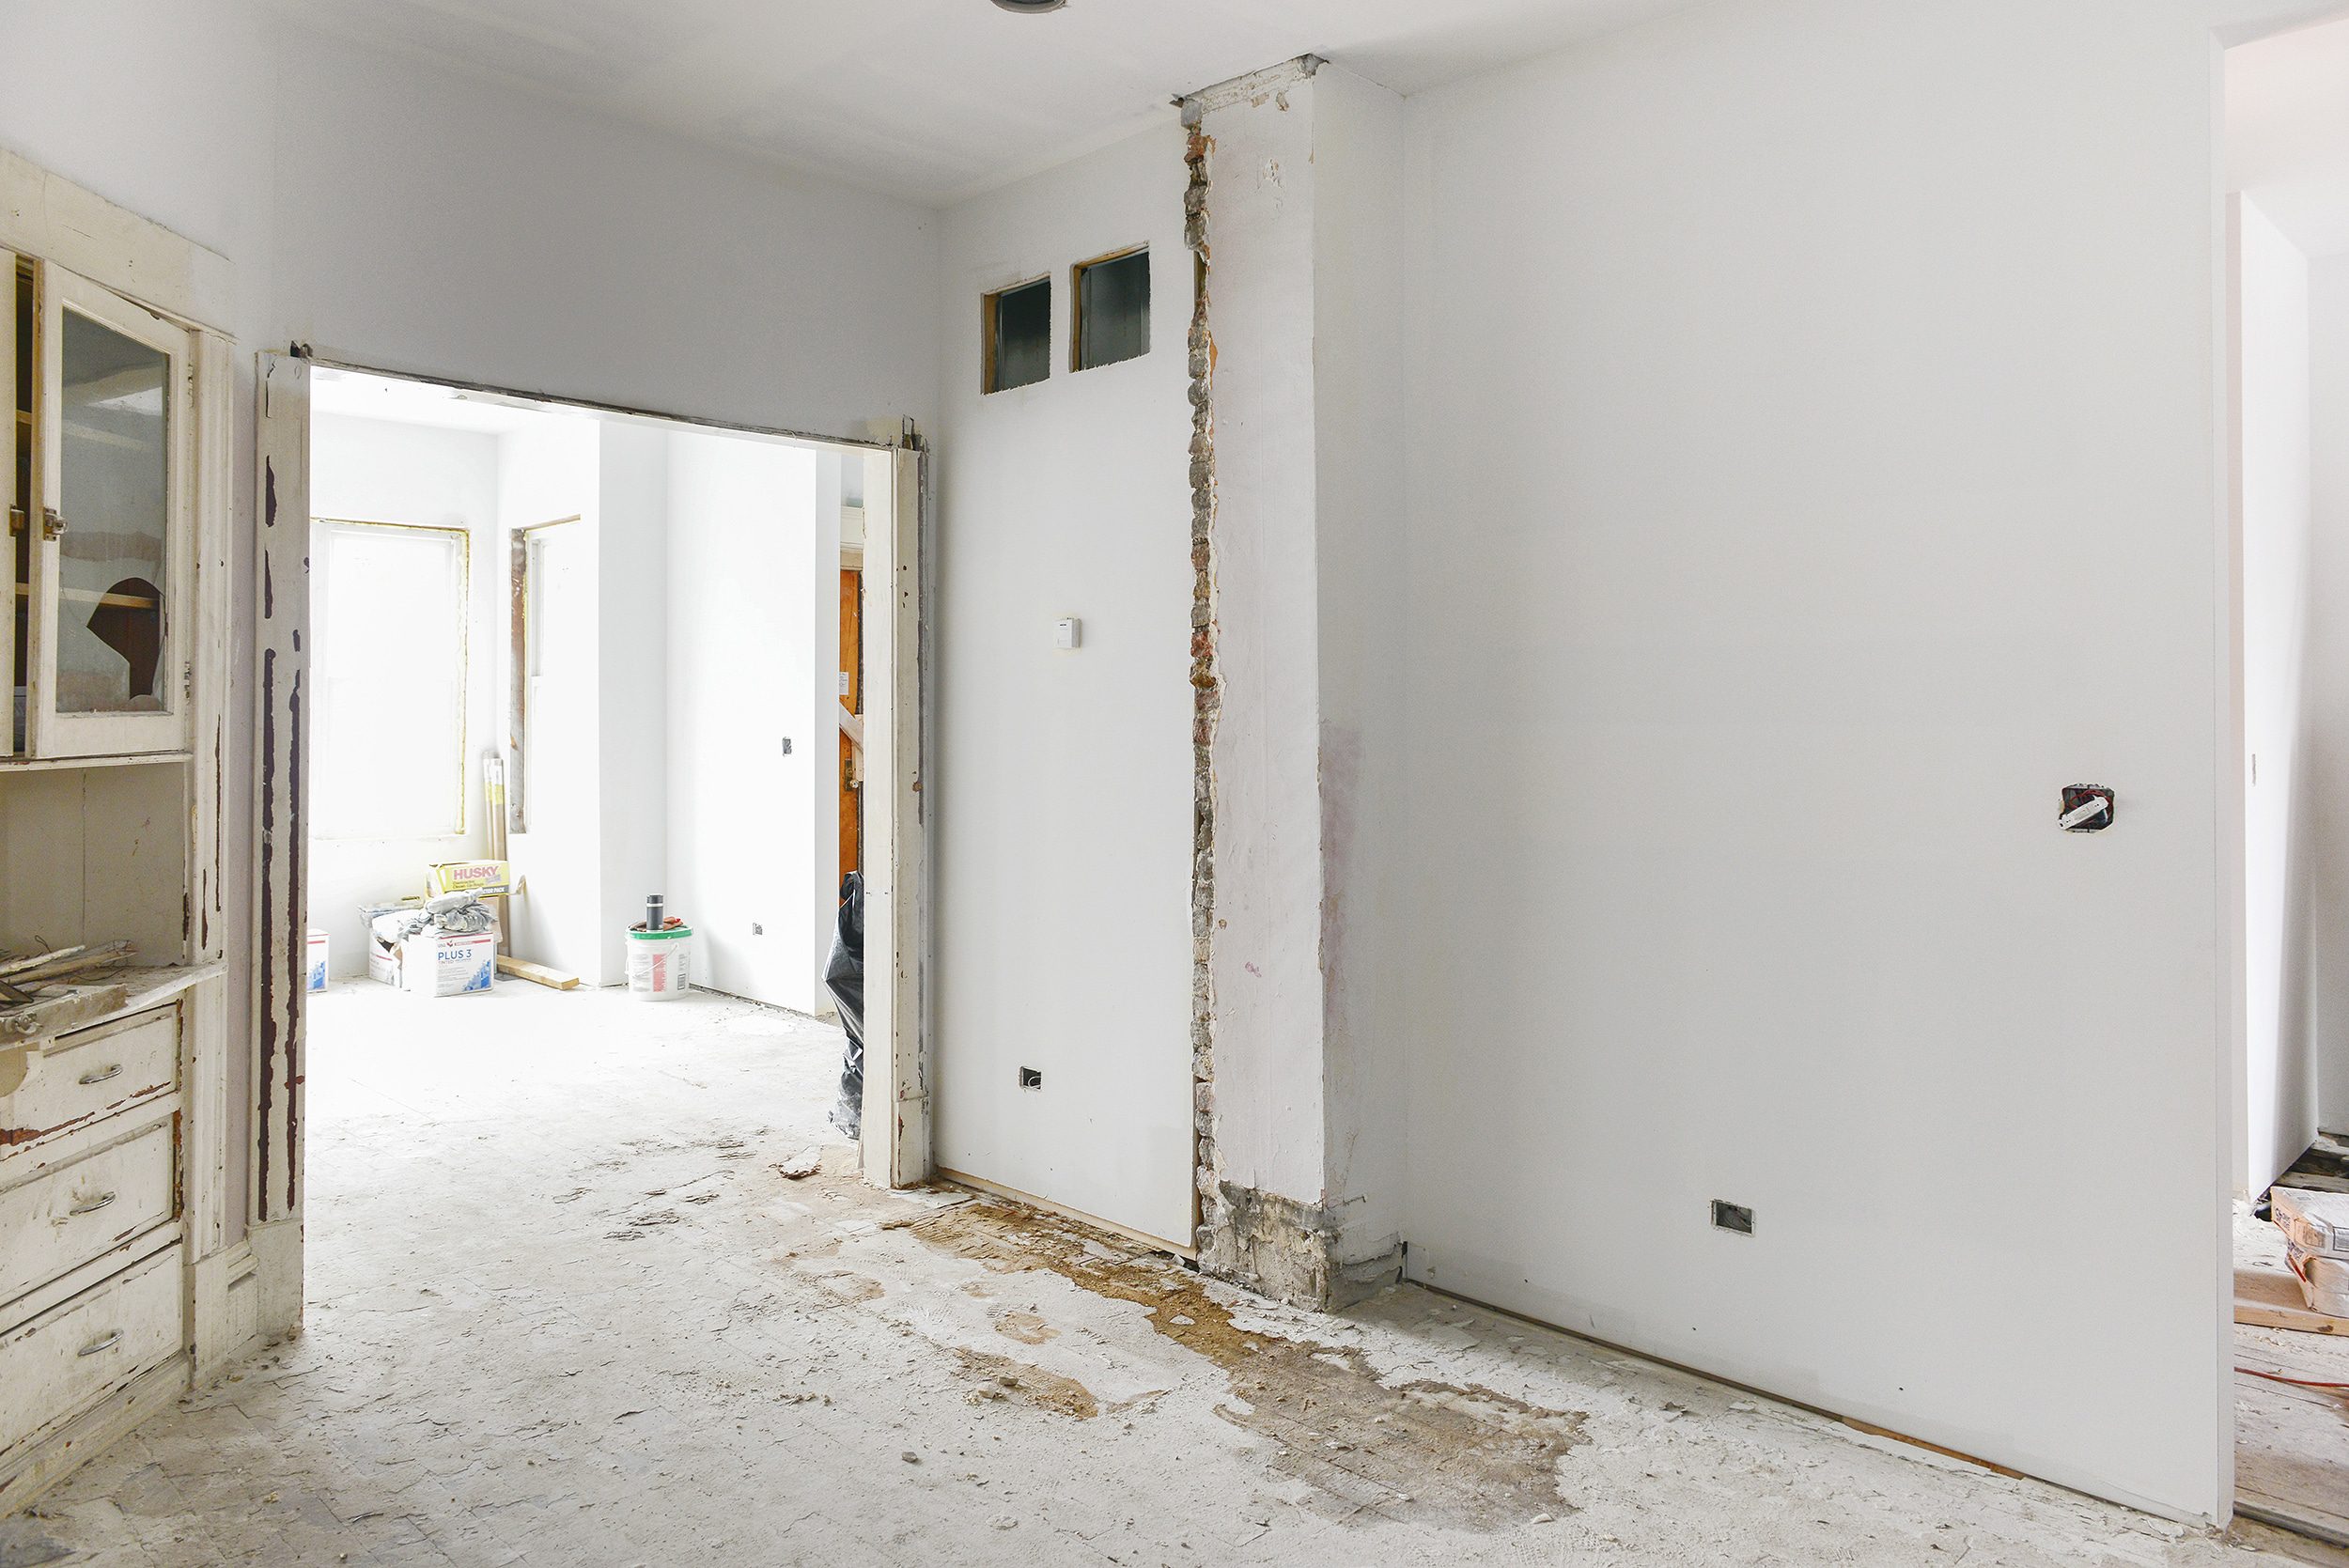
During | Unit 1 Dining Room

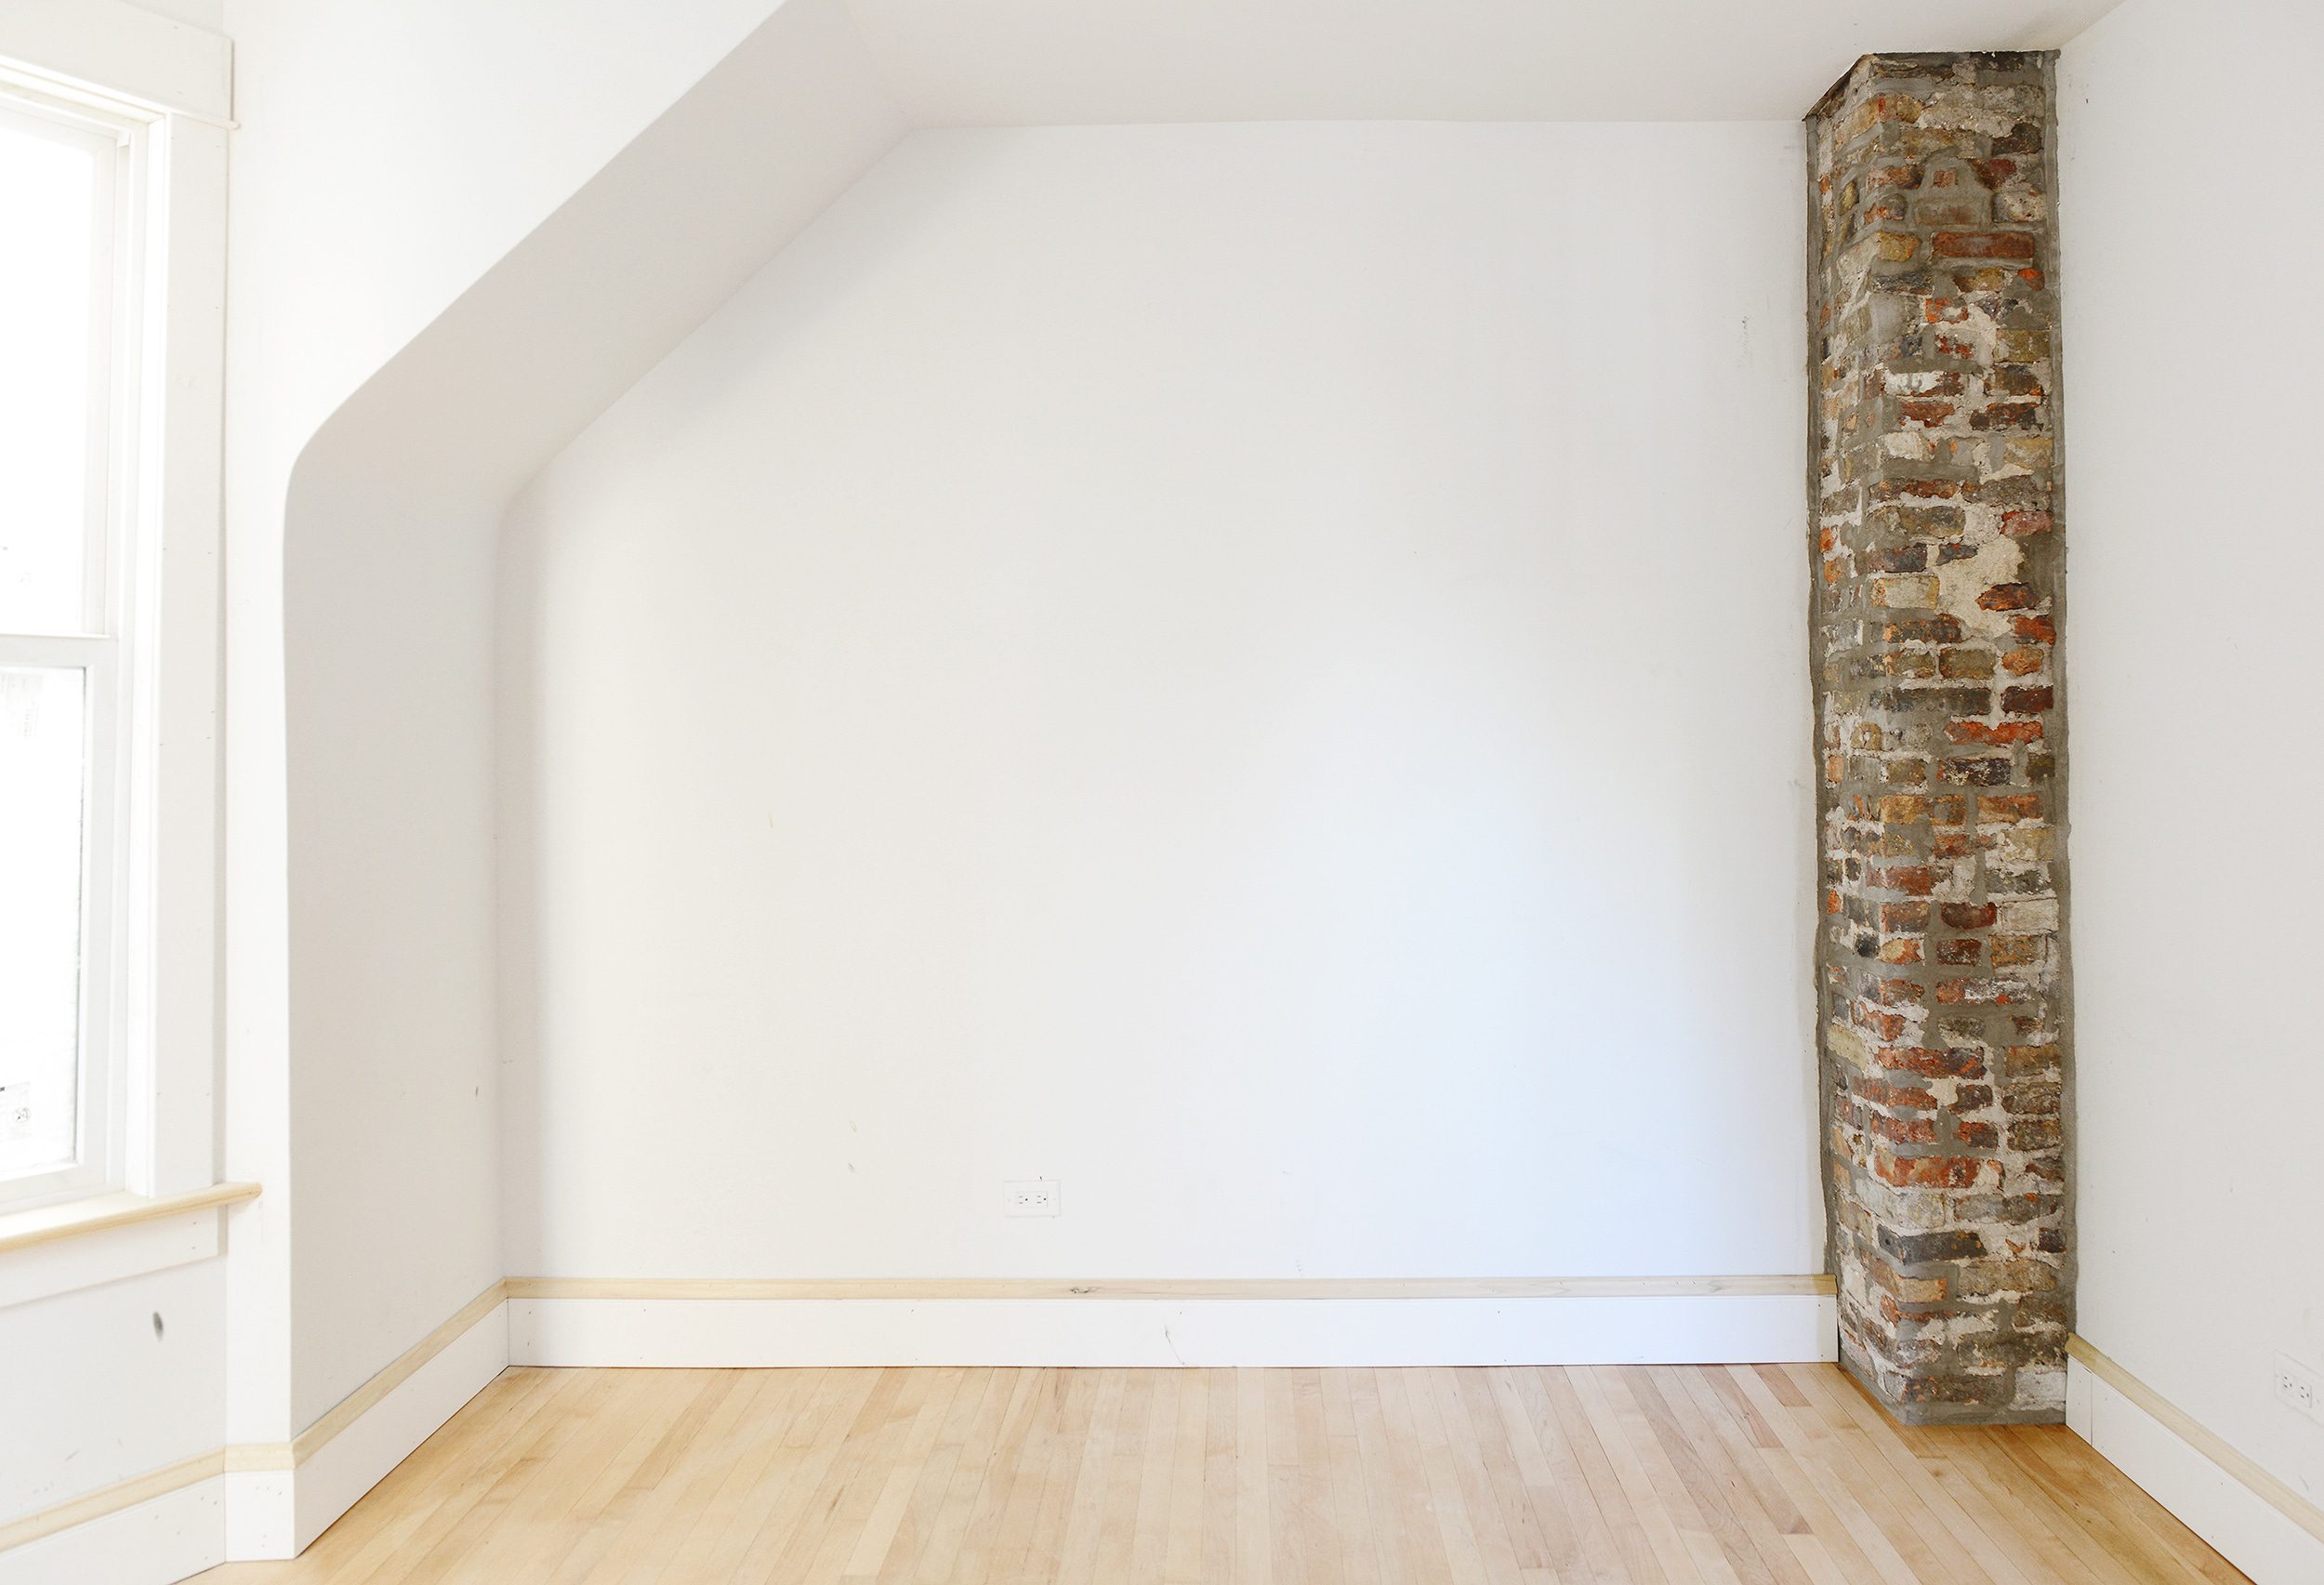
Today! | Unit 1 Dining Room
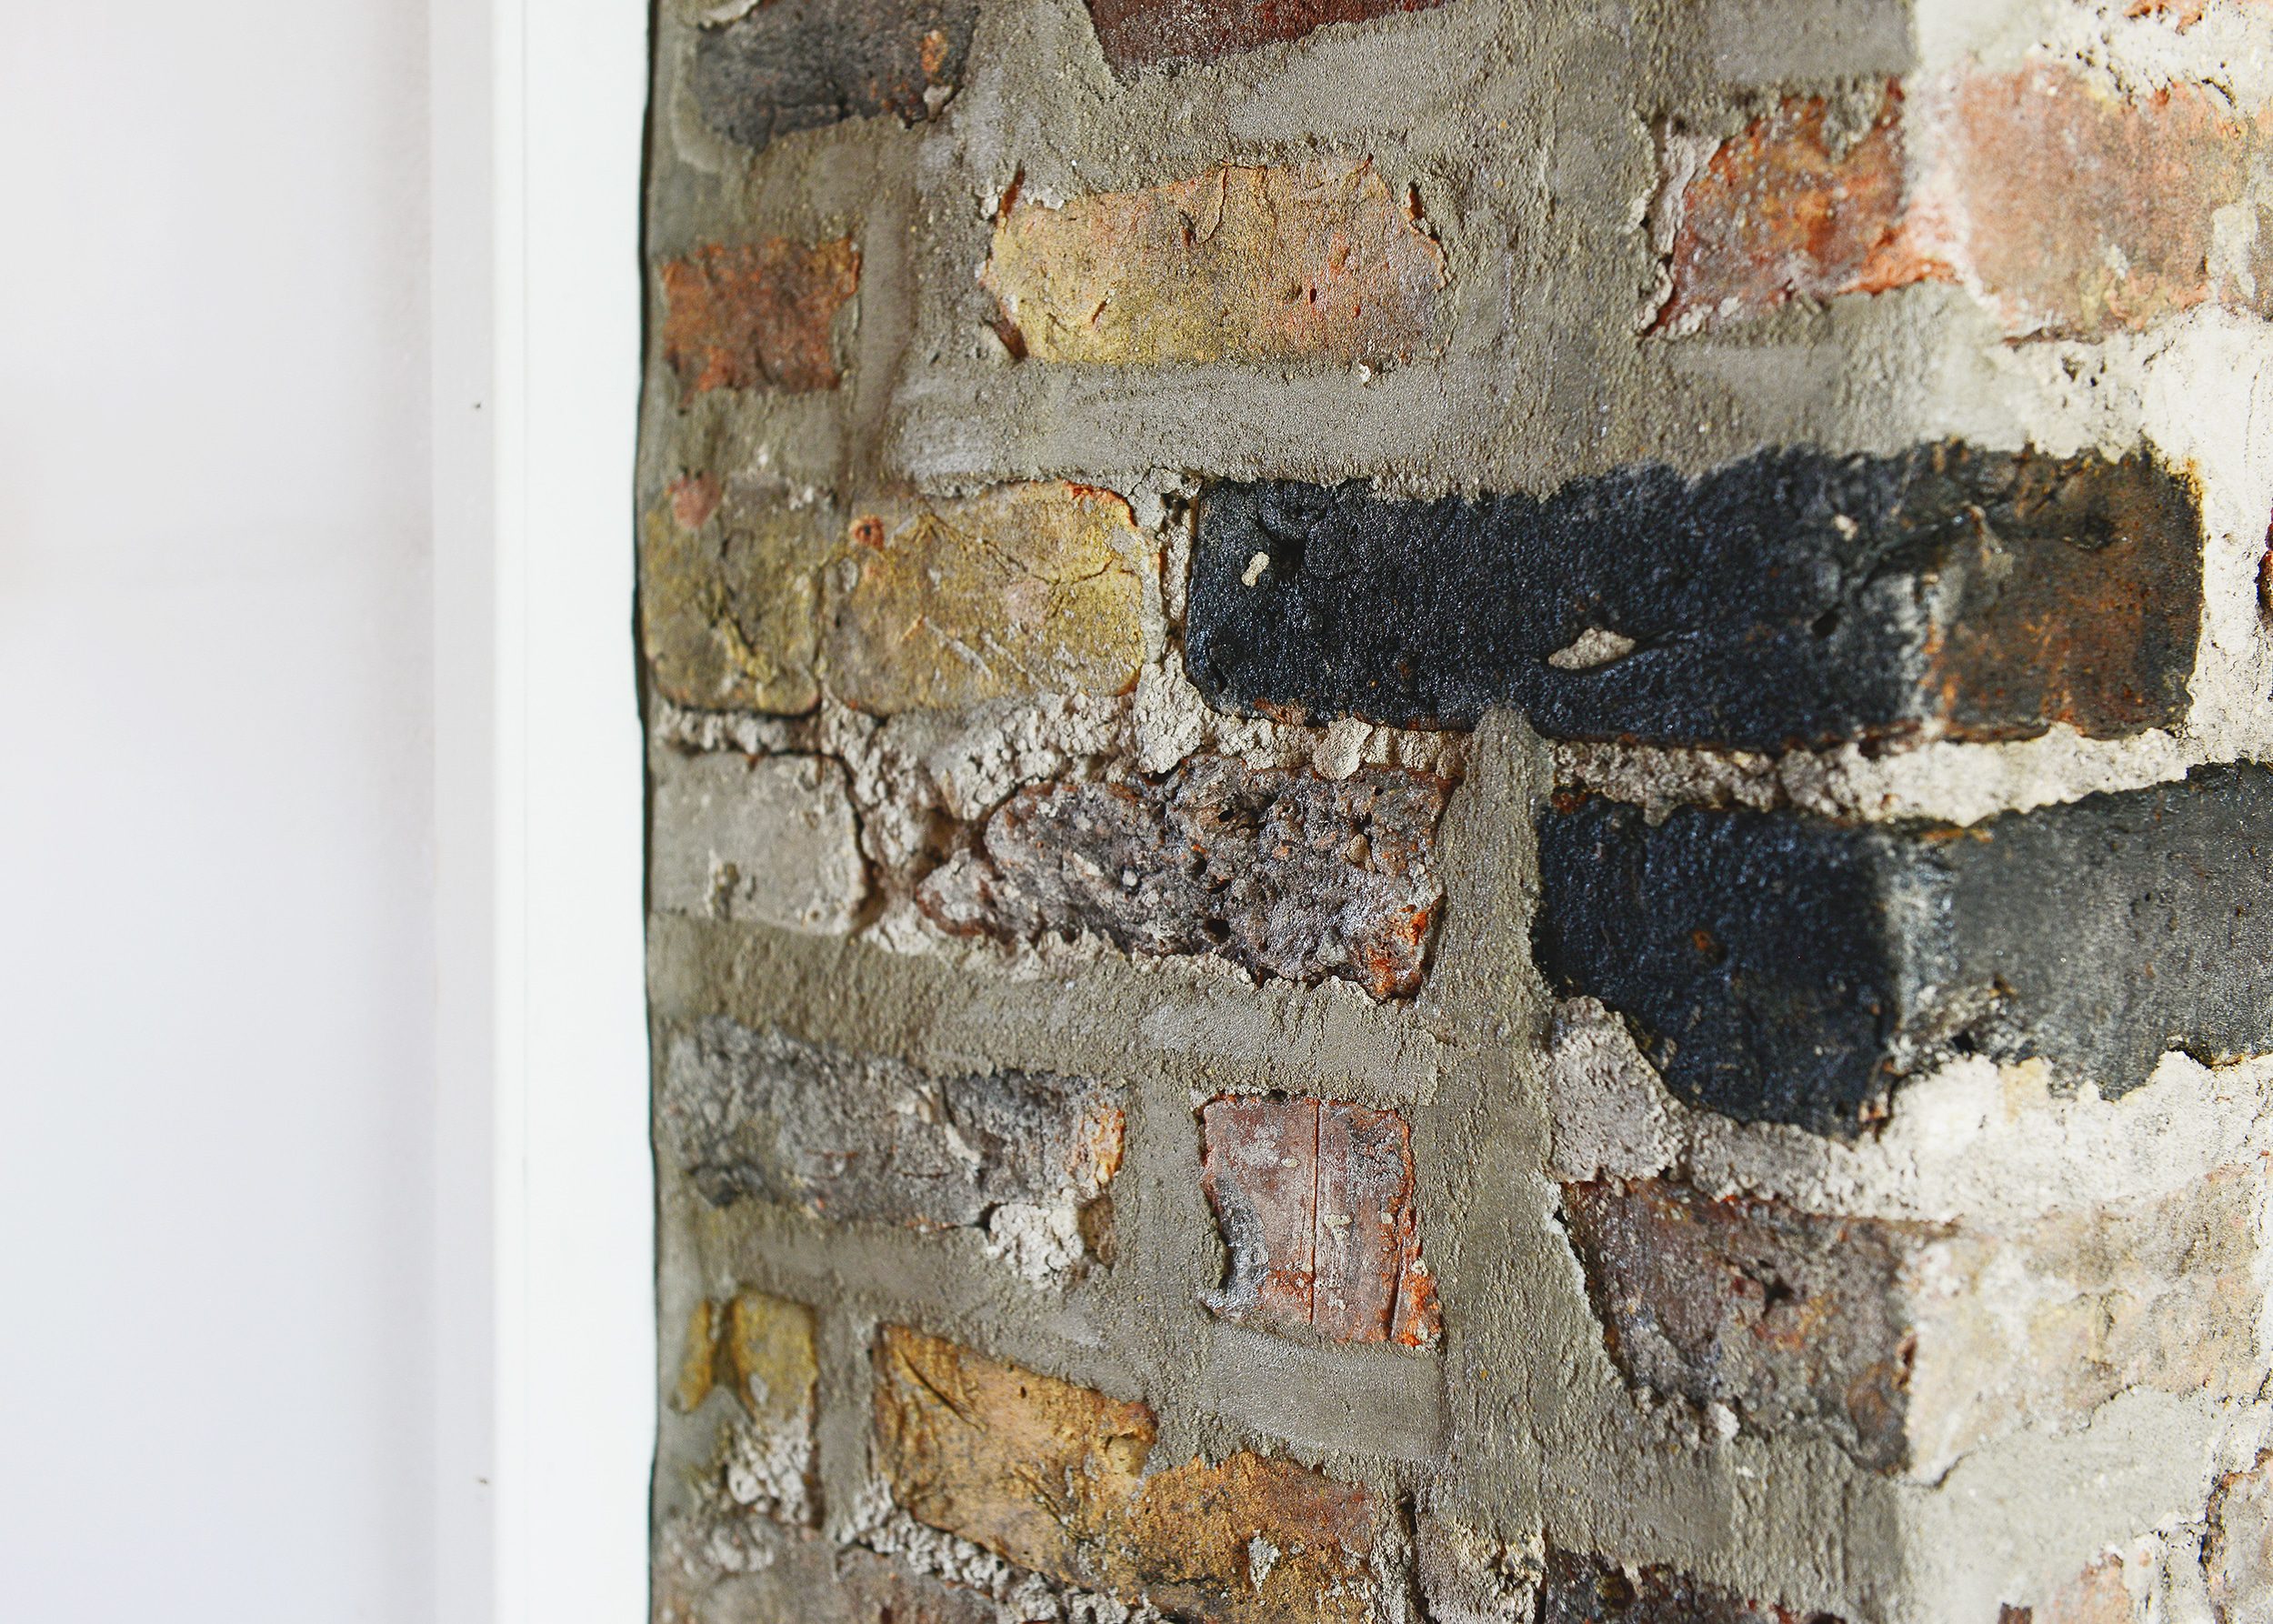
The Low Lustre finish turned out better than we could’ve hoped for! It provides a hint of sheen, but it also does a nice job of evening out the tone of new and old mortar. The surfaces just feel nice. We realize that the look of old exposed interior bricks may not be for everyone. Our goal with this house, however, has always been to celebrate the imperfections and character that make it unique and special as opposed to covering them up!
If you’re itching to see the walls and all that trim painted now, we feel you! We’re collecting paint quotes, and we’re in the final stages of choosing color. She’s looking like a real home, and it’s only looking up from here!
PS: We have a comprehensive list of all of our favorite tools here, if you’d like to see!


It was well worth your efforts. That looks amazing!
Thanks for sharing! We are actually in the process of chiseling away at our own brick chimney so this will definitely come in handy.
Looks GREAT! So worth the extra effort.
Thanks, Melissa!
Finally, I found this. I’ve been looking for some helpful guide in cleaning interior bricks and this one is one of the best. Great work!
Thank you, everything is detailed by steps.
I have a brick wall around our fireplace that has water damage from a leak. Do I still use these methods to clean the brick back to normal?
We don’t have any experience cleaning water damaged brick, but as long as the source of the damage has been repaired, we think gentle cleaning should be OK.
Would you recommend doing this after refinishing floors? Both items are on our punch list, curious if order is significant here. This is so helpful and we’re so excited to get started on our wall!
I’d do it before. It’s pretty messy/dusty!
Awesome, thank you!! Dry brushing now!
I have one question. How did you remove the cleaner?
Will this technique work on brick surrounding a stovetop? Just moved into a house with a beautiful brick-surrounded cooking surface. Not looking forward to scrubbing cooking grease splatters off the brick.
It worked well for us! I would imagine that brick surrounding a cooking surface may have some cooking residue, so you may need to experiment with different degreasers, but overall, I think the process would be very similar. Good luck with your project!
Hi… We live on the rainy west coast and have a brick wall that includes a fireplace. Can we seal it or is porosity required to let the wall breathe out moisture and heat? Thanks
We can’t speak to that unfortunately. These chimneys are both near the center of the home and are non-functioning. Best of luck with your project!
How did you clean the Simple Green off?
Love the tips! What did you do with the drywall that meets brick? Did you do edging? We have an exposed chimney in a room we are re-drywallimg and are trying to figure out to to finish it off ????
We drywalled as close as possible, caulked the seam and painted it for a really organic look.