

Today we’re walking through a handful of easy steps to add elegant wood casing to an existing door opening!
When we purchased our Chicago home, there was a distinct lack of millwork throughout the space. The windows and many of the doorways were simple boxes finished with drywall on all sides. While that look is simple, clean and cost effective, it certainly won’t win any style points. To bring back some of the home’s 130 year-old charm, we’ve single-handedly replaced every single inch of millwork in this home over the last 9 years!
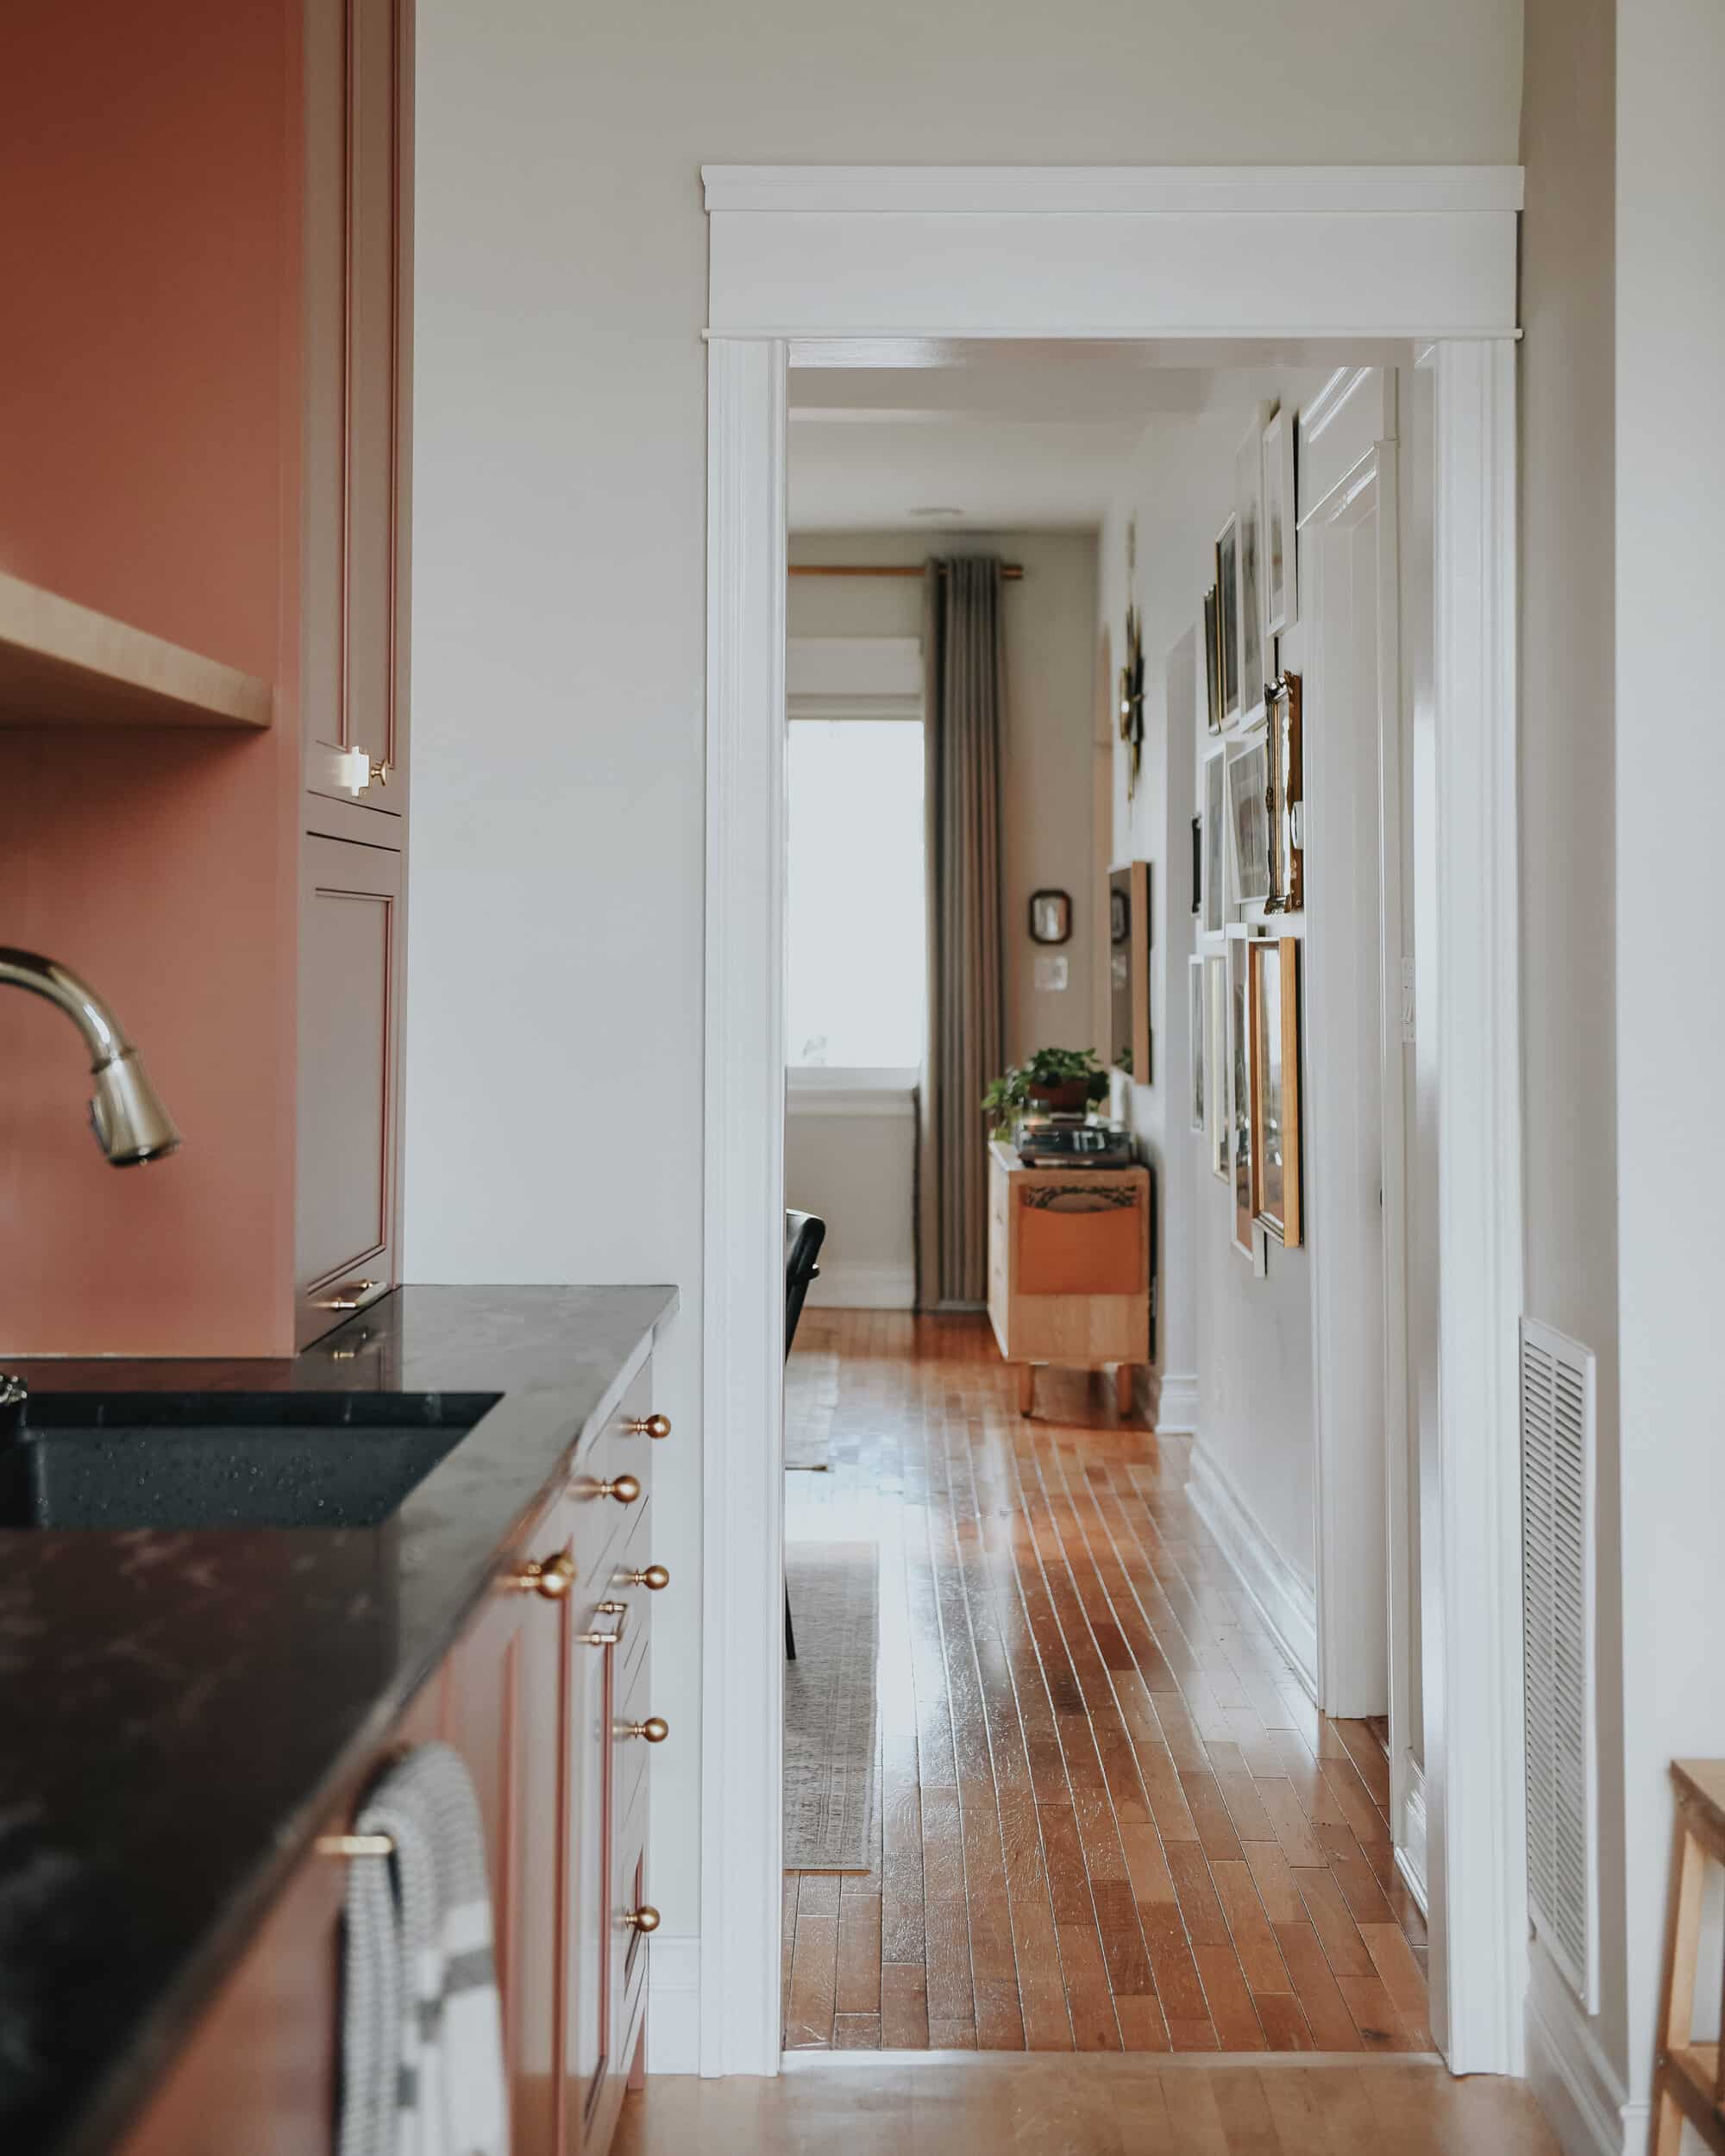
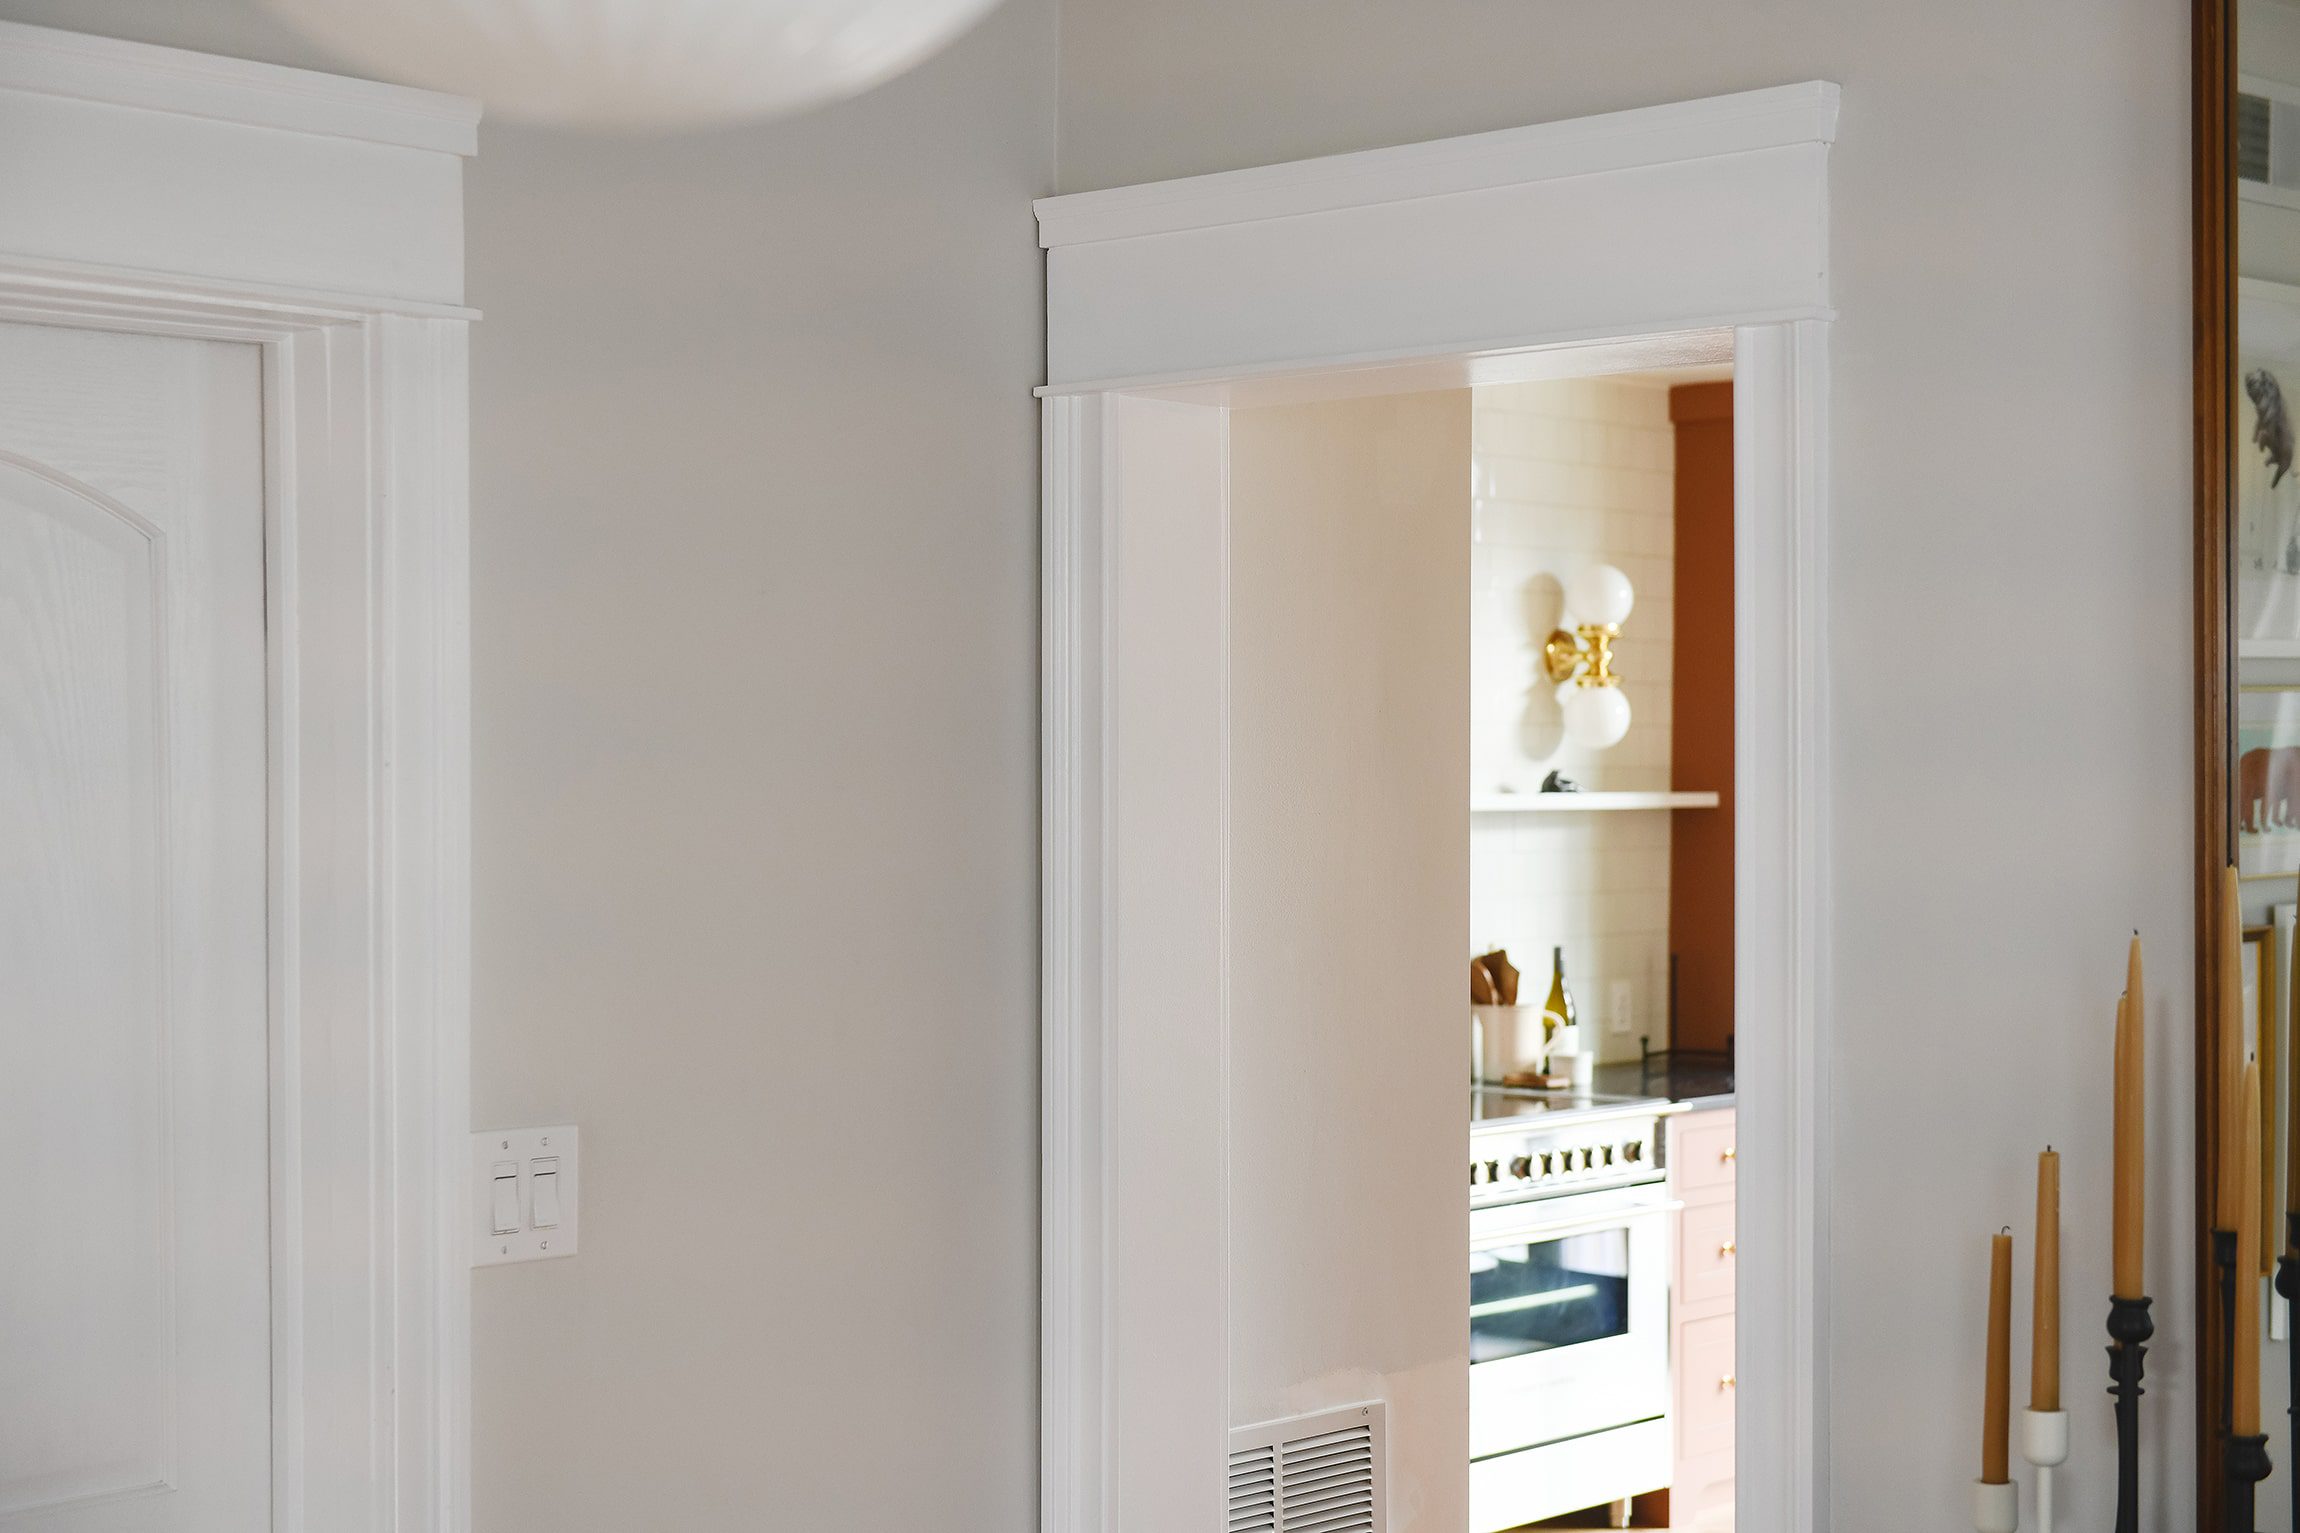
We’ve always liked the open-yet-separated feel of the home’s main floor, but also felt that something was missing from the opening between the dining room and kitchen. The passage between the rooms was disproportionately shaped compared to the two doors flanking it and we realized it needed something. With the rest of the kitchen receiving all new baseboards and millwork throughout, there was no time like the present to finally case in the doorway! Here’s how the drywalled opening looked before we began:
Doorway | Before
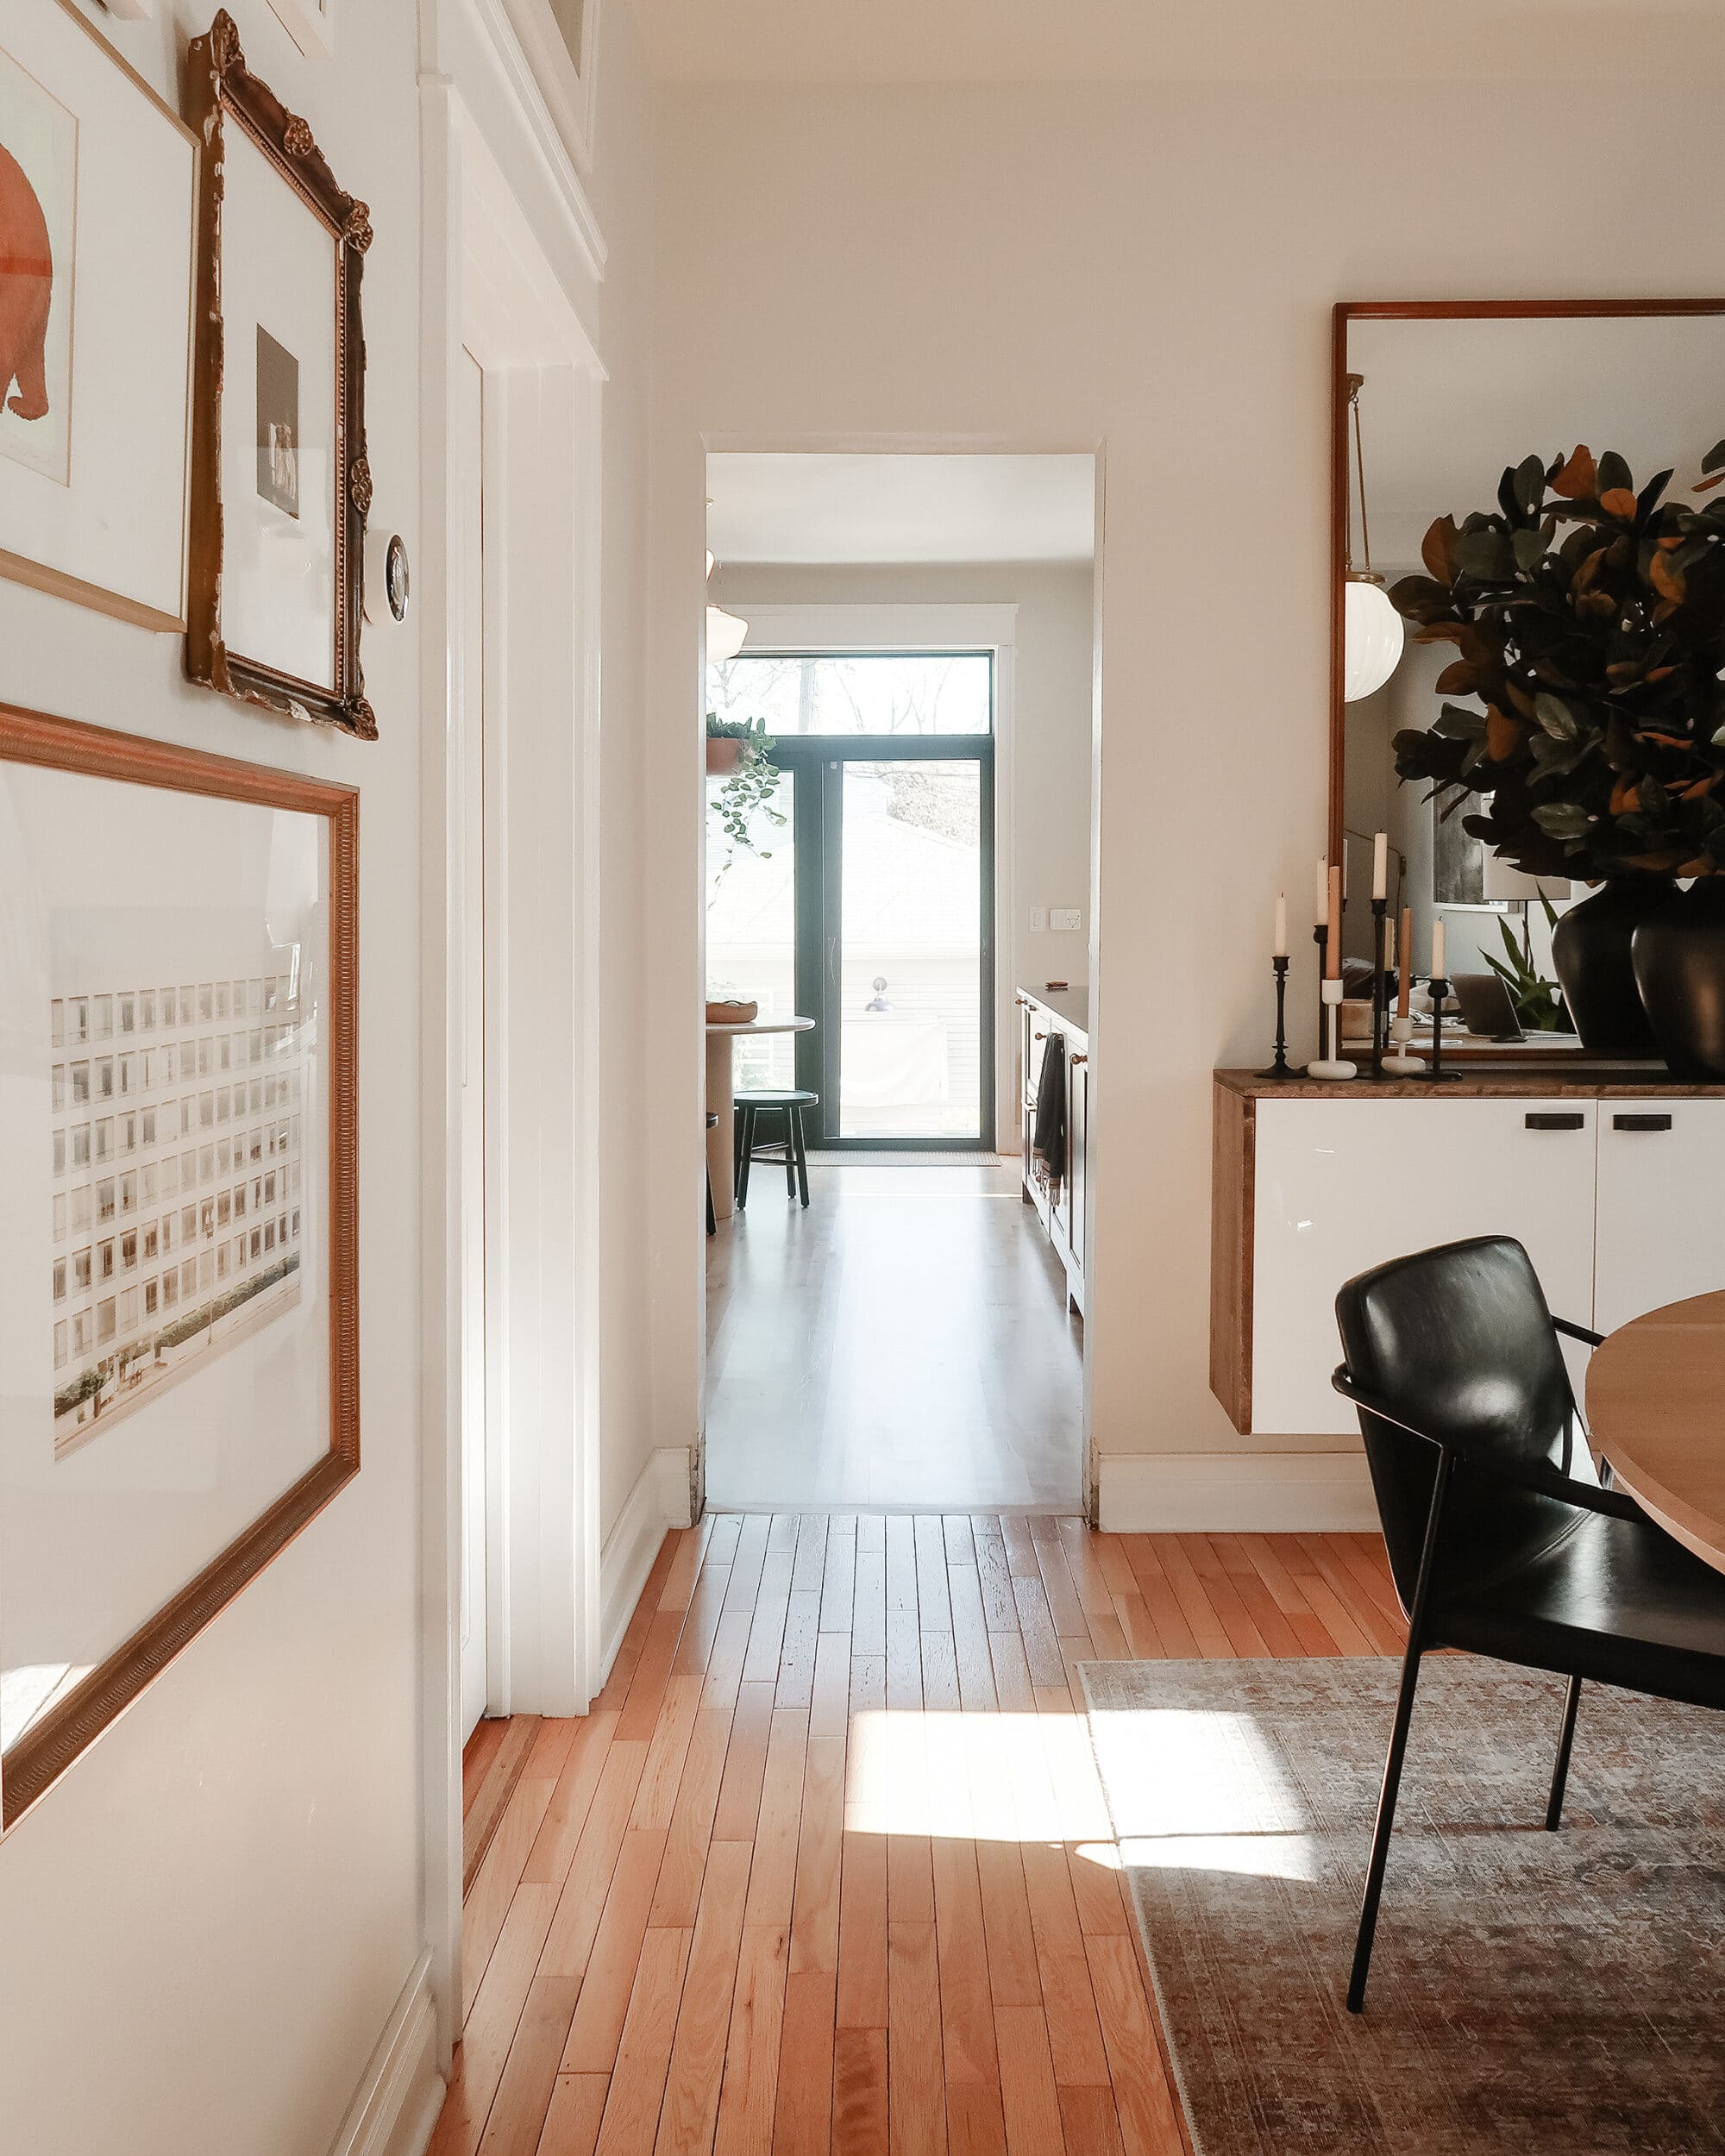
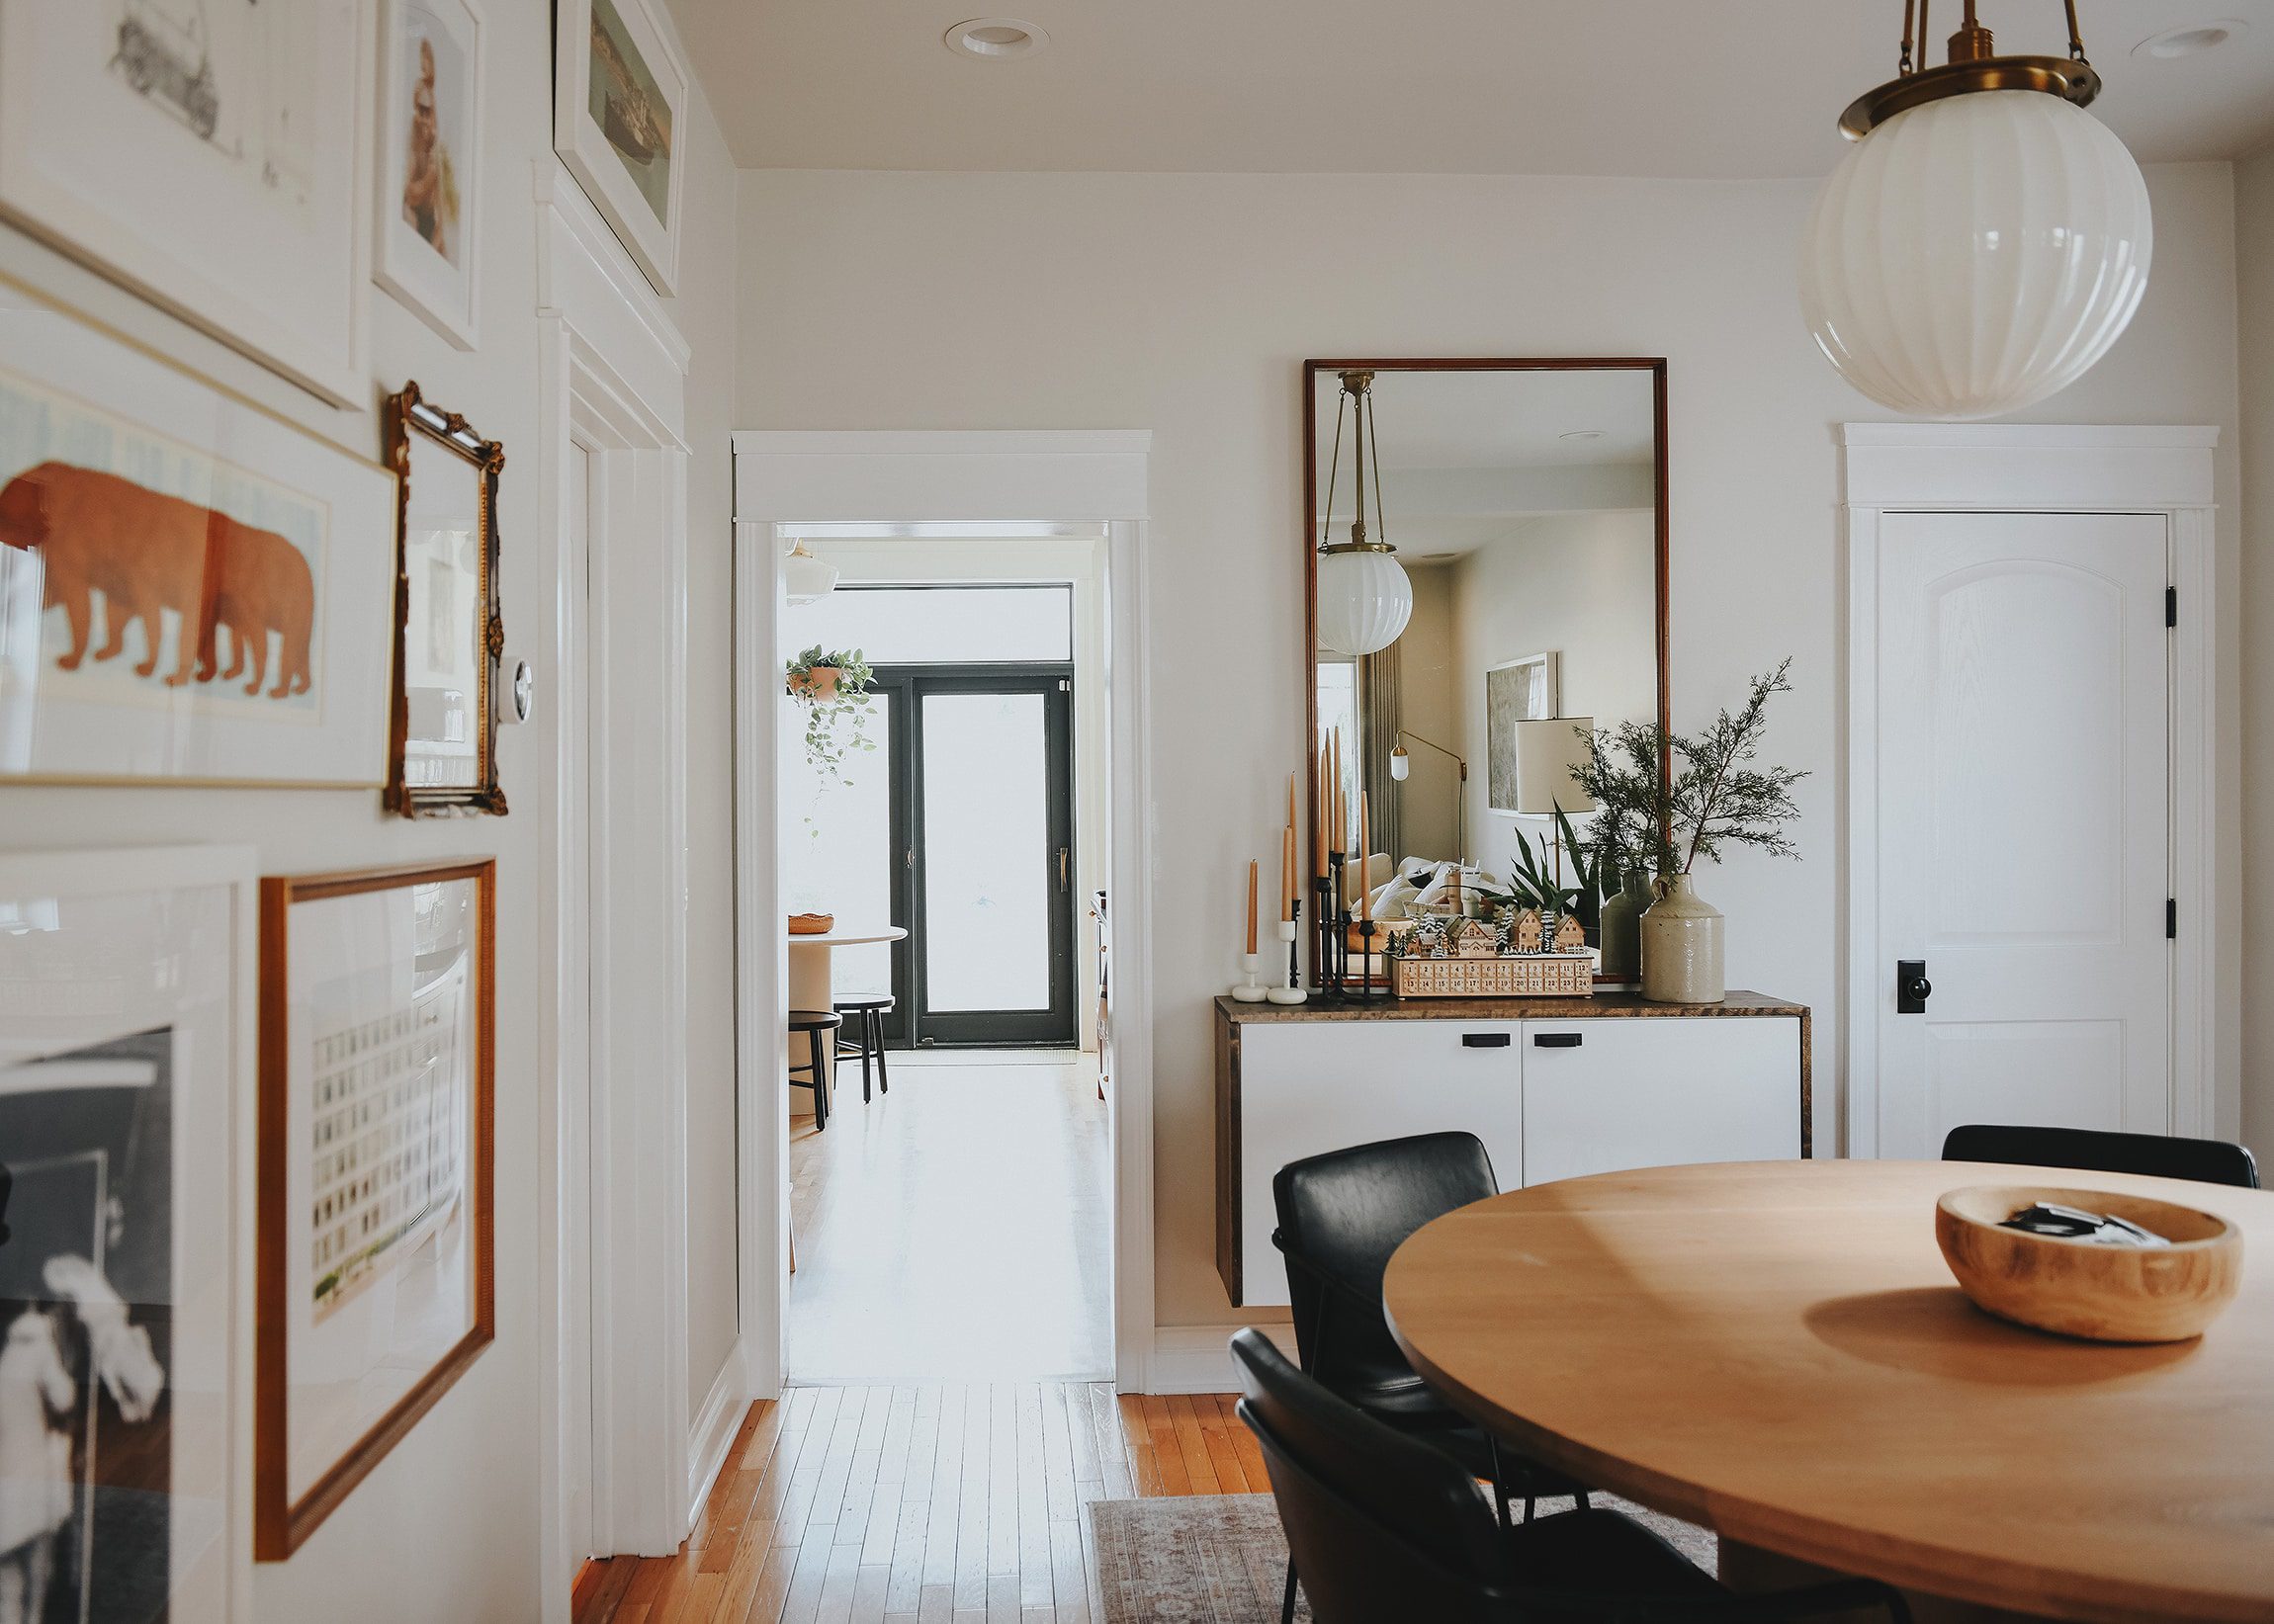
And here how’s it looked after we matched it to the surrounding doors!
Doorway | After
How We Did It
Now for the tutorial on how we made it happen. Many of these steps are unique to our exact situation, but the basic steps are all in place for you to make and design your own. Here’s how we did it:
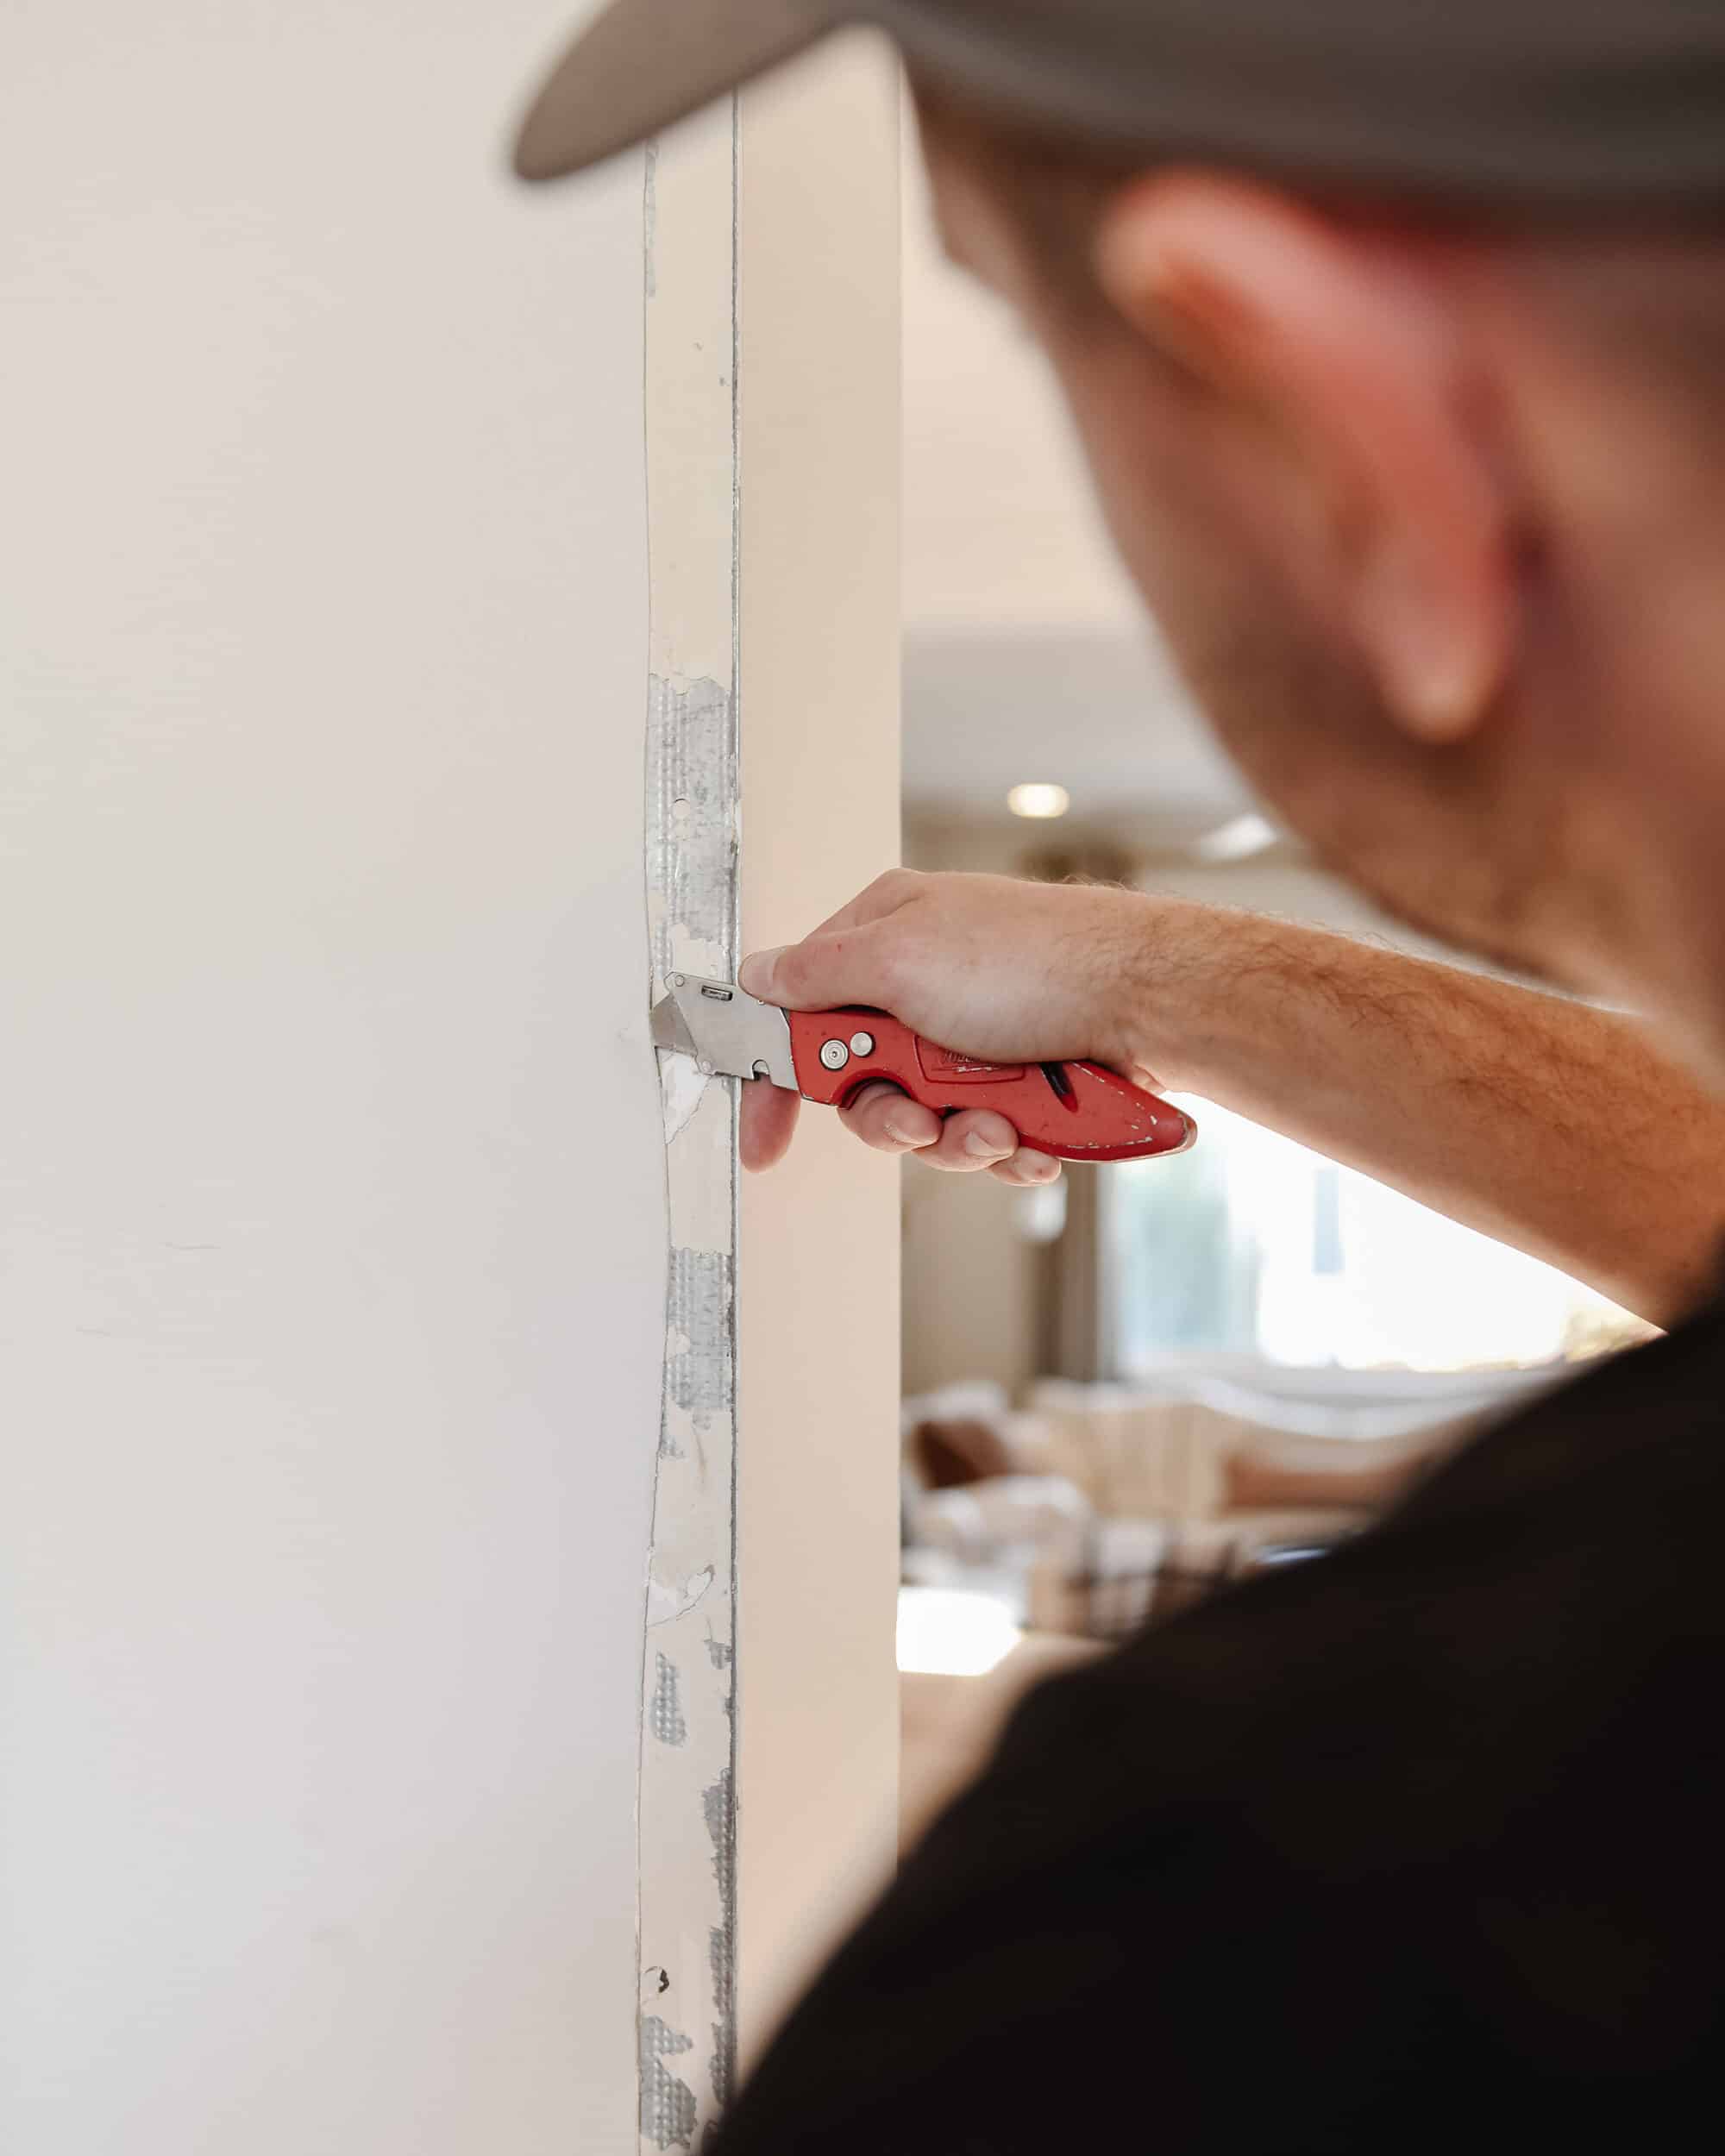
1| Prep + Remove
The first step was to remove any excess drywall that was built up around the metal corner beads. This step should result in the flattest surface possible, since the vertical millwork will eventually be installed here. In our case, we wish we could have removed the drywall inside the door opening to widen it as much as possible, but limitations with the existing flooring eliminated that as an option. We did our best with what we had without opening a huge can of worms!
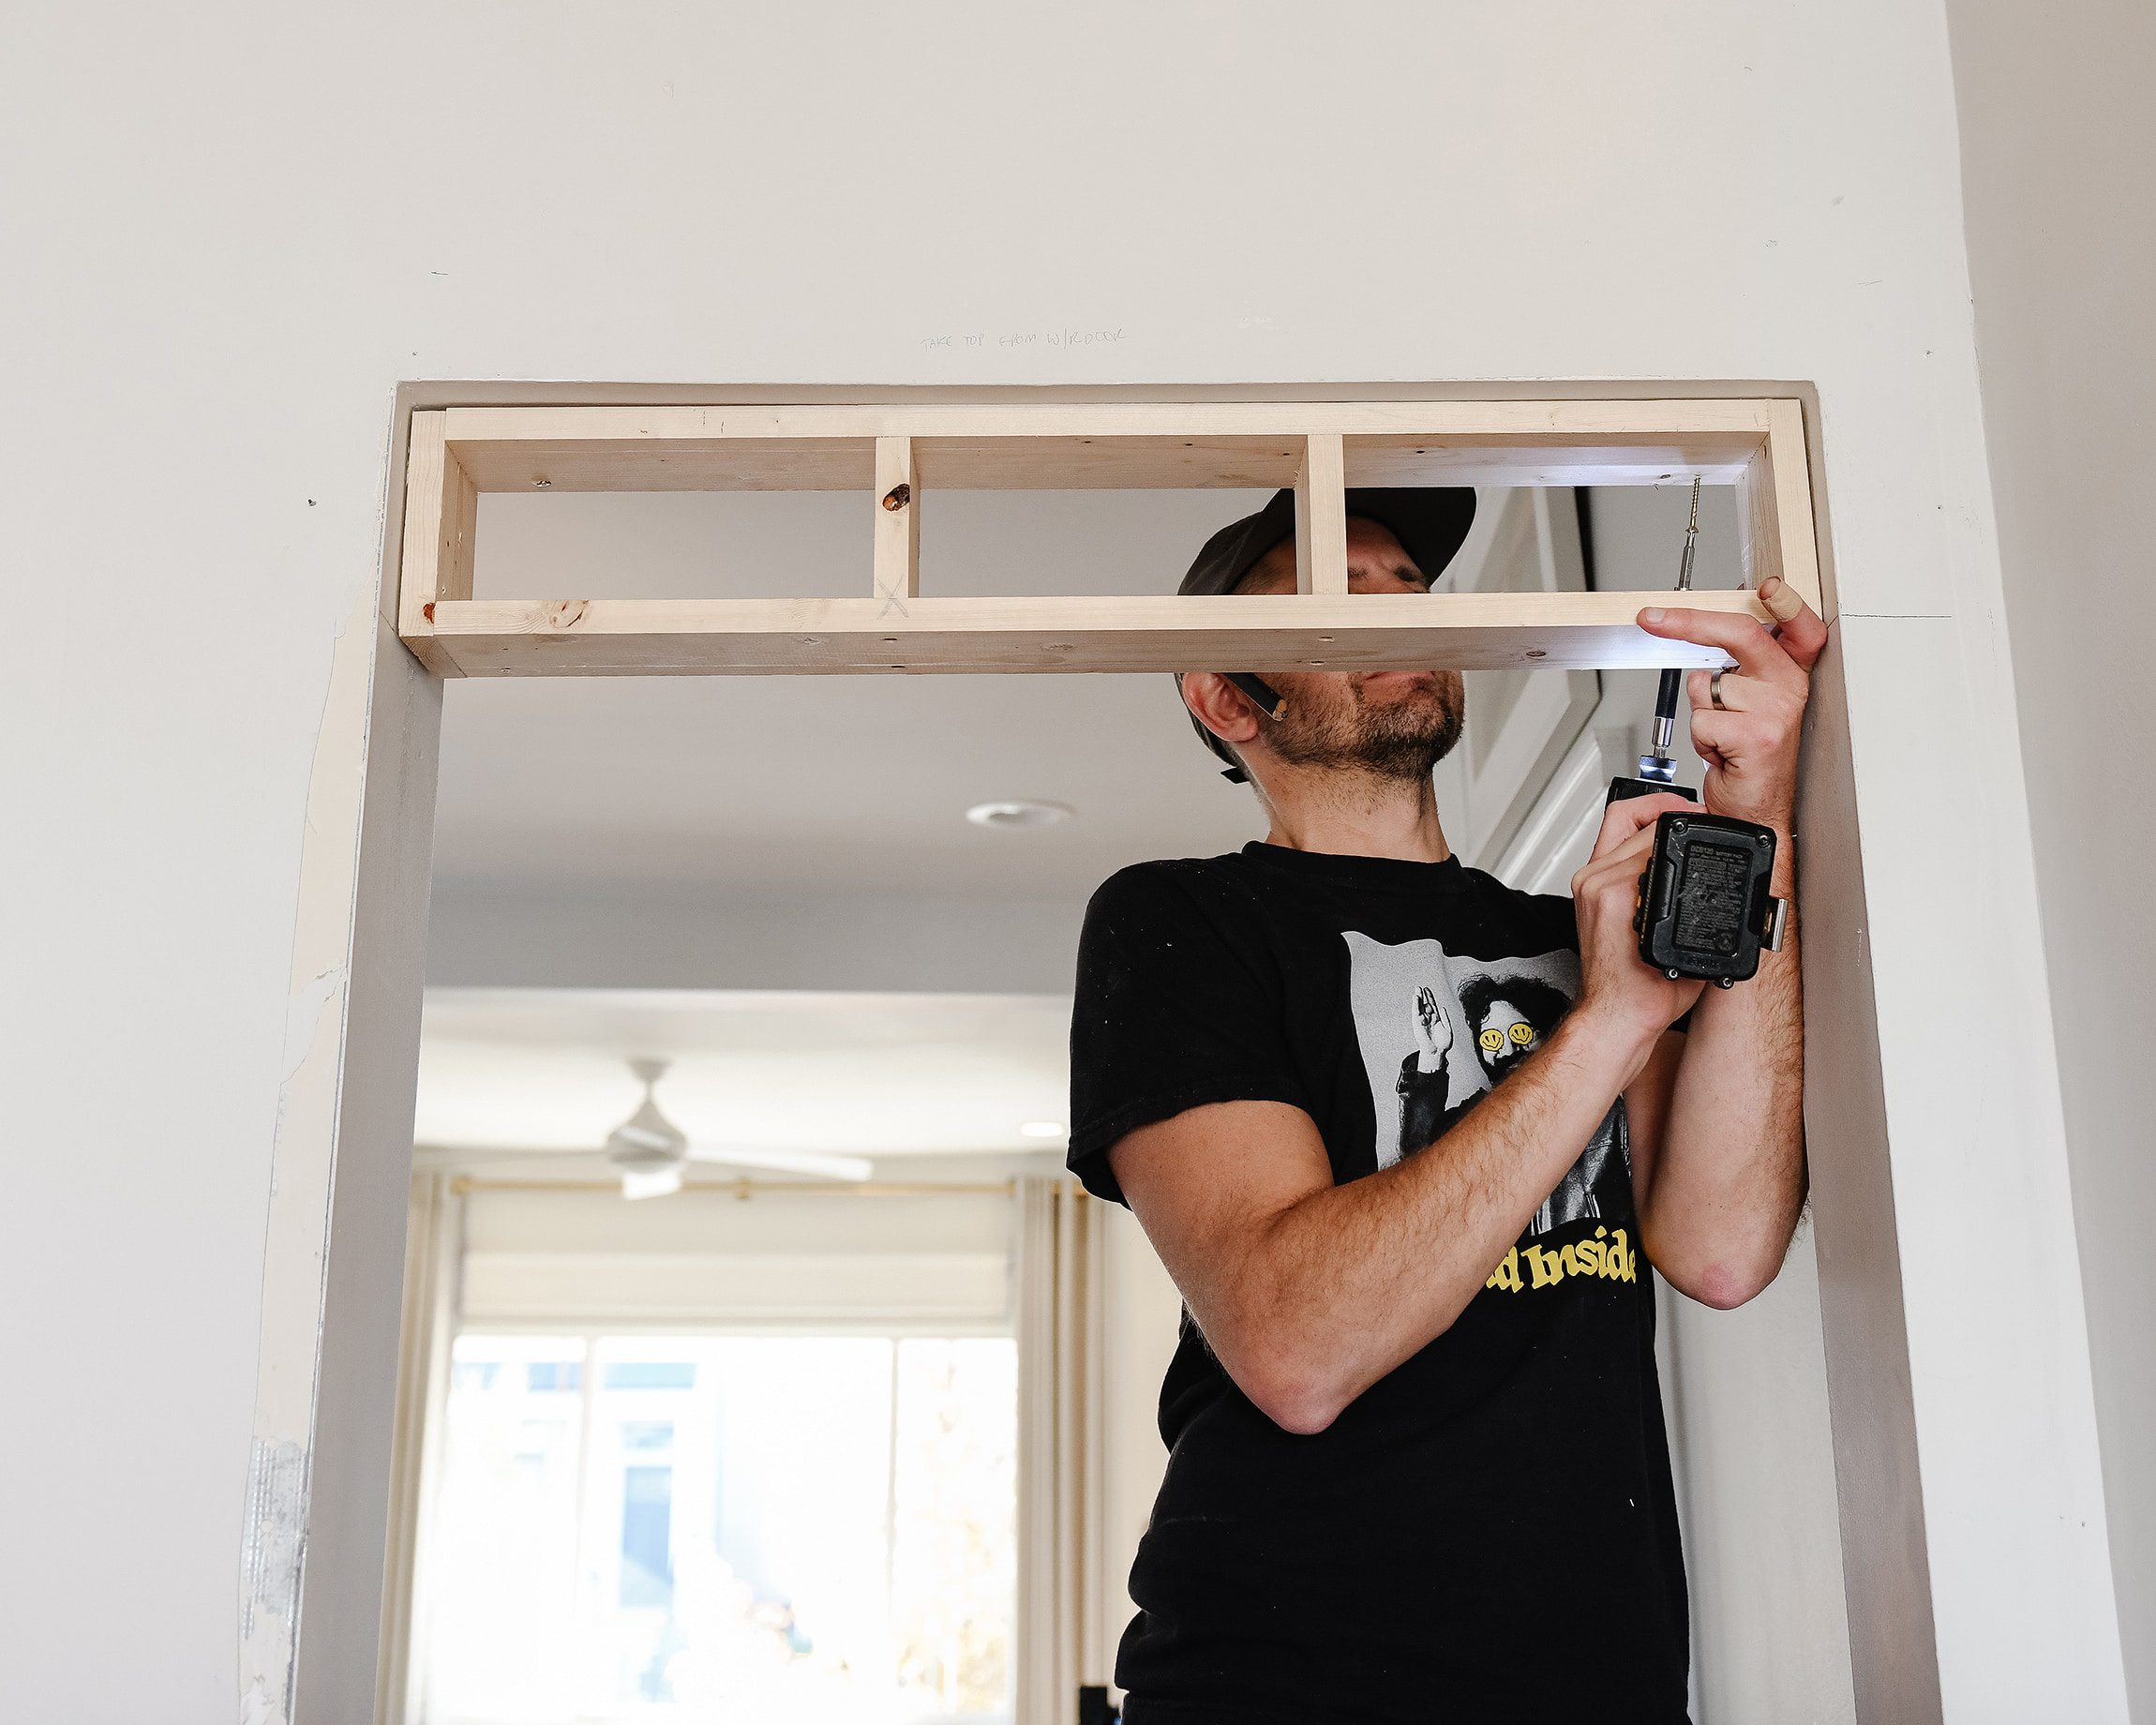
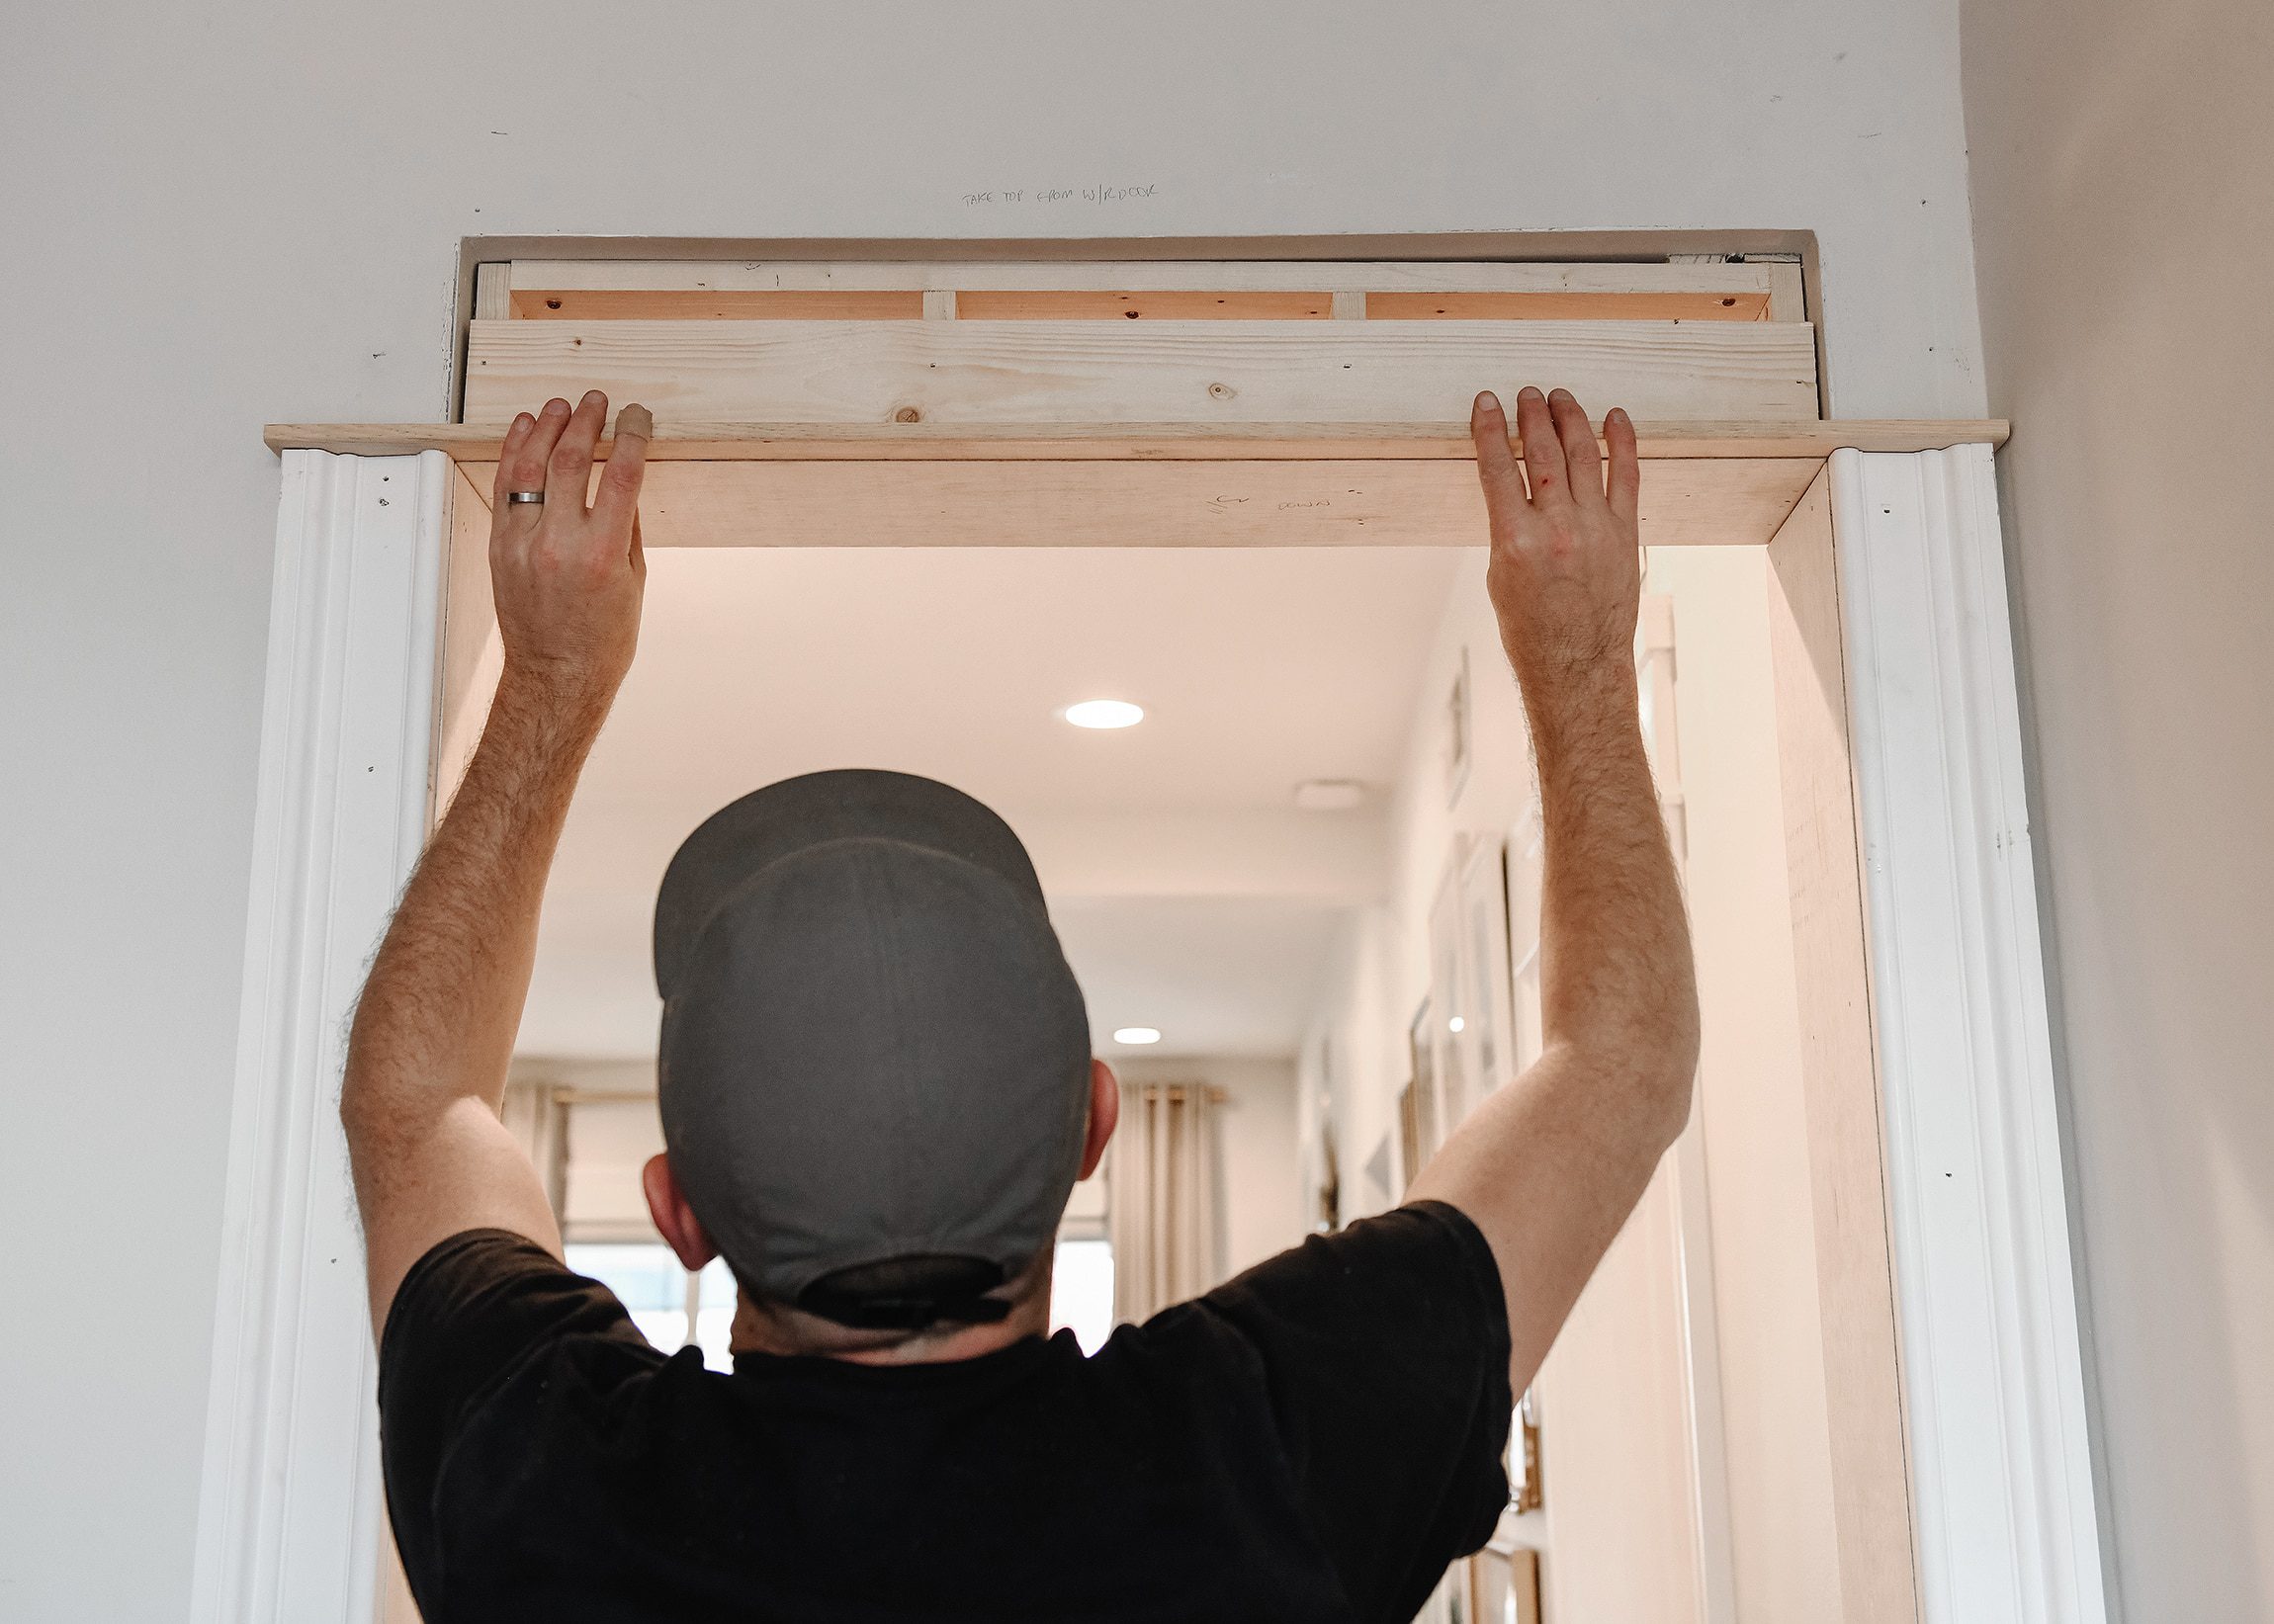
2| Build a Support Box to Lower the Height of the Opening
Yes, you read that right. We reduced the overall height of the opening. Gasp! There’s a good reason, we promise! This particular opening is perpendicular to our guest rooom door and shares a wall with the first floor bathroom door. Both of those doors are standard height, so we wanted to ensure that ll of the millwork lined up. It might seem counter-intuitive, but lowering the header actually makes the doorway feel wider since the proportions changed drastically. If your opening is the appropriate height already, go ahead and skip to the next step.
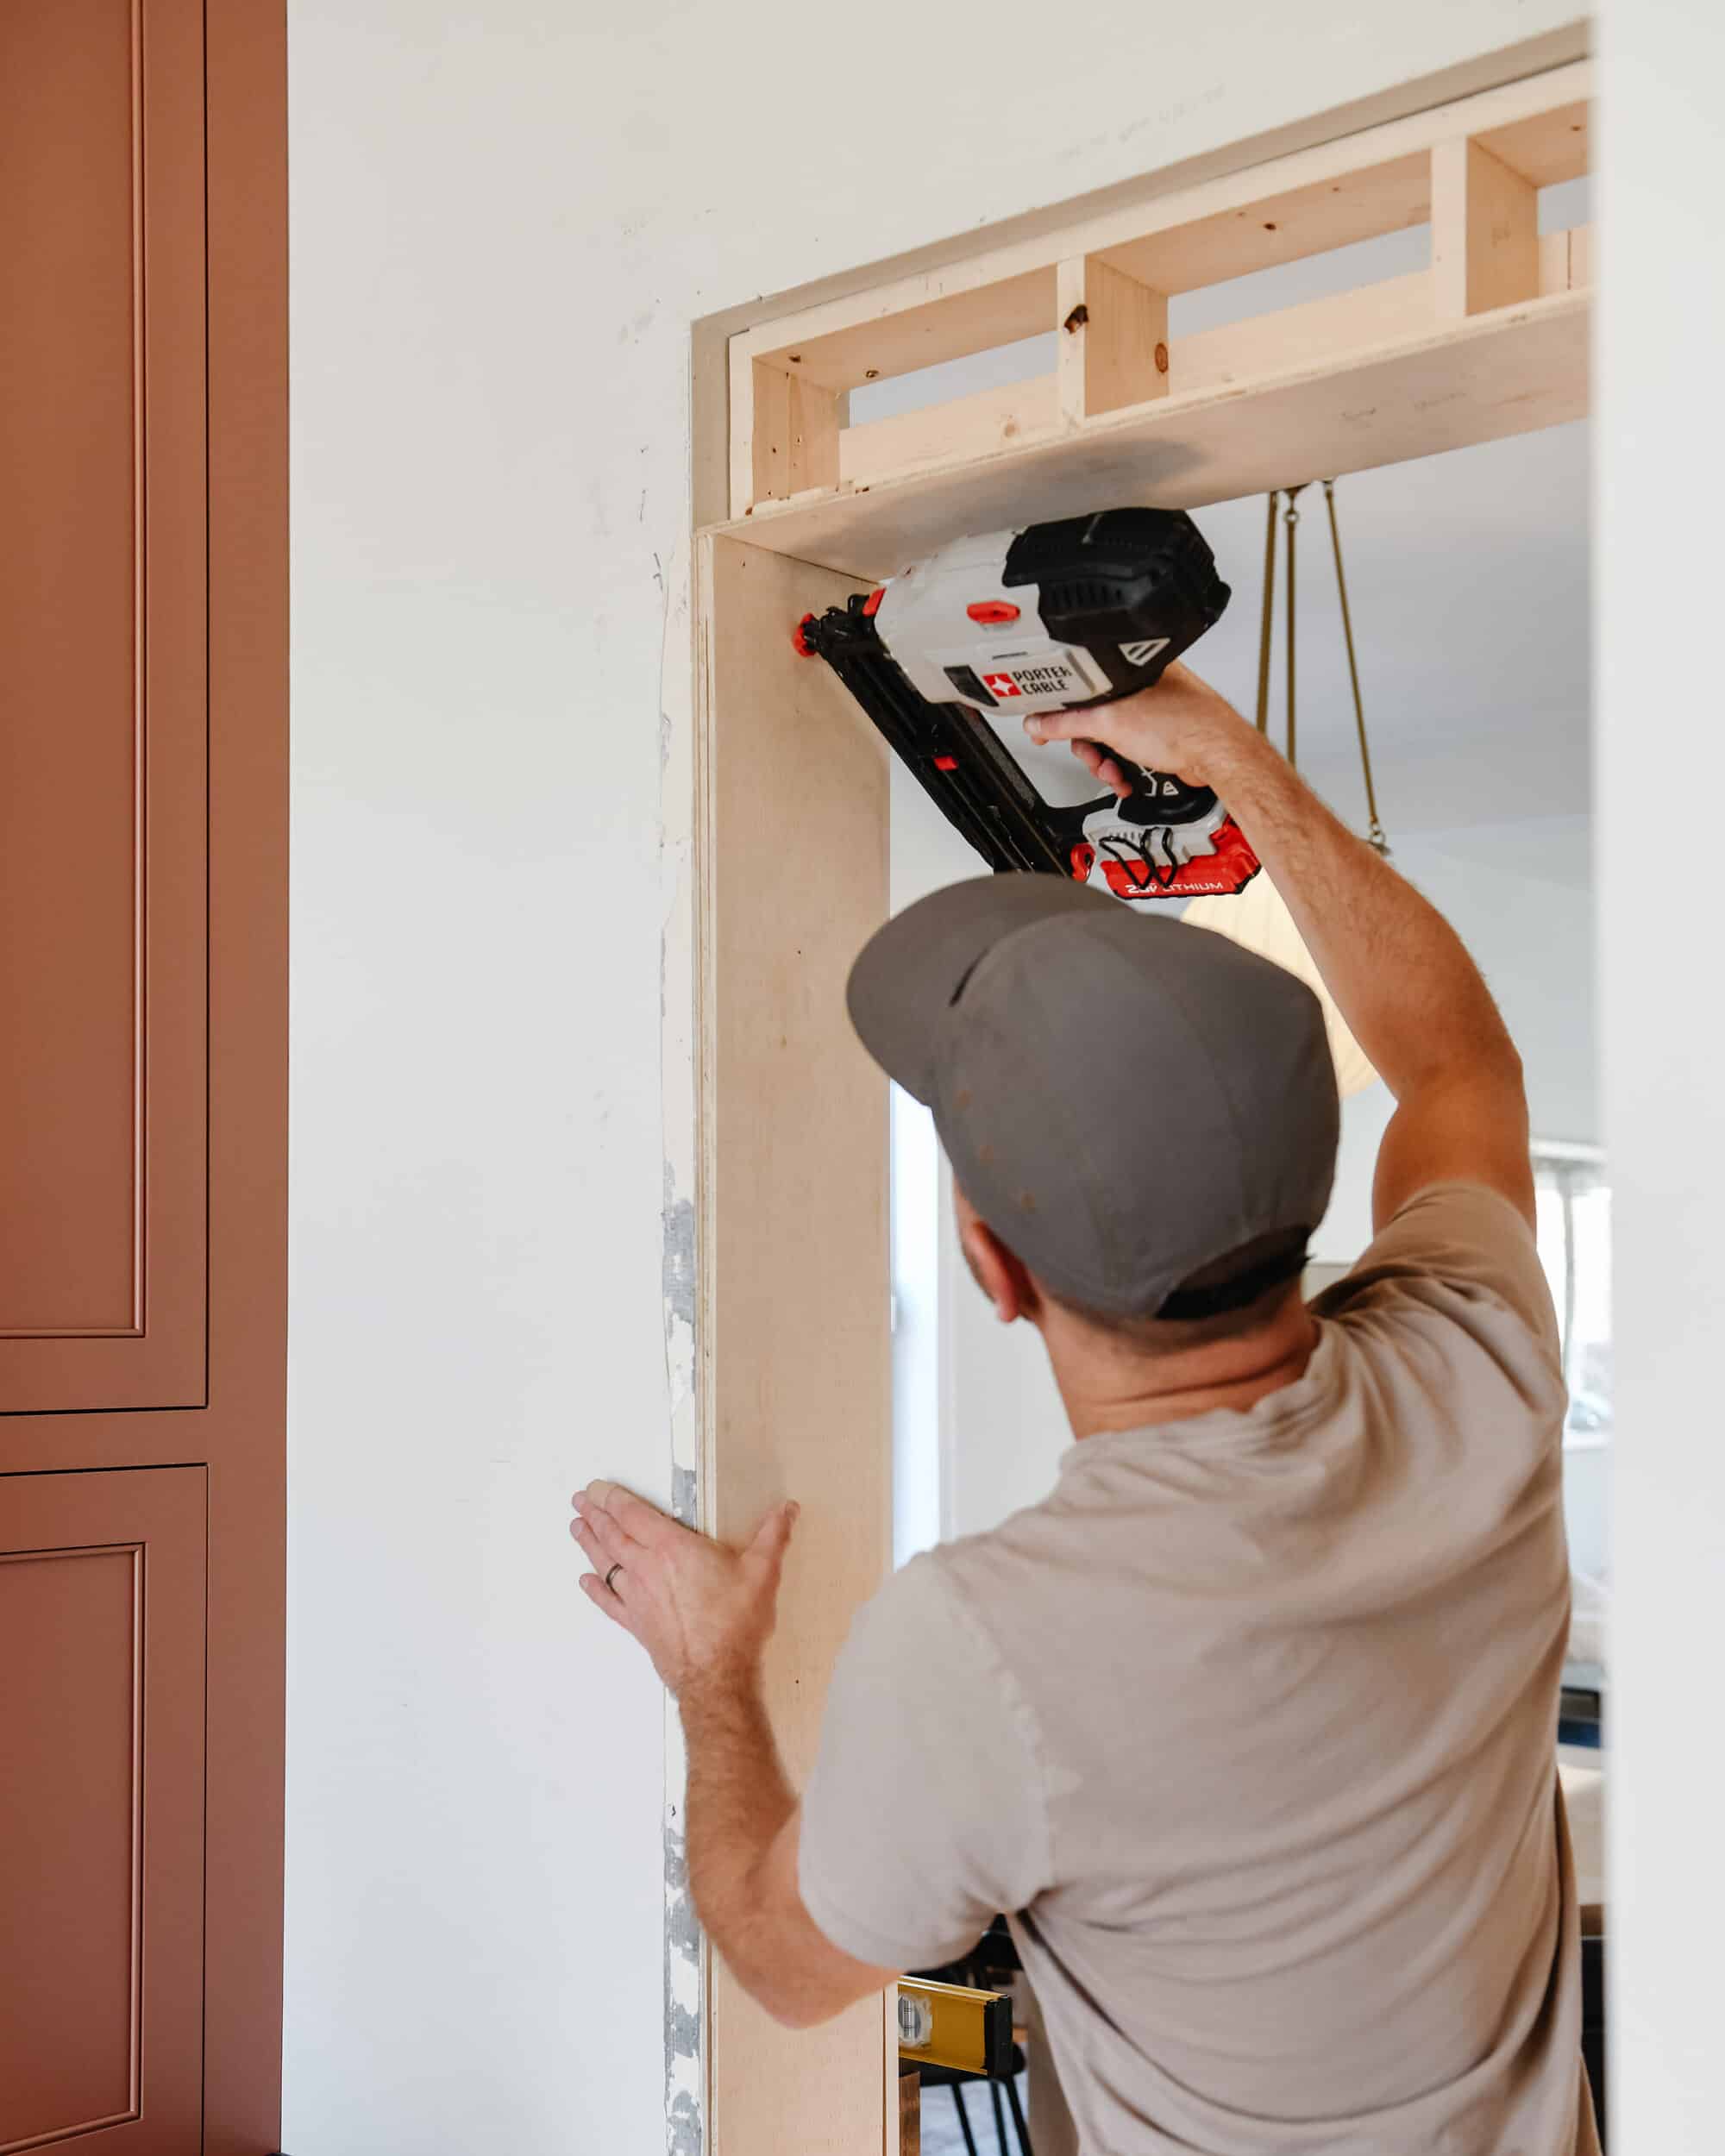
3| Add Vertical + Horizontal Casing
As I mentioned earlier, the existing flooring limited the option to remove the drywall inside the opening so we selected the thinnest finish plywood we could find (1/4″ sanded) and ripped it down the the correct width on the table saw. It was then installed along the top and sides of the opening. We would have preferred to use the appropriate width dimensional lumber, but the added 3/4″ thickness on each side would have made the opening narrower than we wanted.
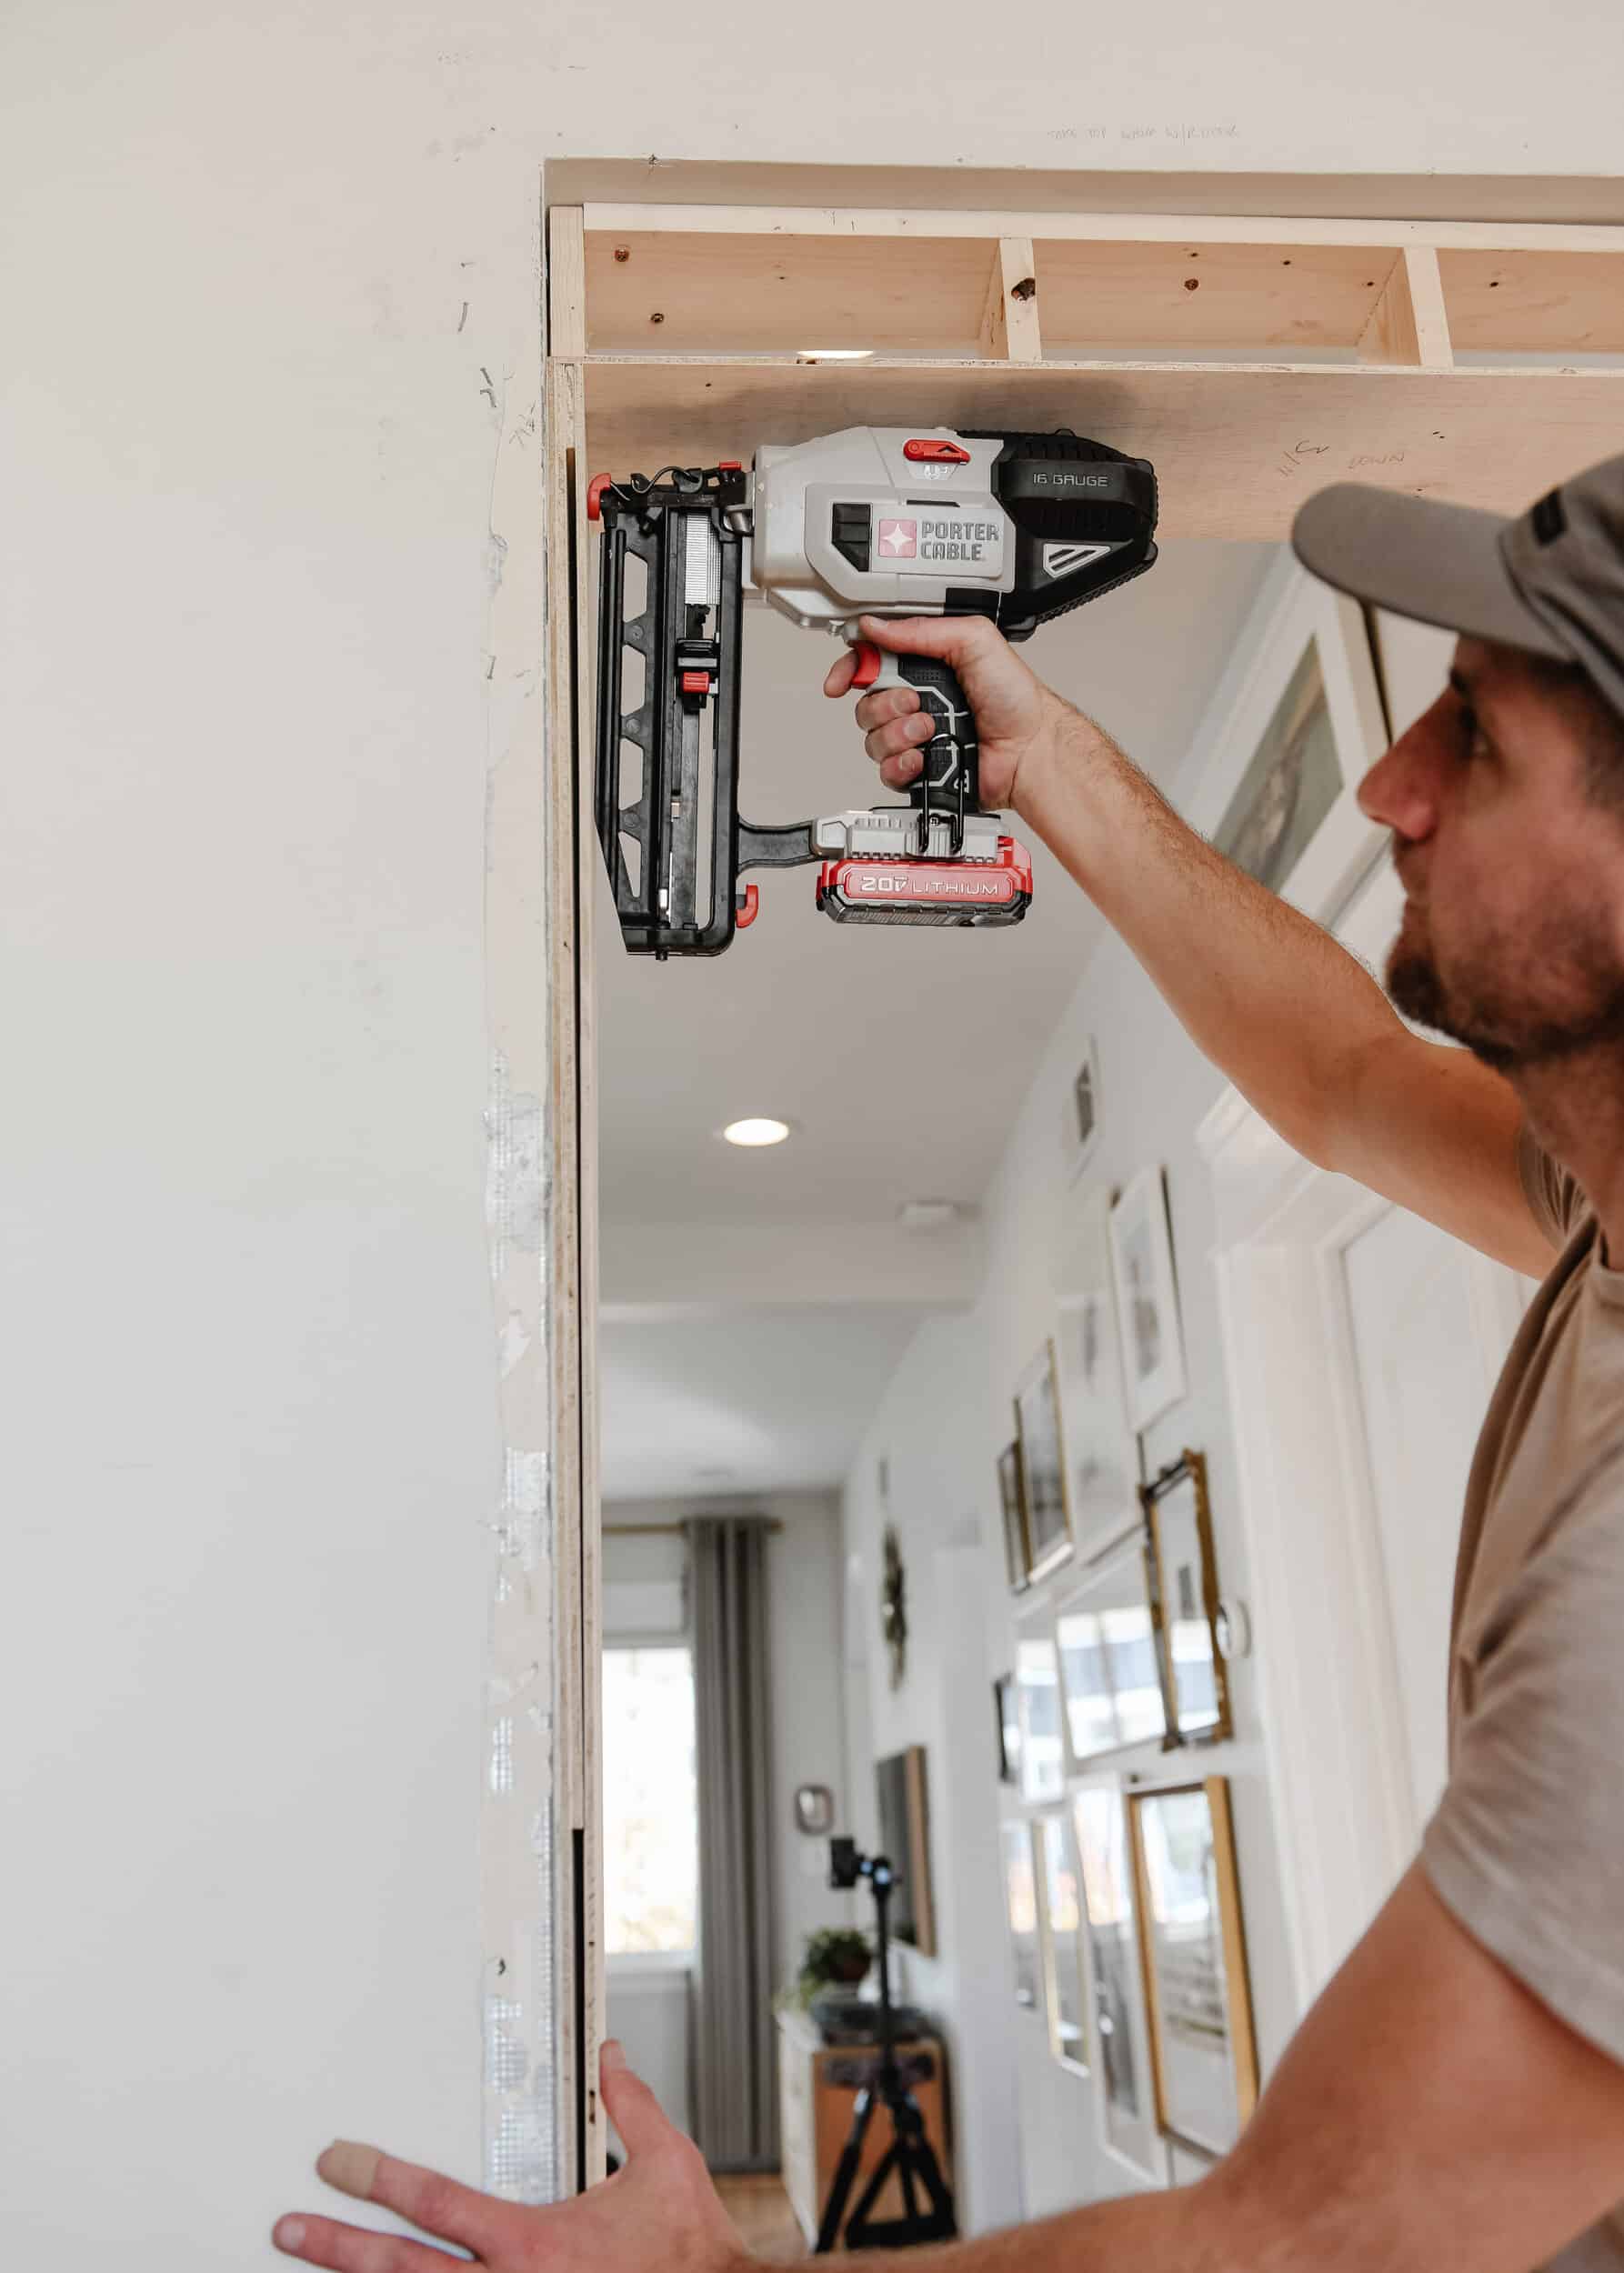
As you can see in the image below, the left side of our doorway was approximately 3/4″ off plumb. To remedy this, we used a series of descending length scraps to shim the opening inward so it was plumb and square. We’ve dealt with this issue and many others like it in our 130 year-old home over the years, so we wrote a whole post outlining some solutions. Read it here!
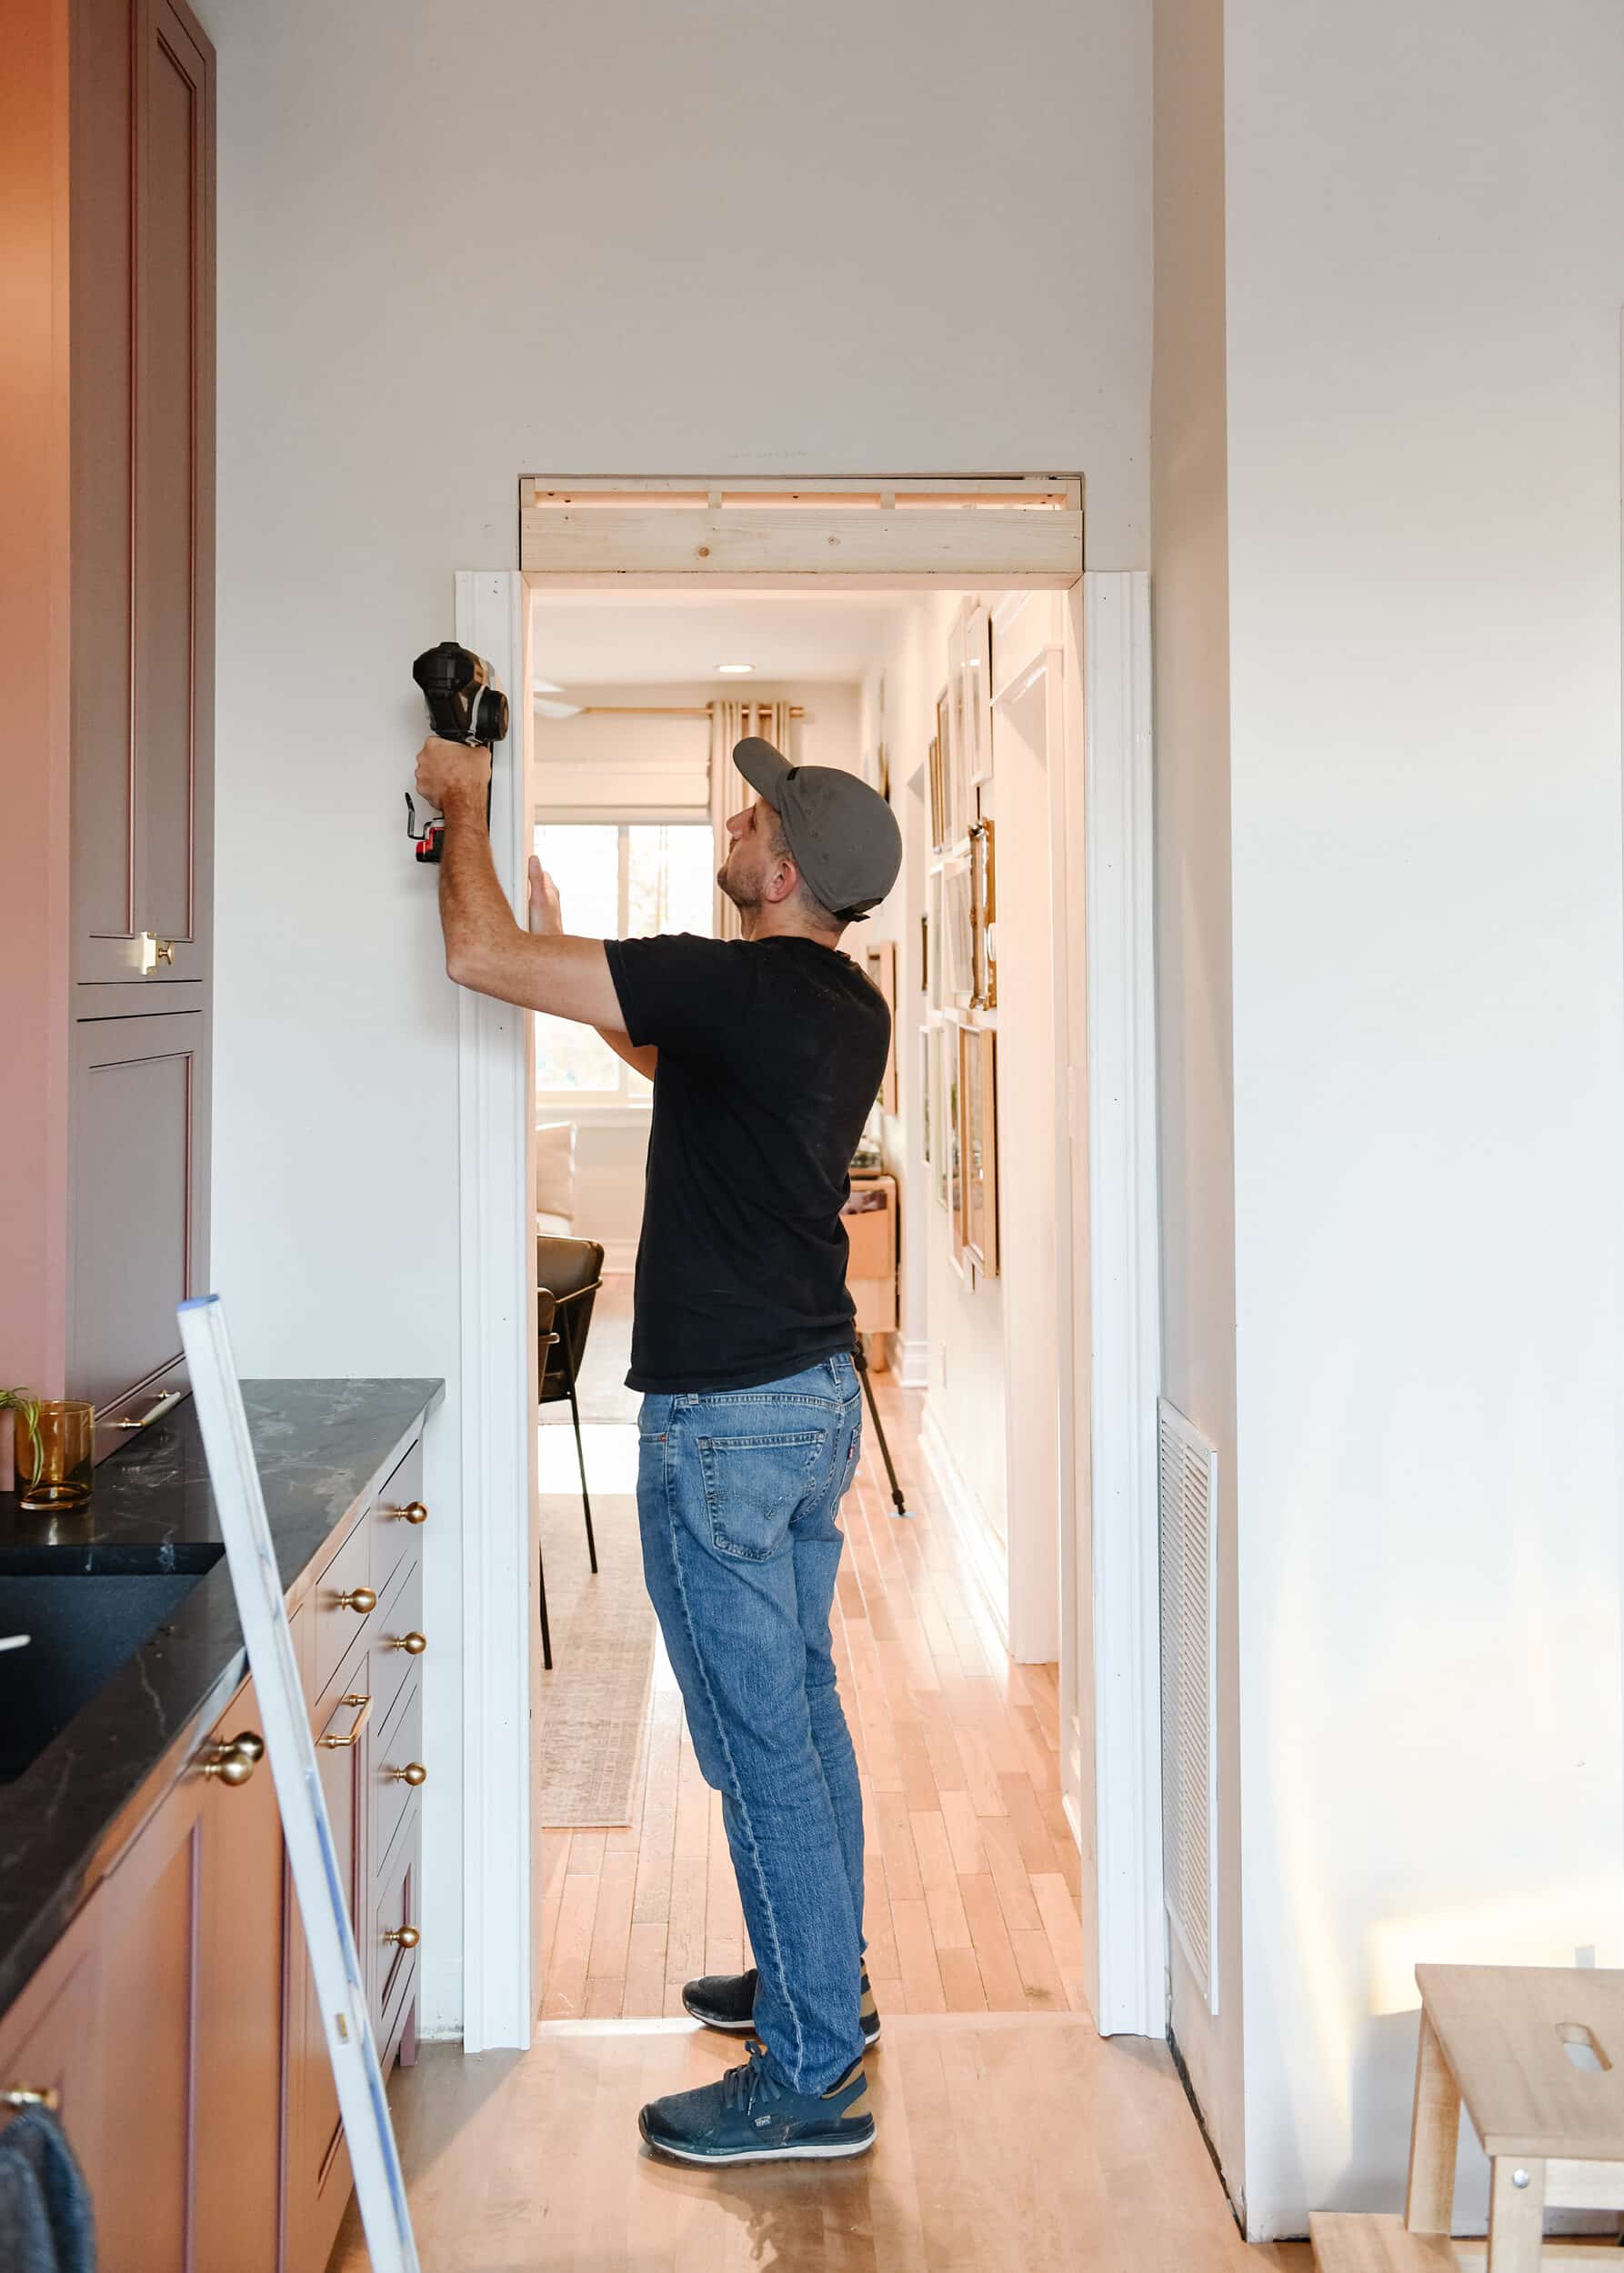
4| Add Vertical Millwork
Once our opening was shimmed to plumb and square, we were ready to install the 4 pieces of vertical millwork. Since we’ll be installing a classically-inspired trim for the header, almost all of our cuts are simple and square. We’ve used this primed casing on almost every door in our home and we love the timeless look! We don’t love that the cost has tripled in the last 9 years, but we’re committed now!
5| Add Horizontal Millwork
The next couple of steps are pretty straightforward, so we’ll move quickly! First we add this pine stop, cut to 1/2″ longer than the overall vertical width of the vertical casing. This will leave us 1/4″ reveal on either side and an approximately 1/” reveal at the front. I usually tack the stop onto the tops of the vertical casing to keep it from inevitably falling onto my head later.
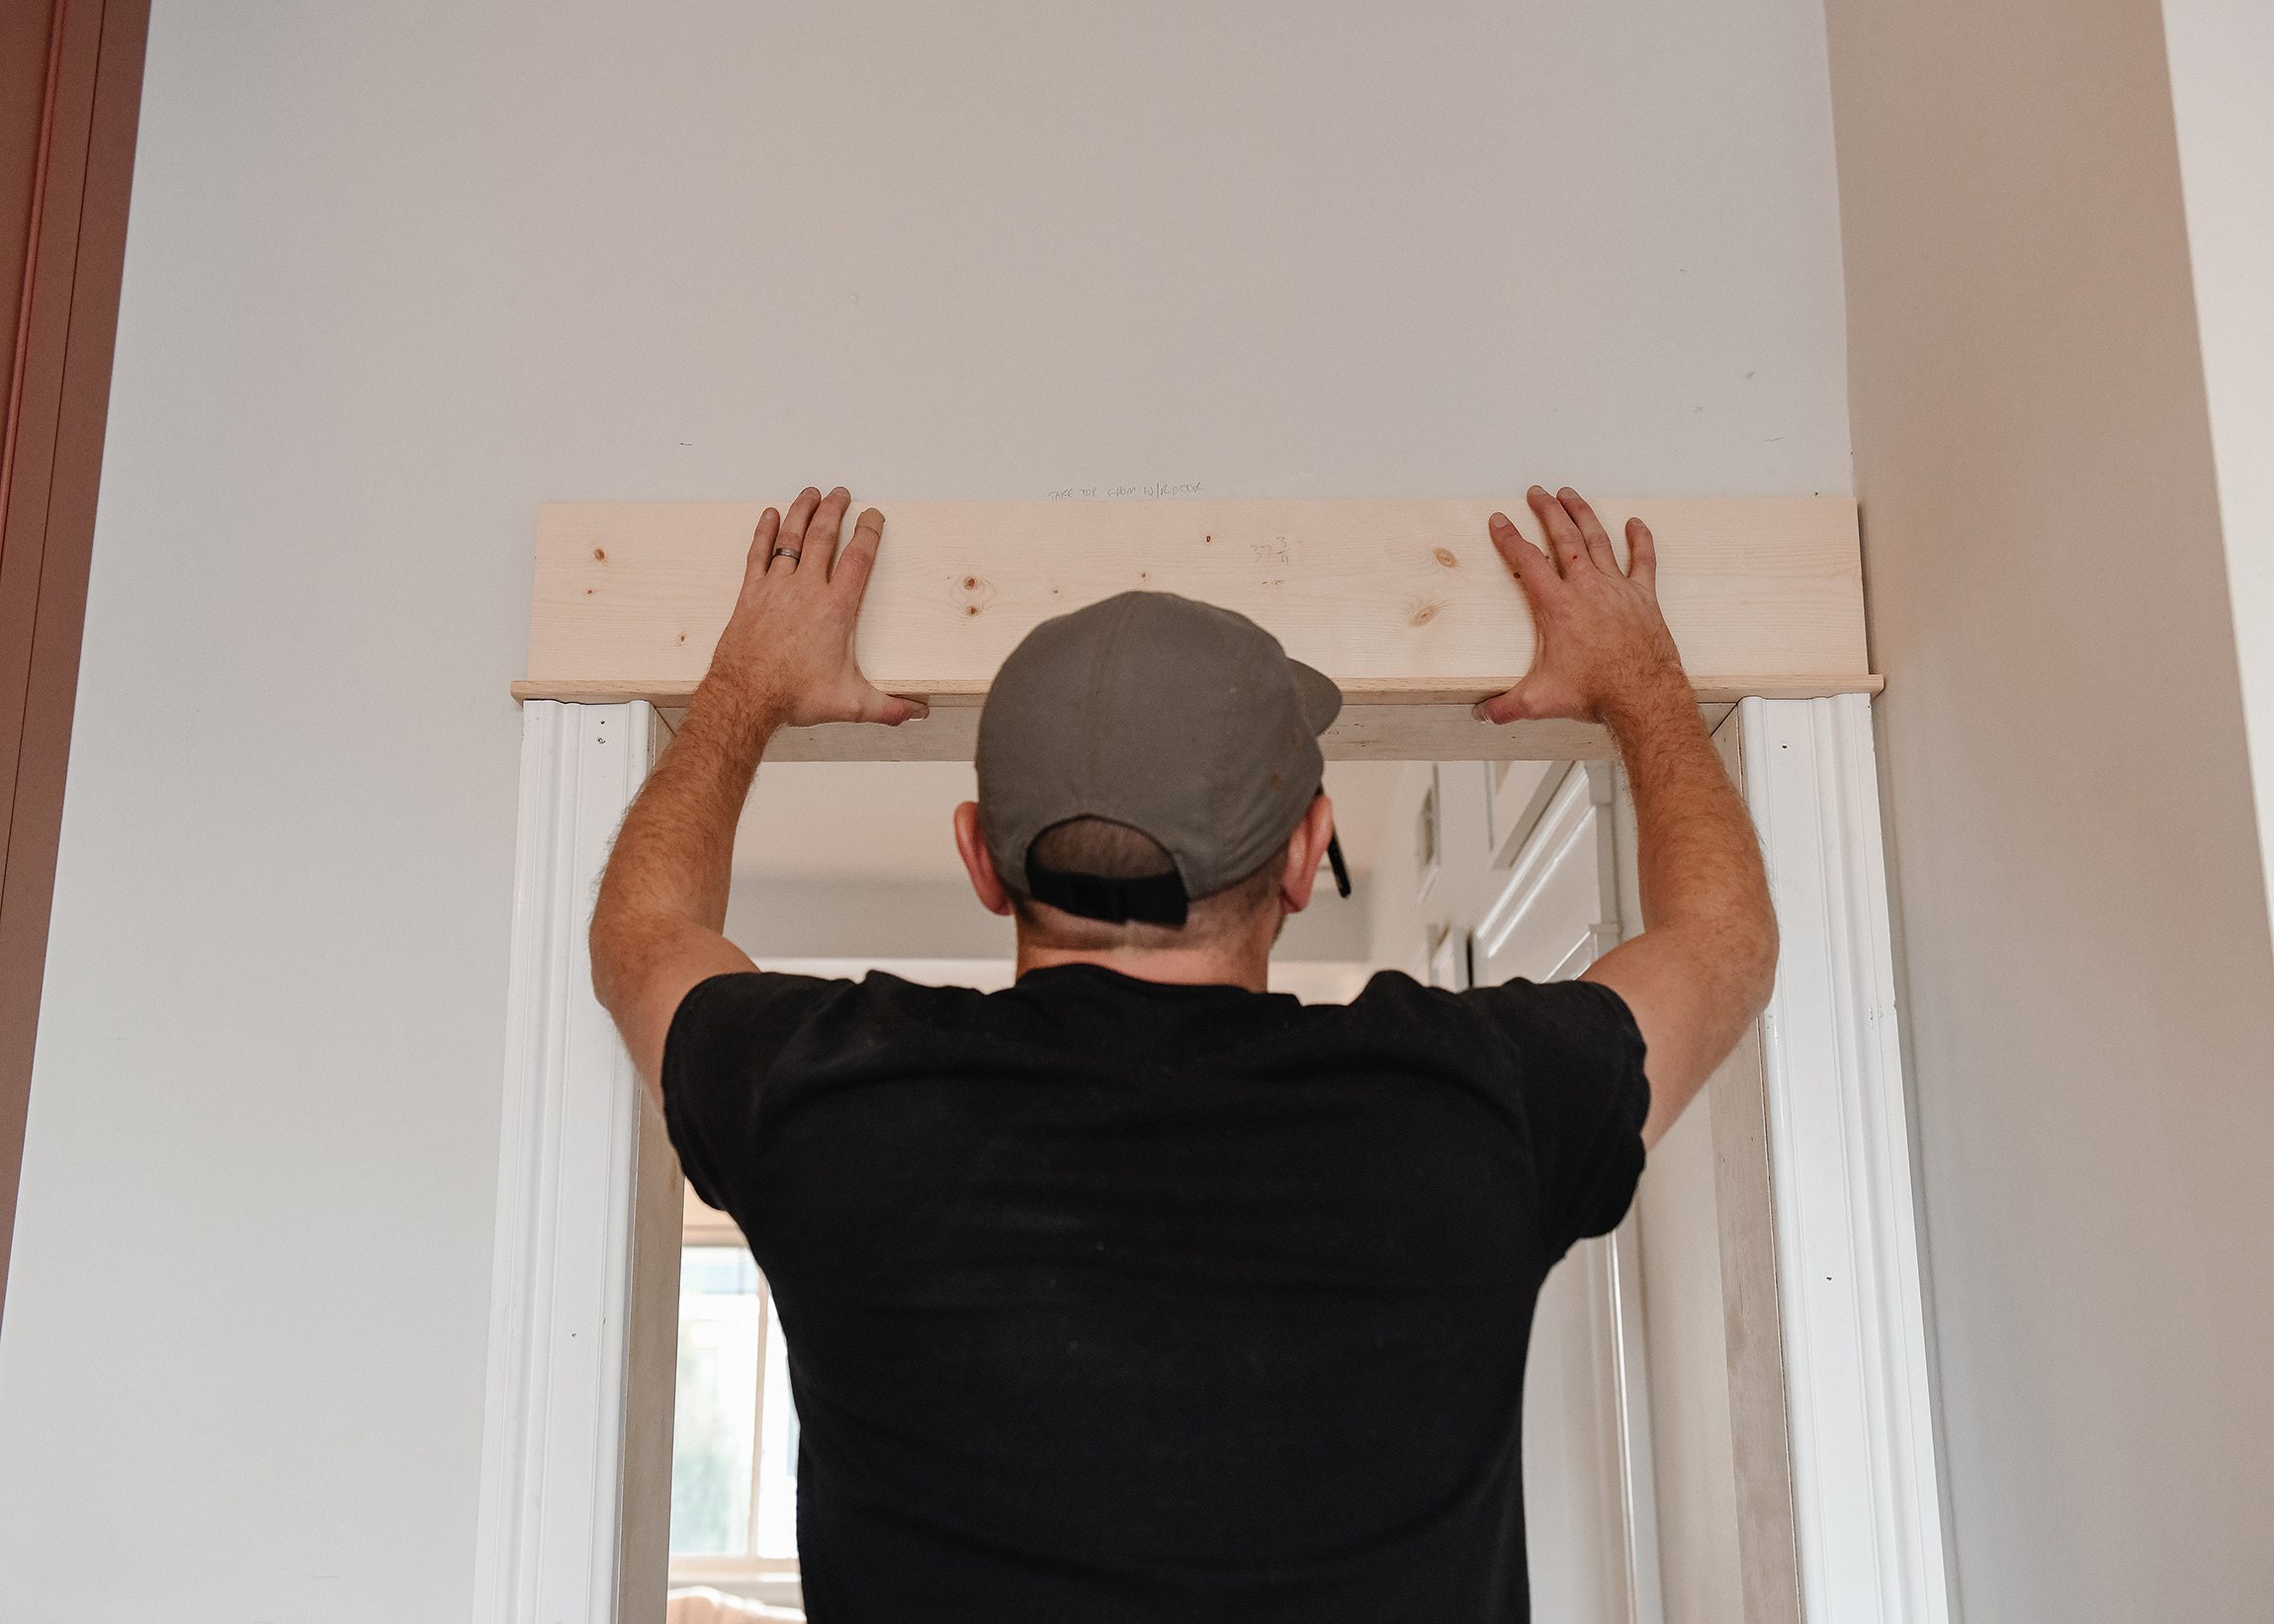
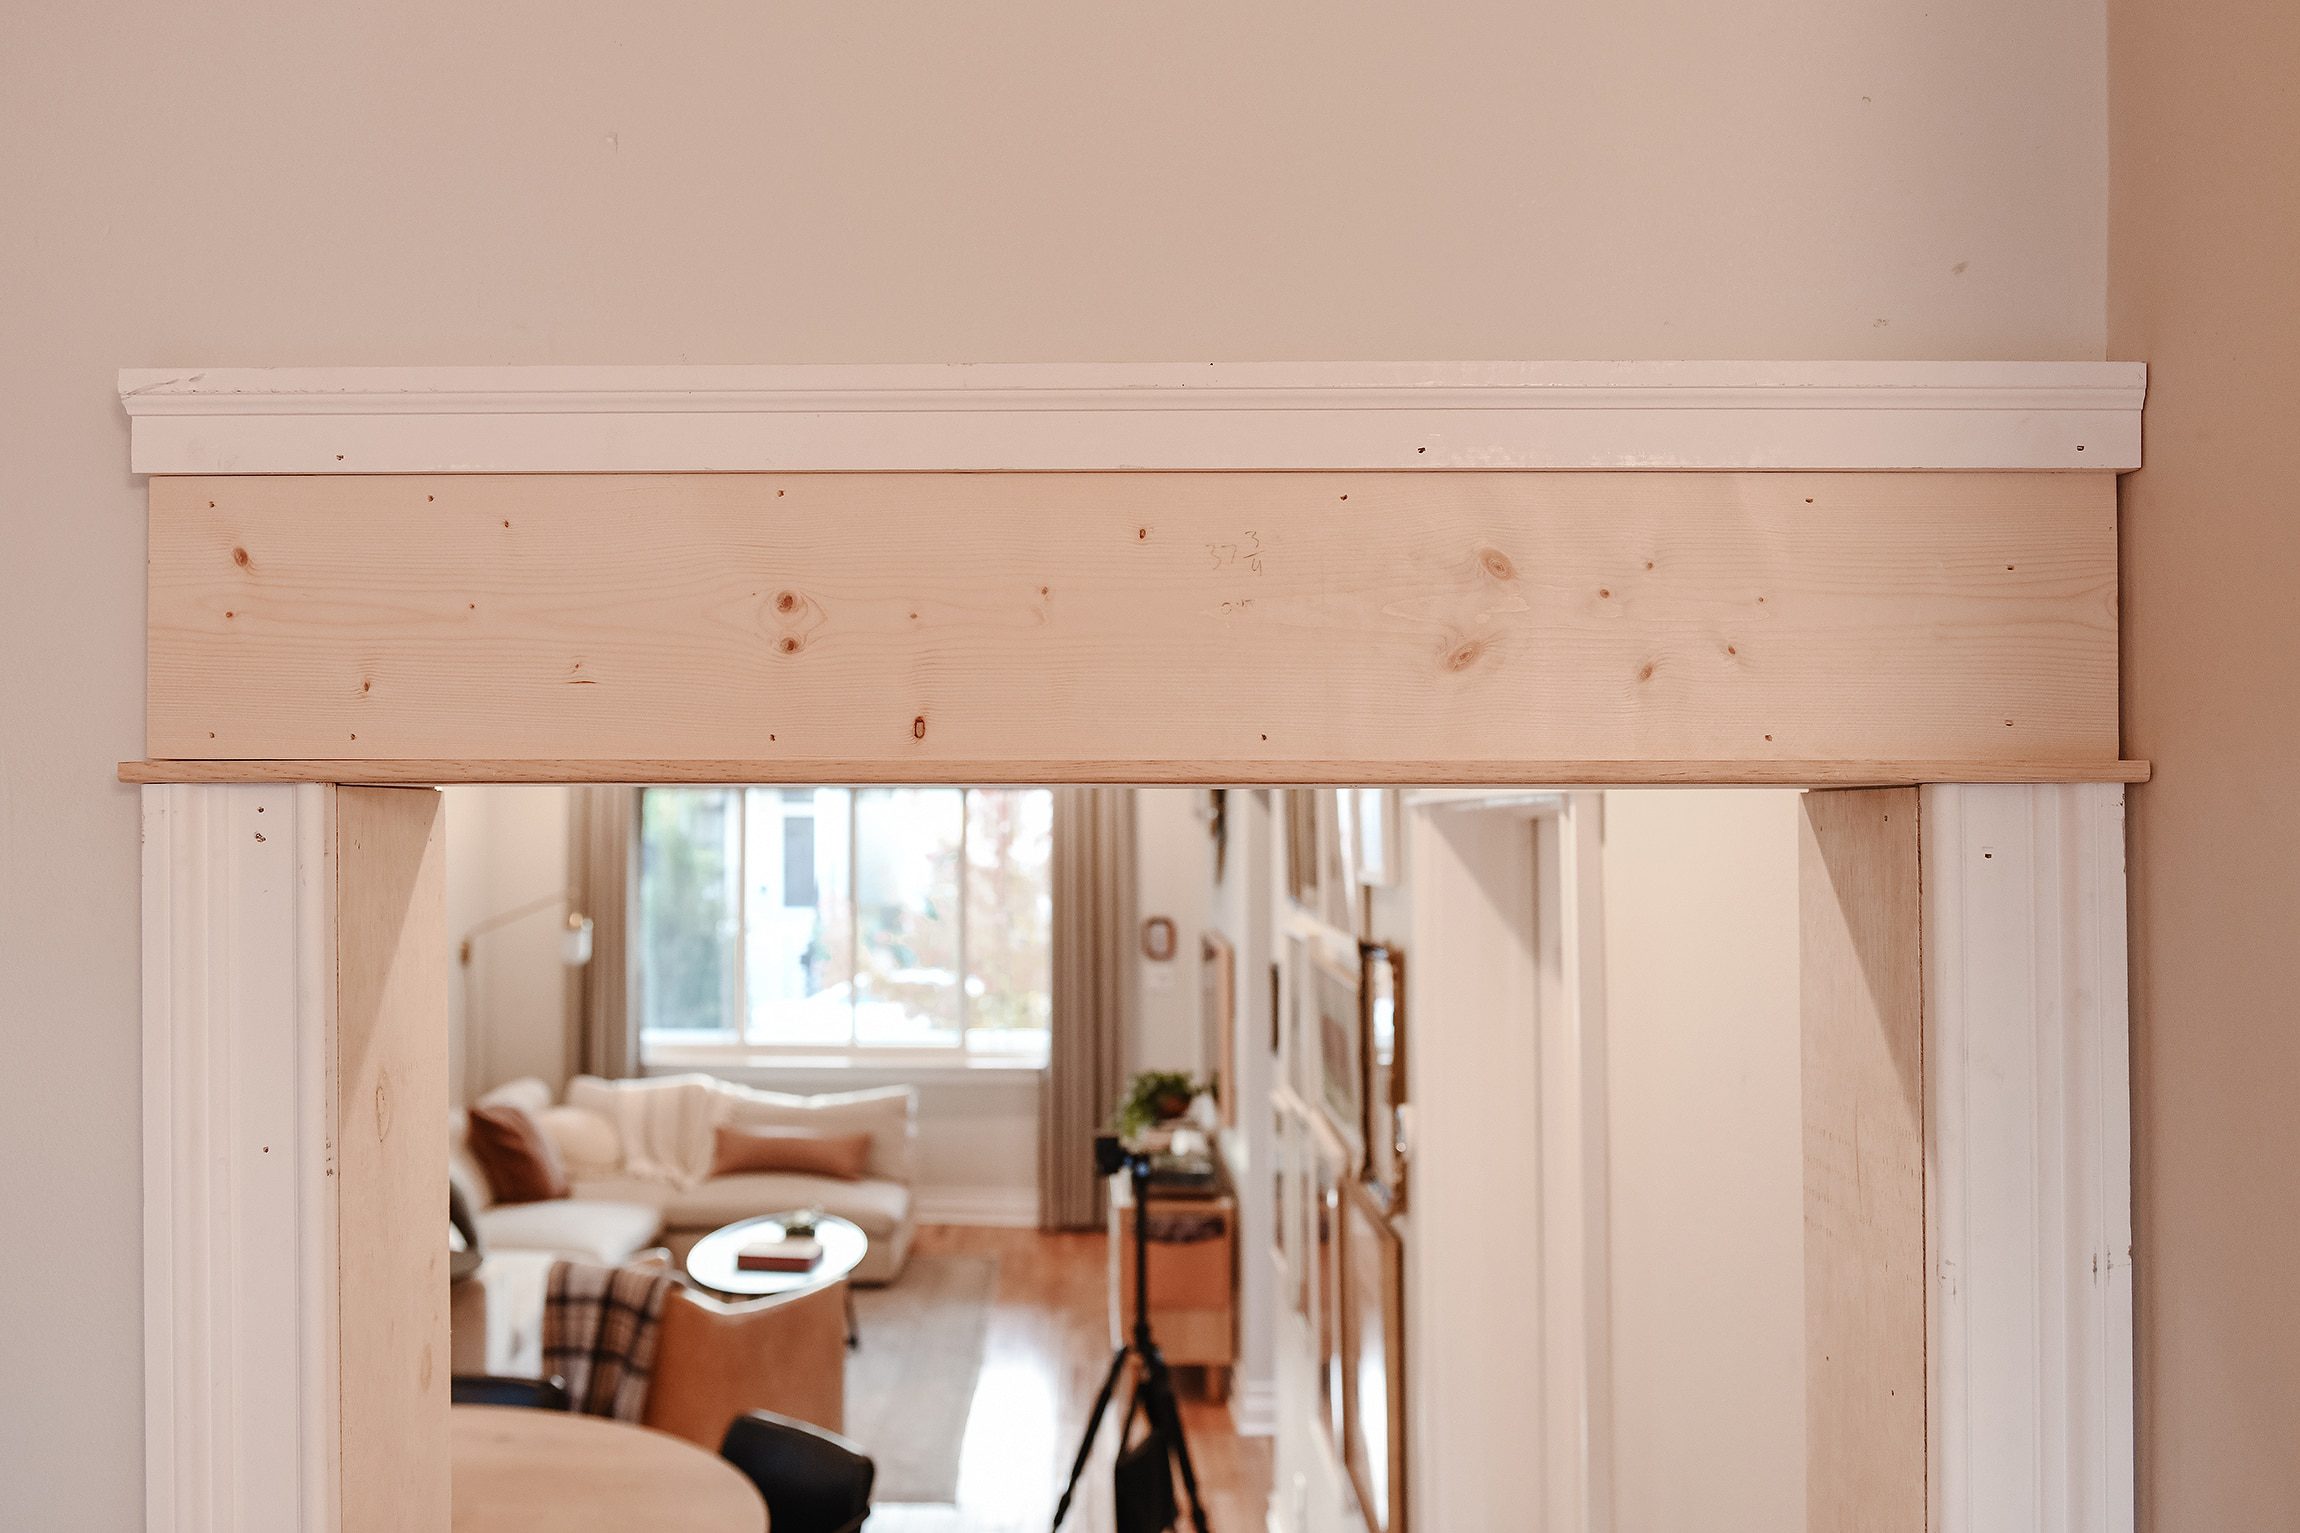
Next, we install a pine 1″ x 6″ (technically a frieze, I think?) cut to the exact width of the outer edge of the vertical molding.
Finally, on top of that, we install this primed brick molding as a cap or crown. This is the only step in the process that requires a slightly complicated cut, but it’ll be worth it. Promise. Instead of a blunt cut at the end of the brick mold, we cut a 45 degree inside miter on each end so that the bottom of the brick mold also features a 1/4″ reveal on each side. A small wedge or ‘return’ of the opposite side of the molding will result in a piece with dimension on two sides, as opposed to an unsightly blunt cut. We use a dab of wood glue and one finish nail to keep the return in place securely.
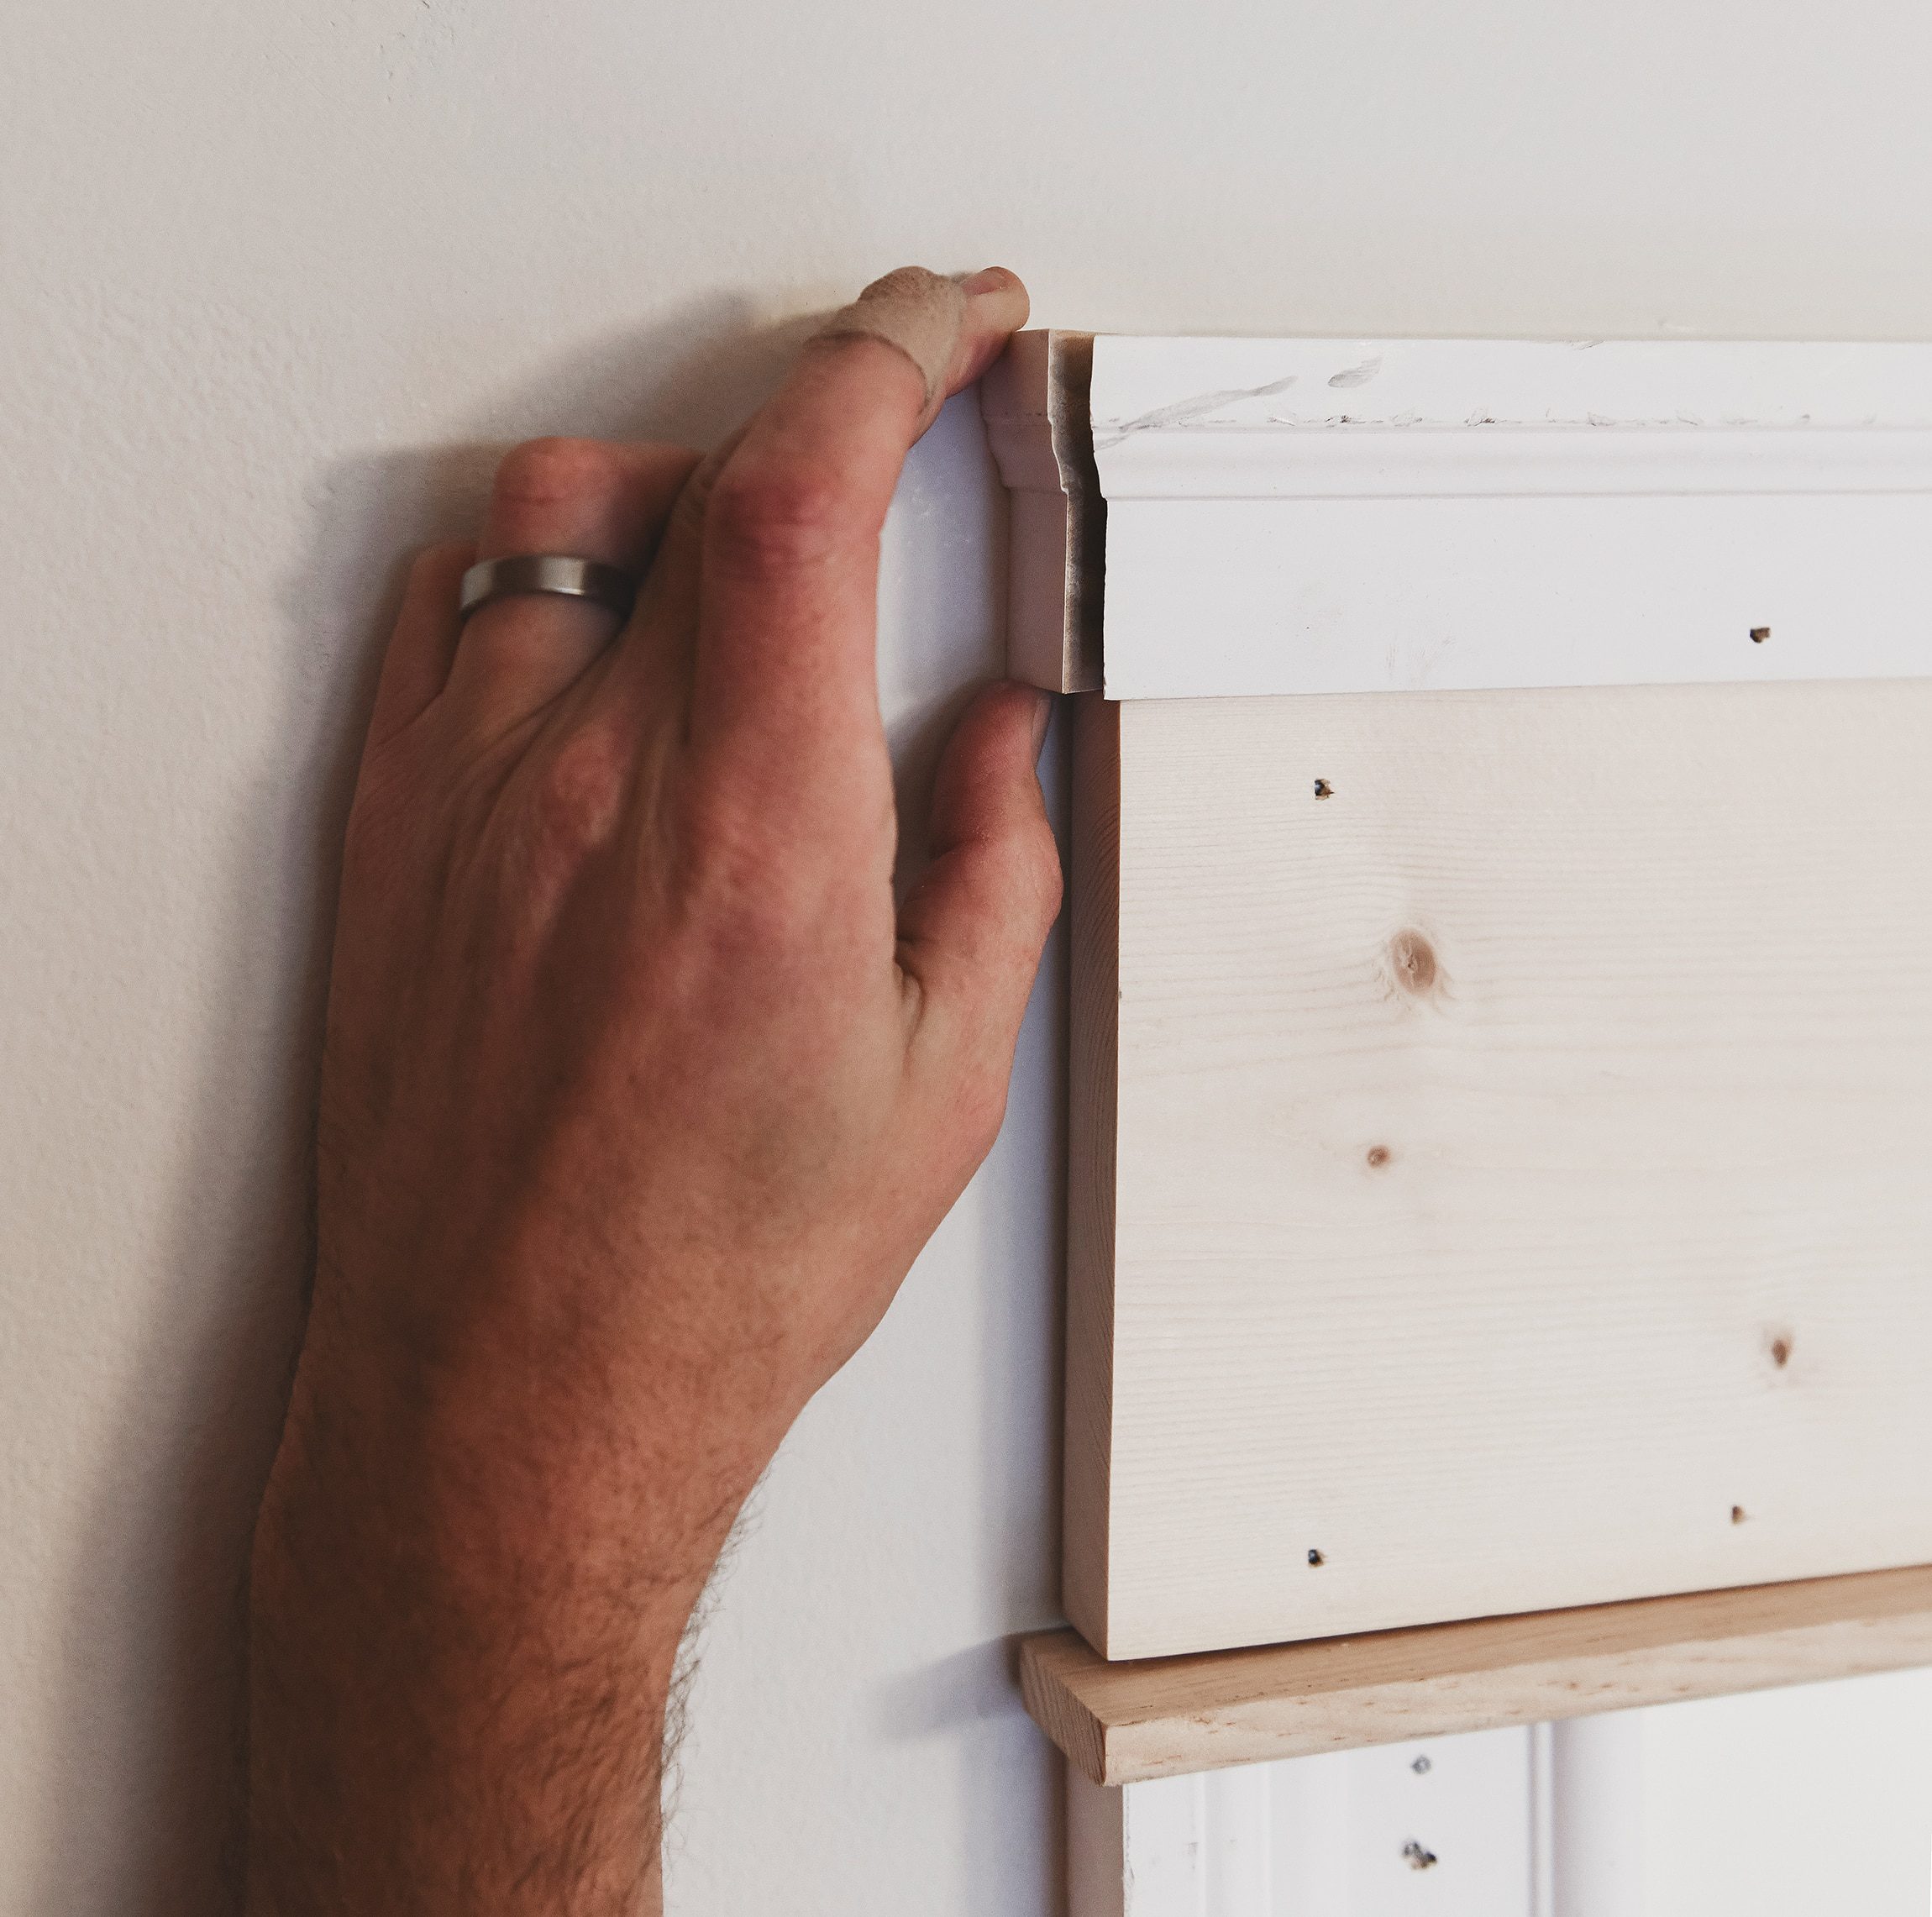
In this particular case, we were almost right up against the perpendicular wall to the right of the door, so once the return on that side was glued into place, we nipped the end of the brick molding slightly for a perfect fit. In the end, finish carpentry isn’t always about perfect symmetry. Sometimes it’s a matter of doing what looks best.
6| Spackle, Sand, Caulk + Paint
Once all of the carpentry is complete, we use simple spackling and any paintable caulk for a seamless finish. The whole assembly is then painted with our favorite semi-gloss trim paint. Done!
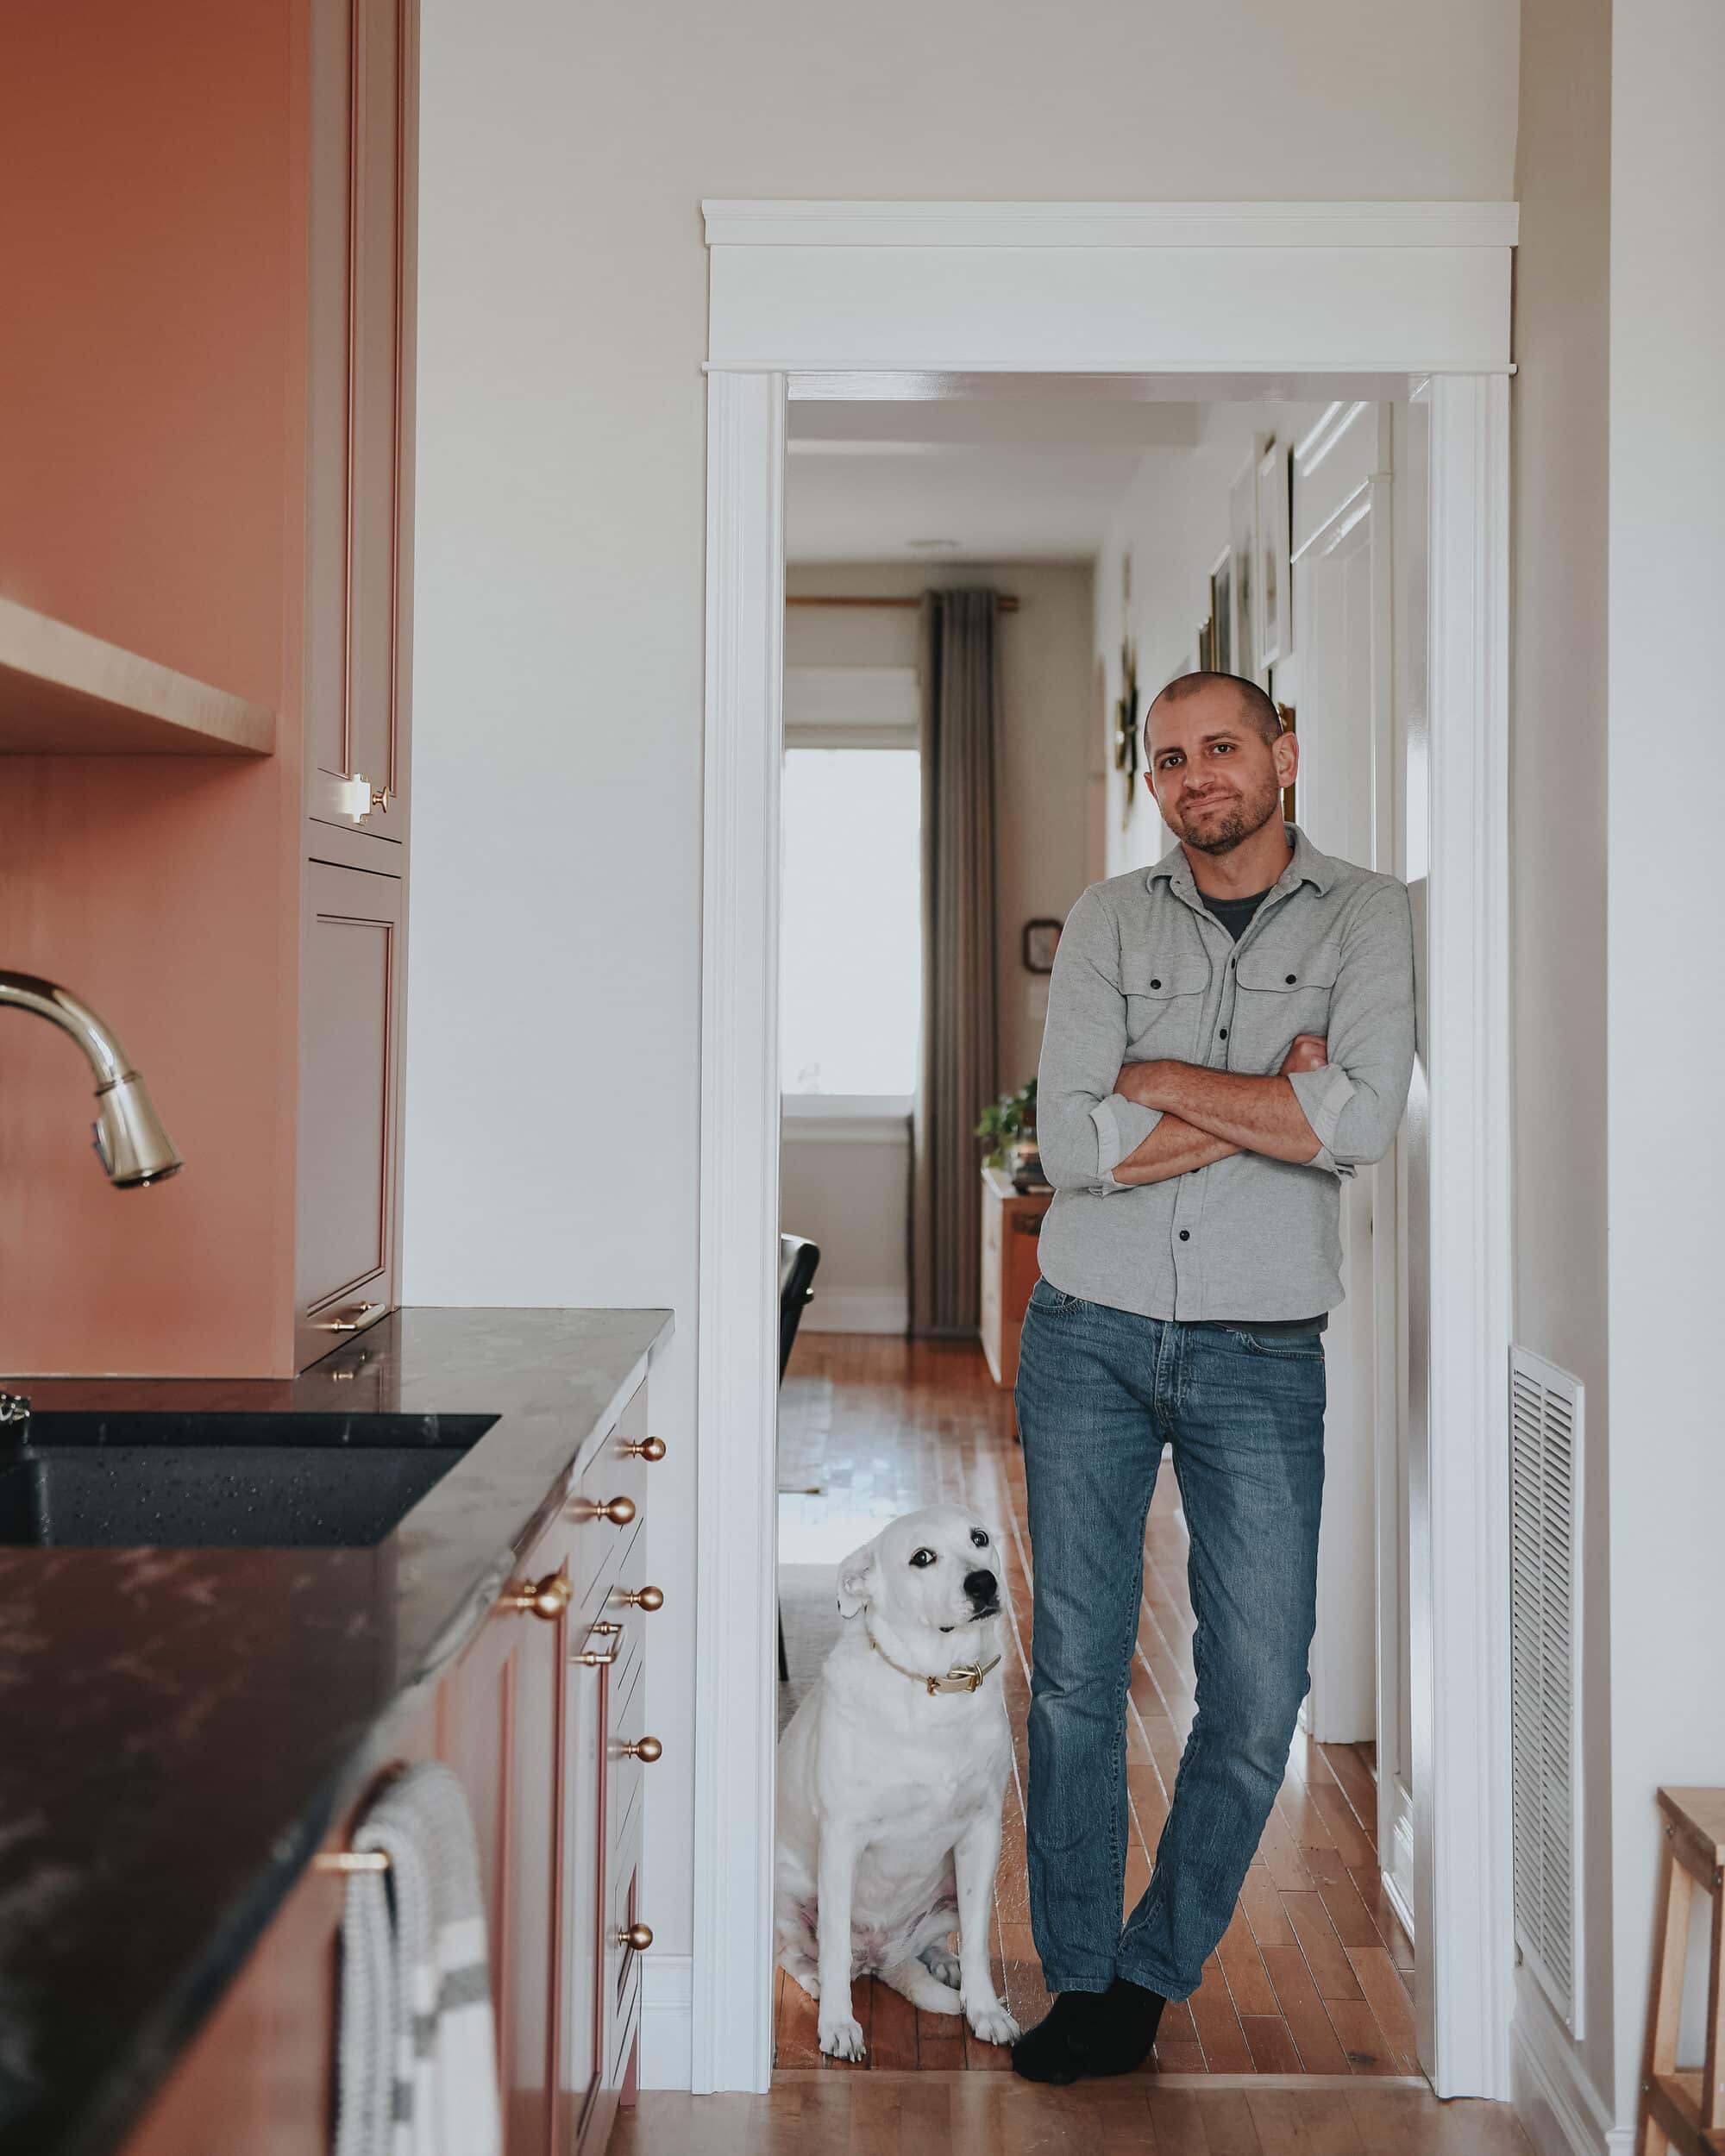
Catfish approves! This project was pretty straightforward and added a sense of purpose to this opening that was previously very bland. We’re one step closer to completing the kitchen and all of these added details will make a massive difference in the overall design.
We love to break down multi-step tasks and take away the mystery. See our other how-to posts right here, like how to rewire a light fixture, how to add a dimmer to a sconce, and how to style pillows on a sofa.


It’s all about the details!! — and you guys are masters at details!
Aww thanks!
And that is EXACTLY what it needed. Well done!
I really enjoy these smaller, standalone DIYs sprinkled amongst your big epic kitchen reveal. A nice reminder that little details can add up to a big difference.