

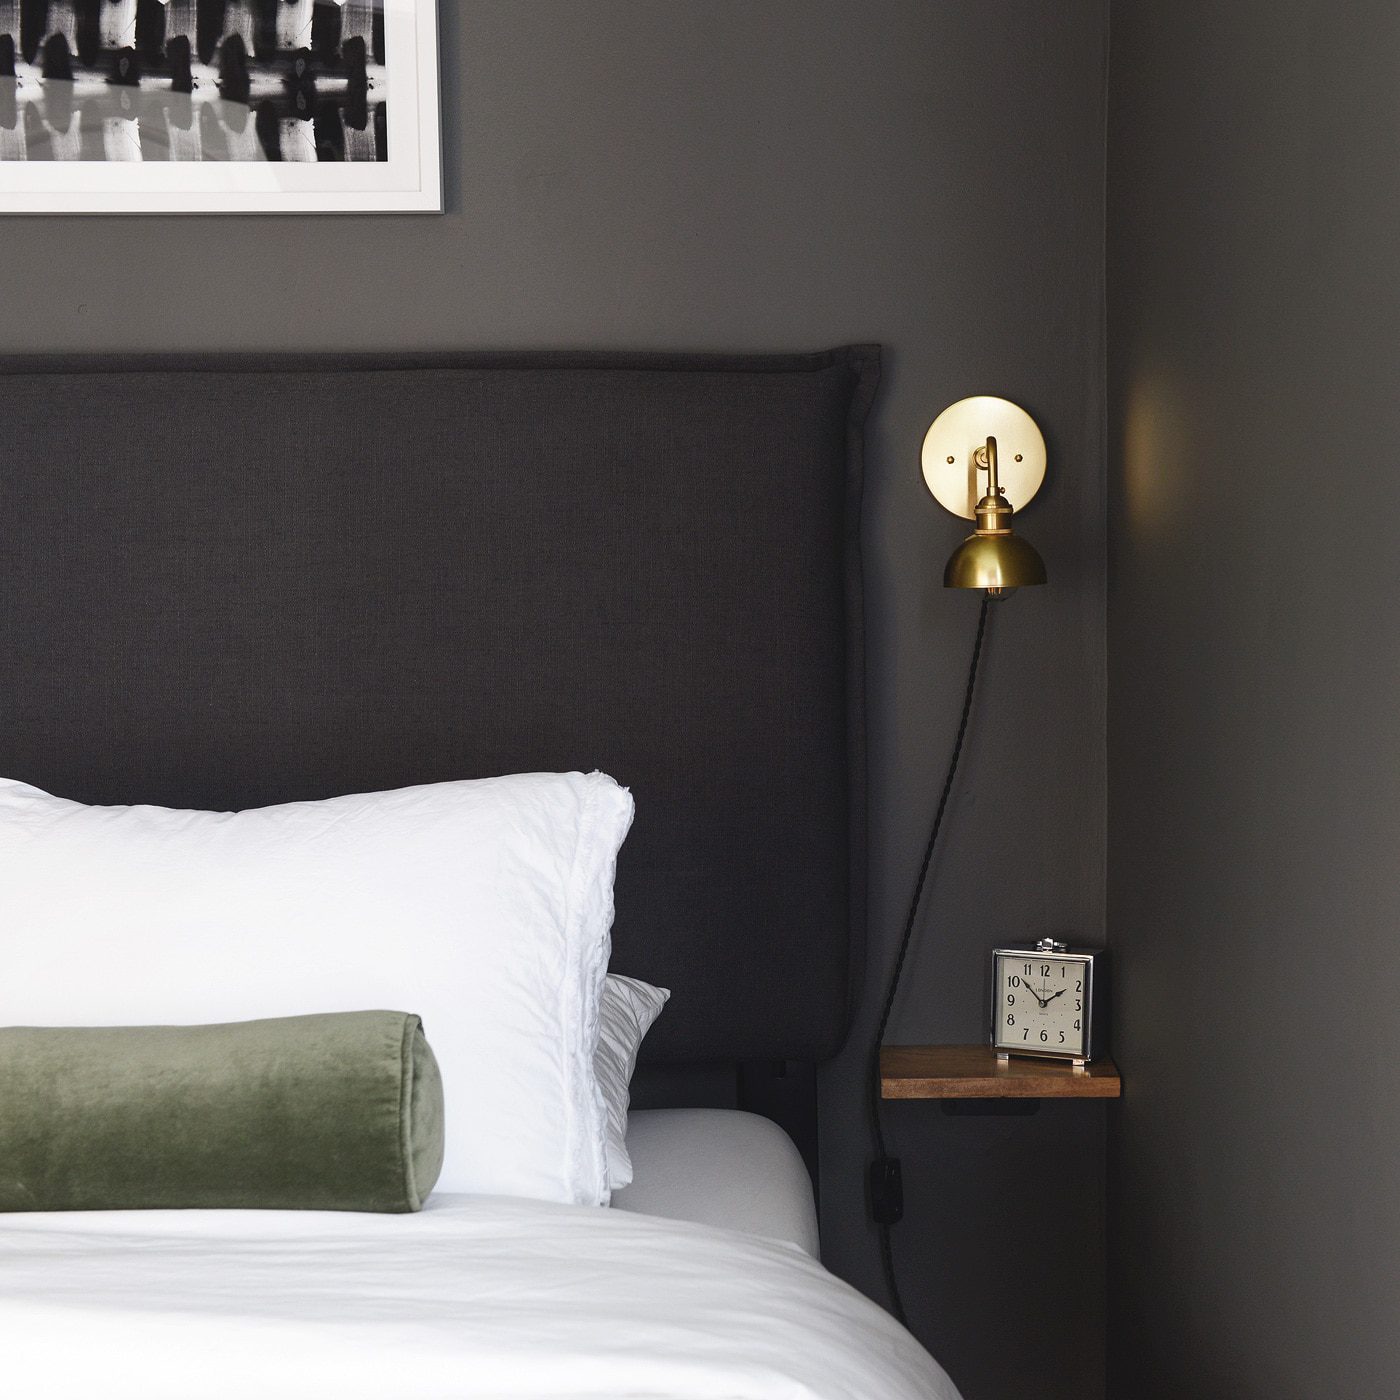
headboard | sconce | clock | bolster | bedding
Apparently, we have a ‘thing’ for skinny bedrooms. Between Lucy’s nursery, the guest room at Tree House, and our newly refreshed guest room in Chicago, we’ve had our fair share of practice squeezing lots of function into these somewhat awkward spaces. You see, we’ve found that fitting a queen size bed into a 7 foot wide space isn’t too tough of a challenge, but squeezing functional lighting, an outlet or two and a place for a phone-slash-book-slash-glass-of-water alongside the bed can be tricky. So when we went to tackle this challenge during the guest room refresh, we were certain that we had found the perfect solution in these Plank Floating Shelves. So small! So cute! But when we went to order them, we were told that they were backordered for several weeks.
So.
We pivoted and used the design as inspiration and decided to make our own! It’s easily one of the most simple and satisfying DIY projects we’ve done to date. And in the midst of larger projects, these small scale DIYs are so rewarding, who’s with me?
In This Post
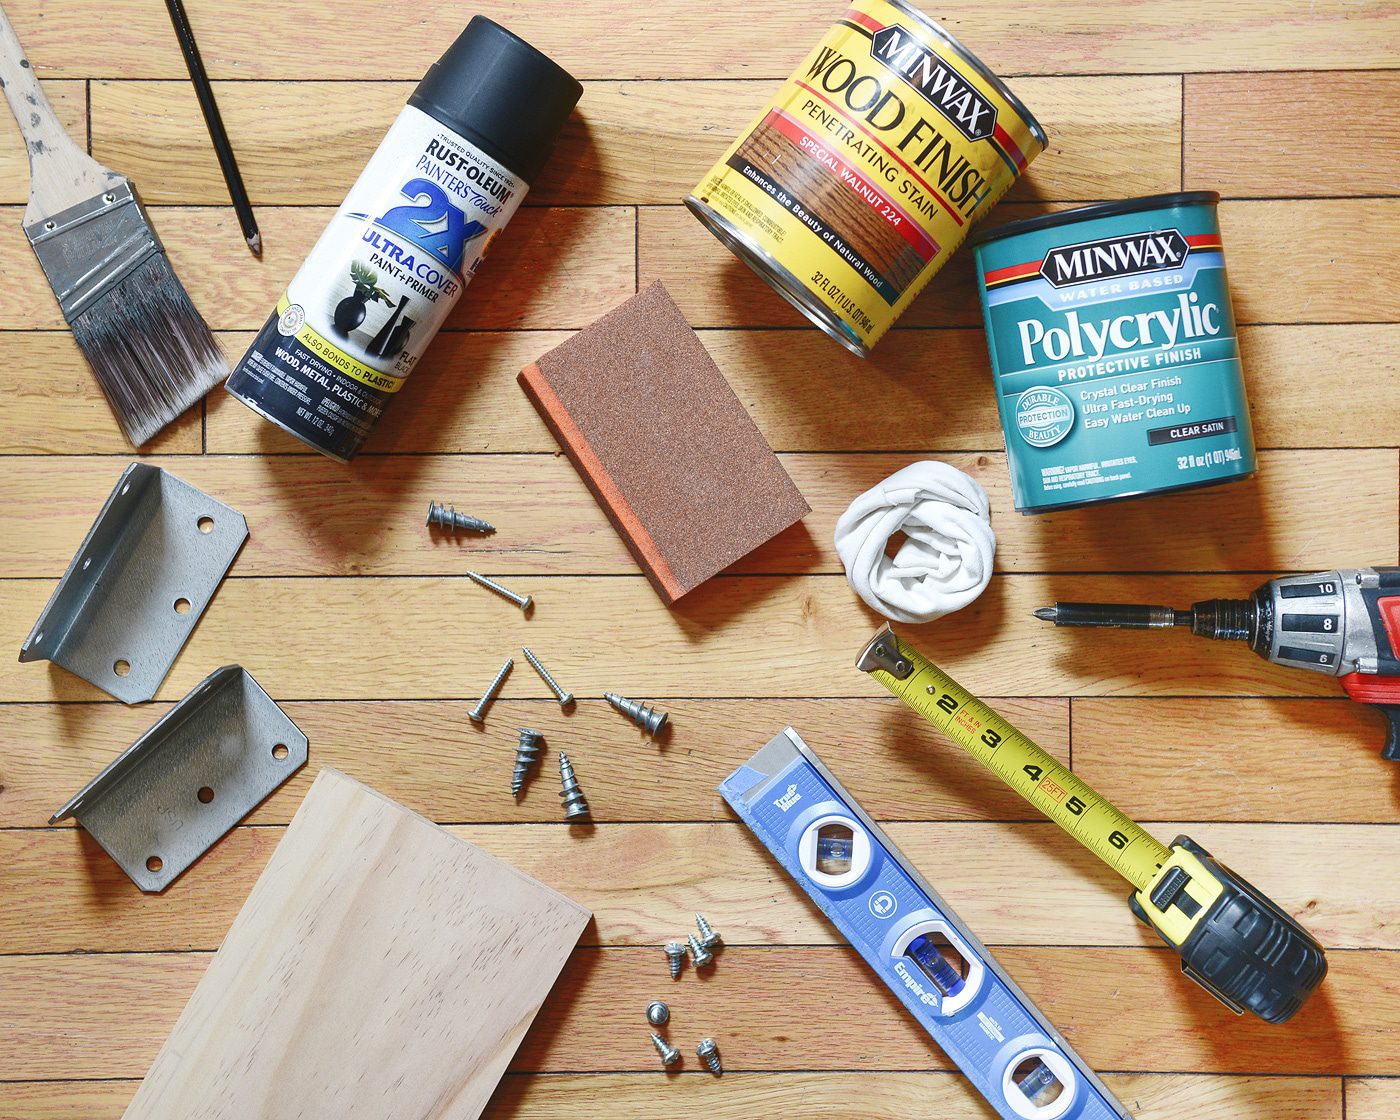
Tools + Supplies Used
1″ x 6″ Select pine board
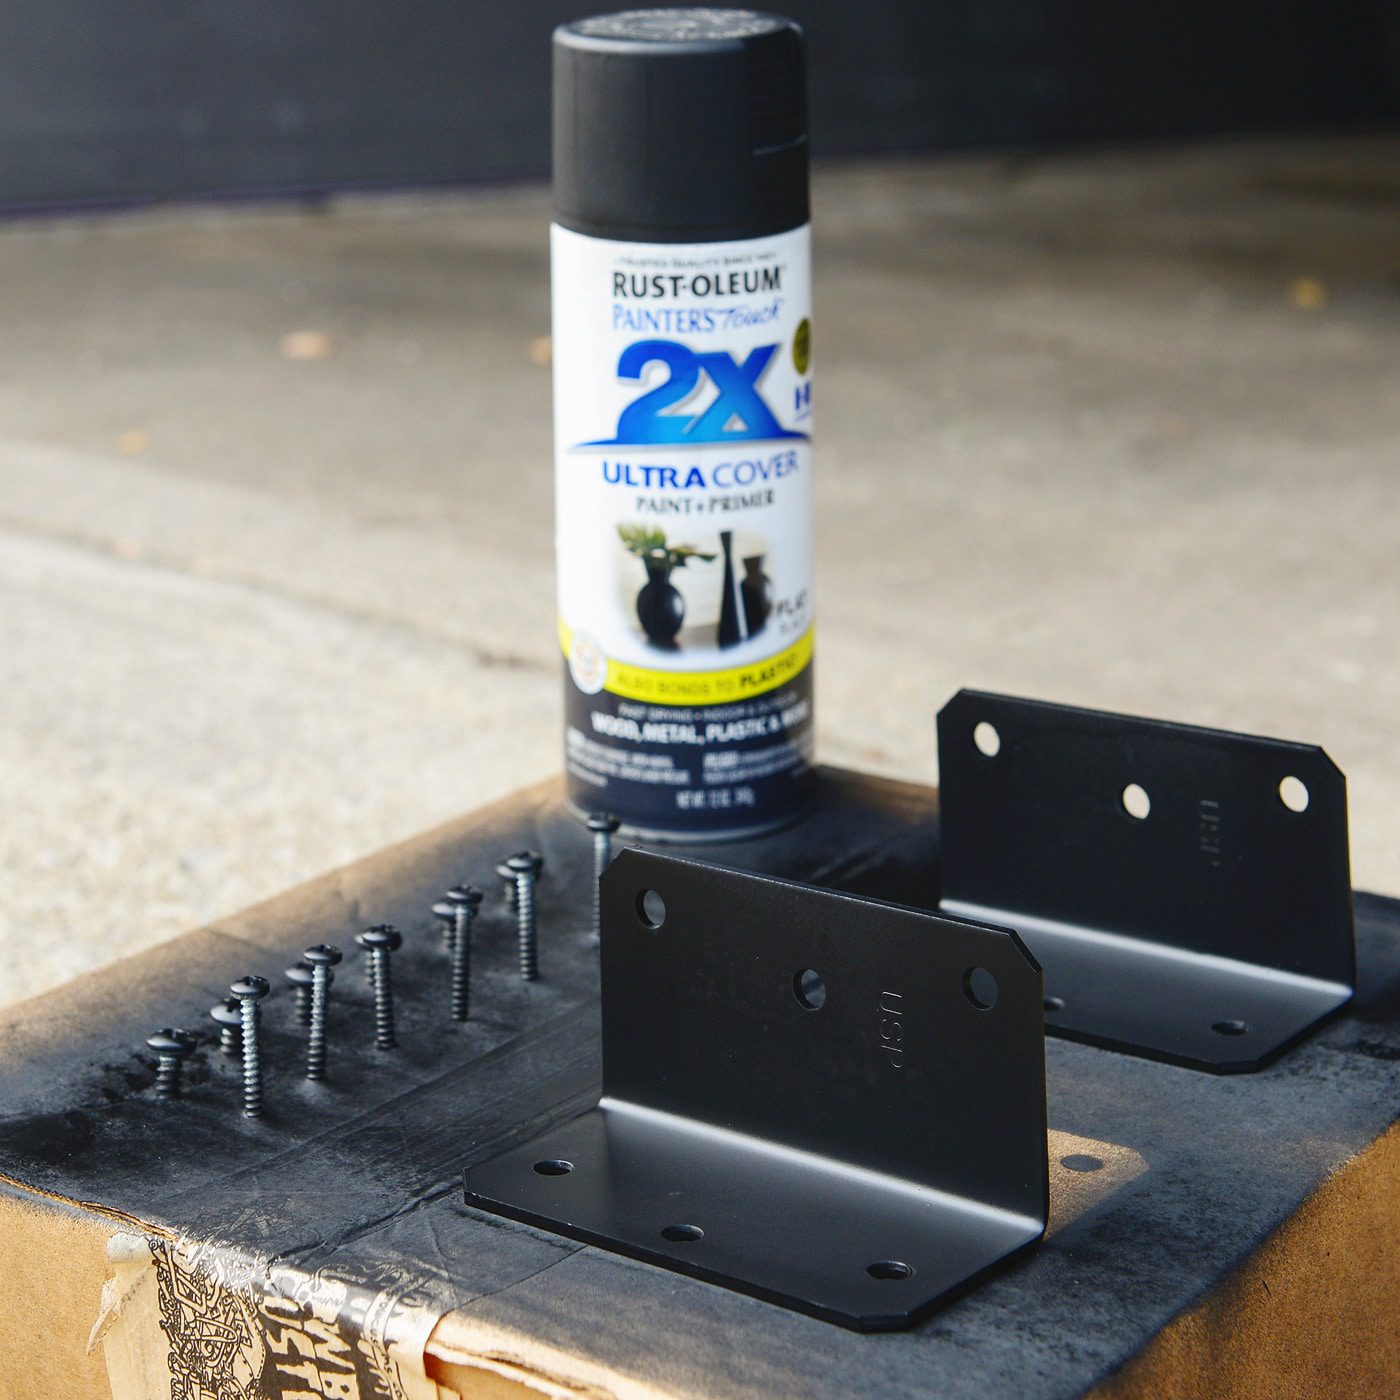
4″ Corner brace
Flat black spray paint
Wood stain + rag (optional)
Polycrylic
220 Grit sanding block
Miter Saw
Paint brush
Drill or screwdriver
Level
Measuring tape
Pencil
What We Did
We picked up these sturdy 4″ corner braces at Lowe’s, but any corner braces or brackets could be used based on the size and shape of your space. The braces and all of our hardware got two light coats of matte black spray paint to give them the appearance of ‘floating’ on our newly painted dark grey walls. If our walls were a lighter color, we would have considered painting everything white, or even painting the brackets and hardware the same color as the walls. Tip: Poke any screws you’ll be using into a scrap piece of cardboard or styrofoam to spray them, too!
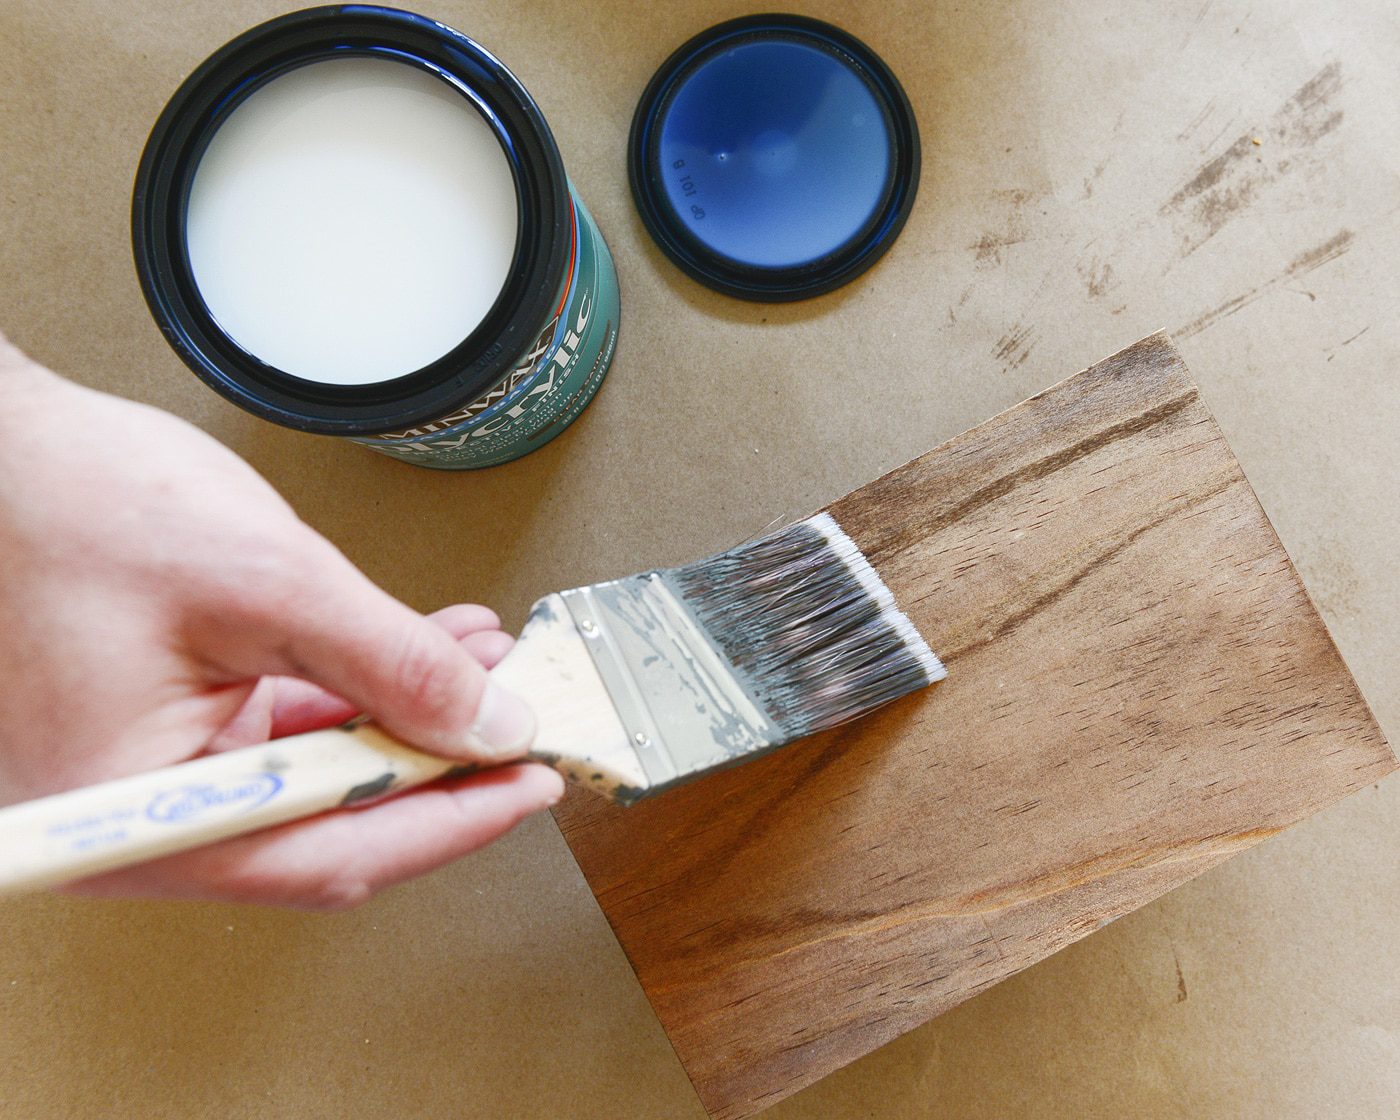
As our hardware was drying, we moved over to the miter saw and cut our select pine board down to the appropriate sizes. We then dry-fit the cut planks to make sure we were happy with the proportions. After confirming we were happy with our cuts, we gave all the edges and surfaces a quick sanding. The pine got one light coat of Minwax Special Walnut stain to bring the color value more in line with the dark tones of the walls and headboard, but this step is totally optional.
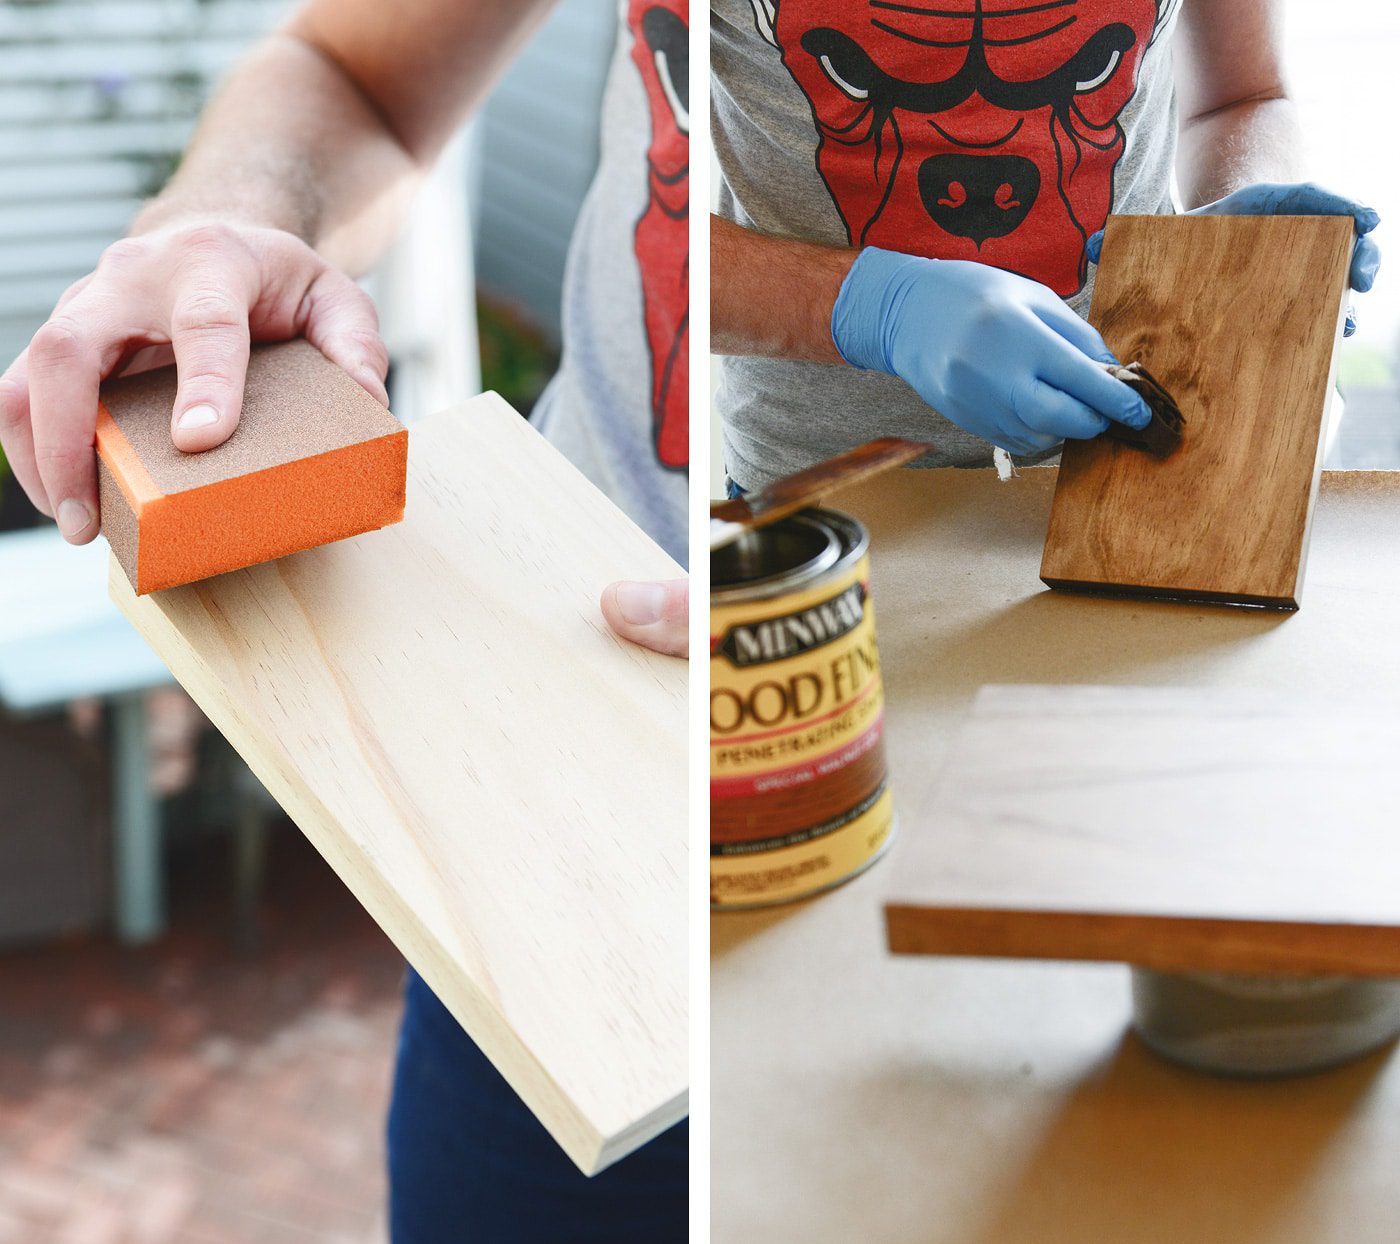
After the stain had completely dried, we determined which side of each board should be the top and gave them two thin coats of satin Polycrylic, sanding lightly between each coat for the best adhesion.
Once the poly had cured, we measured out the center of the boards, lined them up with the center of the brackets and marked our holes. After ensuring everything lined up nicely, I attached the brackets to the boards:

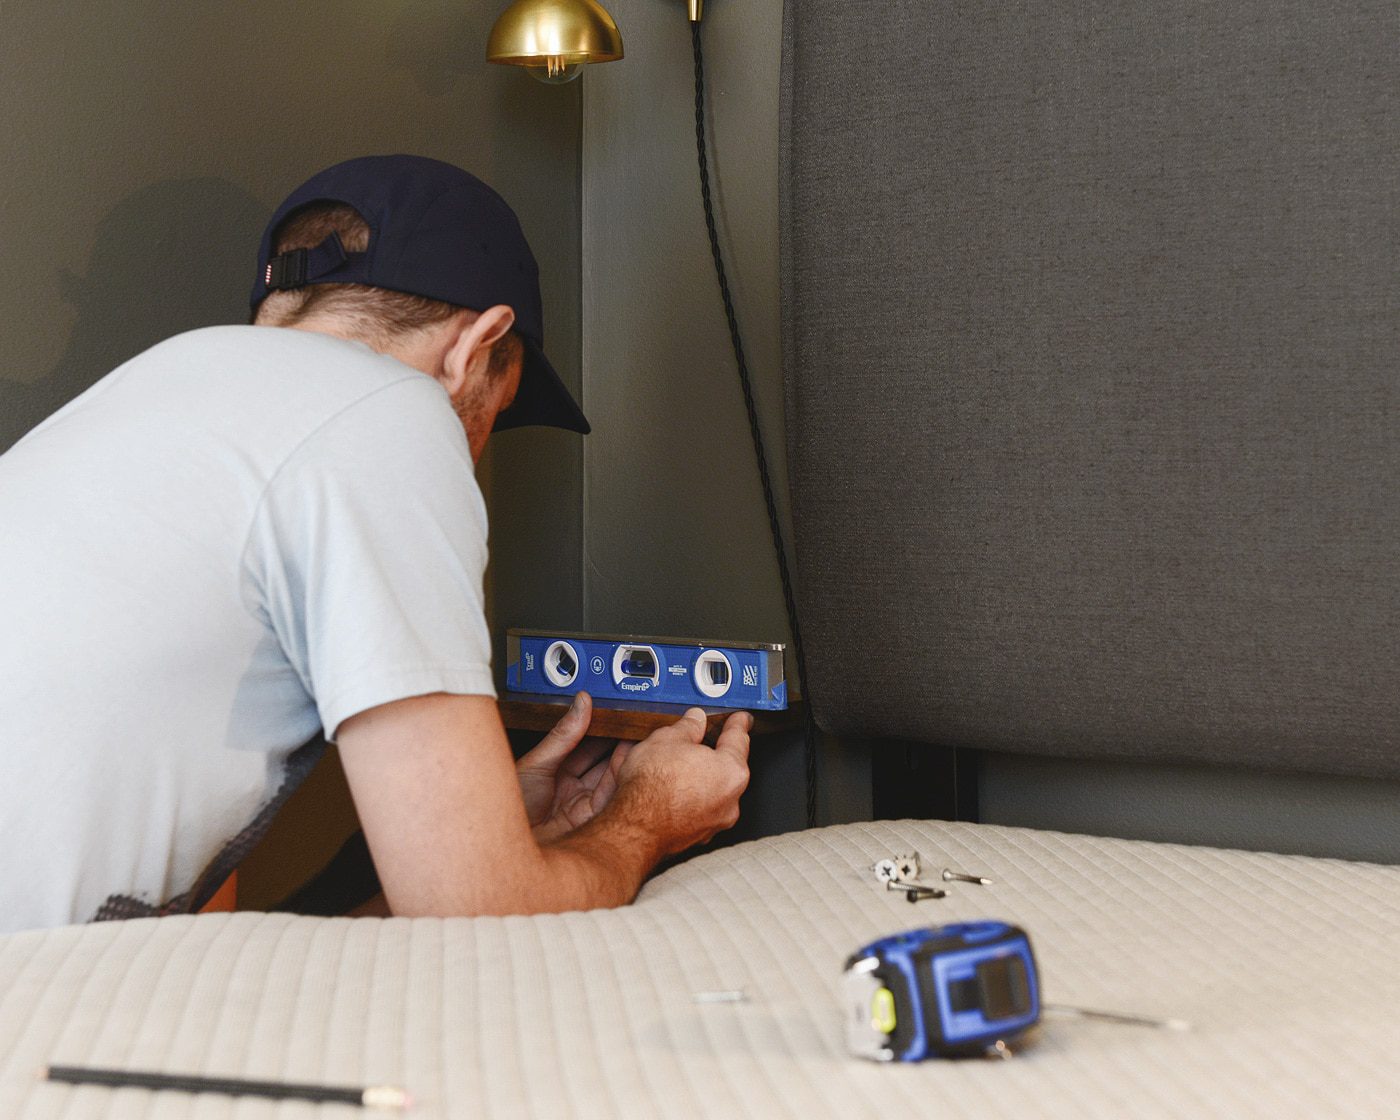
The assembled shelves were leveled in place and marked for mounting. We were lucky to hit studs in 2 of the 3 mounting holes on each side (that almost never happens!) and used screw-in anchors where studs weren’t present.
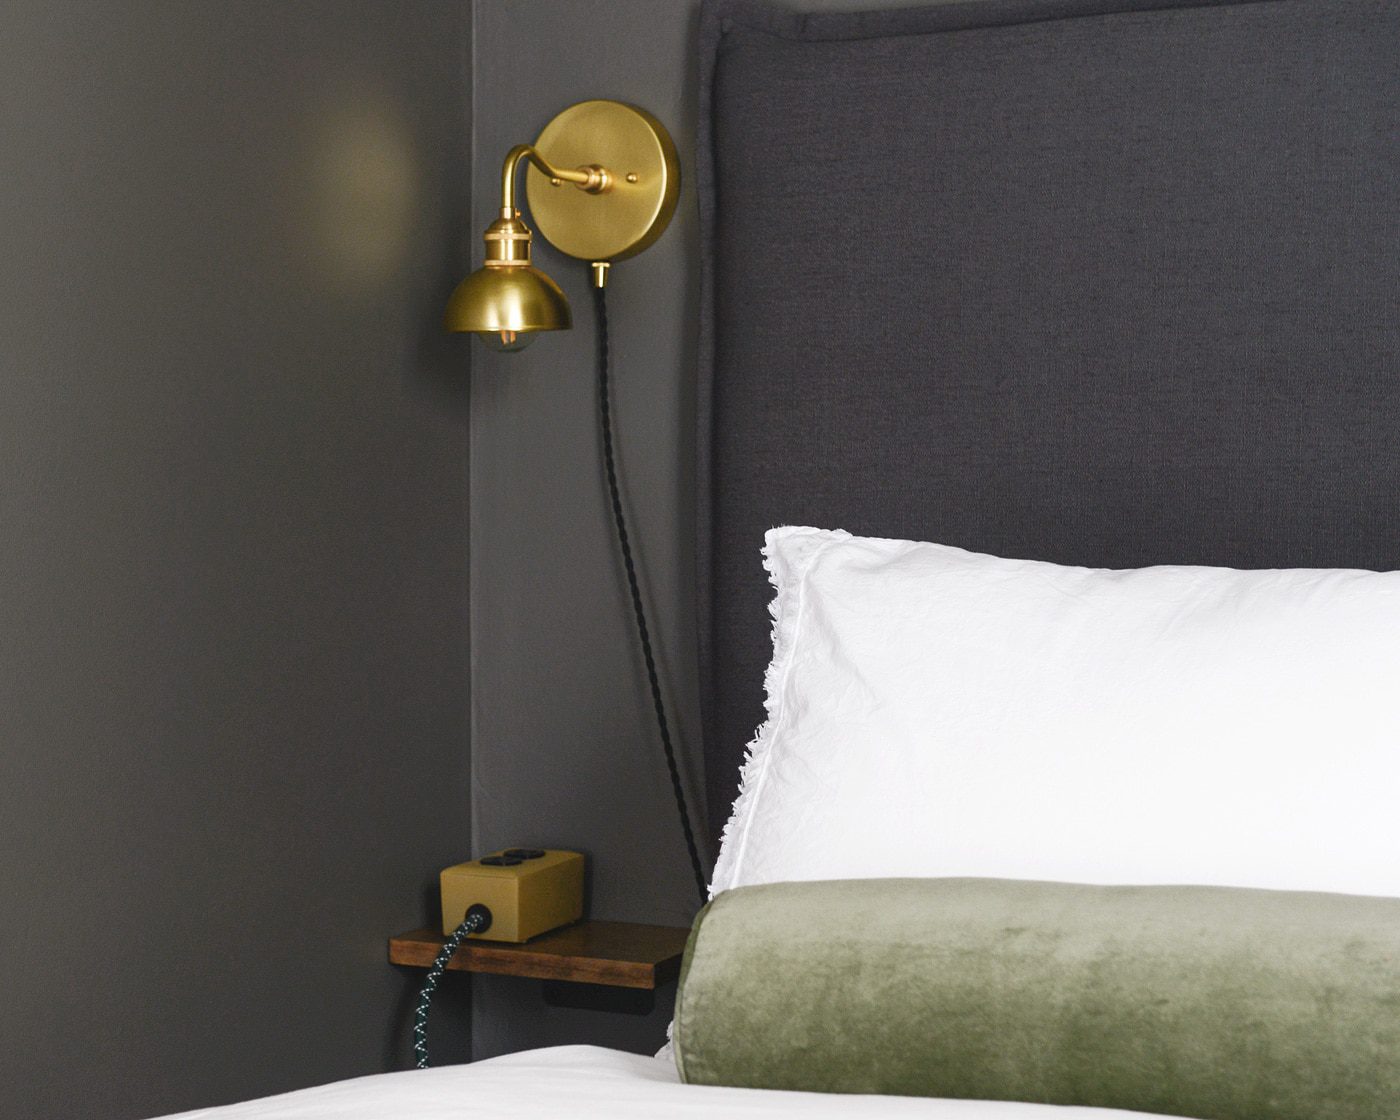
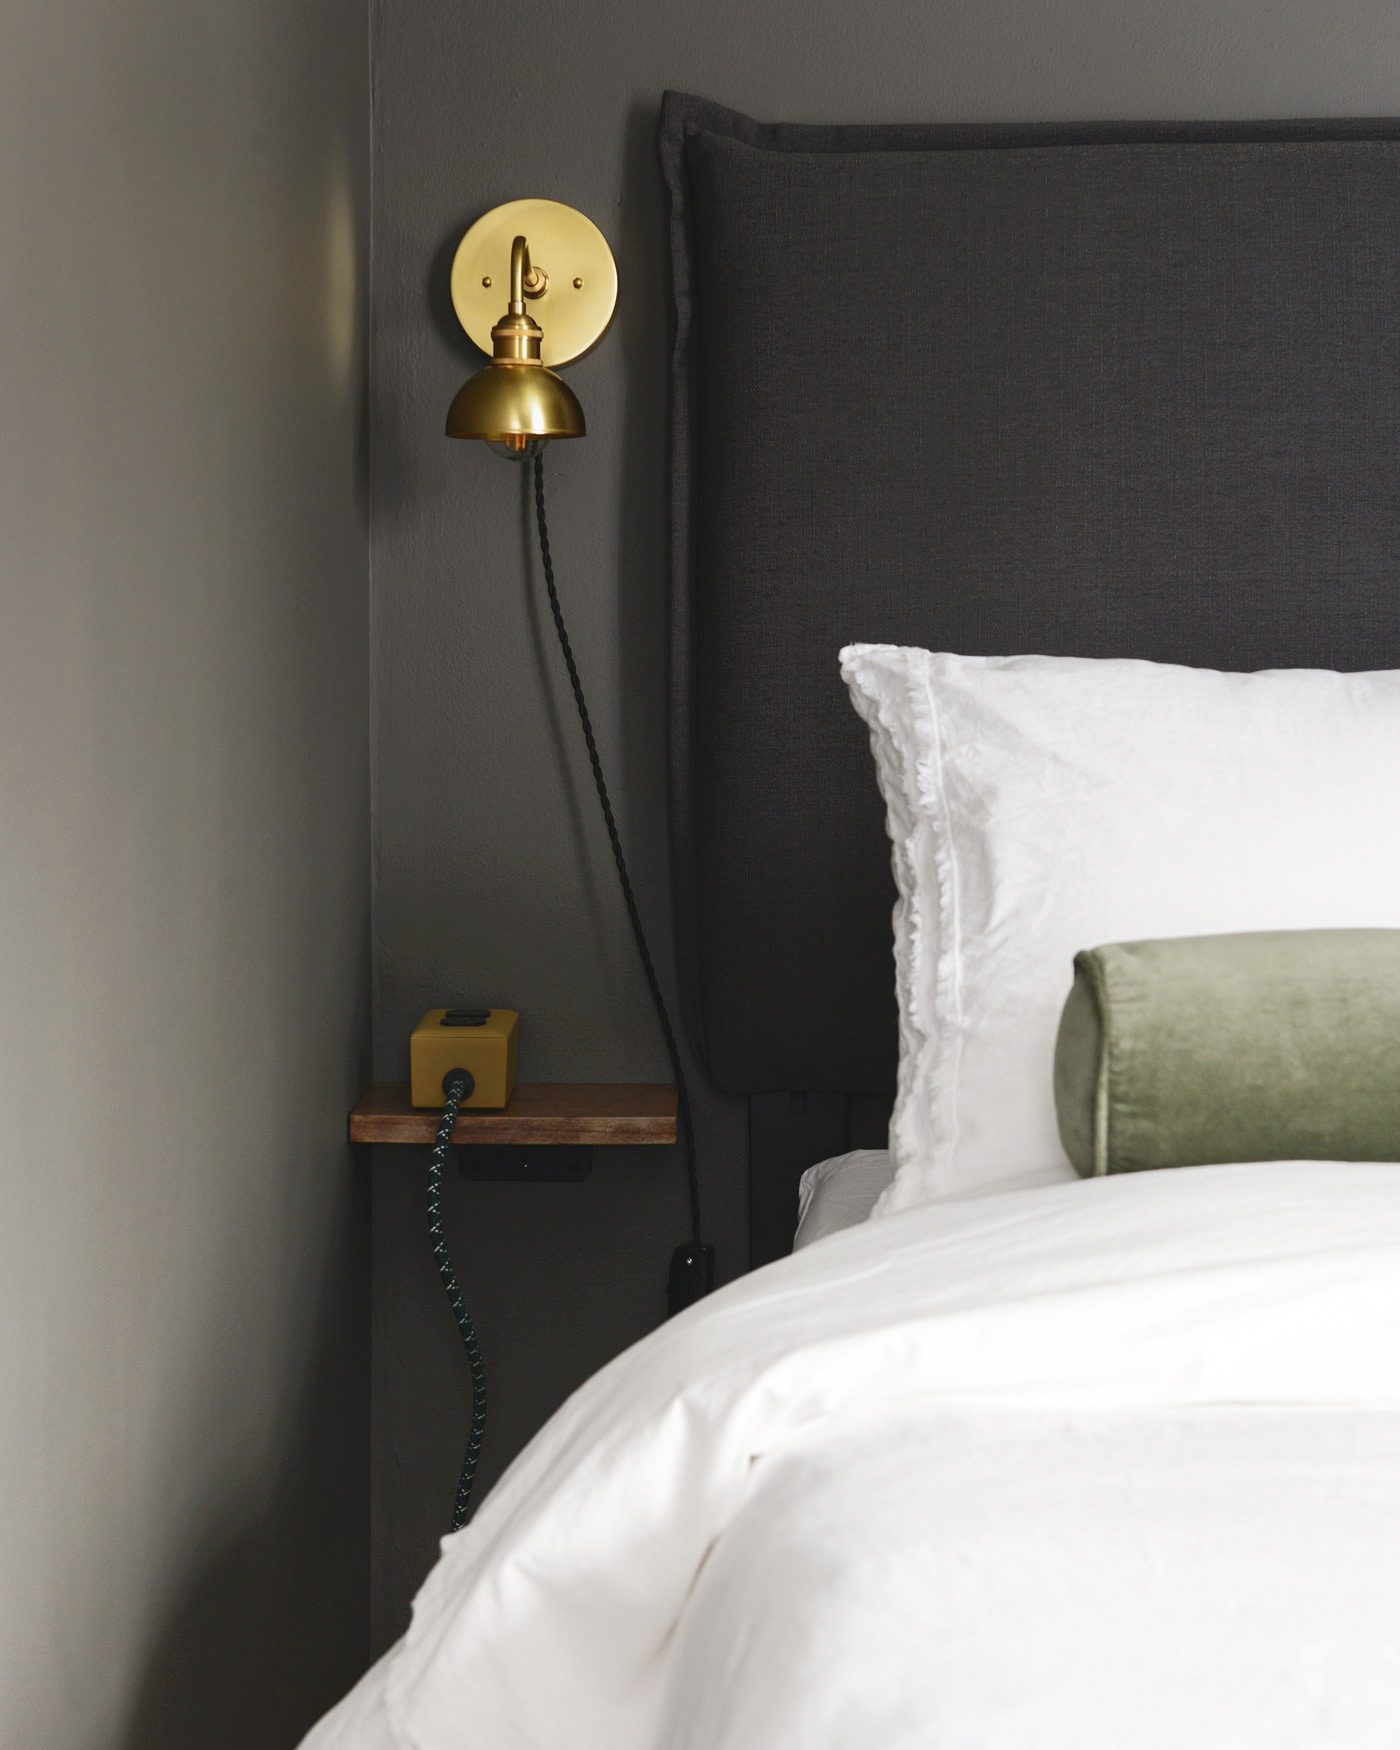
See, cute! We love how the shelves sort of fade away into the walls and headboard and give juuust enough space for a phone, book or tablet. As is the case in a few of the other rooms in our Chicago home, the guest room suffers from a major lack of electrical outlets, so we used this handsome external plug to offer a bit more convenience for our friends and family. It’s a simple solution that adds a subtle hint of color against the mostly monochromatic wall.
If we calculate actual ‘labor’ time (not accounting for dry time), this project took less than 30 minutes and probably cost less than $10. Not a bad return on our investment for something so simple and tailor made to our specific small space!
In This Post:


They look fantastic! Have you considered cutting a small section in the shelves for the sconce cords so that they can run straight down? I think it would look better visually!
We talked about it, but with such small shelves we decided to just let it be. :) We figured that the black cords against the dark walls blends sort of nicely, and we like that they’re a little carefree, haha! We have plans for a custom console at Tree House where we may notch in a cord ‘hole’ though! Stay tuned!
You should consider adding a second board a few inches below each of these–guests will want to put their phones in the existing space and then there won’t be enough room for a glass of water, or any other little thing they might want on their nightstand for the night. I keep seeing very minimalist no-drawer guestroom night tables on blogs. I might be an especially picky guest (I don’t really think so?) but every time I see one, I think that I would be so annoyed to find myself with just 8″ of usable night table space if I was staying the night! I’d never criticize a thing you two do ’cause I adore you and I know you had an obvious reason for going small and minimal in this case, so just a suggestion: )
That’s a really great idea, Kate! We initially considered a square shaped box so that there would be 2 surfaces, but we decided to keep it simple this time around. There is literally only 8″ of space so doubling it up like that would have been smart. We did swap out the other outlet in the room to be USB compatible, and there’s a desk and empty shelf at the foot of the bed (and the desk is full of travel-sized goodies and extras!). Hopefully the lack of end table is made up for in other ways. :)
These are too cute! And I loved that sconce when you gave us a sneak peak on Insta and am trying to figure out where I could use it in my house. :)
Very nice! I only have 8-10 inches so I’ll try this idea. Can u tell me where wall light is from?
The sconces are linked under the first photo! :)
[…] yellowbrick […]
[…] yellowbrick […]
[…] yellowbrick […]
[…] yellowbrick […]