


It’s a Monday Rewind! Yellow Brick Home has over 11 years of archives, so from time to time, we’ll be sharing our favorites from posts past. This tutorial was originally published in December 2018. Enjoy!
File this fun and simple project under ‘one-I’ve-been-thinking-about-for-years-and-finally-doing.’ Sometimes I’ll get an idea in my head for a project, and then things happen. Like life. Time moves too quickly. I forget about it and then I remember it again and then I think, I should do that thing I wanted to do! (I don’t do it.) I have the best intentions of doing the thing, but by then I’ve simmered on it for so long that I start to think that maybe it was silly in the first place. But today – finally! – I’m sharing a quick DIY that I told Scott I would do years ago, and I’m really happy with how it turned out!
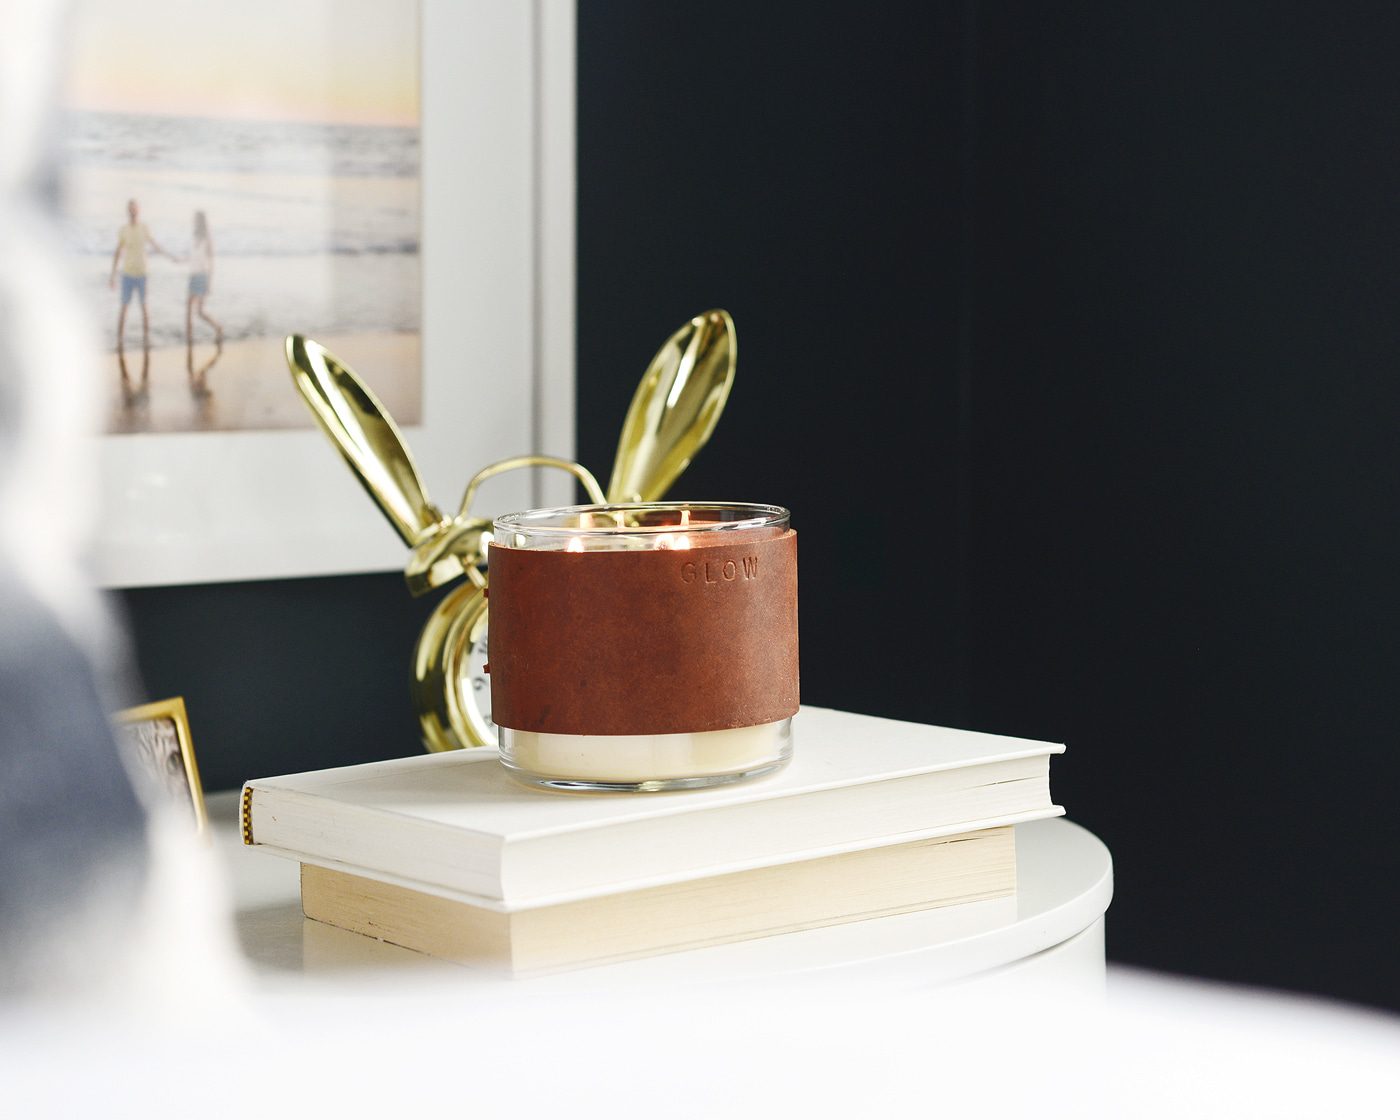
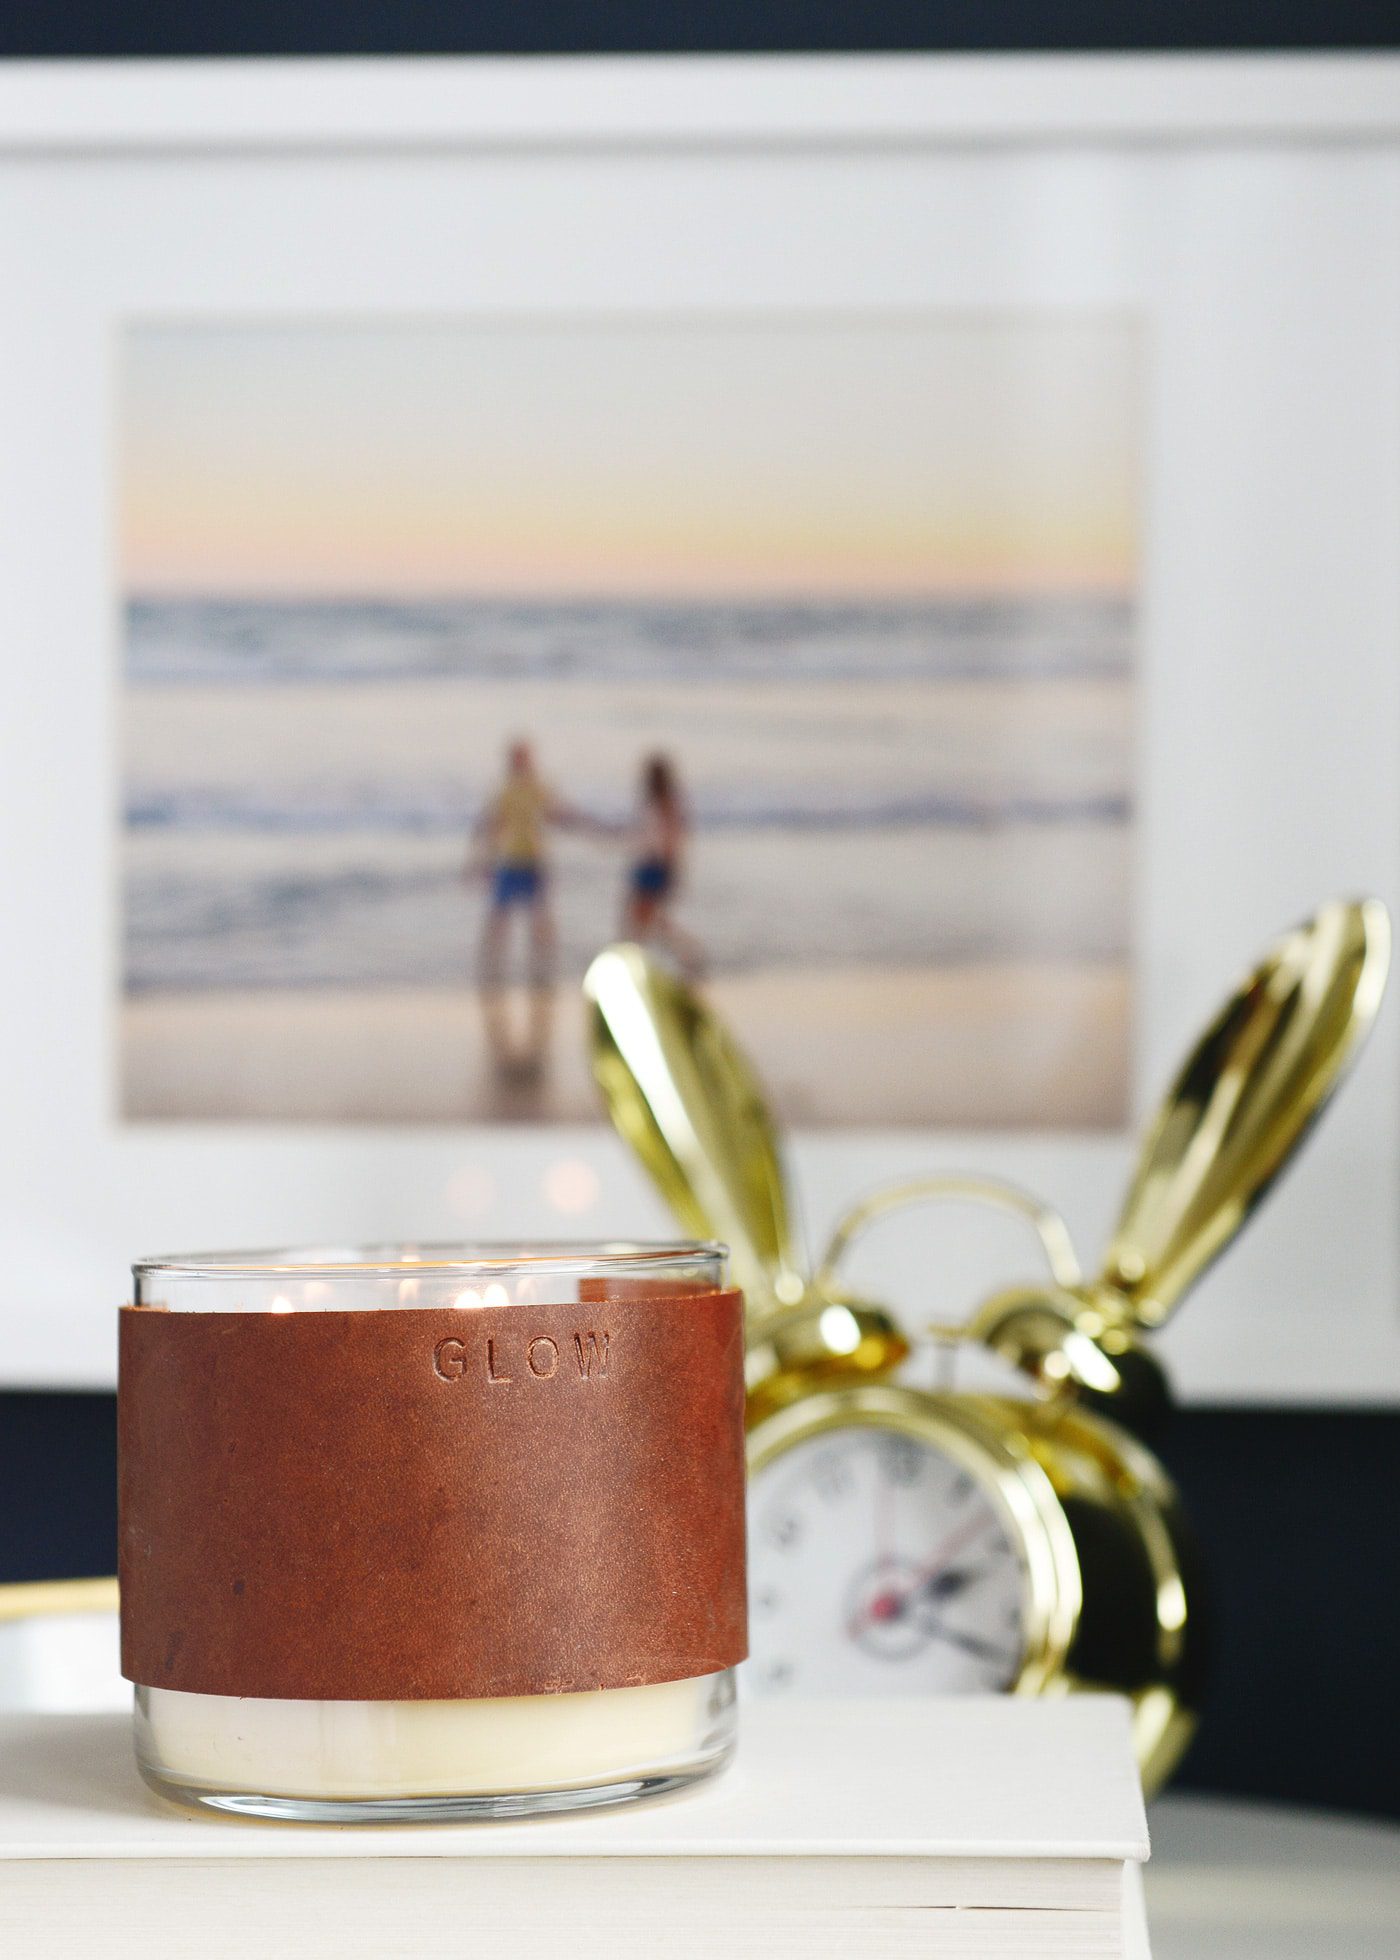
It was born from our candle addiction, and often times, the first thing we do with our candles is peel off the label. But you know how sometimes labels are extra sticky and leave a residue? But you’ve already started peeling, so there’s no turning back? Sometimes we’ll just turn the candle around, because in most cases, candles are just much prettier without the label visible. I’ve seen iterations of candle cozies (koozies? wraps? hugs?) which add a little extra something to an ordinary candle, but more importantly, they cover the labels without the fuss of removing them! Even still, most of the ones I’ve seen have been too frilly, too ornate or too rustic, and what I was really looking for was something minimal. Pretty. Warm. Leather!
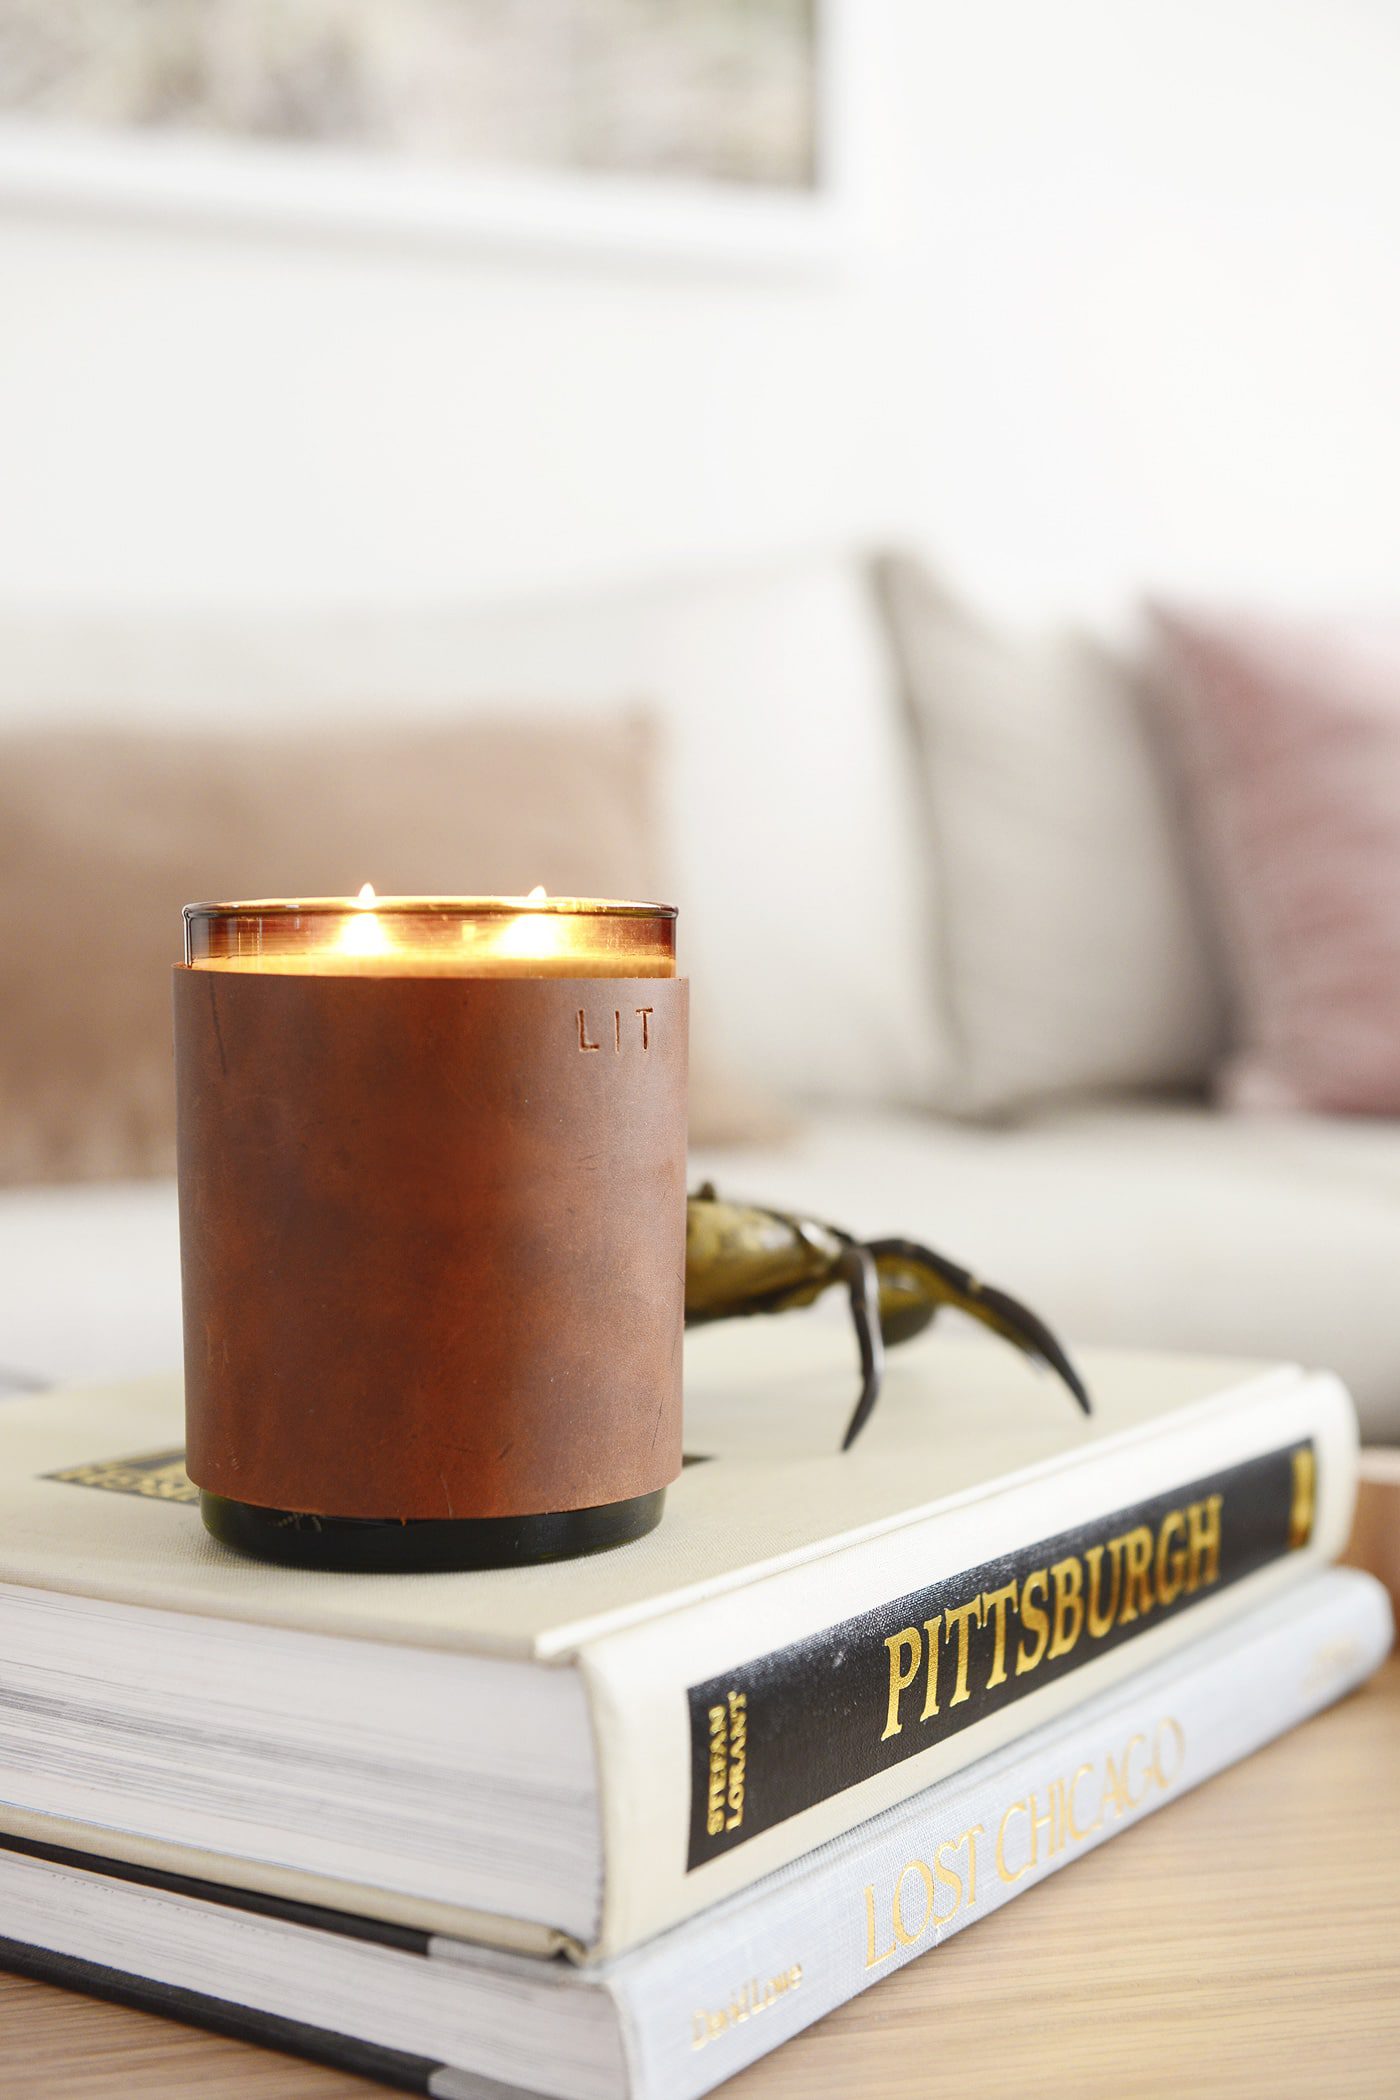
What I love most about leather is that it can be personalized using an alphabet punch, which is really my favorite part of this whole project! (Psst, this would make a great holiday gifting idea, too.)
In This Post
Tools + Supplies Used
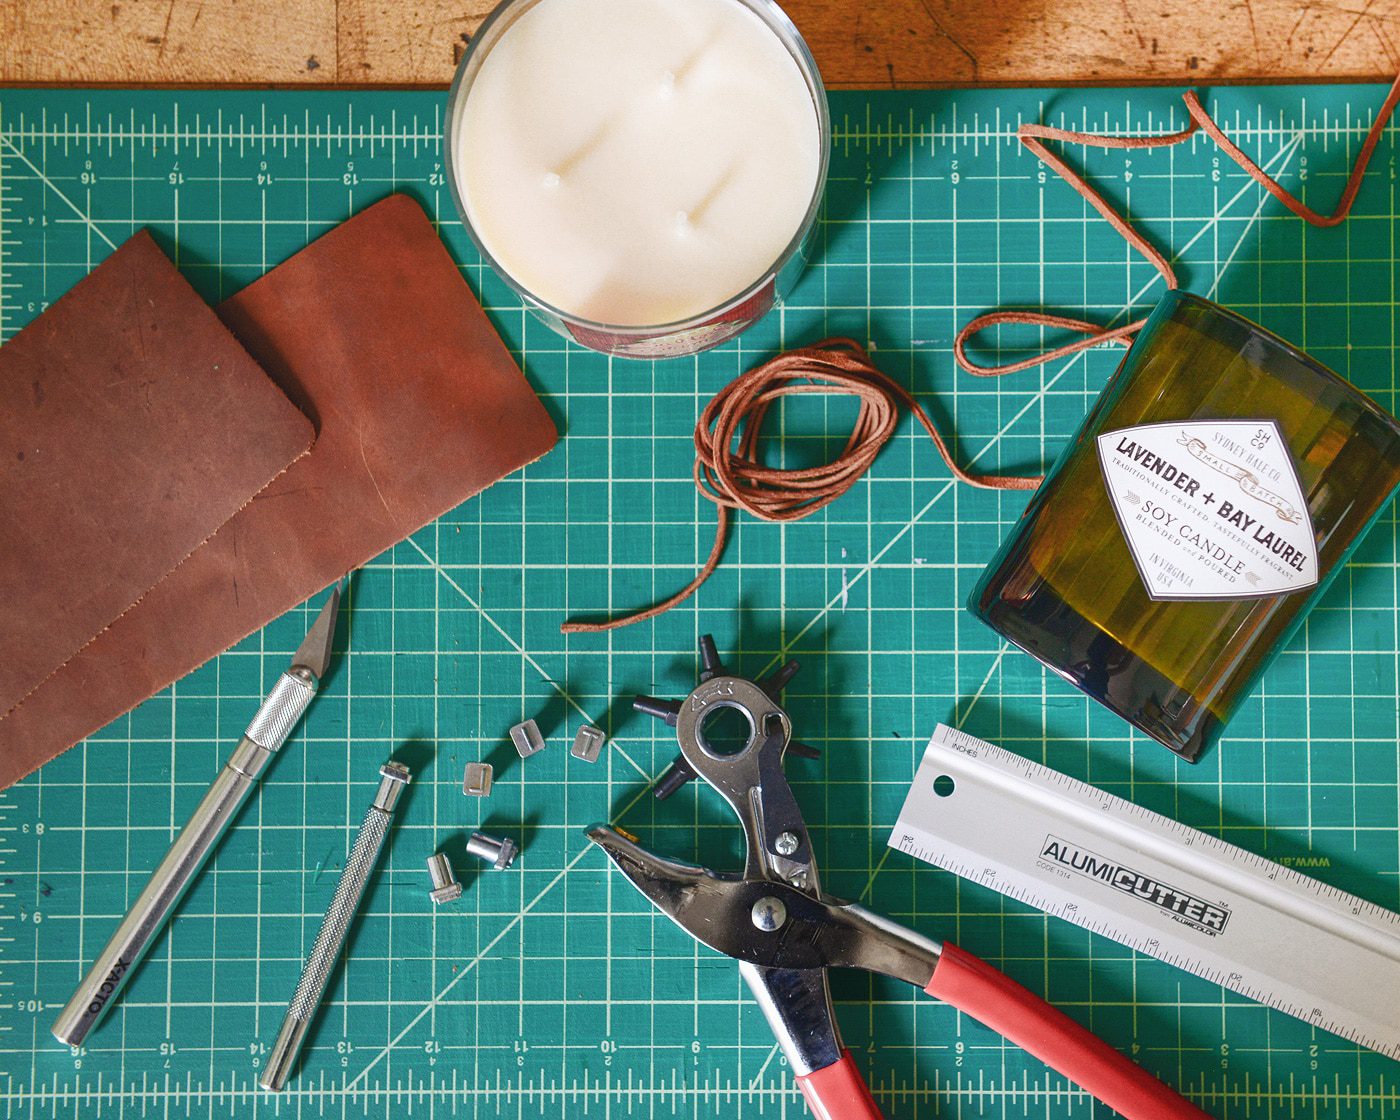
Leather trim pieces
Suede lace
Alphabet punch
Leather punch
X-acto knife
Straight edge / ruler
Cutting mat
Damp cloth / water
Candles
The How-To:
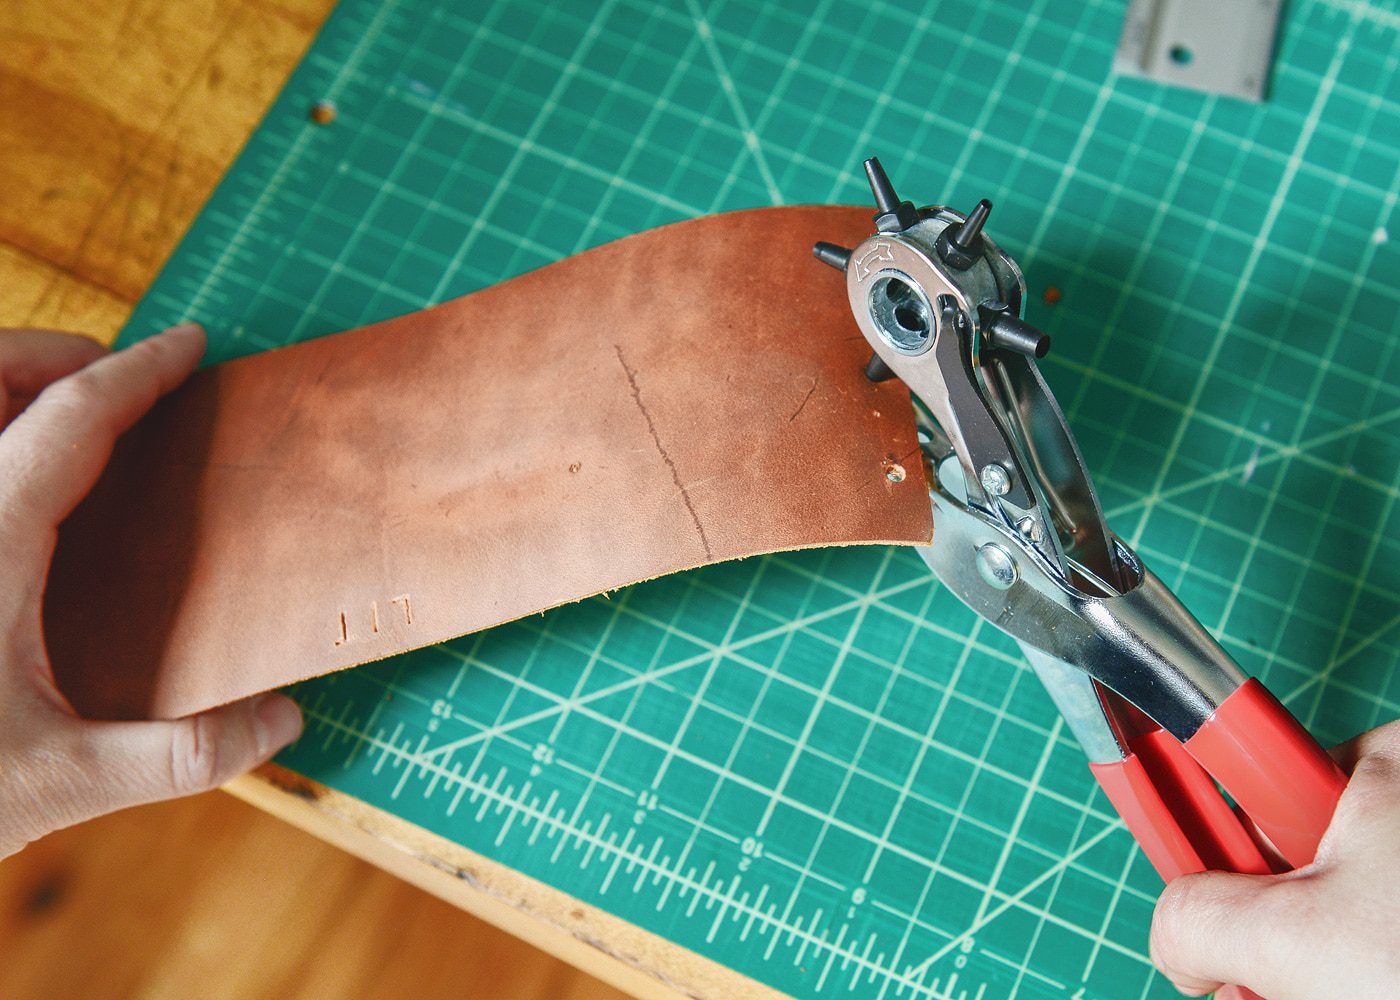
I purchased leather trim pieces from the craft store for the wraps, but there are a lot of options/colors here as well. I trimmed them to my desired height and width using my X-acto blade and a straight edge on a cutting mat. Tip: It’s always easiest to make several passes with a sharp blade, rather than one deep cut. Not only is it more safe, but your line will be much more clean in the end.

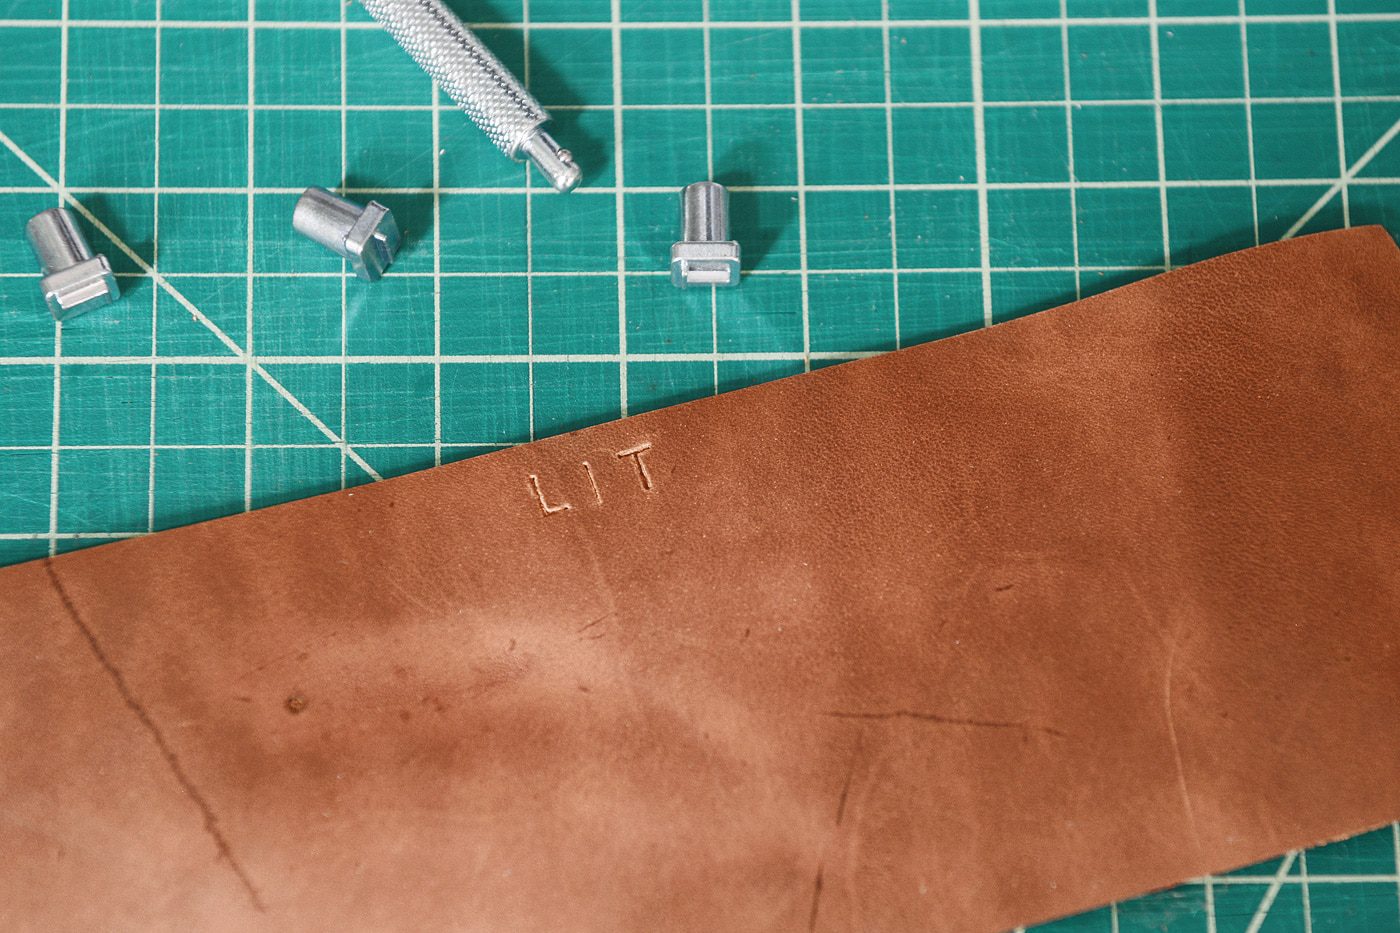
Next, I needed to figure out the placement of the personalization I wanted to add. I lined up my letters from my alphabet punch and made a small mark in the center, near the top. My personal preference was for the word to be close to the top of the wrap, but you can get as creative as you’d like!

I found that starting with the middle letter first and then working my way out allowed me to stay on track and perfectly centered. The trick to punching the letters is to start by using a wet cloth to get the leather damp. Then use a mallet to firmly punch! the letter. I gave each letter 5-6 punches for a nice, deep groove. If you remove your letter and the impression isn’t as deep as you’d like, put your punch back in place, feeling for the grooves, and punch again – harder! (But not so hard that you can see the square outline of the punch.) Tip: Make sure that you’re using leather with a smooth, hard finish (i.e., skip the suede or anything too soft), otherwise your letters won’t show up.
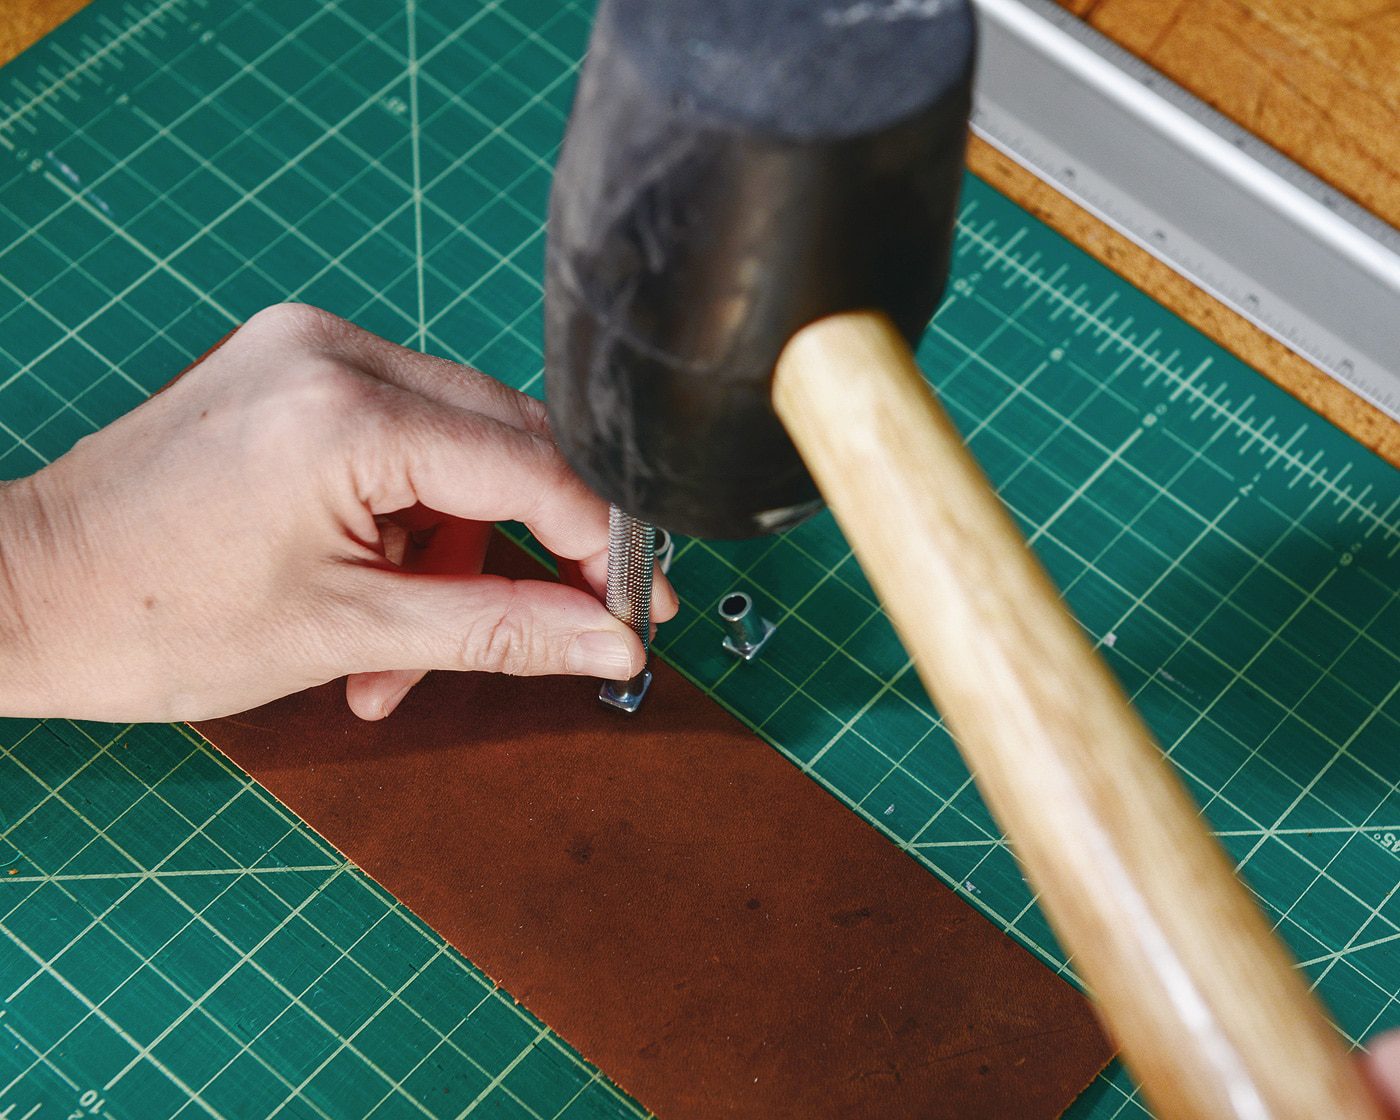
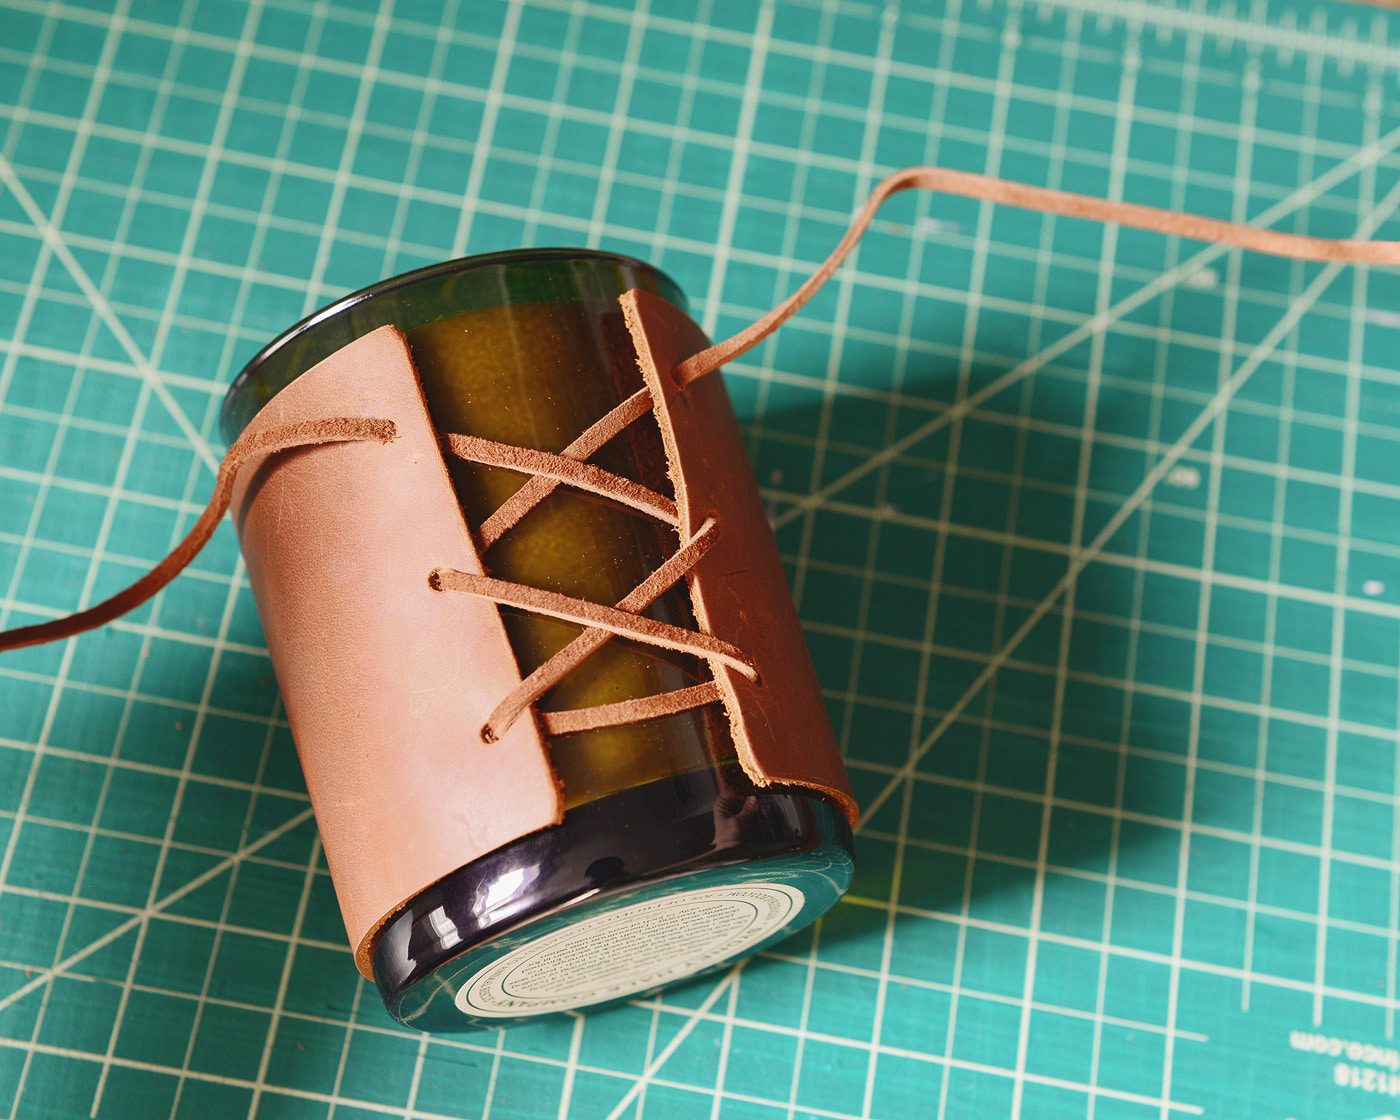
On each end of the strip, I measured and marked 3 holes, about 1/4″ in from the edge, and then I used a leather punch (so easy!) to make holes for lacing:
Then, using my suede lace, I just tied the wrap around my candle like a shoe! What I like about this method of securing the leather is that if I want to use this on a larger or smaller candle, I can lace it tighter. I did a loose knot at the top, but a bow would look sweet, too.
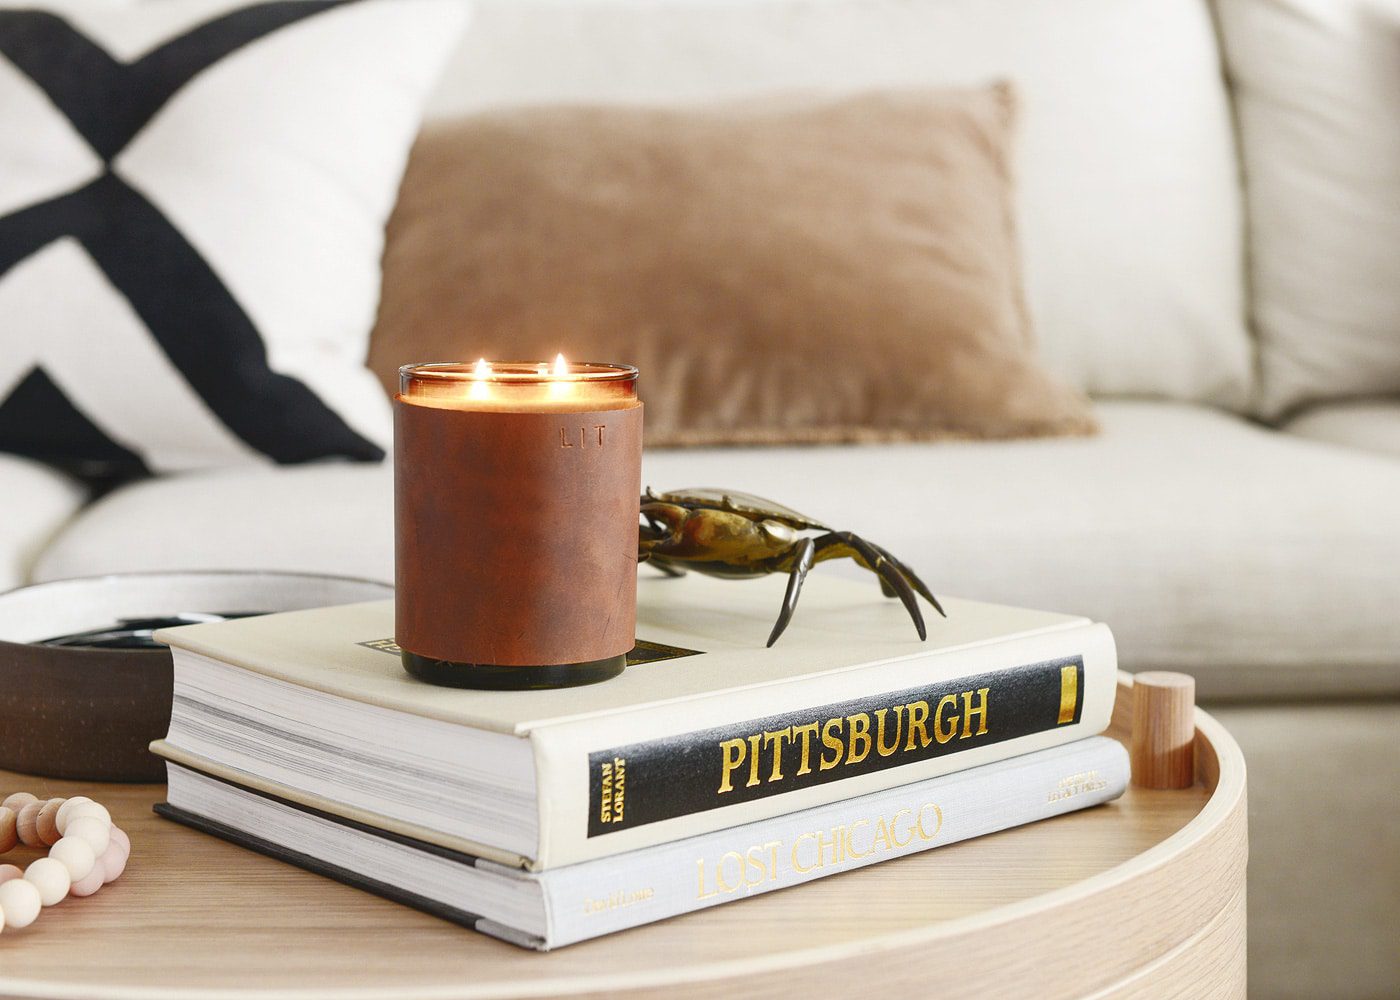
I ended up making two different heights of leather cozies, and I put the shorter height on our fatter candle. Here’s a (not so?) funny story: I initially wanted them to both be the same height, but on my first run, I accidentally punched in L-I-T with an upside-down T. Oof. Let me be your cautionary tale, ha!
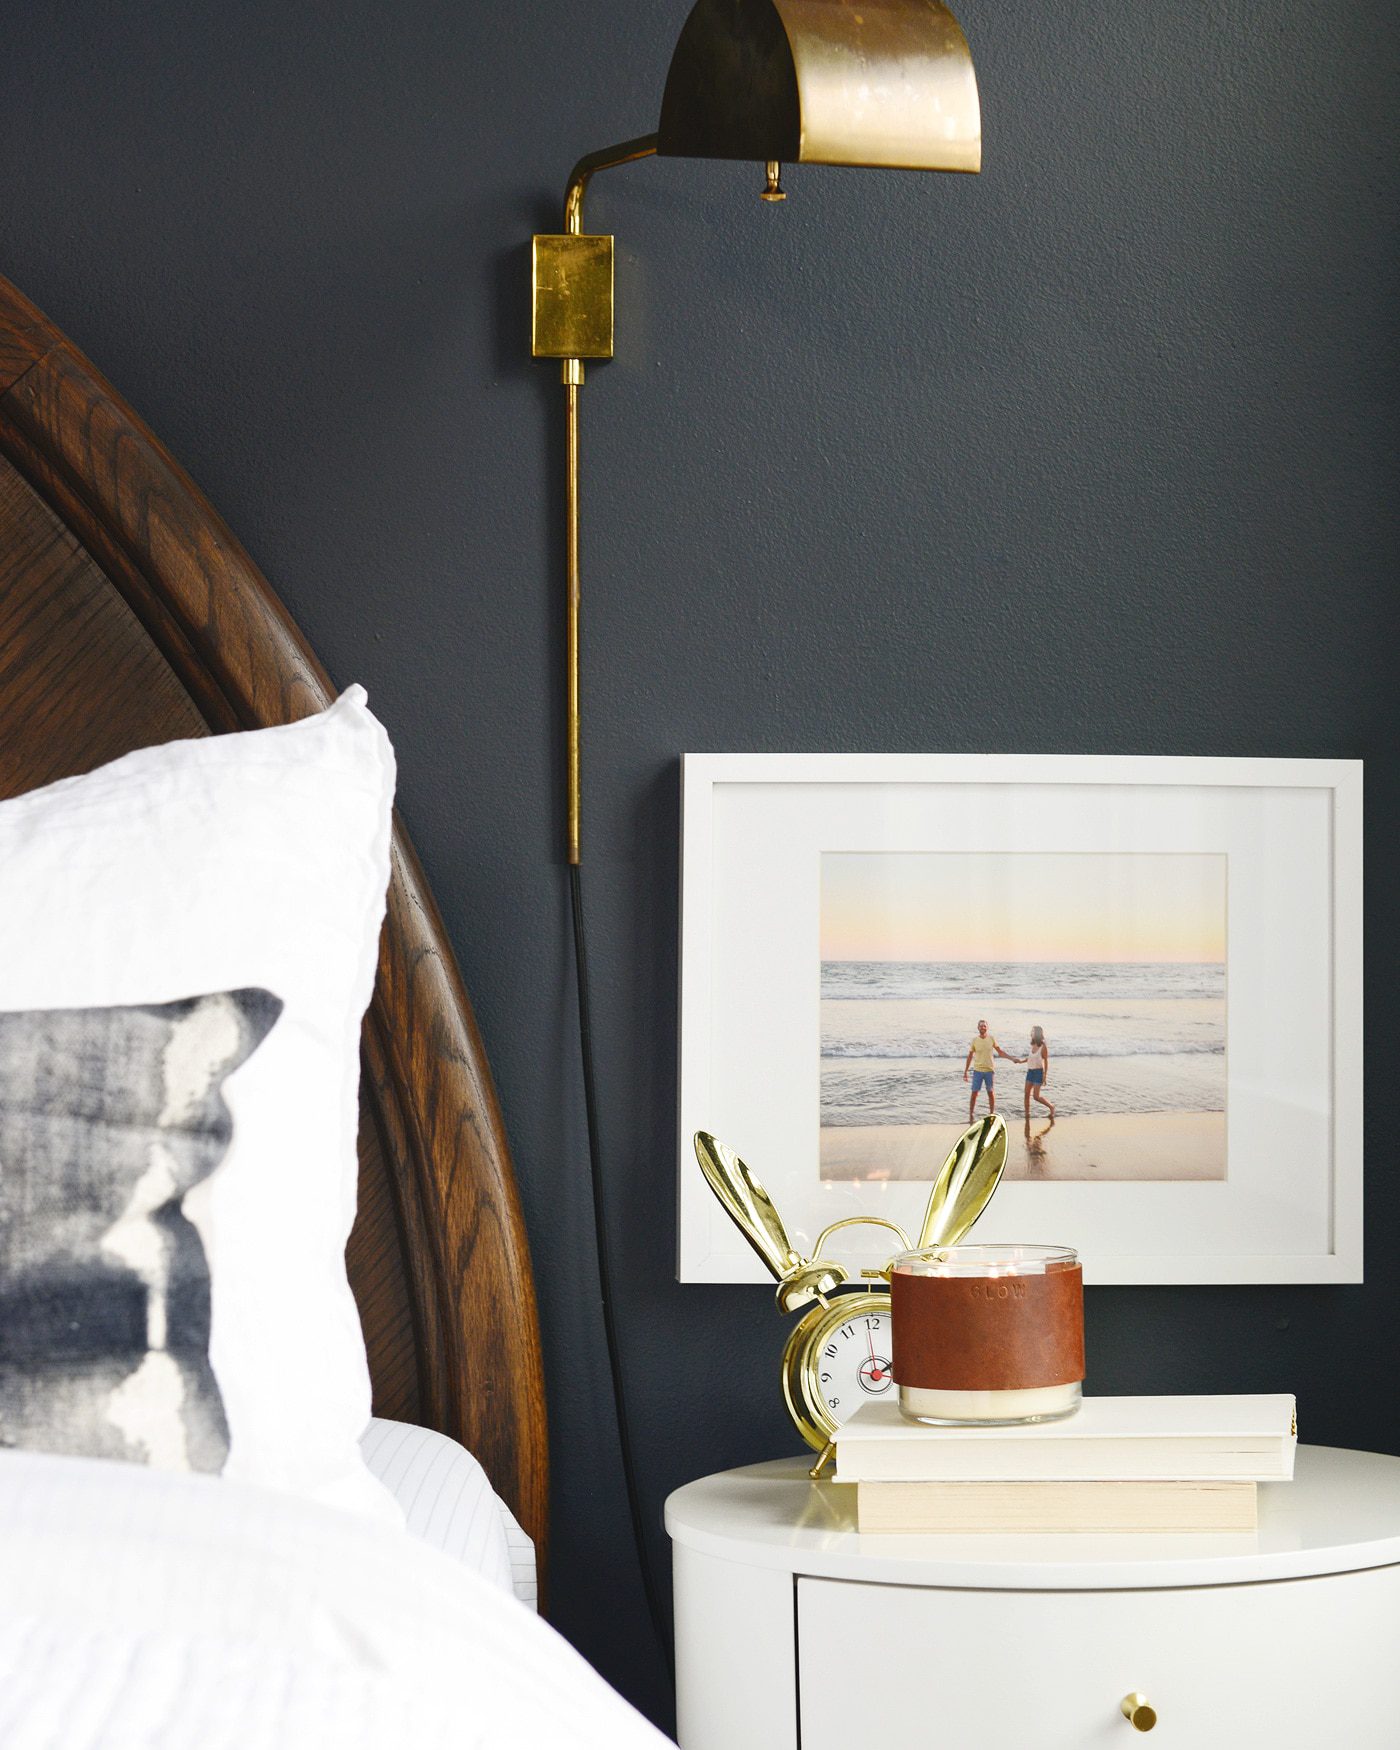
Are you gifting any candles this holiday? If so, consider DIY-ing a personalized leather cozy to go along with it! And hopefully I’ve inspired you to create something on your list that you’ve been putting off for far too long. What’s been on your mind? Go forth, create!
In This Post:


That’s super cute!
Great idea – very cute!
I love this idea so much! And, in a blog-world of constant big renovation reveals, I really appreciate that you continue to share such a great mix of big and small projects.
We love hearing this, thank you!
Just chiming in to say I agree with Liz! Love all the project posts, no matter the size :)
We appreciate you guys!
This is so great! I will absolutely try to do this at some point! Thank you.
These are darling! I love them so much. So many times I don’t love a candle label but hate to peel it off and not remember what it is. Thanks for sharing!
Yes, that’s a great point, too! This will allow you to keep those labels on so you can remember where/what you bought (and not deal with the headache of peeling off the sticky mess!)
You know, I have seen candle cozies, and thought the idea was kind of OTT (what, the candle is cold??), but I never processed that I could avoid the not-fully removable labels that way! Thank you for showing me the light.
Hahah, mostly for looks, but yeah, those darn labels can be such a buzz kill sometimes.
LOVE LOVE LOVE this!!
I had no idea that these were a thing, but I made one for my bedside candle with a collar cut from some beautiful wrapping paper to complement my colour scheme fastened with a bit of sellotape. Love the leather.
I love this idea, but is there a way to do it more ethically, by using faux leather? I’m not sure if they sell strips like that the same way, but I’ll definitely look into it. I have so many candles that I’ve burnt down and held onto the containers not knowing what to do with them, but this is perfect. I can refill them and then add these to them.
Love the idea of faux leather! Even if it’s not sold in these strips, it can be purchased by the yard.
Faux leather will melt!
[…] leather DIY’s I came across several leather candle and vase sleeves. One in particular from Yellow Brick Home was personalized with an alphabet […]
Looking great! Yet I would have burnished the edges a bit, would give it the extra touch