

Before we dive in, we have a spring makeover update! Head over to Instagram or Facebook to see where we’re headed, and all the love, hugs and high fives to each and every one of you.
With the PAX planning behind us, we’re happy to say that our IKEA PAX closet system is officially in, and despite a few of our normal house challenges (slightly sloped floors, for starters), it was surprisingly simple to build and install! It did take time, but we were able to get it in place in one very long, very rewarding day.
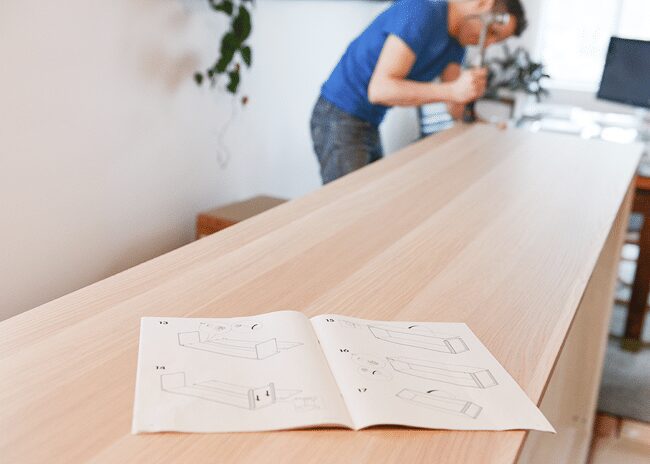
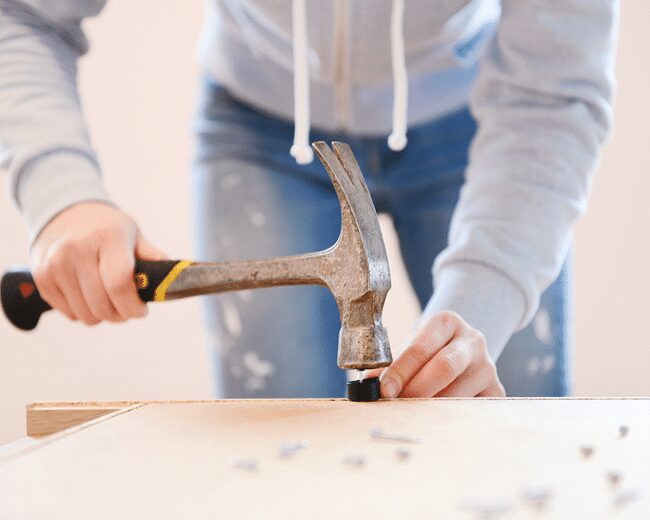
We started early (after lots of coffee and a Shark Tank episode, as usual), and we got right to work sorting through our forty-two(!) flat packed boxes, bags and baskets. Once we had a good feel for which box held which items, we laid out our tools – power drill, handheld screwdrivers and a hammer – and started on creating each box. One for Scott, one for me:
We attached the hinges and doors to the first closet before sliding it into the newly boxed out space. At this point, we wanted to see the exact depth, getting a feel for the swing of the doors against the new drywall. Although the PAX is about 24″ deep, our contractor created a boxed out depth of almost 26″ (as a precaution – just in case!), so we knew we’d potentially need a spacer behind the closet.
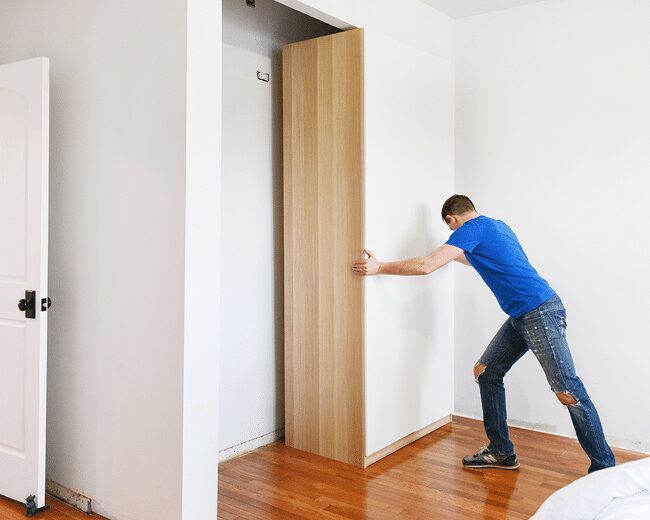
Our test fit told us that a single 2″ x 4″ spacer along the top back of the PAX would be just the right amount to kick the entire system far enough off the wall. We screwed it right into the studs, and then we pushed the first box into place and screwed that to the 2″ x 4″, just as we would if we were securing it directly to the wall:
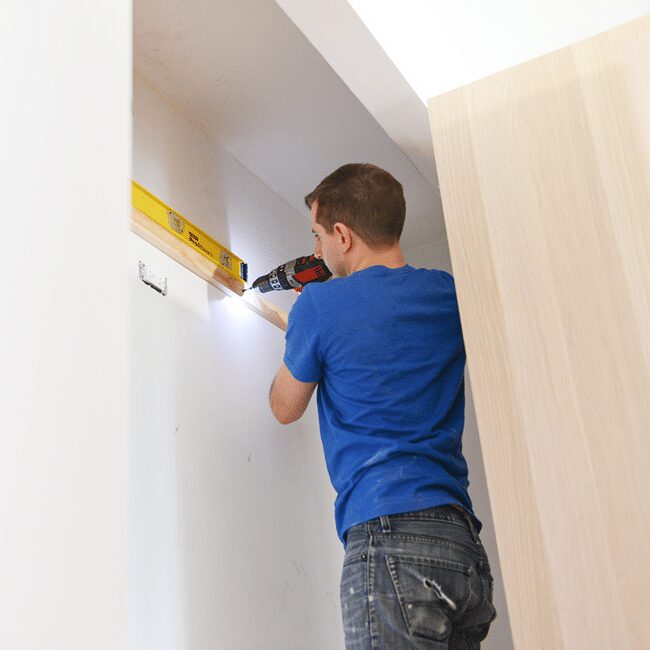
Our floor slopes upwards towards the headboard-wall (enough to make us grumble, but not so bad that we need to re-level the whole room), so we started with that first box at the highest point and used shims to keep it level. It was most important to ensure that the PAX stayed level across the top, because we knew we’d be adding trim to the bottom eventually, which would completely conceal any shims.
The second box, though? This is where things got a little tricky. We had our contractor frame out the drywall with very – and I mean very! – little wiggle room. We wanted our closet system to fit like a glove in that empty space, and so we told him to account for no more than 1/2″ on the top and sides. I am sure he thought we were crazy (truth!), and he told me to double check our measurements (yup!), and once we were really, really sure (we are!), he would frame out that wall for us.
And so? The second box came with its challenges, but man, we made it work! The left box needed to be raised by almost 3/4″ to keep things level (I shake my fist at you, slopey floor!), and Scott rigged up a rail-system-of-sorts using wood scraps. Not only did those scraps keep the left closet level (they continue all the way to the back of the closet), but it aided in easing that big bear of a box into that perfect, not-an-inch-to-spare space. Yeah! Note: There are small feet on the bottom that can be adjusted for un-level floors, but we needed a bit more height than they could provide.
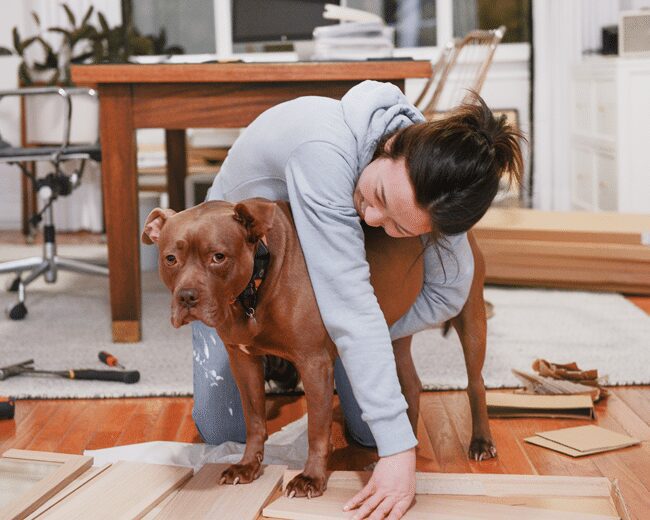
Scott used our Dremel to nip the exposed wood rails, and we had a closet! Well, we had our closet boxes! It was late afternoon by this point, and right as we were going to call it a day, we got our second wind and motored through on the organizational guts. The best part, really! This is around the time that Chunk jumped in to help, and I think she stood like this for a good five minutes before I insisted we could do the job without her assistance.
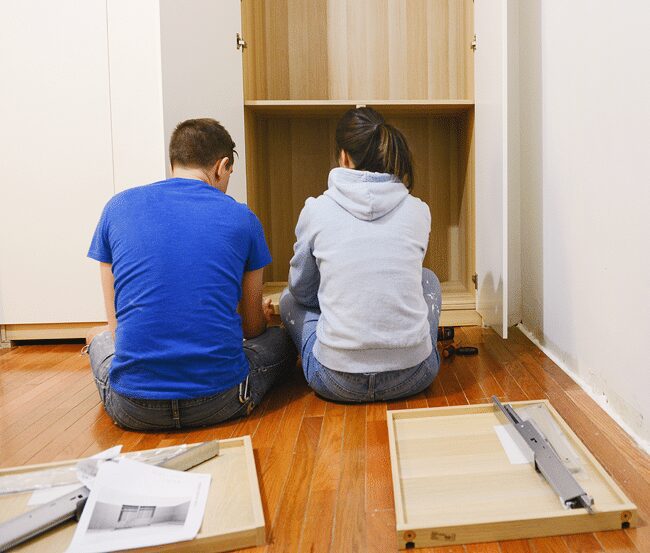
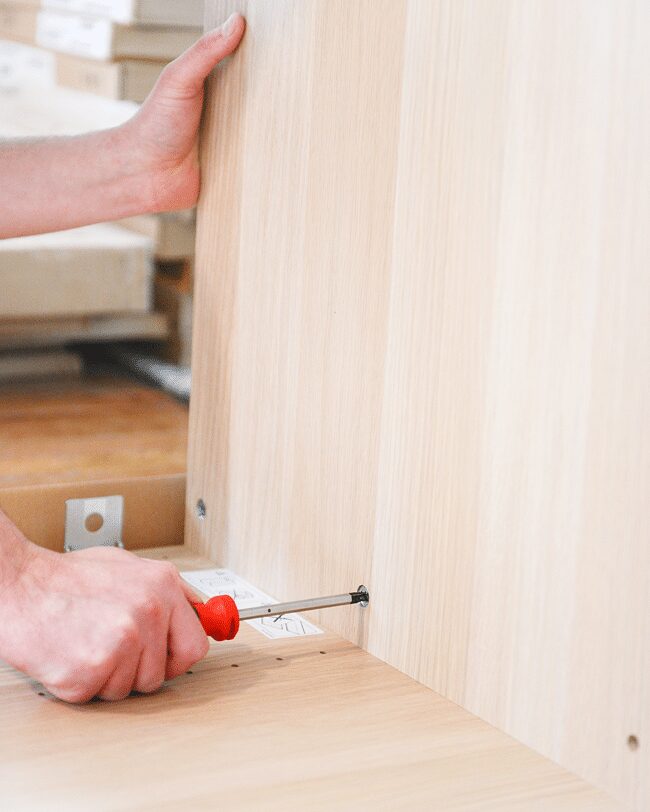
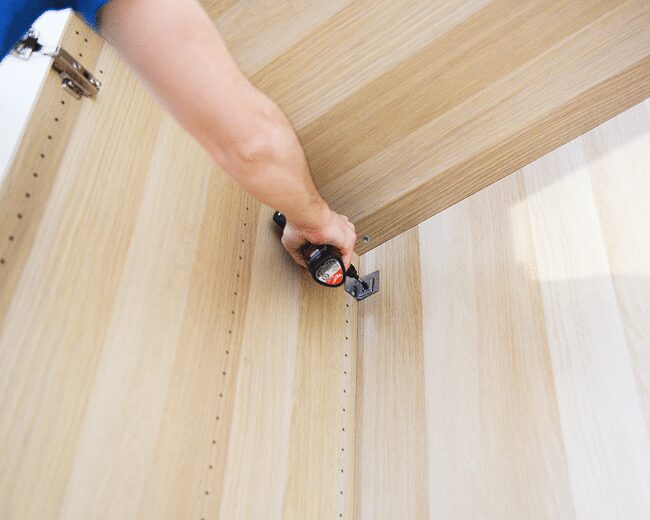
Once we completed two of the drawers, we could complete all of the drawers in a snap. When it came time to add the drawer slides, we referenced a number sheet that was given to us at IKEA when we designed the closets. The sheet told us how many holes from the bottom each drawer, divider and rod should go. One, two, three, four… fifty-five, fifty-six, fifty-seven…
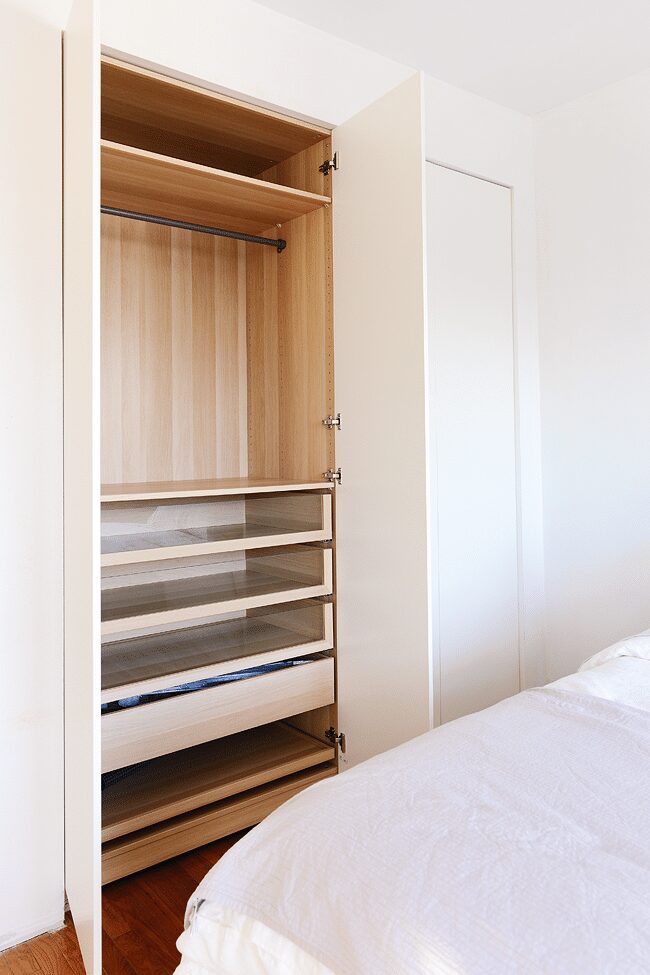
HIS CLOSET. Scott preferred the smaller side-by-side drawers, with two pull-out trays for his shoes (see all the options right here). Despite being 20″ wide, they’re almost 2′ deep, which will allow for, say, two separate stacks of tees per drawer. He has a basket at the very bottom for loose-ends – aka, the knock-around clothes he used to toss on top of our dressers, ha! Above those two solid front drawers is a tie organizer, which we’re both really excited about!
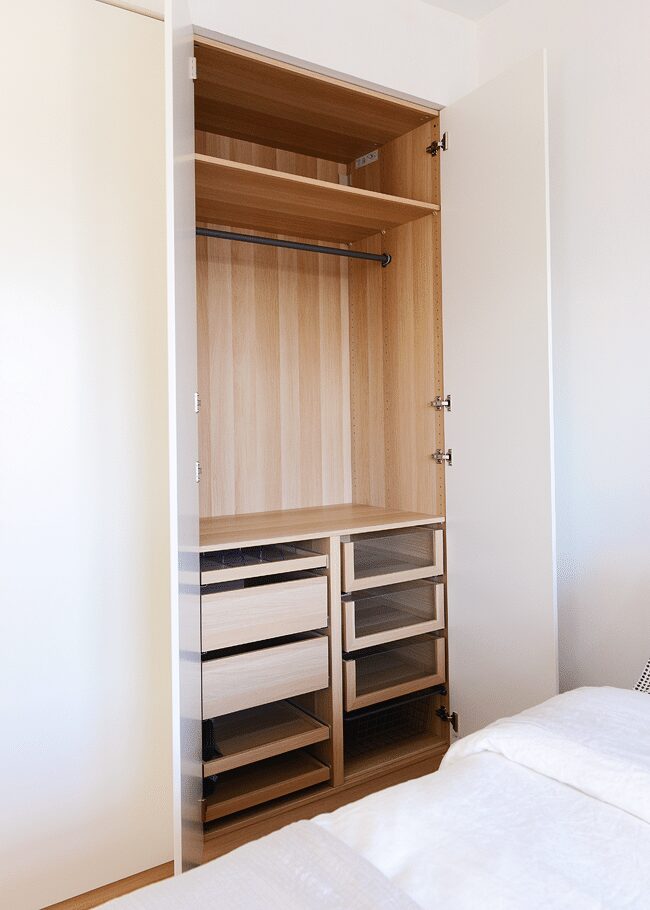
HER CLOSET. The majority of my clothes get folded into drawers (tees and jeans all the way!), so I went for the longer single drawers, because I couldn’t get over how huge they were! I have a single, wider pull-out tray for shoes at the very bottom (I’ve always stashed seasonal shoes in our foyer coat closet), and we both opted for mostly glass front drawers so we could find That One buried t-shirt without pulling out every single item. The solid front drawers (in each of ours) are for those less-than-organized items: socks and, obviously, underwear.
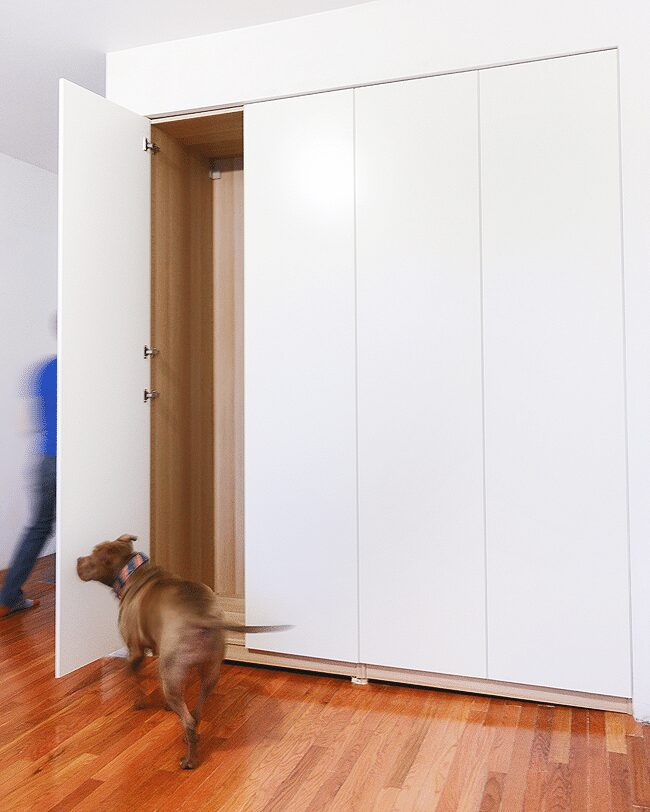
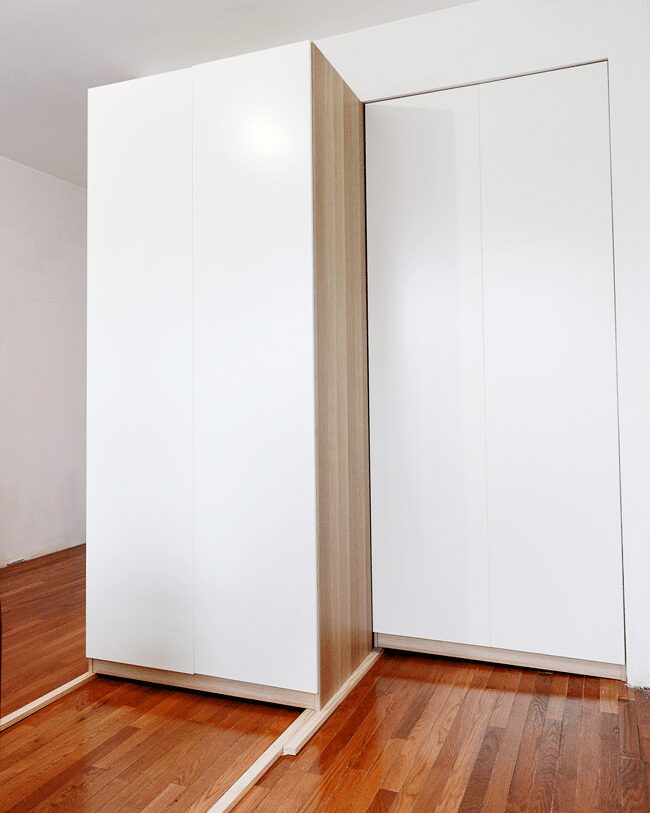
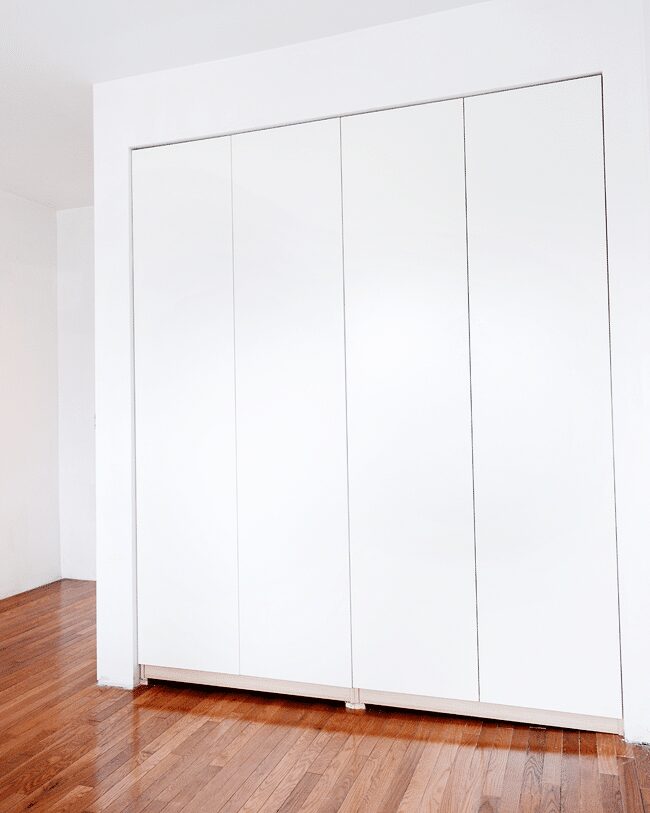
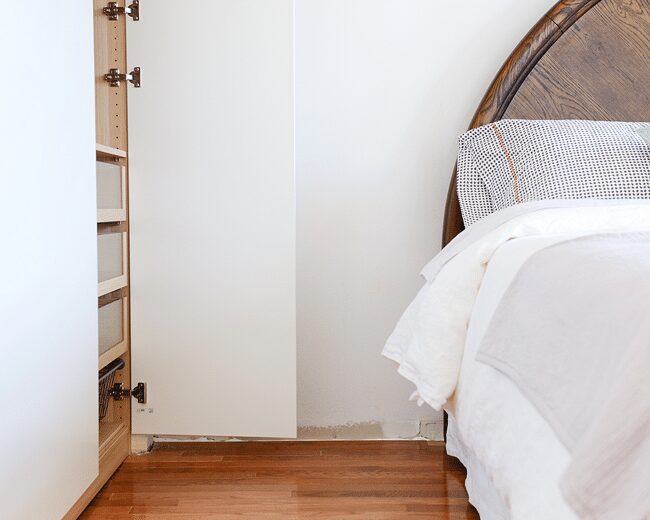
When designing our PAX, we were set on double doors for a couple of reasons: 1) We knew we could both be rifling through our closets at the same time (no sliding doors to keep one of us waiting), and 2) although this room feels big to us, it still needed space-saving touches. Because each individual closet is 40″ wide, the double 20″ doors allow for clearance alongside our bed:
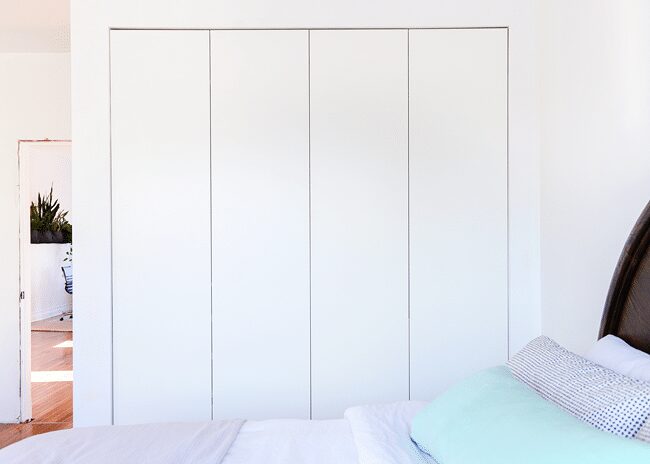
Don’t let my photos fool you; these closets are so tall (almost 8′) and wide (almost 7′) and deep (2′)! Our goal was to eliminate dressers in the bedroom, and these’ll do it, absolutely. We’re continual closet purgers, and when we eventually load these up, we’ve already discussed purging once more so that we have a closet full of only the items we love. No ifs, no buts. (This book instantly changed the way we organize and donate our clothing, and we’ve never looked back!)
I know that IKEA offers build services, but I promise that if you’ve taken the time to build anything more complicated than a LACK side table, you (+ a friend) can build your own closet! Really! We’ve held off on putting our clothes in the closet until we finish painting the doors, installing the LED lighting(!) and we’ll be adding big, brassy pulls, too. Oh, be still my organizational loving heart.
A huge thank you to IKEA for partnering with us on our bedroom renovation, and thank you for supporting our sponsors!


Wow you guys! This looks amazing!!! ?
Looks great! :) I love the picture of you two side by side. :)
I love this solution – it could totally work in my room too. But about full-length dresses? They have to folded on a hanger, or stored elsewhere?
Hi Carrie, this was definitely a concern… BUT, I am the kind of girl who owns a dozen short dresses and 1 long dress. My longest dress is a maxi made of a jersey material, so that will gather along that shelf above my drawers, OR like you suggested, I could fold it in half on a hanger. To get our spacing just right, I took my longest SHORT dress to make sure it wouldn’t get too bunched up, and we raised the rail to the appropriate height!
The great thing about PAX is that it’s so customizable. For example, if I really was concerned about long dresses, I could have done half-sized drawers like Scott chose, and the other half could have been mostly empty with only a shoe pull out to allow for long dresses to fall nicely. It really depends on what works best for you / what styles of clothes you wear, so we went into IKEA to design the wardrobes with that in mind!
Nice! Just checked out the half sized drawers – they’d leave plenty of space for long dresses. I have quite a few maxis and that setup would allow them to flow freely. Thanks for the post! :)
Wow!!! This looks amazing!
absolutely gorgeous – i’ve now pinned this post to look back at when we take the plunge and renovate our bedroom.
You guys are my heroes! A few weeks ago we tried to put together an IKEA wardrobe and even with two college degrees between us, 2 1/2 weekends, we still had to call my son to help us. Argh! Your PAX closest turned out fabulous and is incredibly well organized. I don’t think I can ever bring another IKEA project in the house that wasn’t assembled ;) Keep up the great work. BTW, love that ‘assistant’ project manager (Chunk). ღ
These look so amazing! Right now, we have a great walk-in closet (former owners walled off a corner of the huge bedroom), but we are considering a move. I’ll be tagging this in case we do make it to a city with minimal space. :)
Love it! Great work, guys.
This looks incredible! We are installing these in the hallway to our bedroom, and am so happy you finished yours! Looks like we are going to Ikea today….
Yeah!! Good luck!
To say I’m jealous is an understatement! We had a PAX system in our old apartment and it was amazing. We don’t have the room in our tiny bedroom, but at least we have a shared closet.
Wow, amazing well done on that fit! So seamless!
My inquiring mind wants to know … are you going to frame it out at all? Are you going to leave it white or paint the same dark colour going on the walls? How will a side table fit next to the closet door?
Congratulations on all the hard work! The end is so close!
Yup), we will be trimming around and under the wardrobes. :) Our hope was to even add decorative trim to the doors themselves, but I think our fit was so spot-on, that they wouldn’t open properly if we did! In any case, we’ll be painting the doors in the same bright white that we use on all of the trim in our home, because we personally love the idea of contrasting doors/trim with the dark wall color we’ve chosen. They’ll also get pretty new pulls!
love the drawers! I would love to not have a dresser in our room – what an excellent organizational system. Nice work guys squeezing it in!
I love this, it looks great!
I’m pinning as well. I know you’re going to be trimming yours out, but I LOVE it when the closet is totally flat and fades into the wall. I’m thinking of reframing my double closets so that I can slide in some PAX units just so and then paint the doors dark to match the walls. The only trim would be at the bottom. I don’t know if I could get my framing as perfect as you did though :) Dreamy….
PS – That Chunk, I just want to squeeezzeee her!
That closet turned out gorgeous. Love IKEA, but they can definitely be a bitter overwhelming. Someone should seriously offer a service to come to your house and configure your IKEA pieces for you – they’d make a killing.
Josh | The Kentucky Gent
http://thekentuckygent.com
Hi Josh, they do!! We turned that offer down (because we’re gluttons for punishment?! Who knows!), but they will come to your home and build the PAX for you!
OH MY GOODNESS SO DREAMYYY!!! I am very much against dressers and this is the perfect solution! So awesome. I can’t wait to design my own some day!!!
We have these too! Takes a while to install but the end product is worth it!
Looks great :)
So pretty – a closet that nice makes the clothes look even nicer, too!
Wow, having serious closet envy over here! ?
Wow- Looks amazing!! I love how clean it looks with the doors open or closed!
It looks SOOOO GREAT!!!!!!!!!!
I love this! I’ve been wanting a great way to reorganize the closet and I think this is it! Thanks for sharing!
Laura
http://laurelandfern.com/
I had been dreaming of creating a wardrobe in place of our wide, but very skinny closet and when I saw this post I took the plunge! My husband and I have removed the wall and created an opening for the IKEA Pax, which we plan to purchase today, but we are still at a loss for how to trim this thing out. I am waiting patiently for your reveal of that step, but until then my question is — We are also hoping to trim out the doors themselves to add a bit of depth. You said your opening ended up being so spot-on the doors wouldn’t open properly, so how much additional room would you say you needed? We had planned for an extra half inch of space on either side of the Pax.
Hi Emily,
Hooray for your PAX wardrobe! We have been loving ours SO much, but you’re right, we had to nix the idea of adding trim because our measurements were too perfect. As a result, the doors wouldn’t have been able to open properly due to any added depth trim would add. The PAX looks really nice even if isn’t boxed in, which would be the ideal scenario for adding your own trim to the doors, but if you are looking to box it in completely, I think 1/2″ – 3/4″ would work, assuming you use thin wood to trim along the outside edges (check out ALL the decorative trim options at a Home Depot or Lowe’s!).
As far as trimming out AROUND the PAX, we used the same door trim that we used throughout the rest of the house! At the bottom, we used a thin strip of wood and painted it white as our ‘toe kick’ to help hide the ugliness where you can see the shims in this post. You can sort of see that here: https://yellowbrickhome.com/2016/04/08/organizing-the-bed-bath/
For any other ‘filler’ pieces you might need, just be sure to caulk any seams and paint them white so that they’ll disappear. Here’s a great link to a similar situation where she had to use fillers to close up gaps. There will always be gaps, but there’s also always a solution! http://blog.jennasuedesign.com/2014/03/kitchen-chronicles-ikea-pax-pantry-reveal/
We’re so close to finishing up the bedroom, just waiting on a few things to arrive in the mail, and then I’ll be sharing lots of photos! If you have any additional questions, I’m happy to help via email, too: team [at] yellowbrickhome [dot] com
I love what you did with the PAX system of IKEA!
It is build-in perfectly!!
What type of doors (ikea reference) did you choose? Are they paintable?
I’m excited on which door handles you’ll decide!
Thanks! They’re the TANEM doors, and yes, we did have them painted.
[…] we’d like to rip our closet out and install in-wall IKEA Pax wardrobes, a la Yellow Brick Home. Our closet actually extends all the way to the door, but those two feet aren’t very […]
Hi! Looking to get a similar set up for our master bedroom. I’m wondering if you’ve noticed any sagging with the shelves? We’re concerned that it might start to bow after awhile with the 40″ wide shelves. Thank you!!
No sagging whatsoever!