

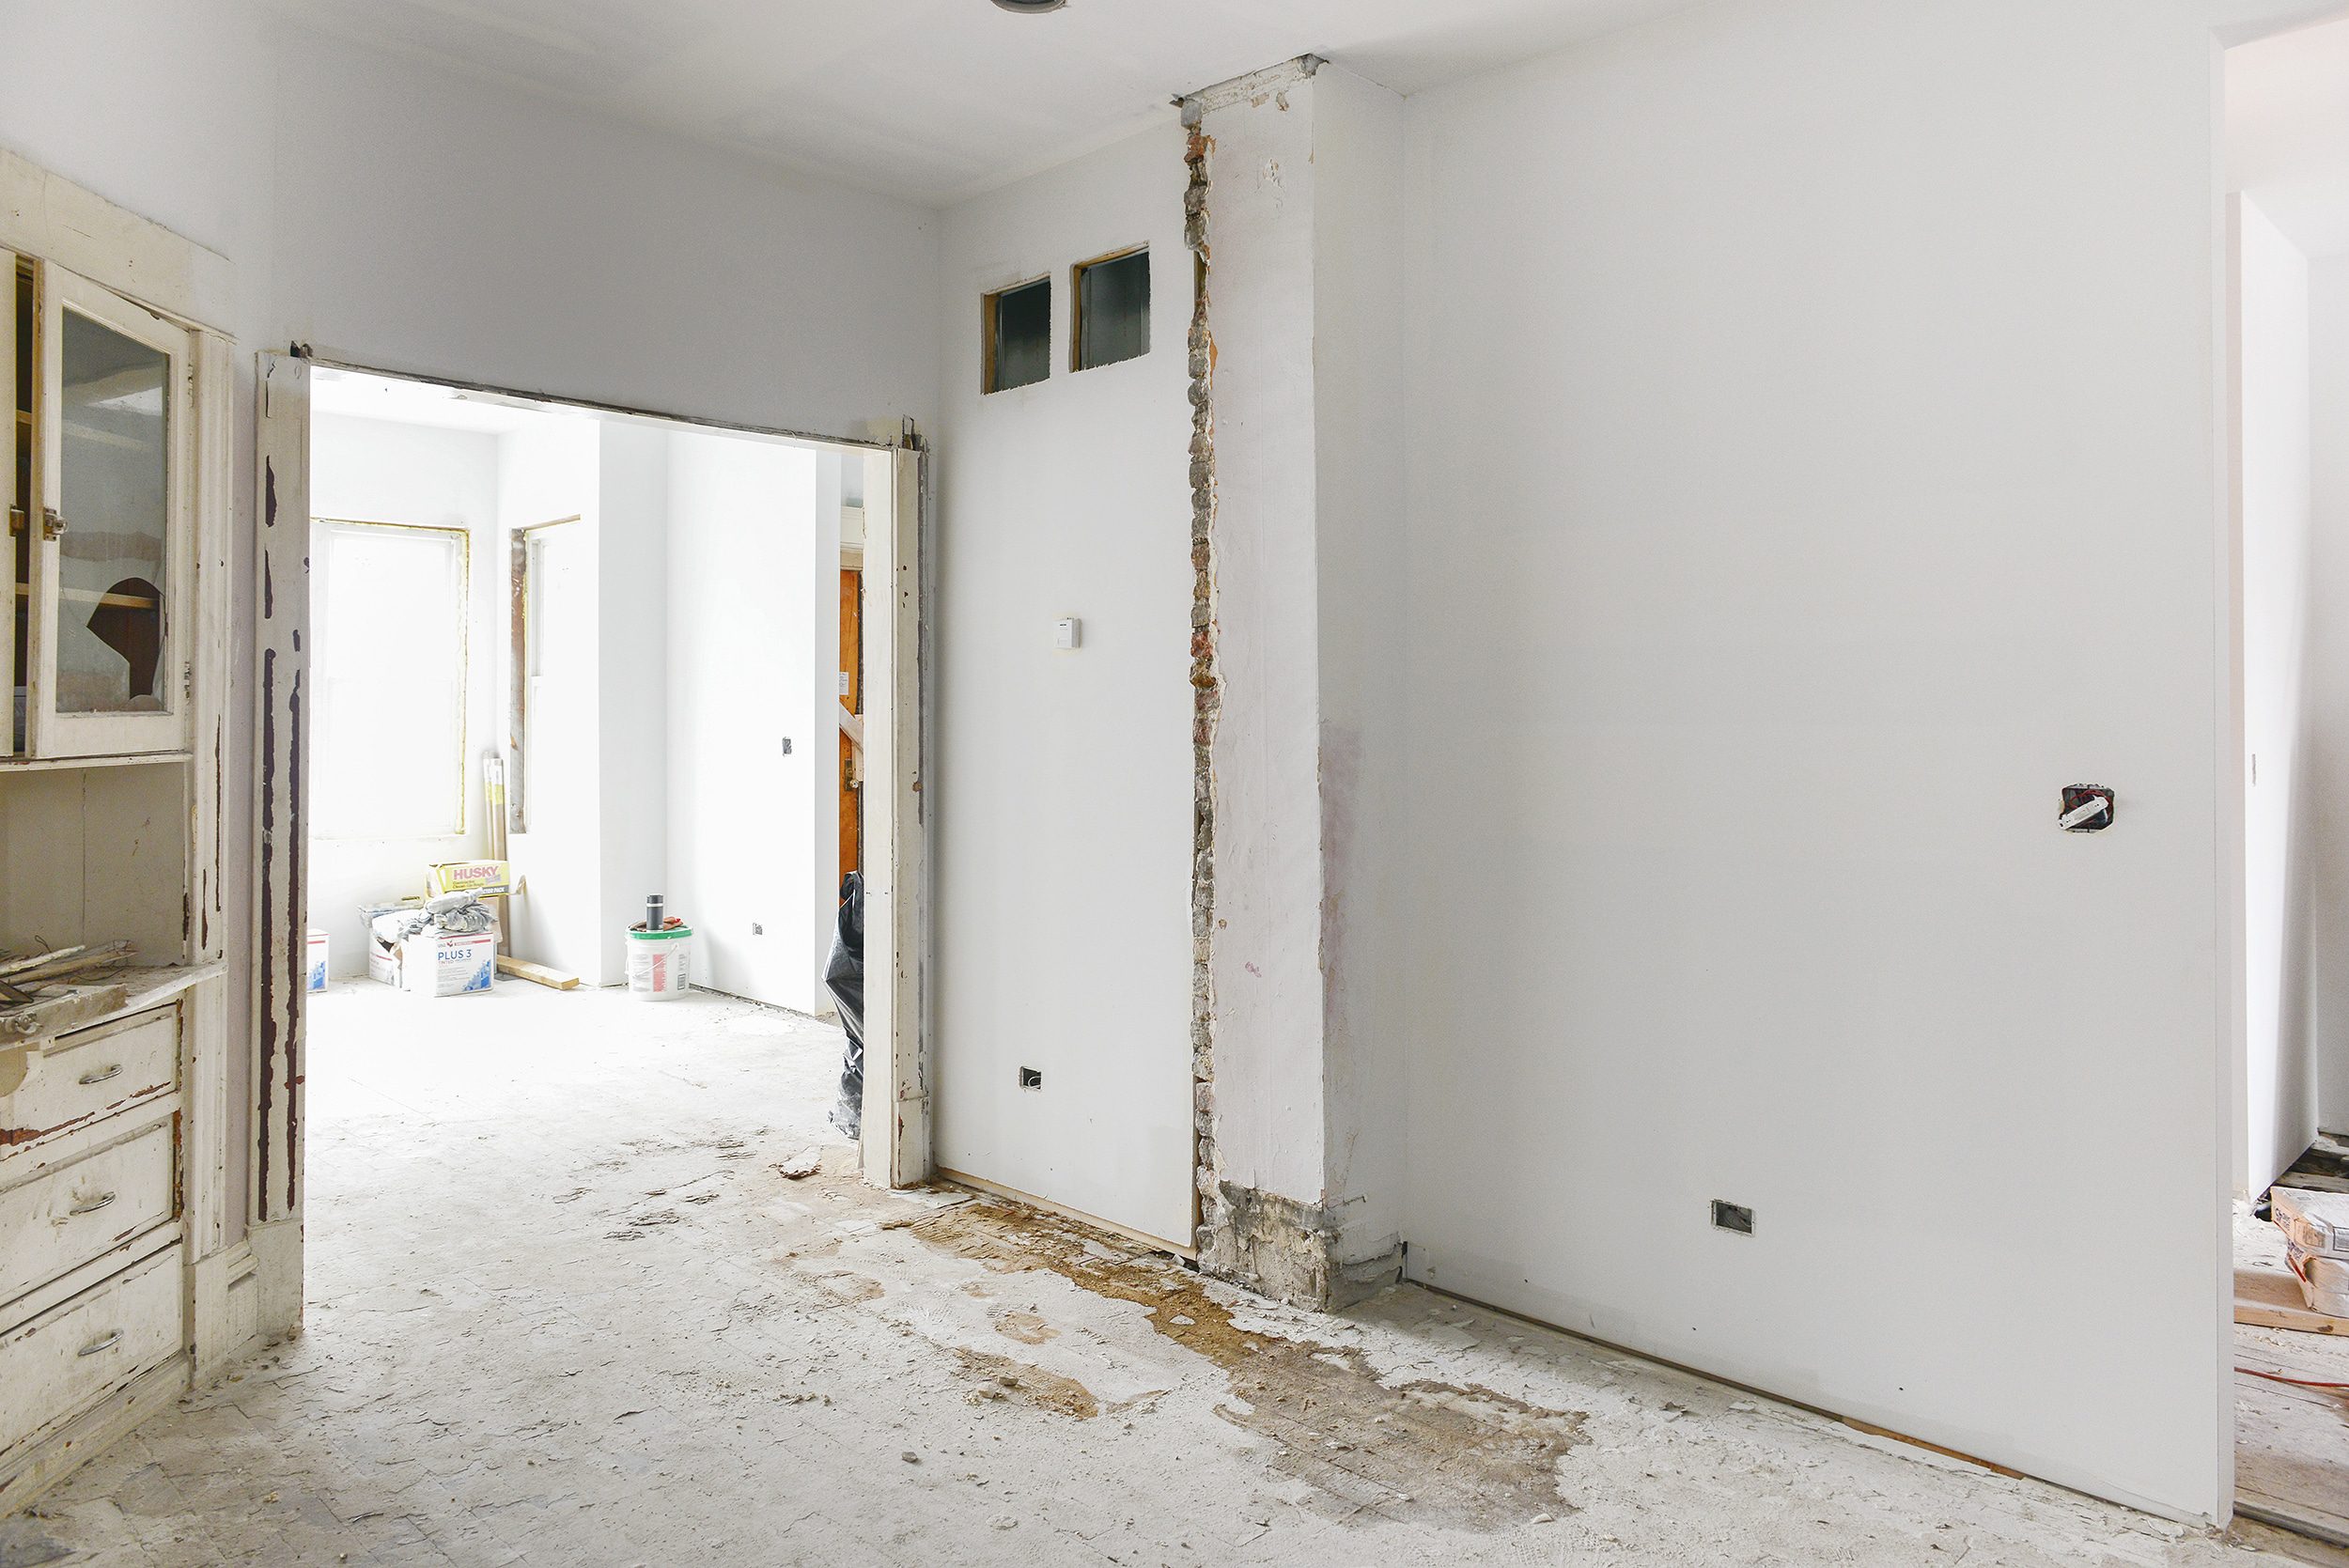
Our Two Flat project is almost ready for finish work! Before the final ‘broom cleaning’, we wanted to chisel our chimneys to remove the remaining damaged plaster to expose the original 130-year-old raw brick of the home.
A Simple, Dirty DIY
Last week, we spent a couple of mornings at the Two Flat tidying up, hatching plans for future projects and, perhaps most importantly, chiseling the crumbling plaster off of the chimney. This is a design decision that we made on the second floor of our Chicago home many years ago, and we’ve loved the look so much that when the opportunity to replicate it at the Two Flat presented itself, we jumped at the chance!
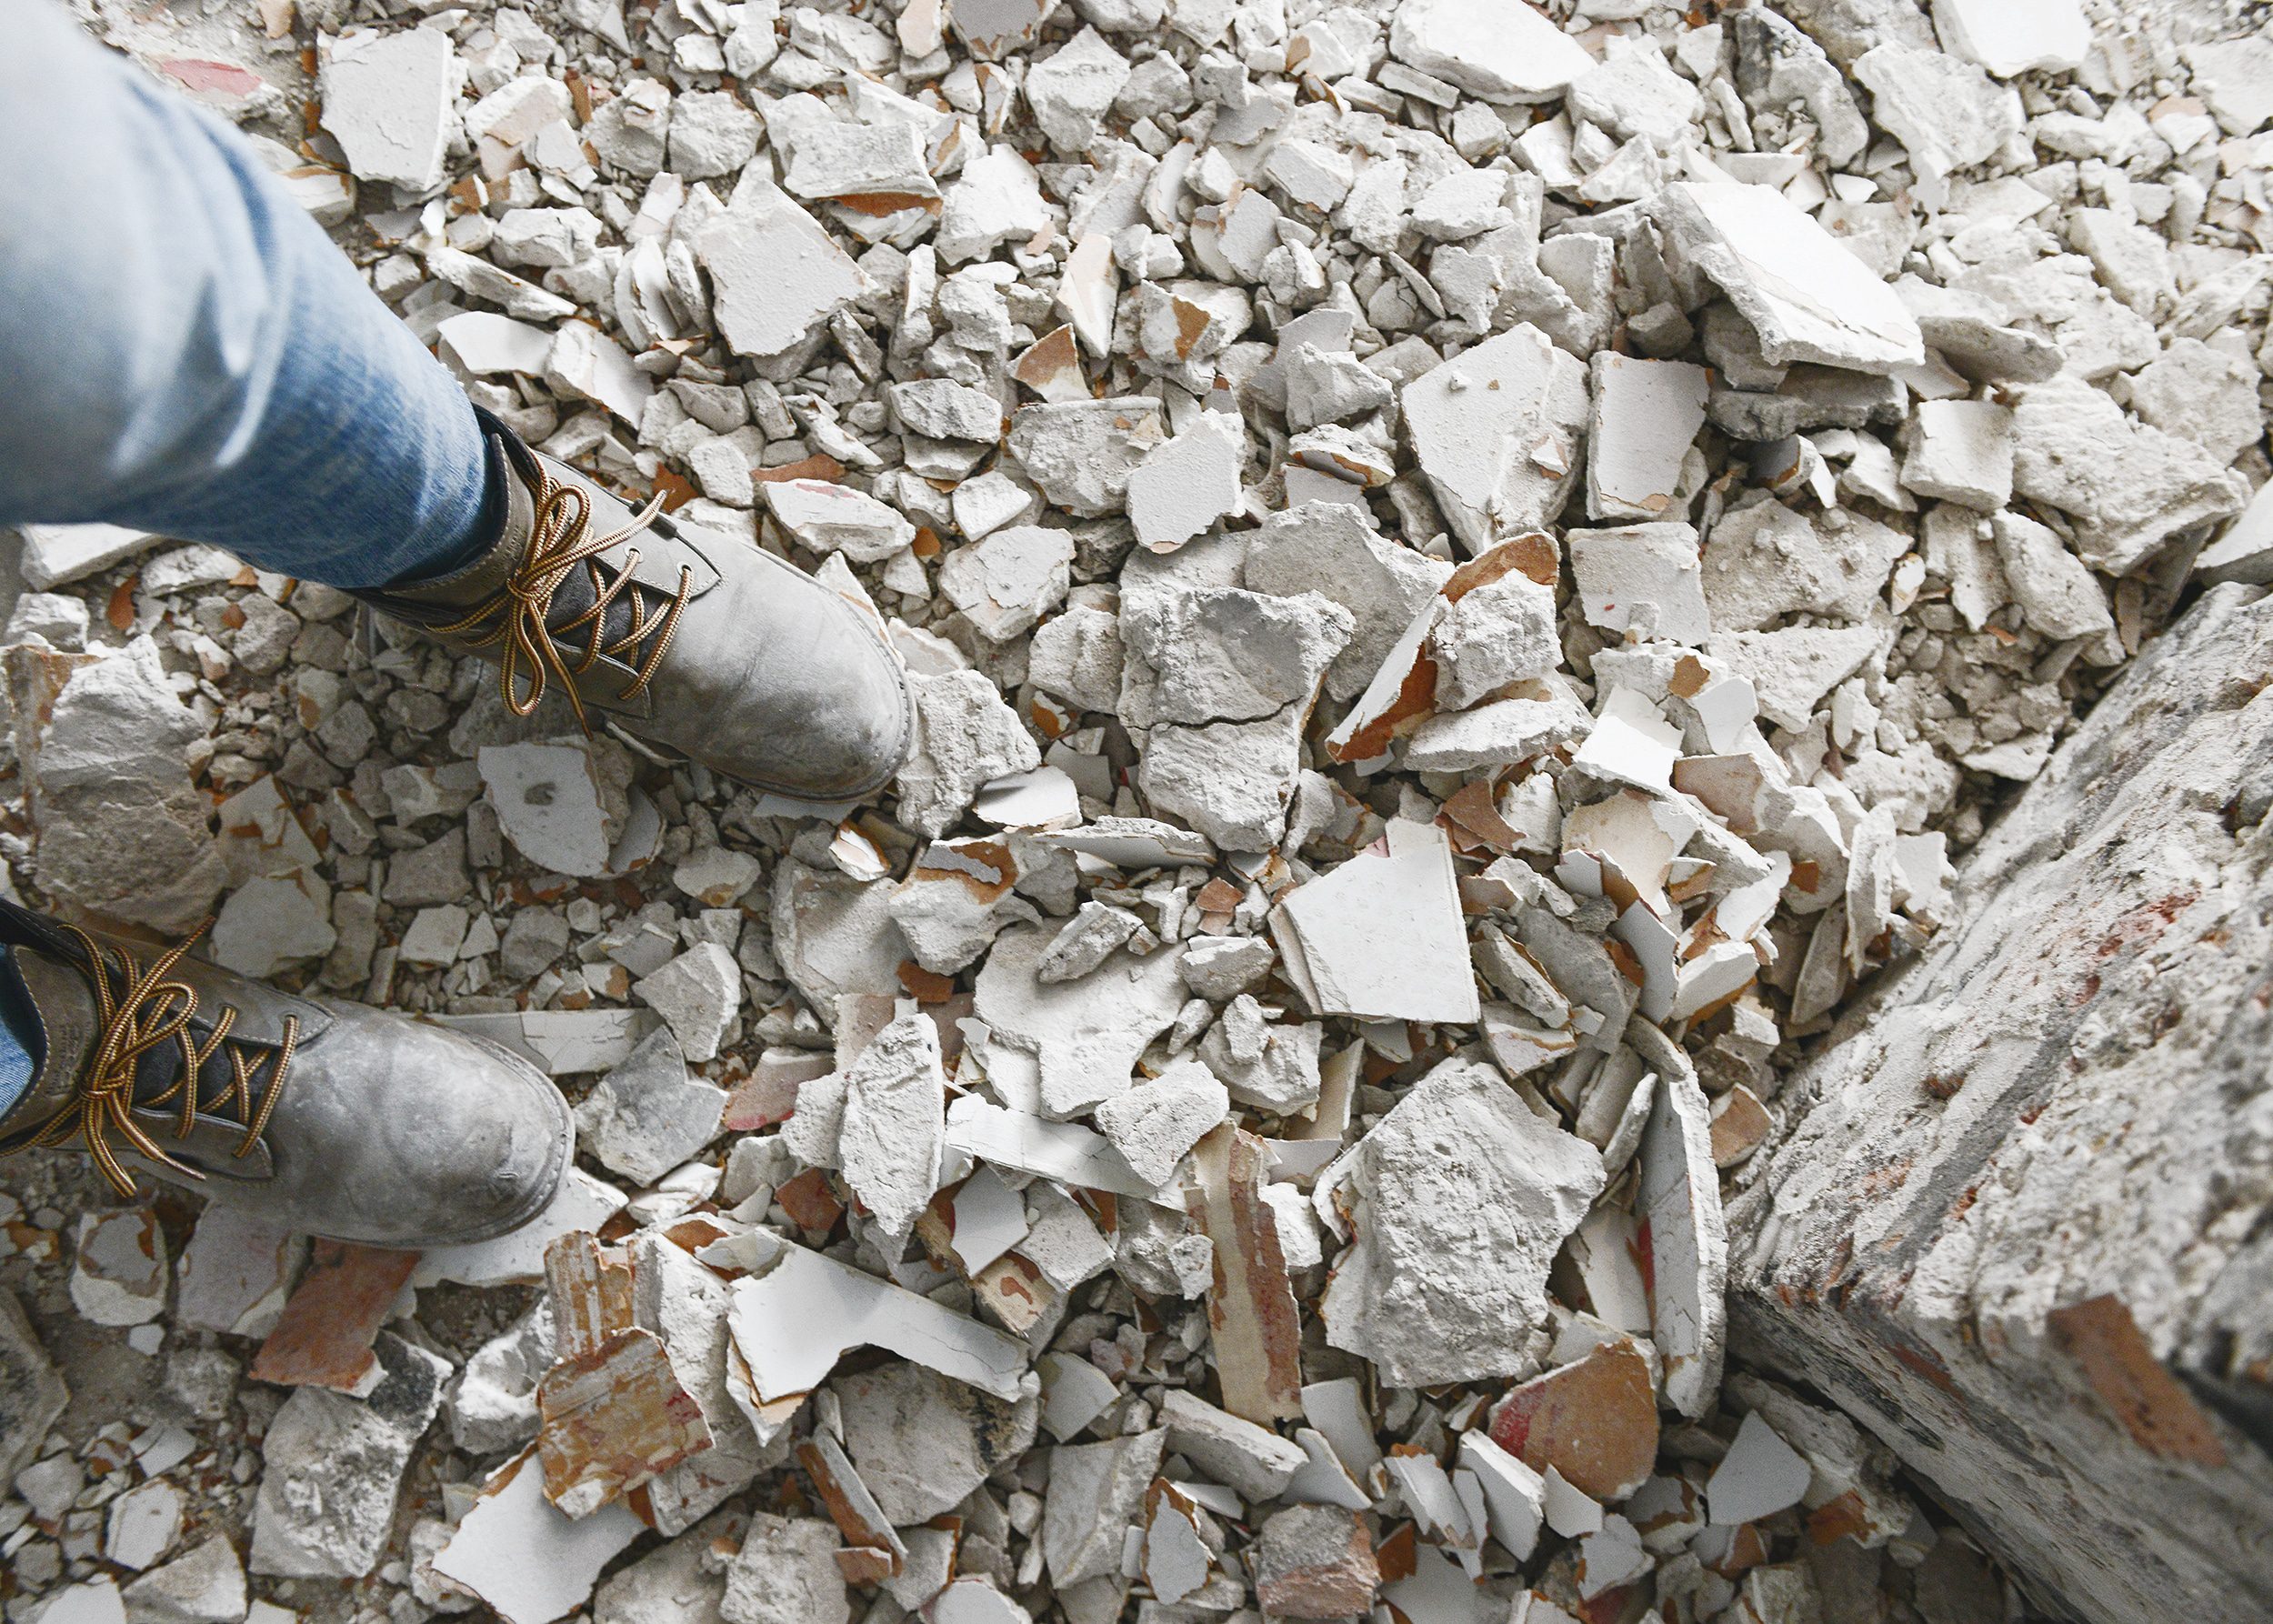
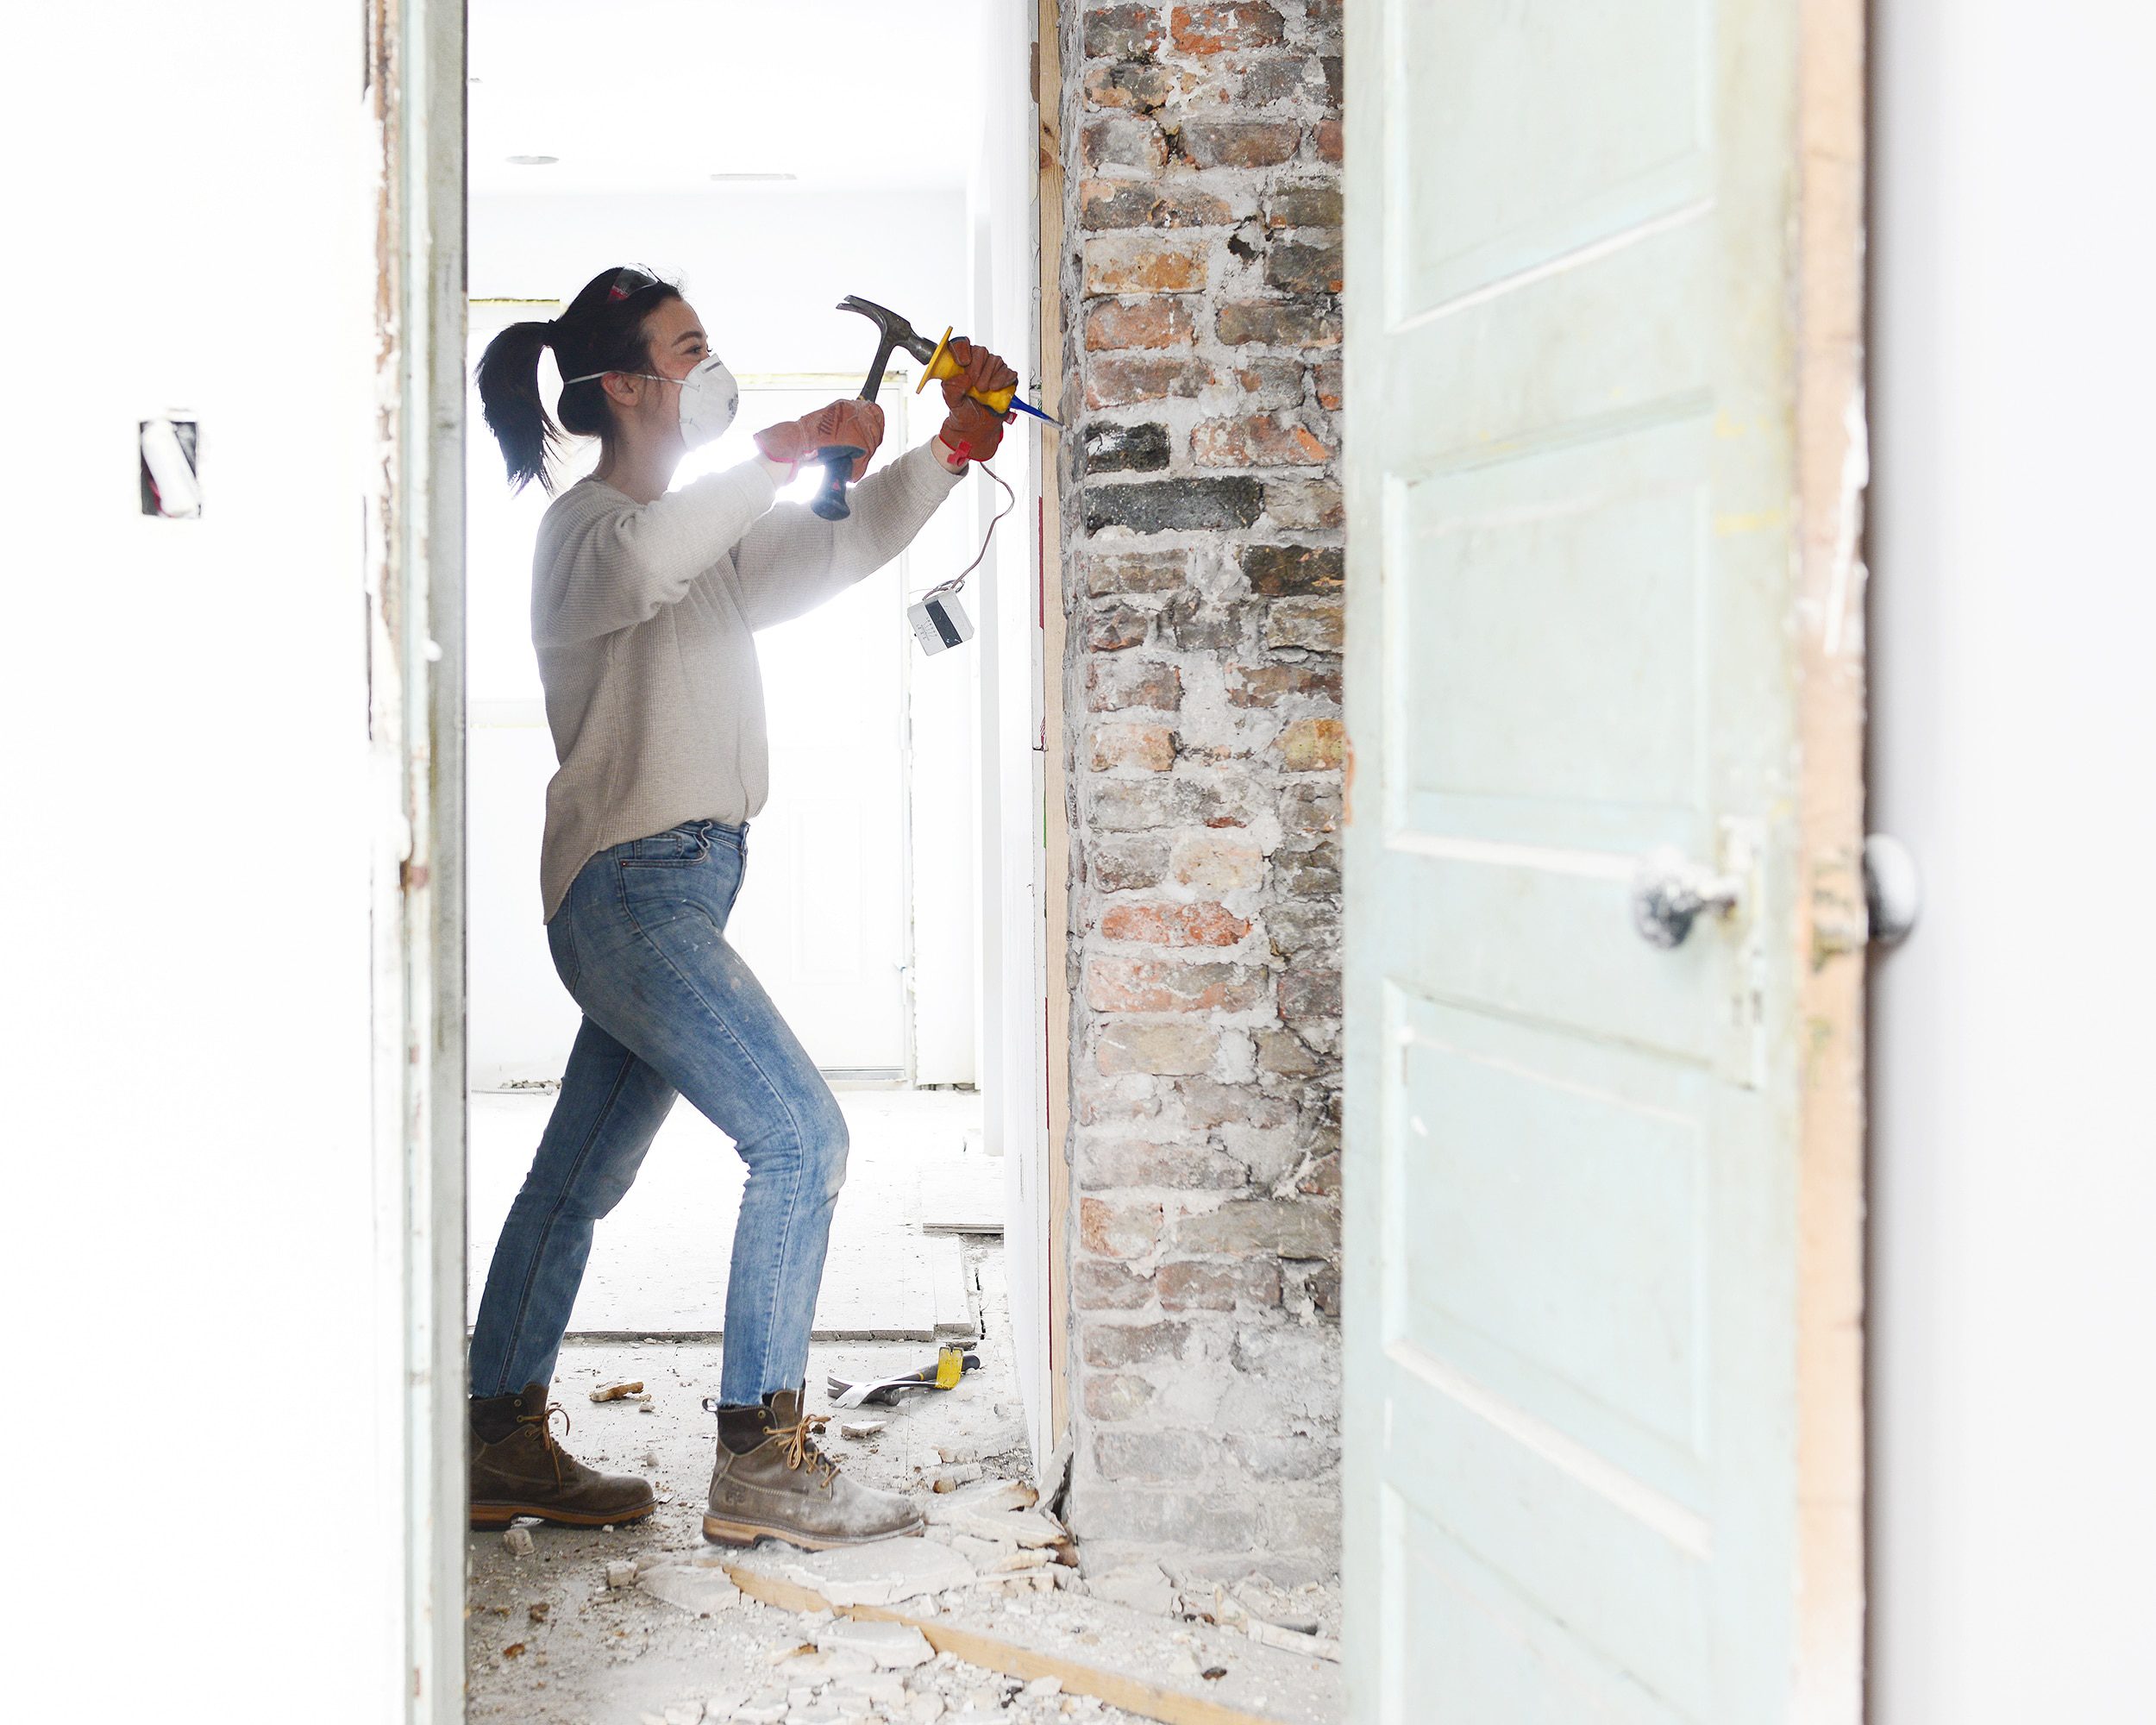
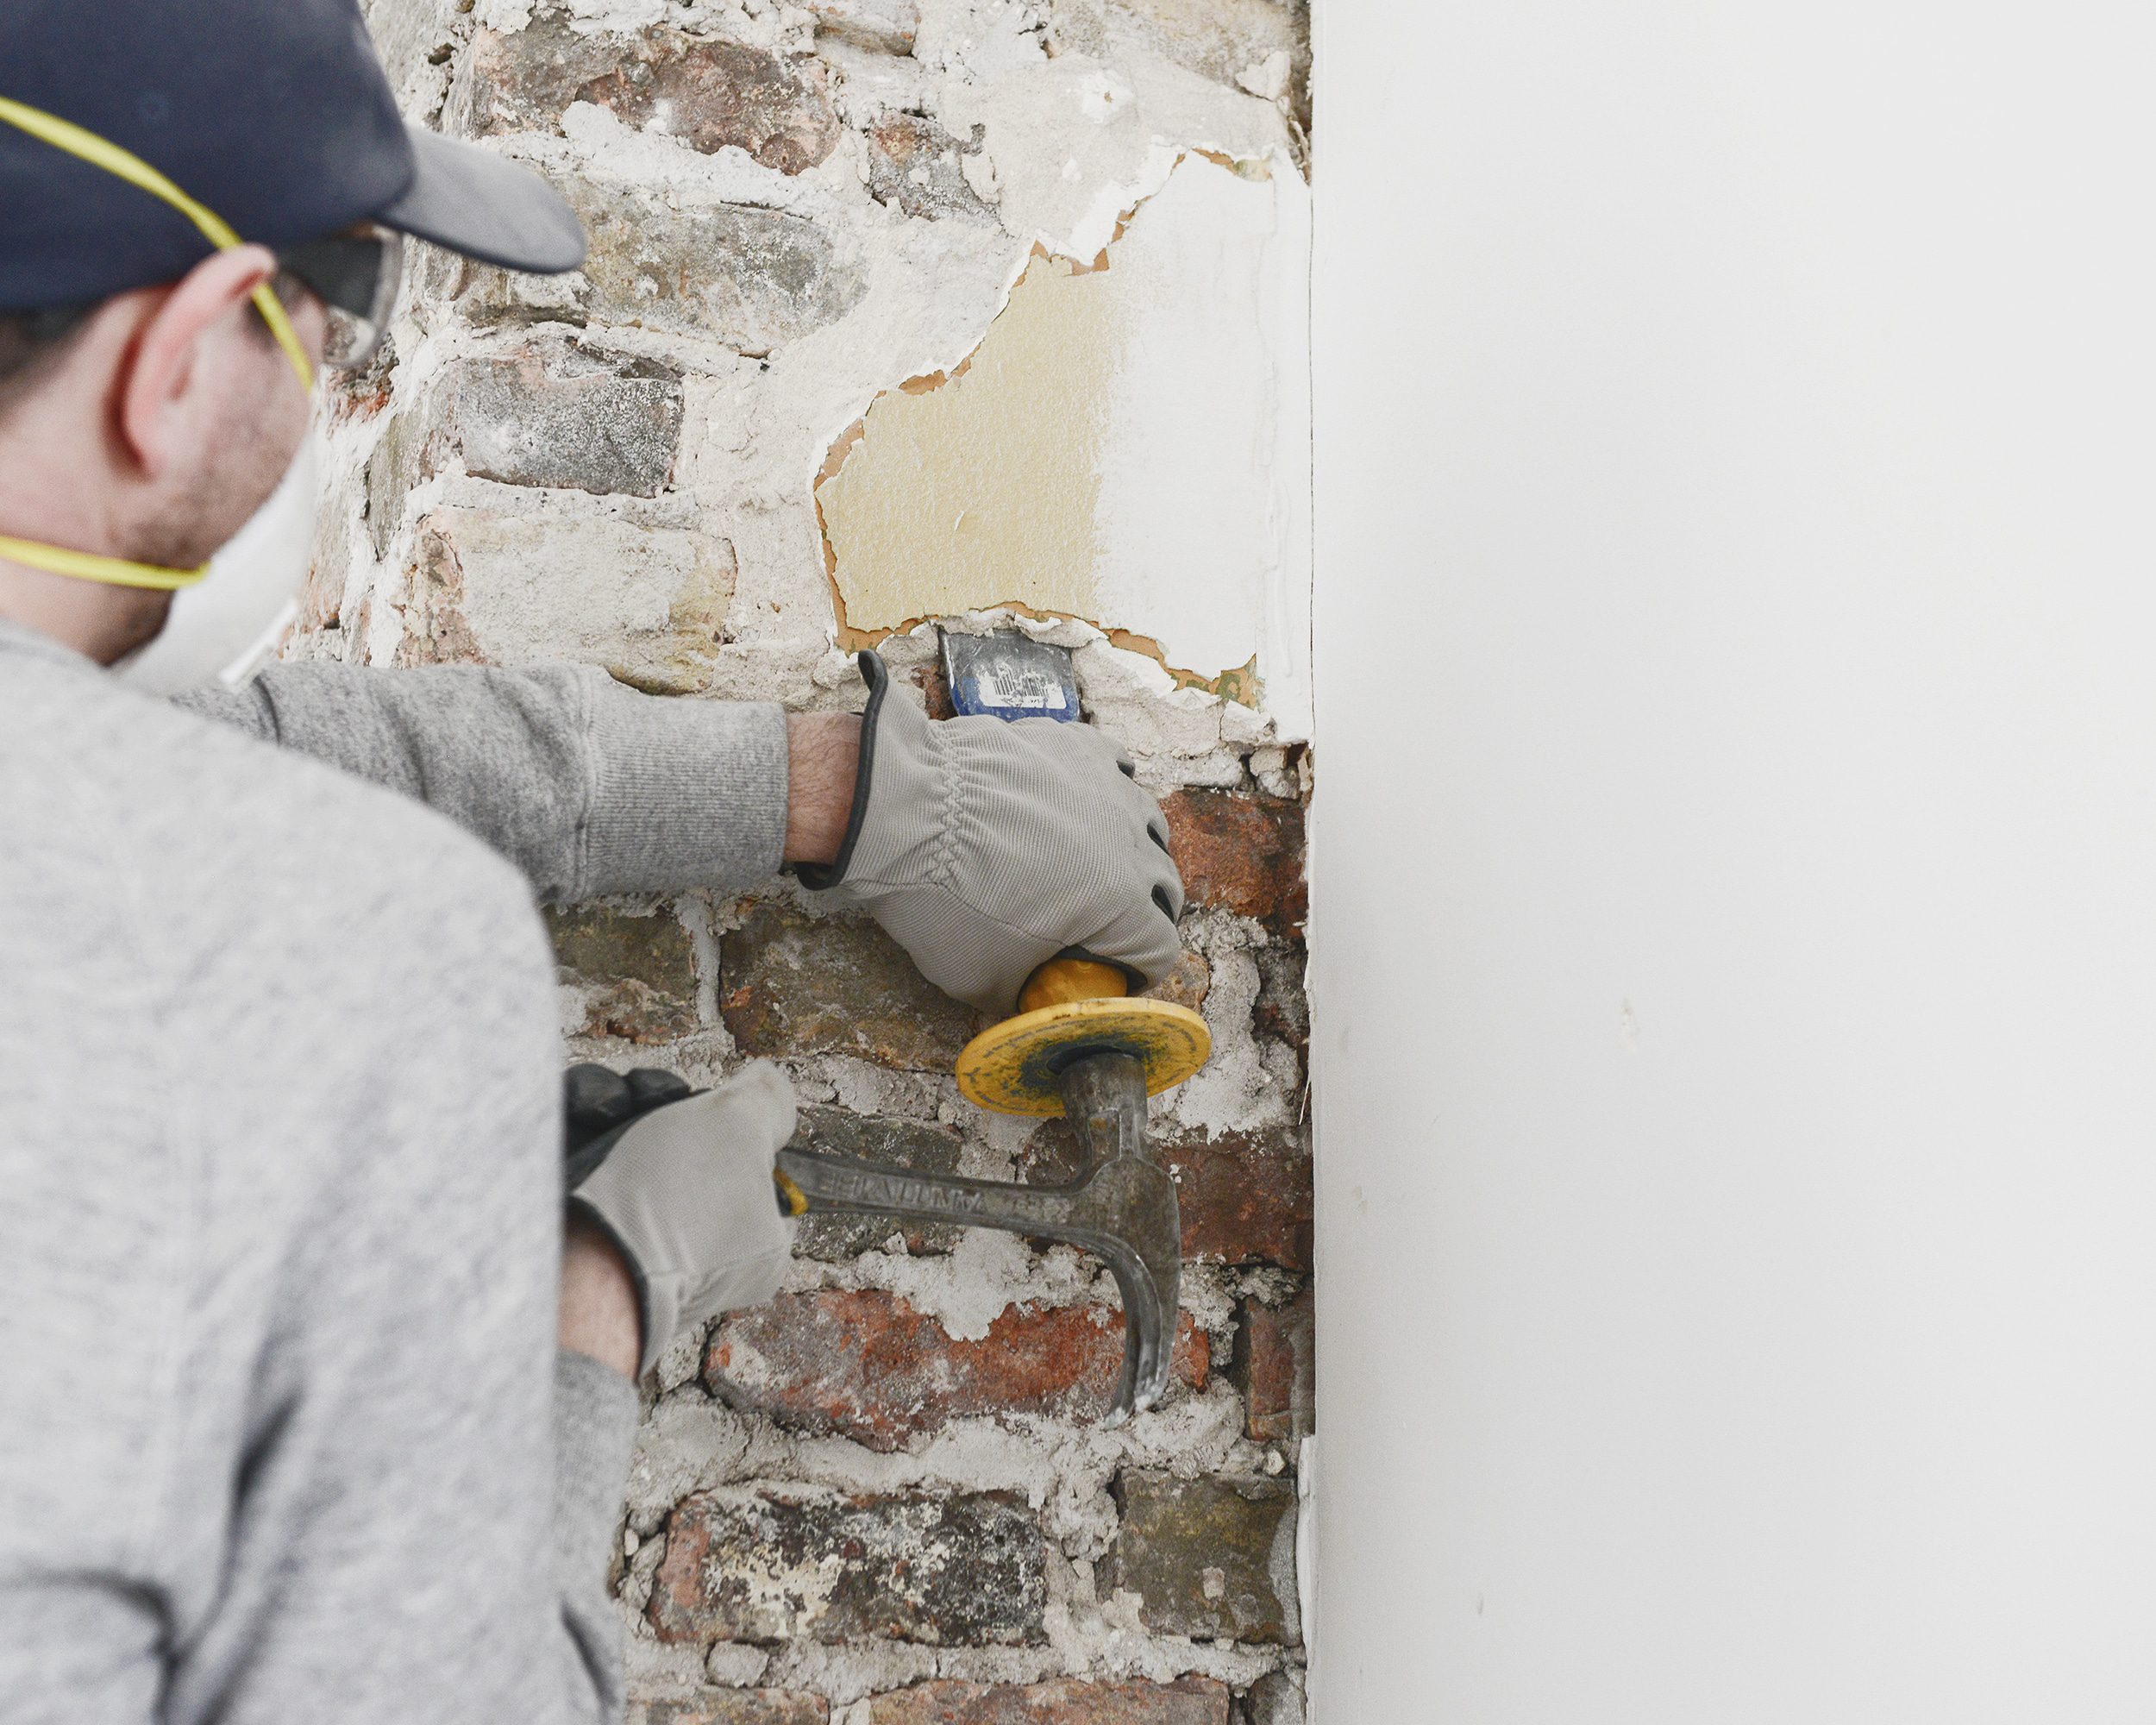
The process of chiseling away the decades-old plaster was a simple one, but if taking on work like this is in your future, be prepared to be covered in a fine dust of plaster and mortar. In addition to a ladder, gloves, dust masks and glasses, the only tools we used were a mason chisel and our favorite hammer.
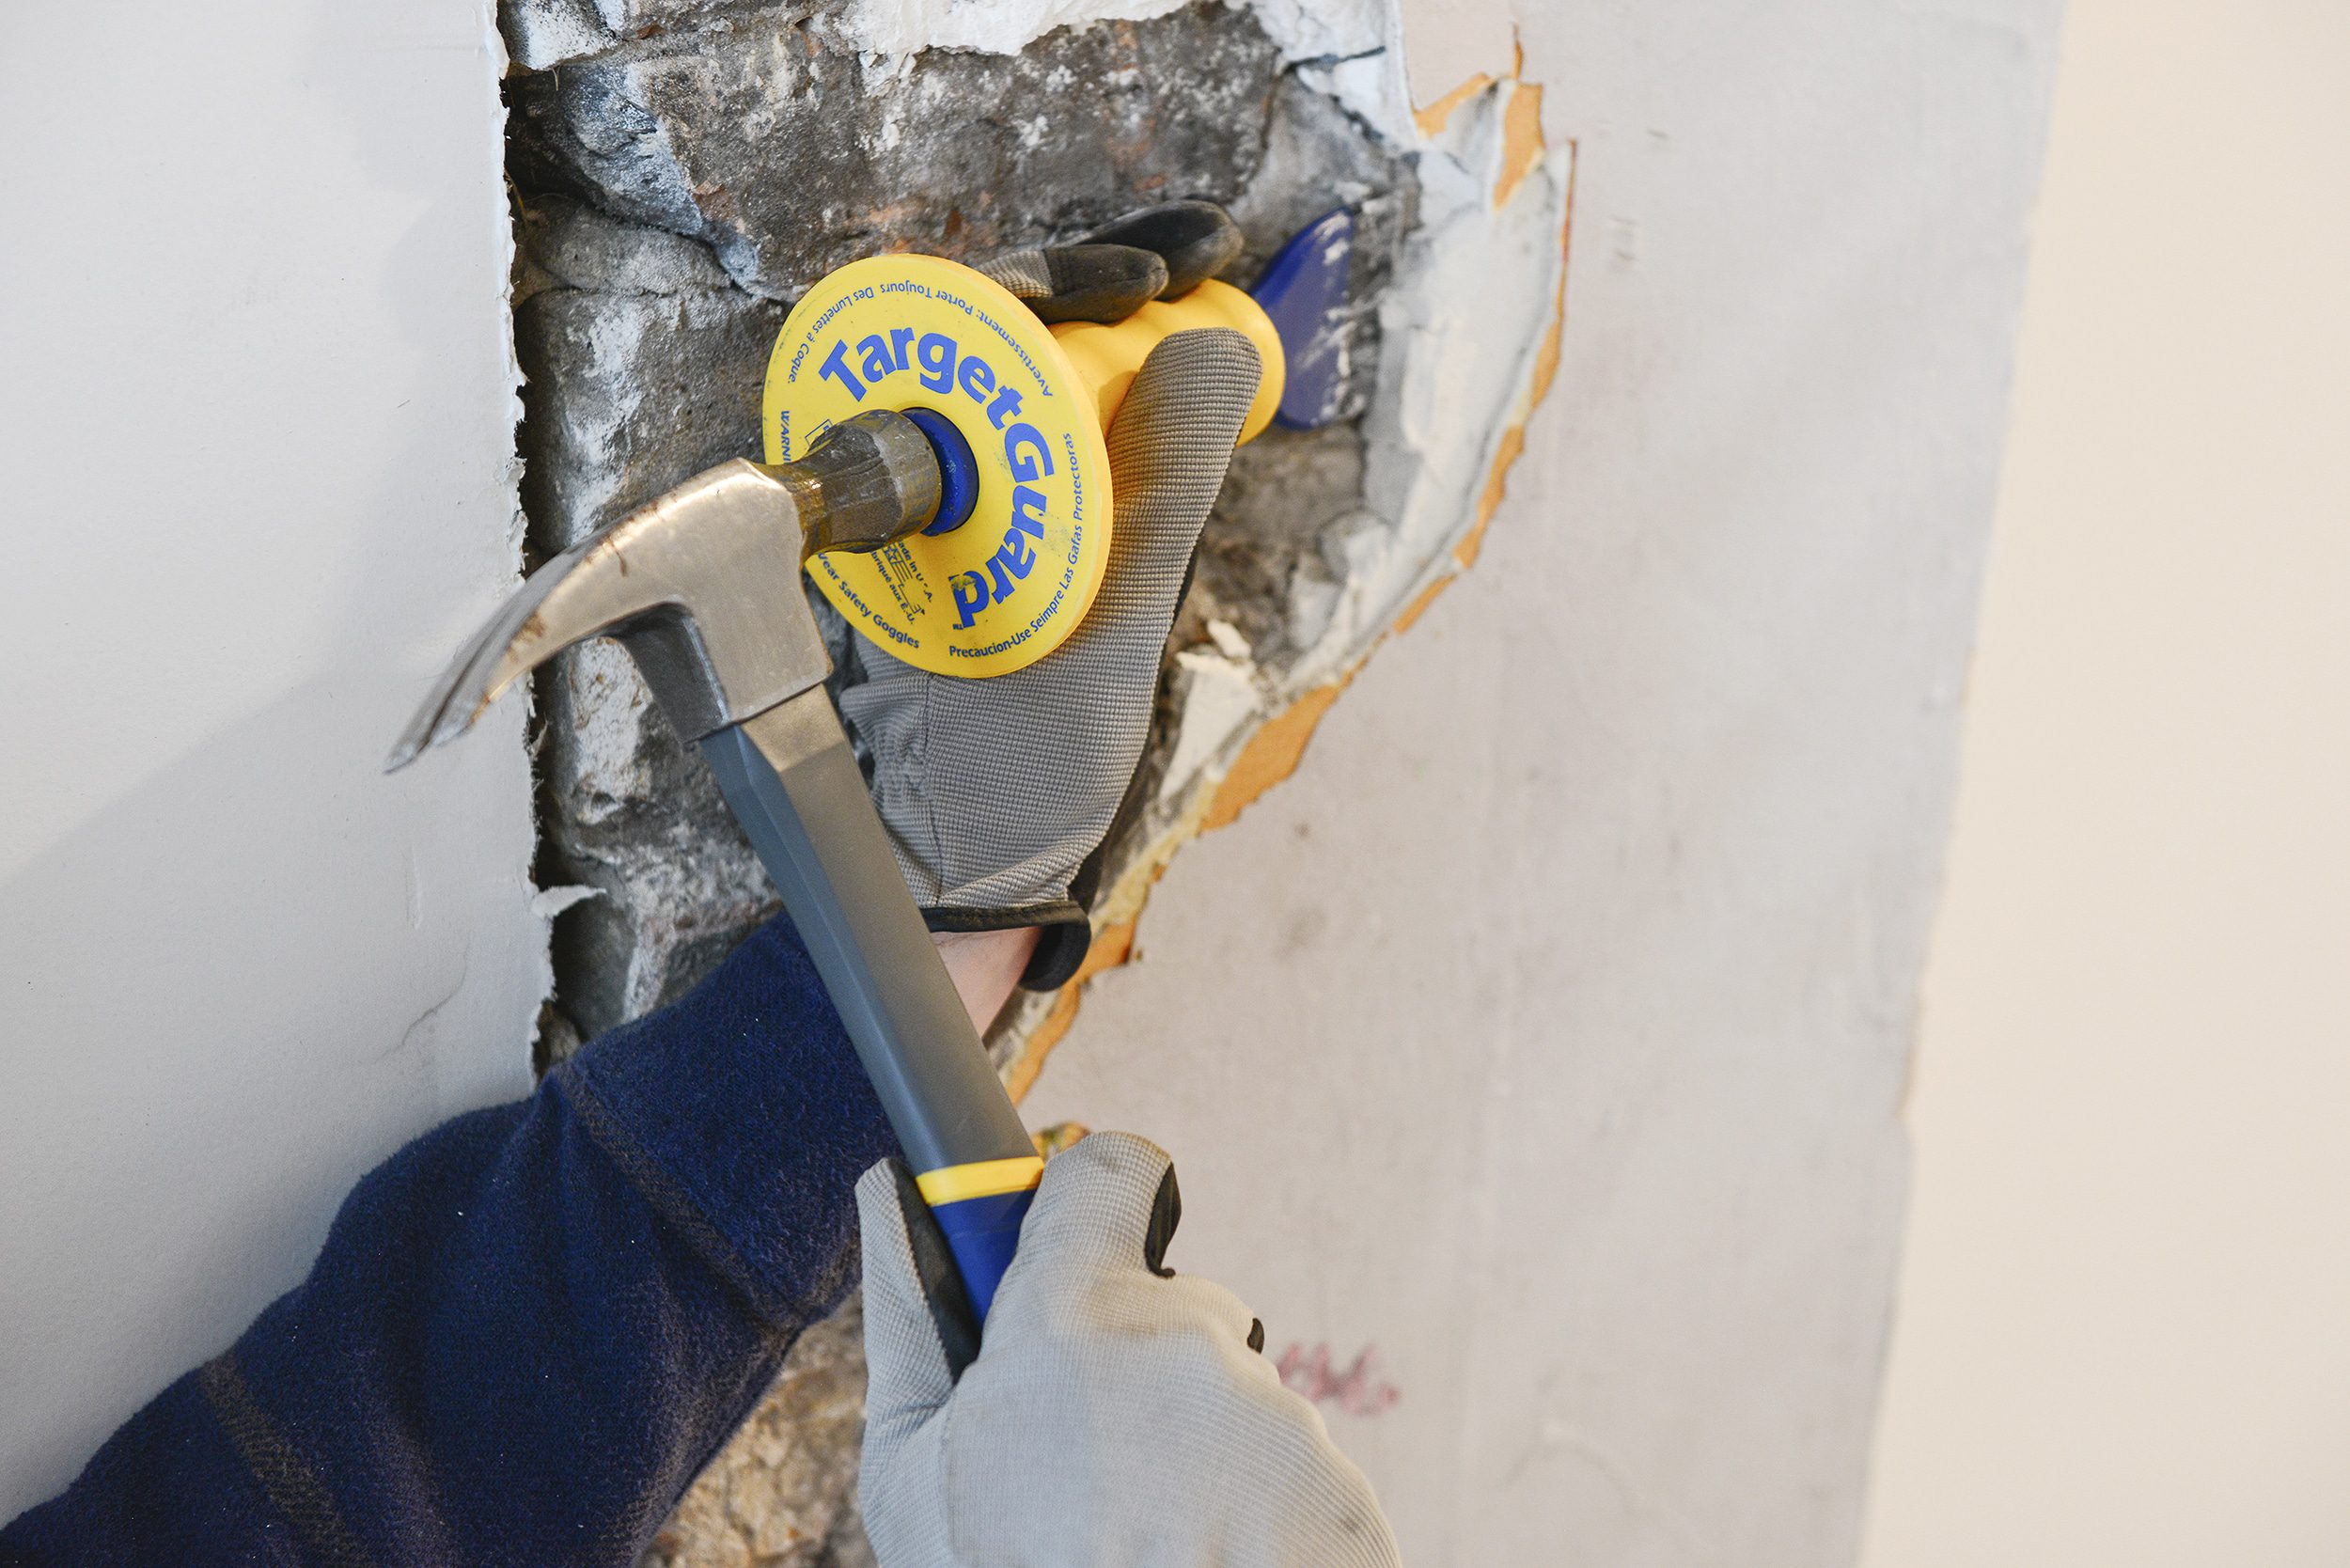
The TargetGuard on our chisel came in very handy and likely kept me from smashing my left hand with the hammer a few times. We highly recommend this style if you value the functionality of your thumbs! We found that coming at the plaster from the side at a gentle angle was the best way to remove large chunks all at once. Where possible, we focused on areas that showed a hairline seperation between brick and plaster and worked our way around until things broke loose. It’s actually a quite satisfying process!
Unit 1 | Dining Room
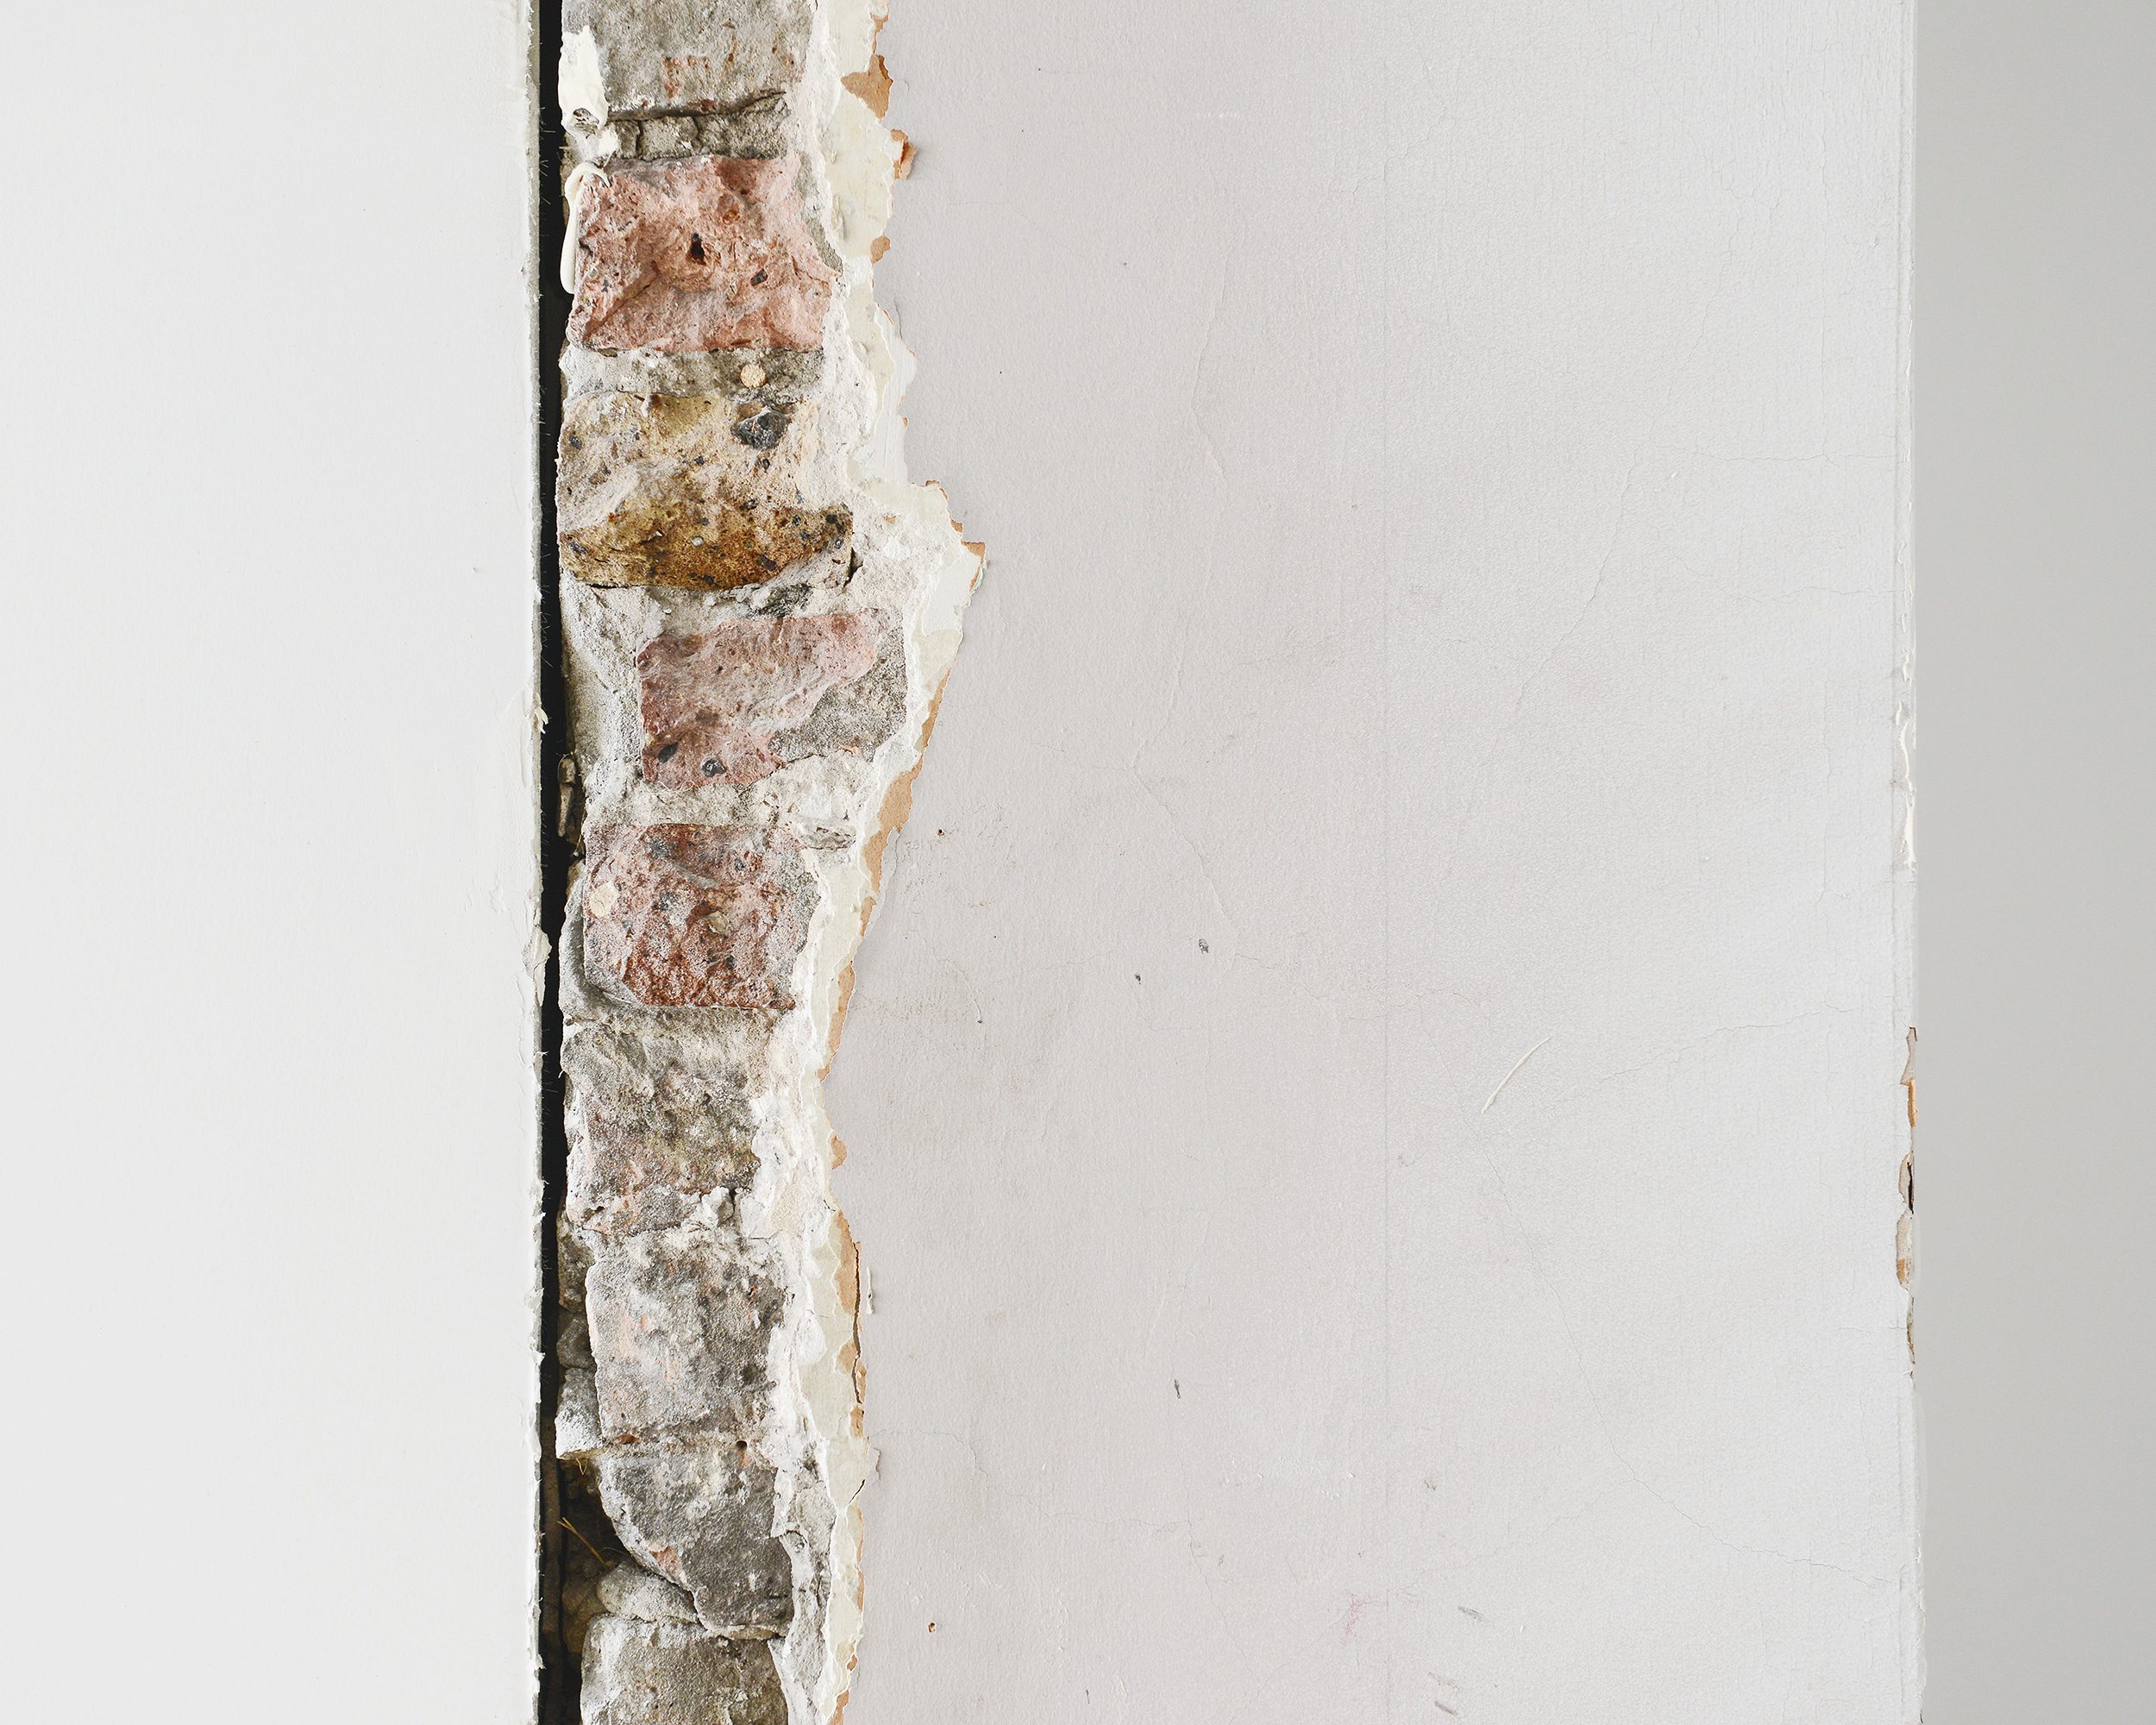
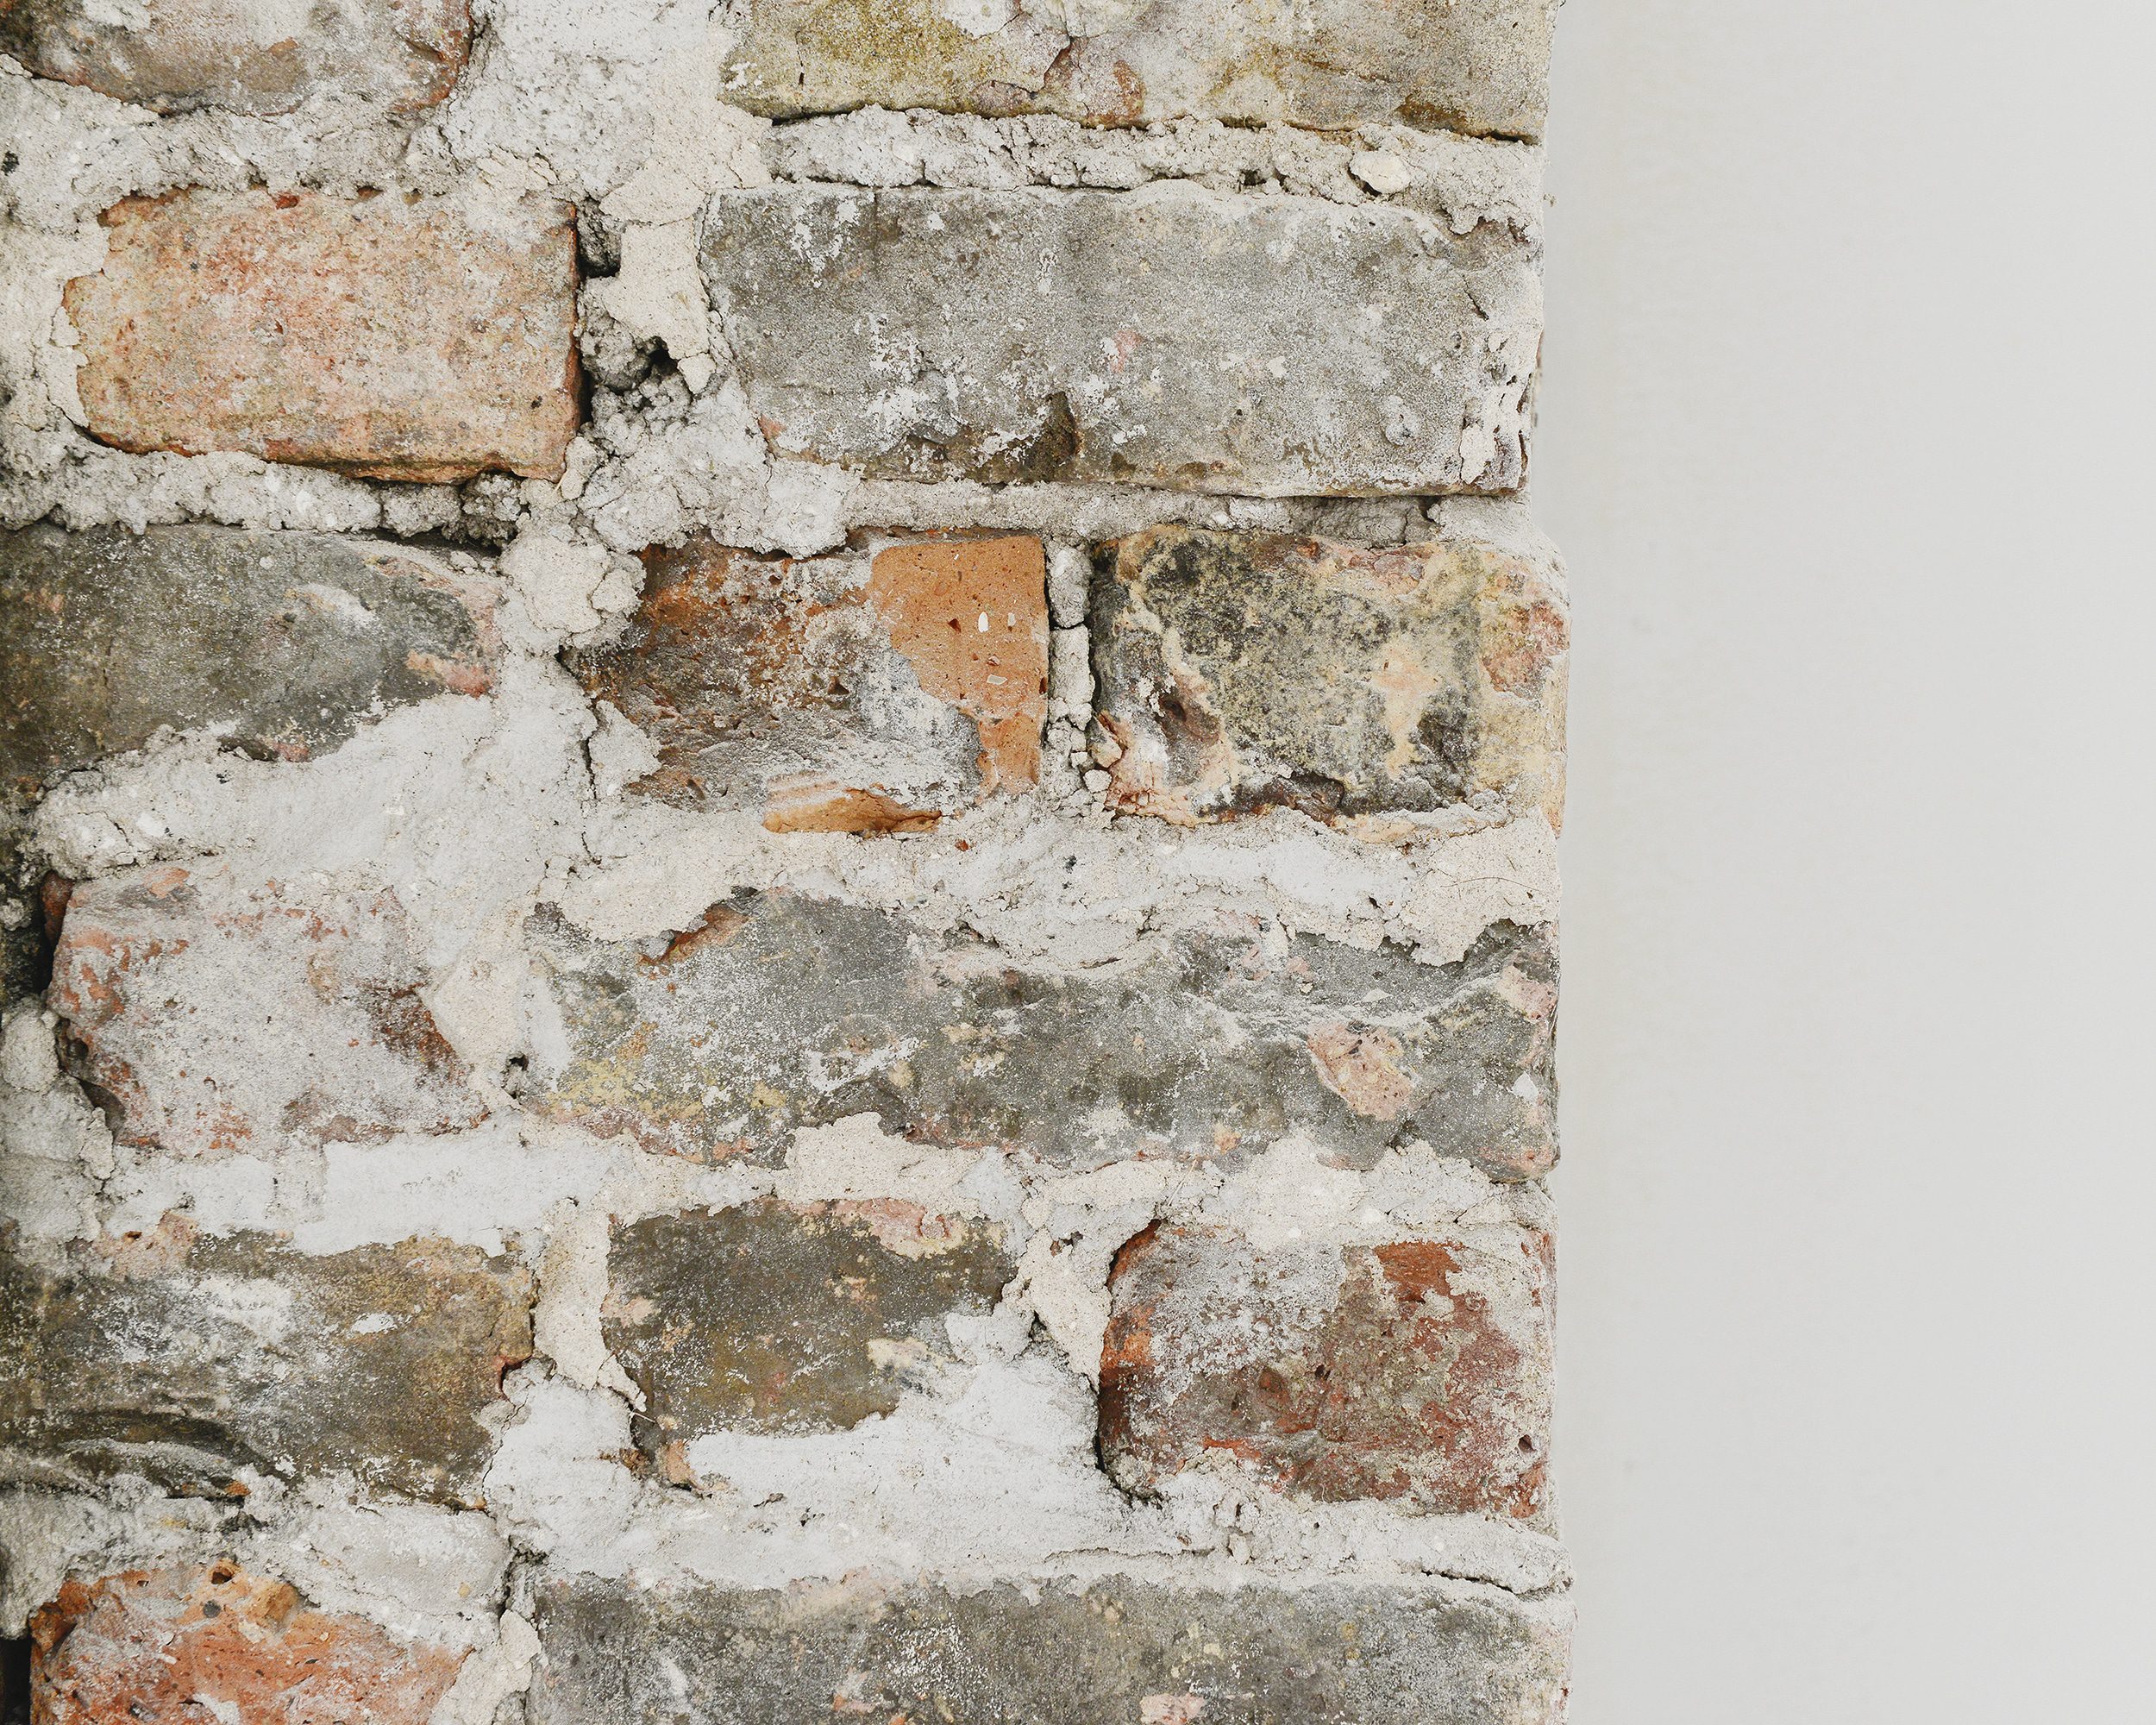
In the Unit 1 dining room, the three exposed sides of the chimney brick are a mix of colors and shapes that cleaned up nicely. There are a few areas that we’ll likely fill in with a small amount of mortar, but overall, we absolutely love the variation and slightly askew look of the bricks. Old House Charm, we like to call it!
We love the idea of embracing the imperfect in our renovations. Because, as you can see, the brick on this chimney is nowhere near perfect. The mortar is loose and crumbling in a few places. There are multiple rusted flue openings that we’ll need to replace with salvaged bricks. But we absolutely love it! Exposed interior brick brings warmth, interest and variation to a space, especially when it’s over 130-years-old like our Two Flat.
Unit 1 | Staircase
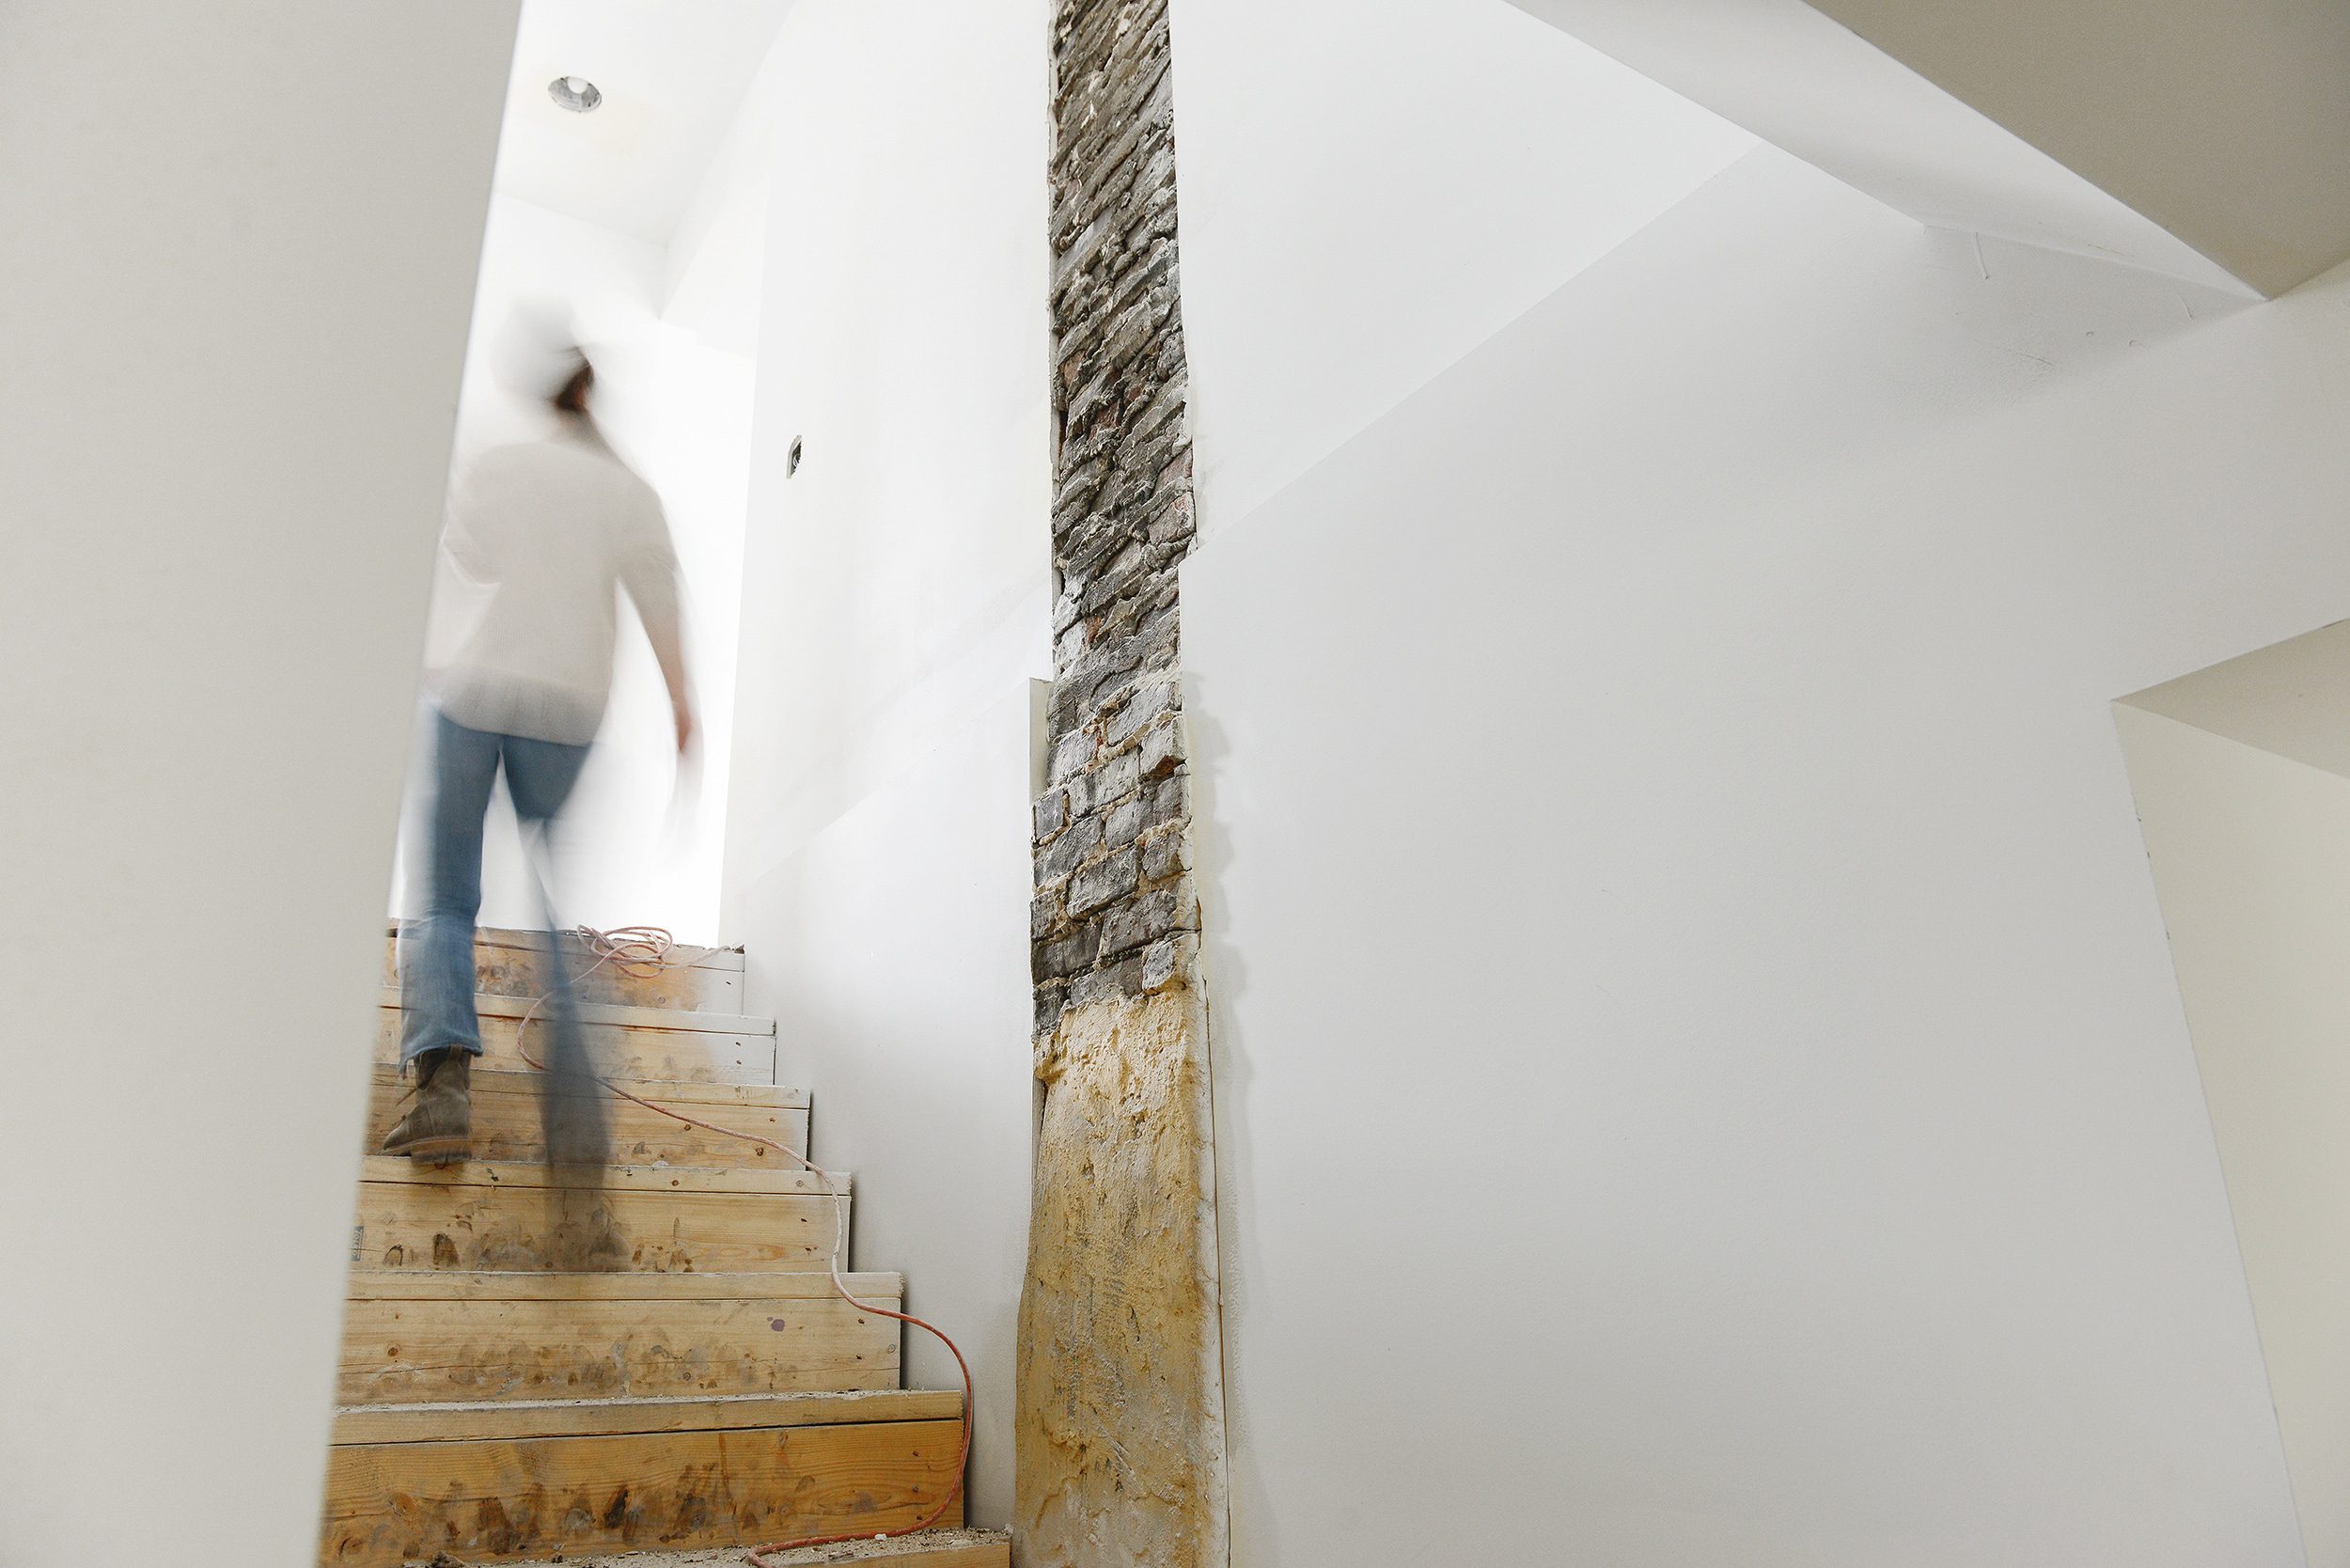
A feature that we love is that we’ve kept the chimney exposed on the back of the dining room wall, too! The other side of the wall leads down our new staircase into the den. The brick on this chimney shows the most imperfection and will potentially need the most attention.

We haven’t yet decided how we’ll handle the transition between the new sheetrock and vintage brick, but we’ve kicked around the idea of a thin trim piece, additional mortar, or even drywall mud to close the gap. We’re certainly open to ideas and inspirational photos if anyone would like to chime in!
Unit 2 | Hallway
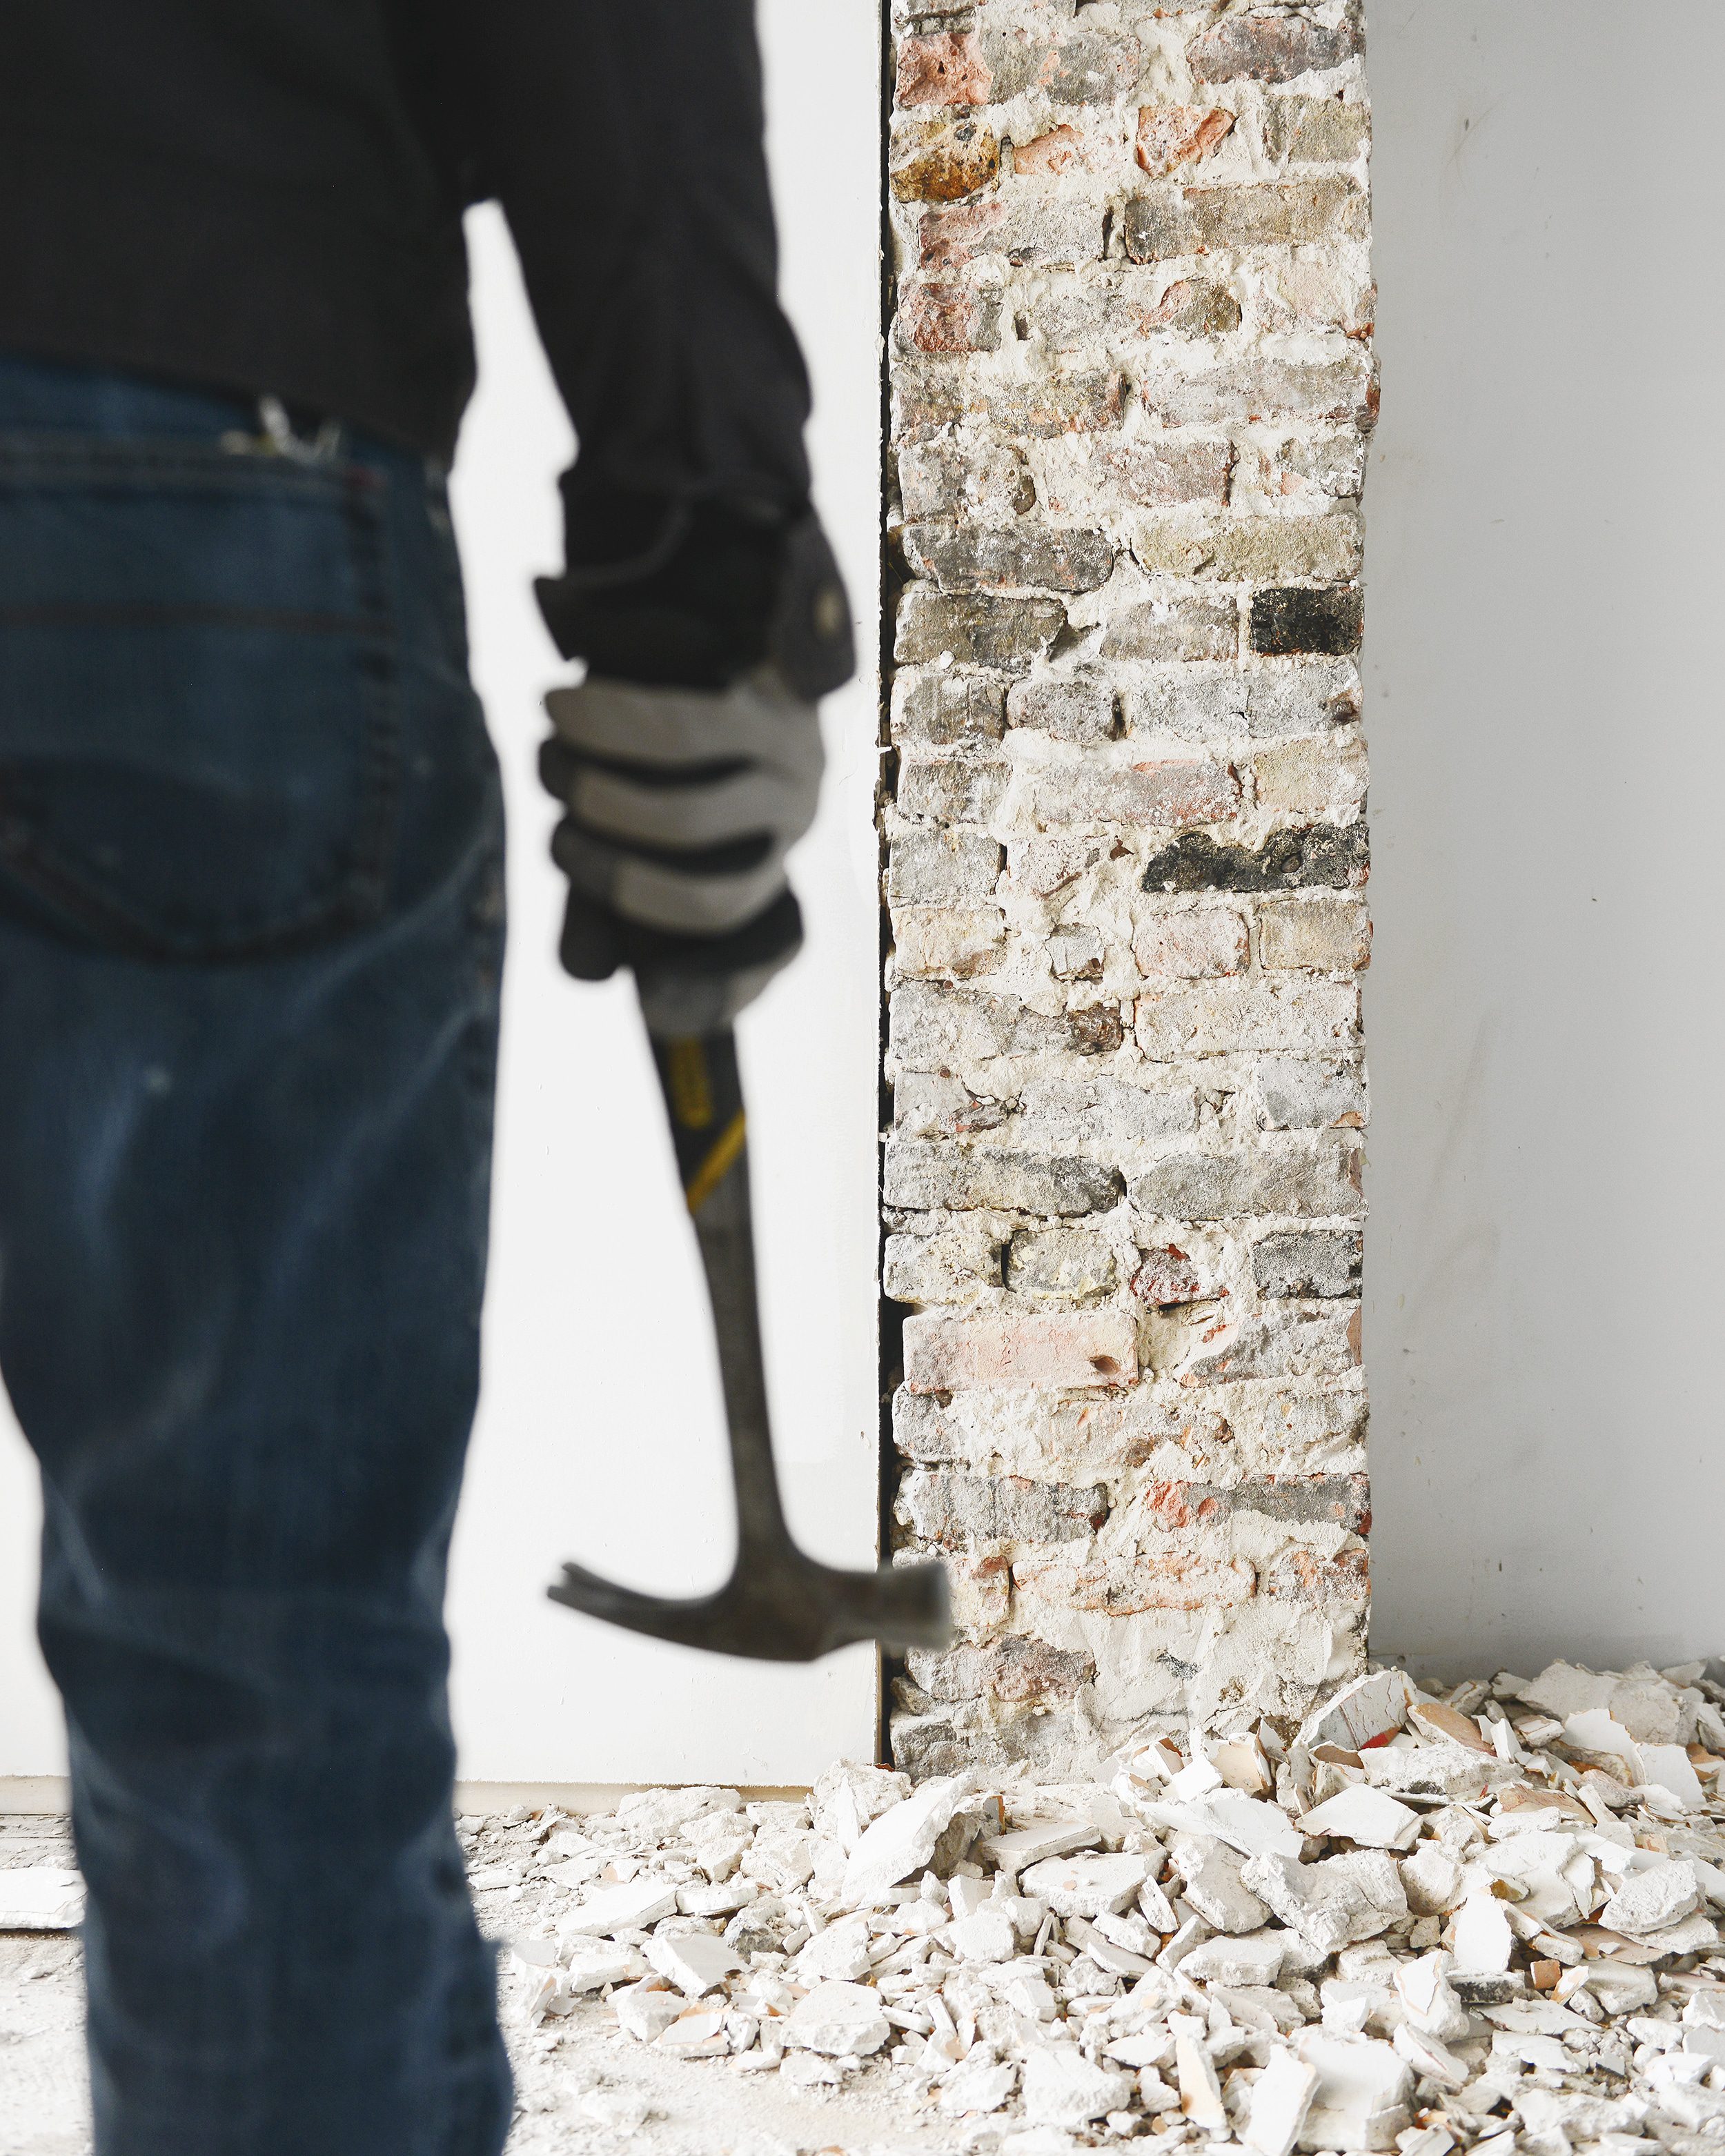
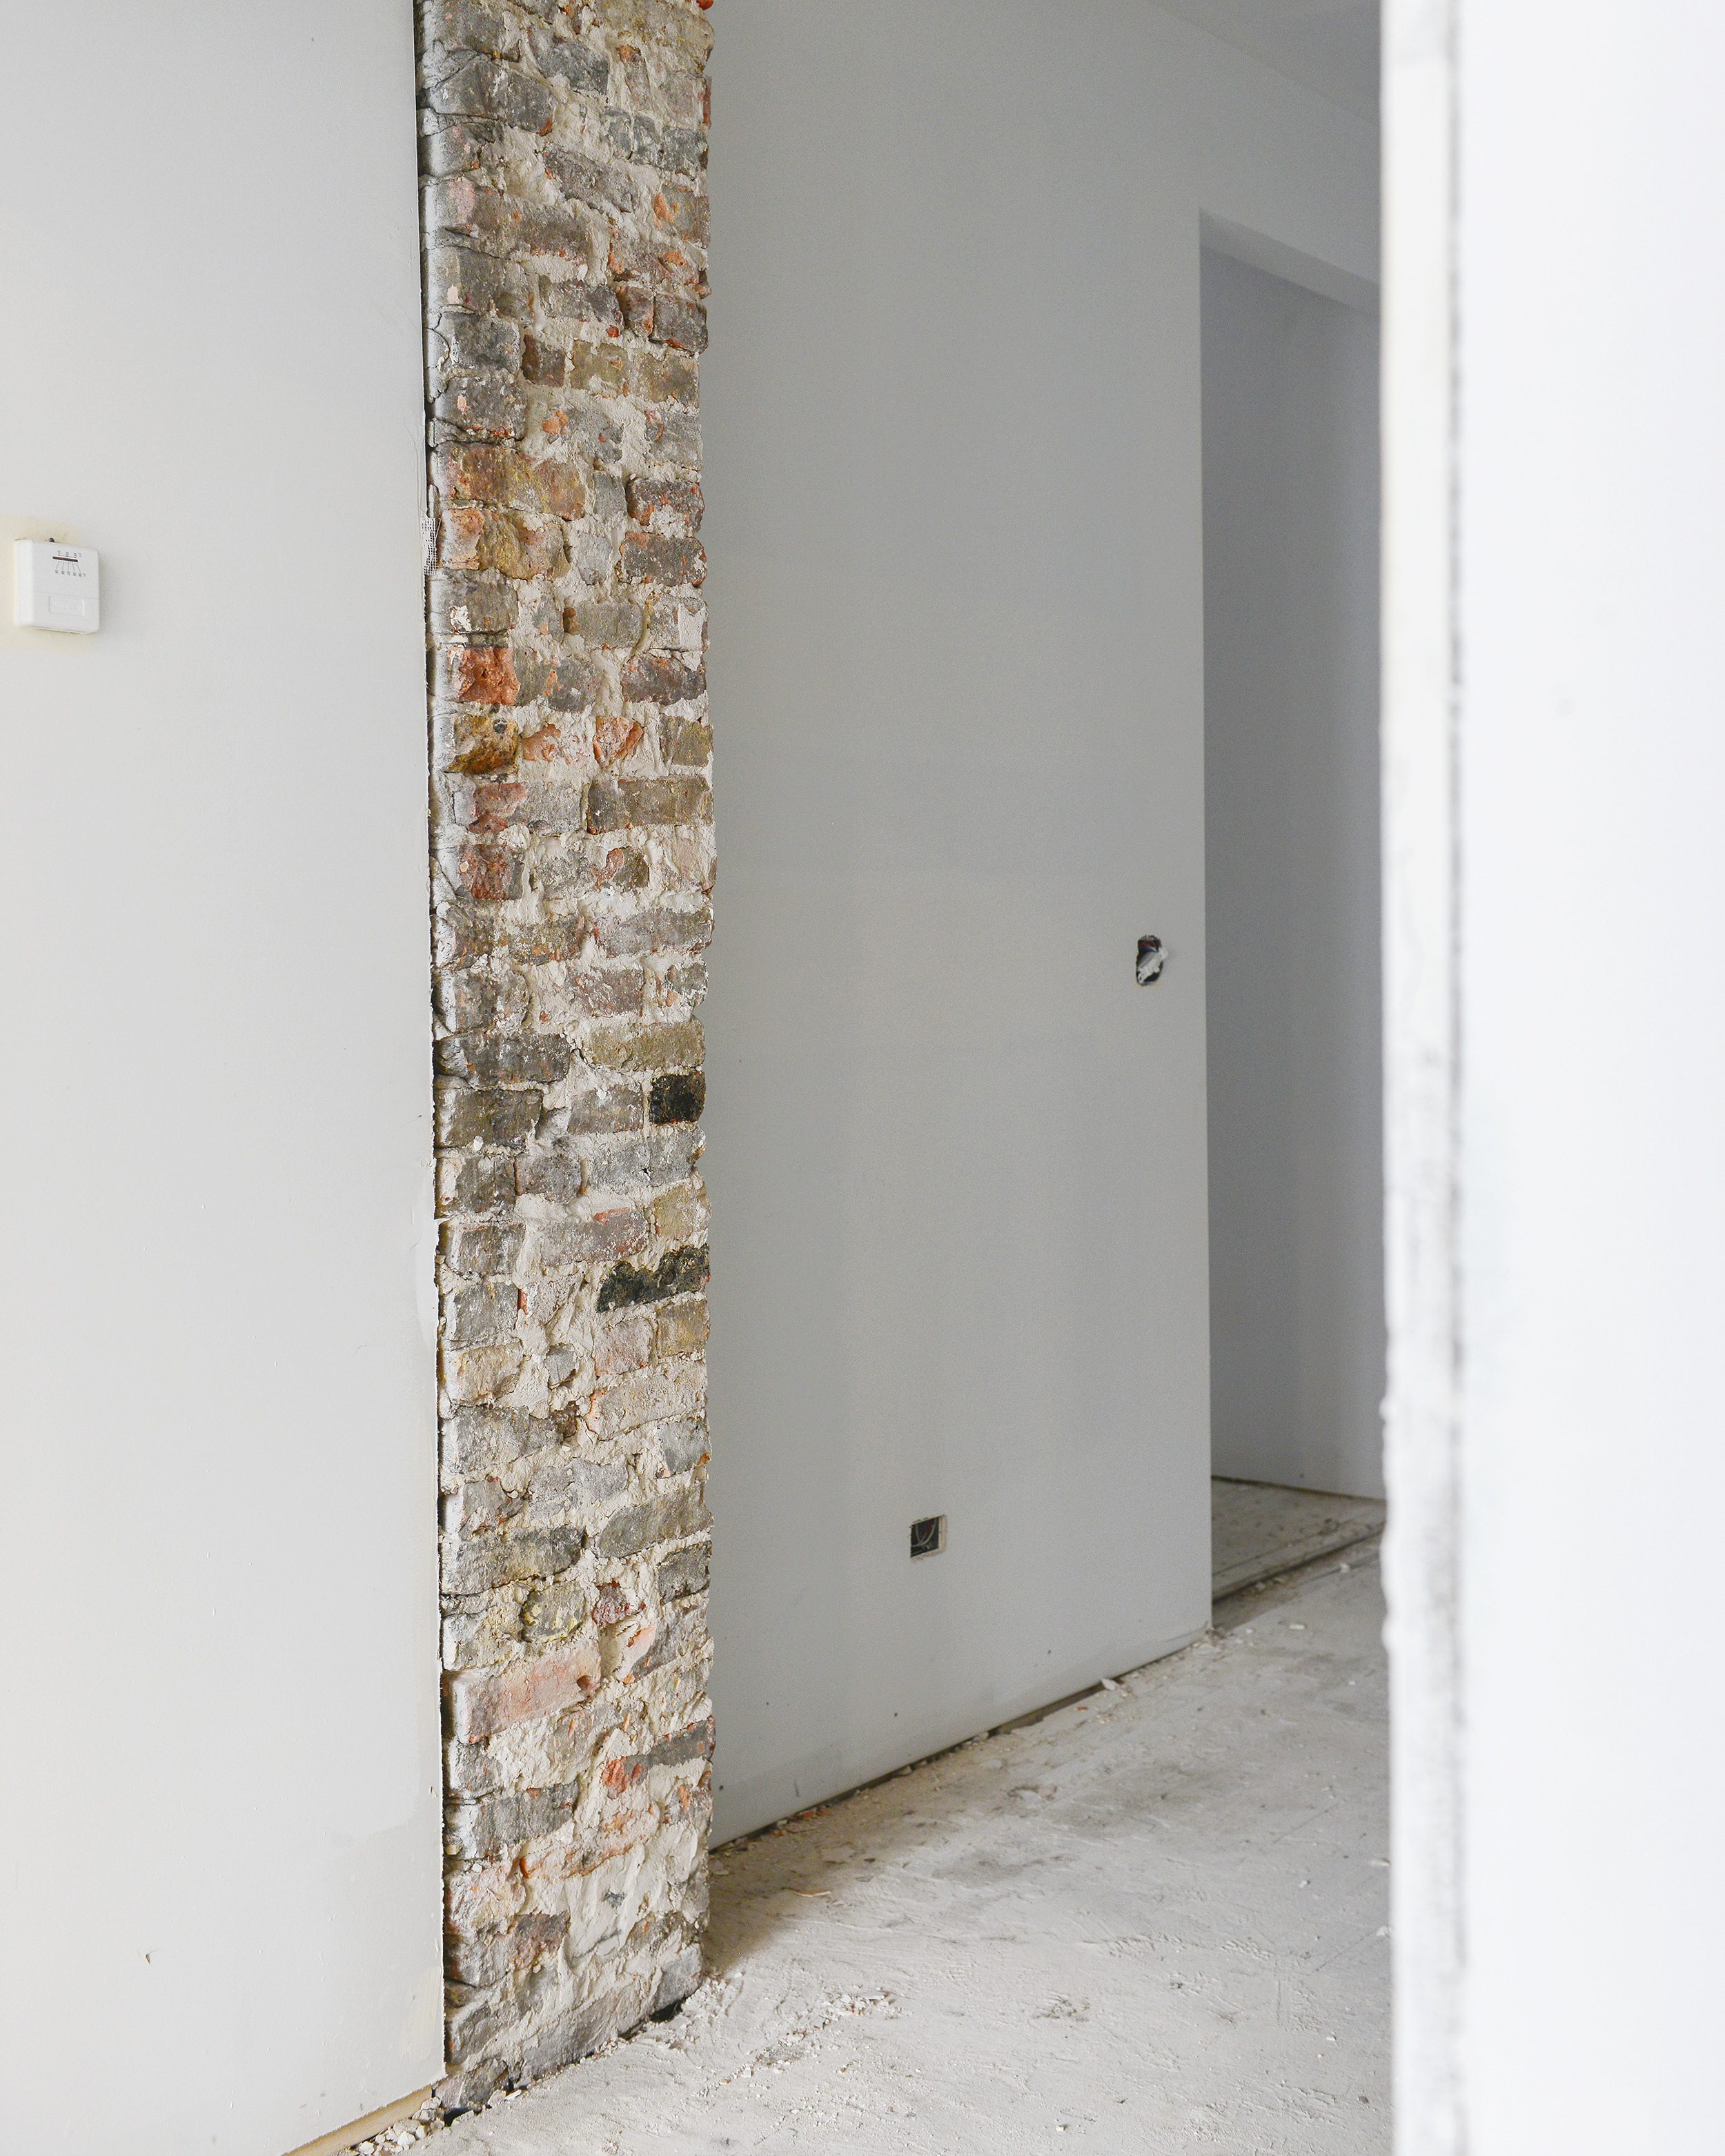
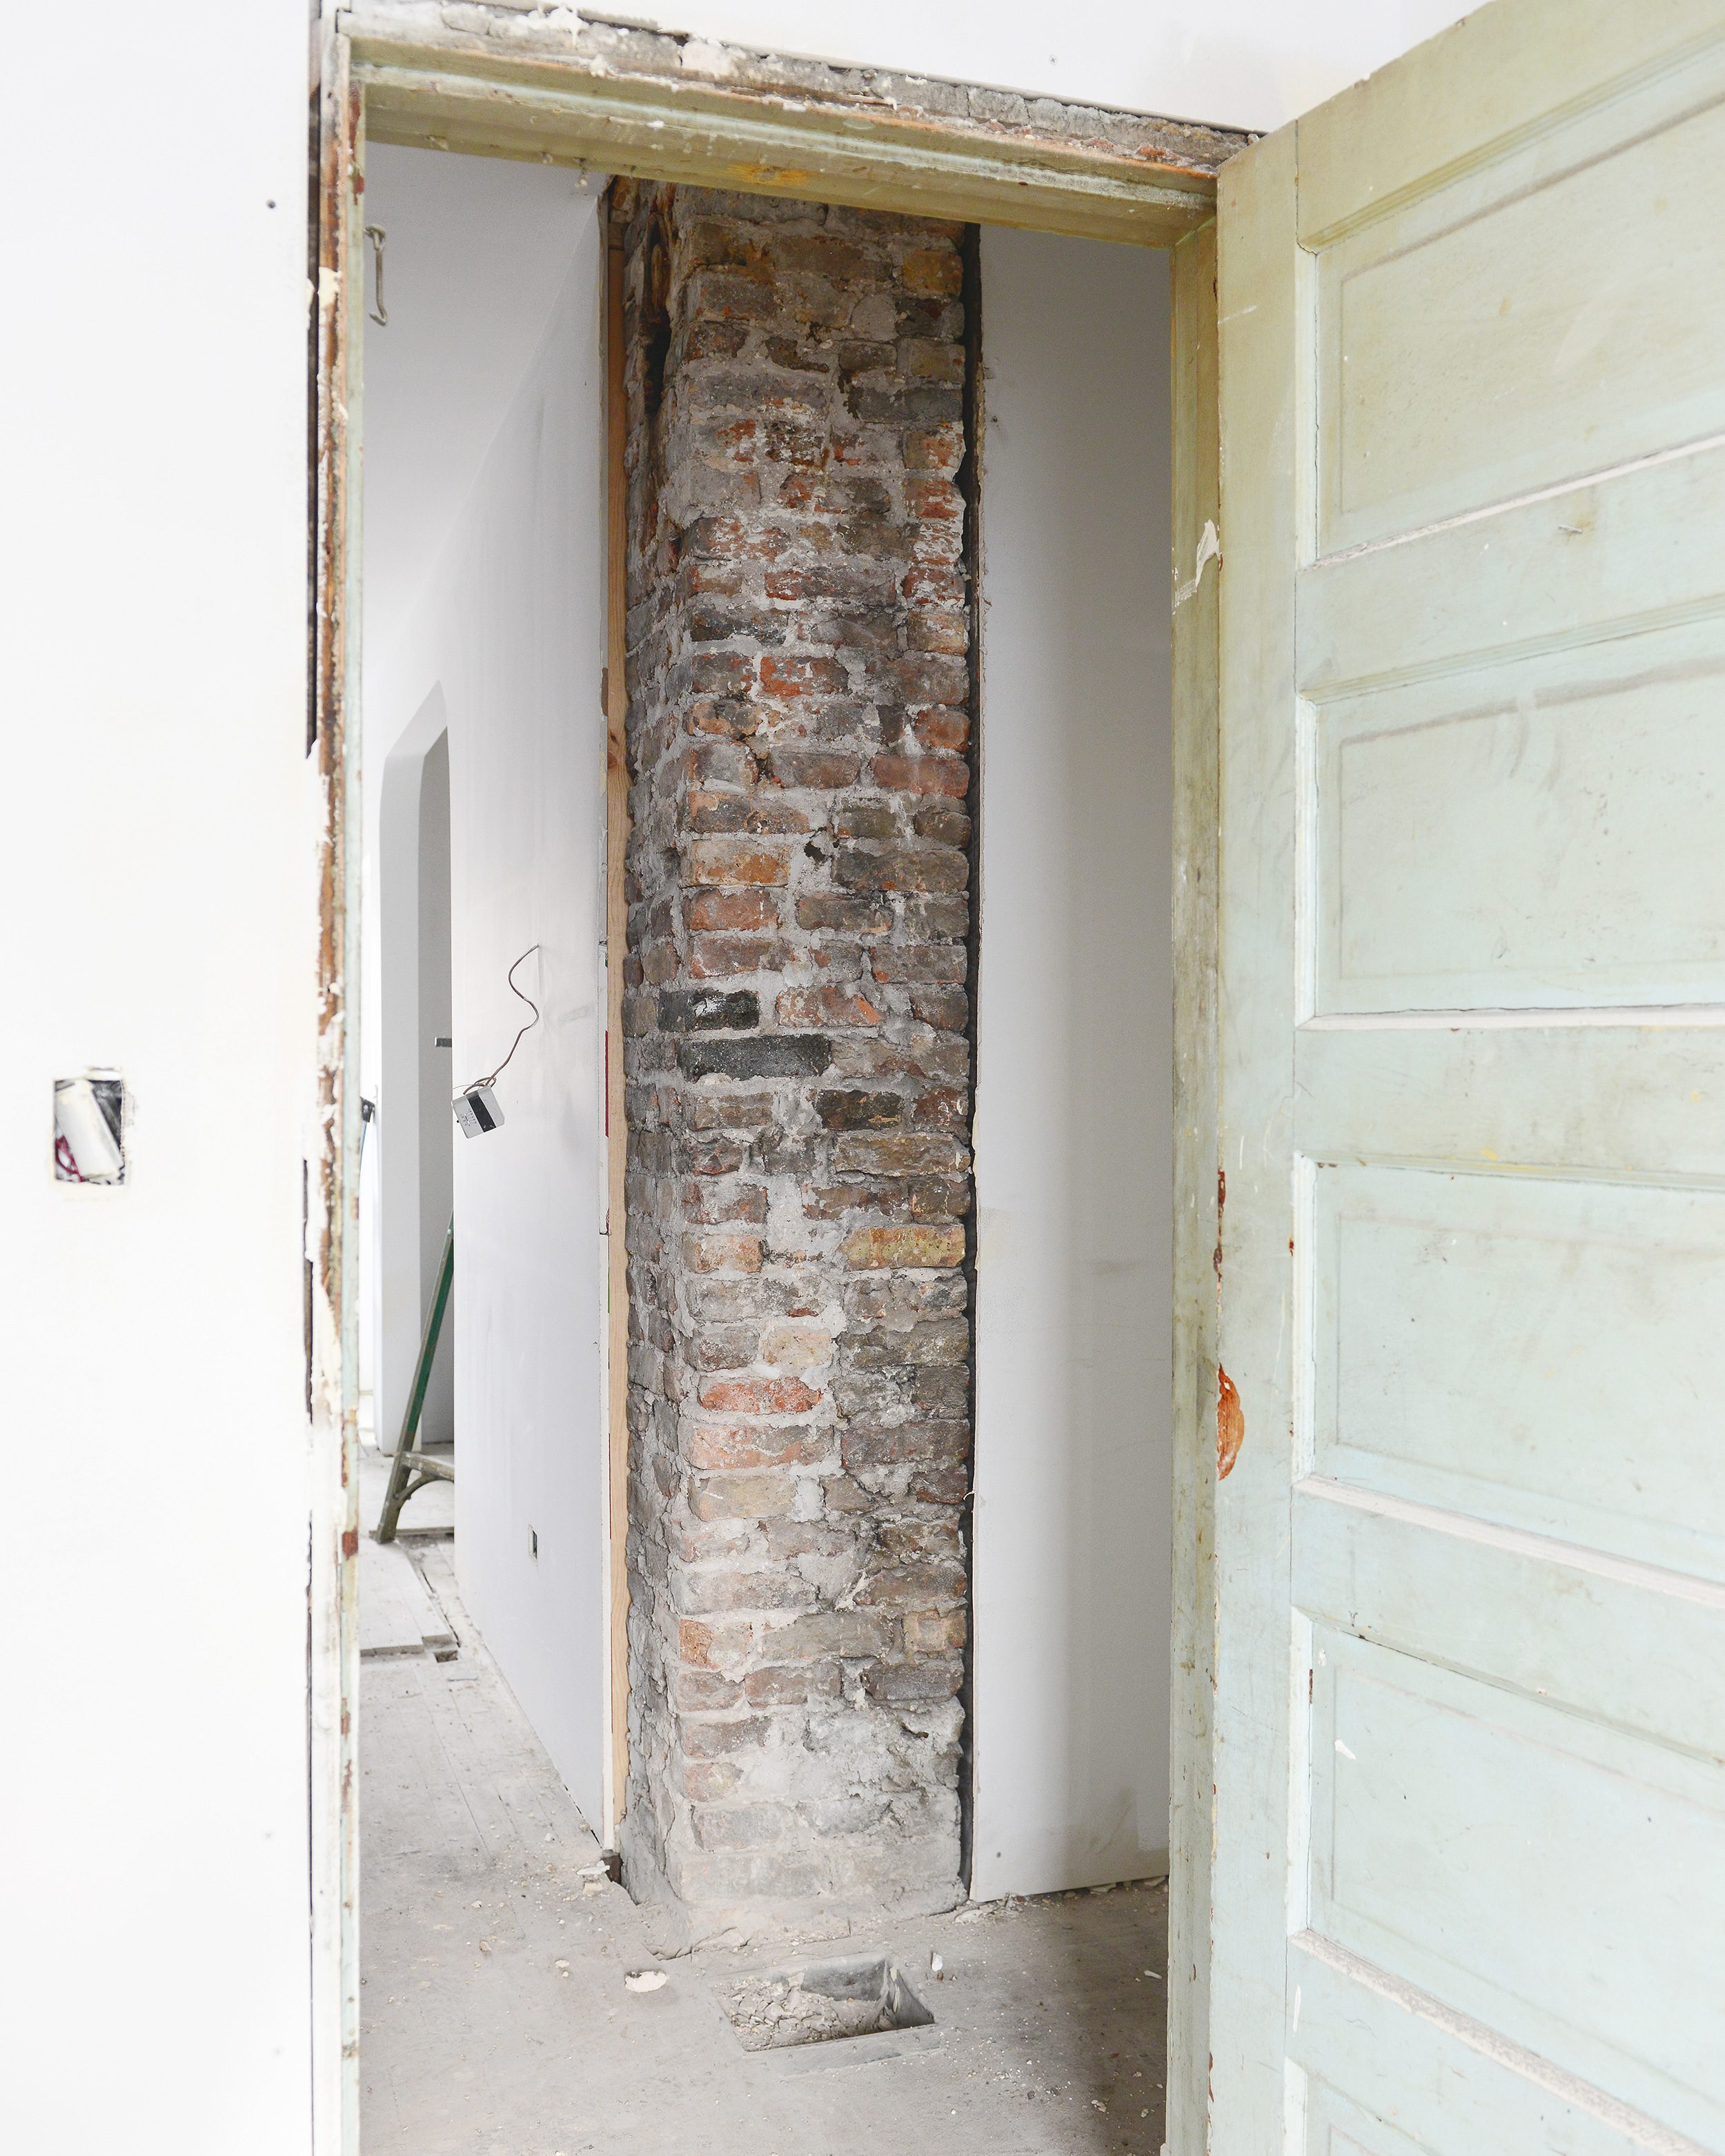
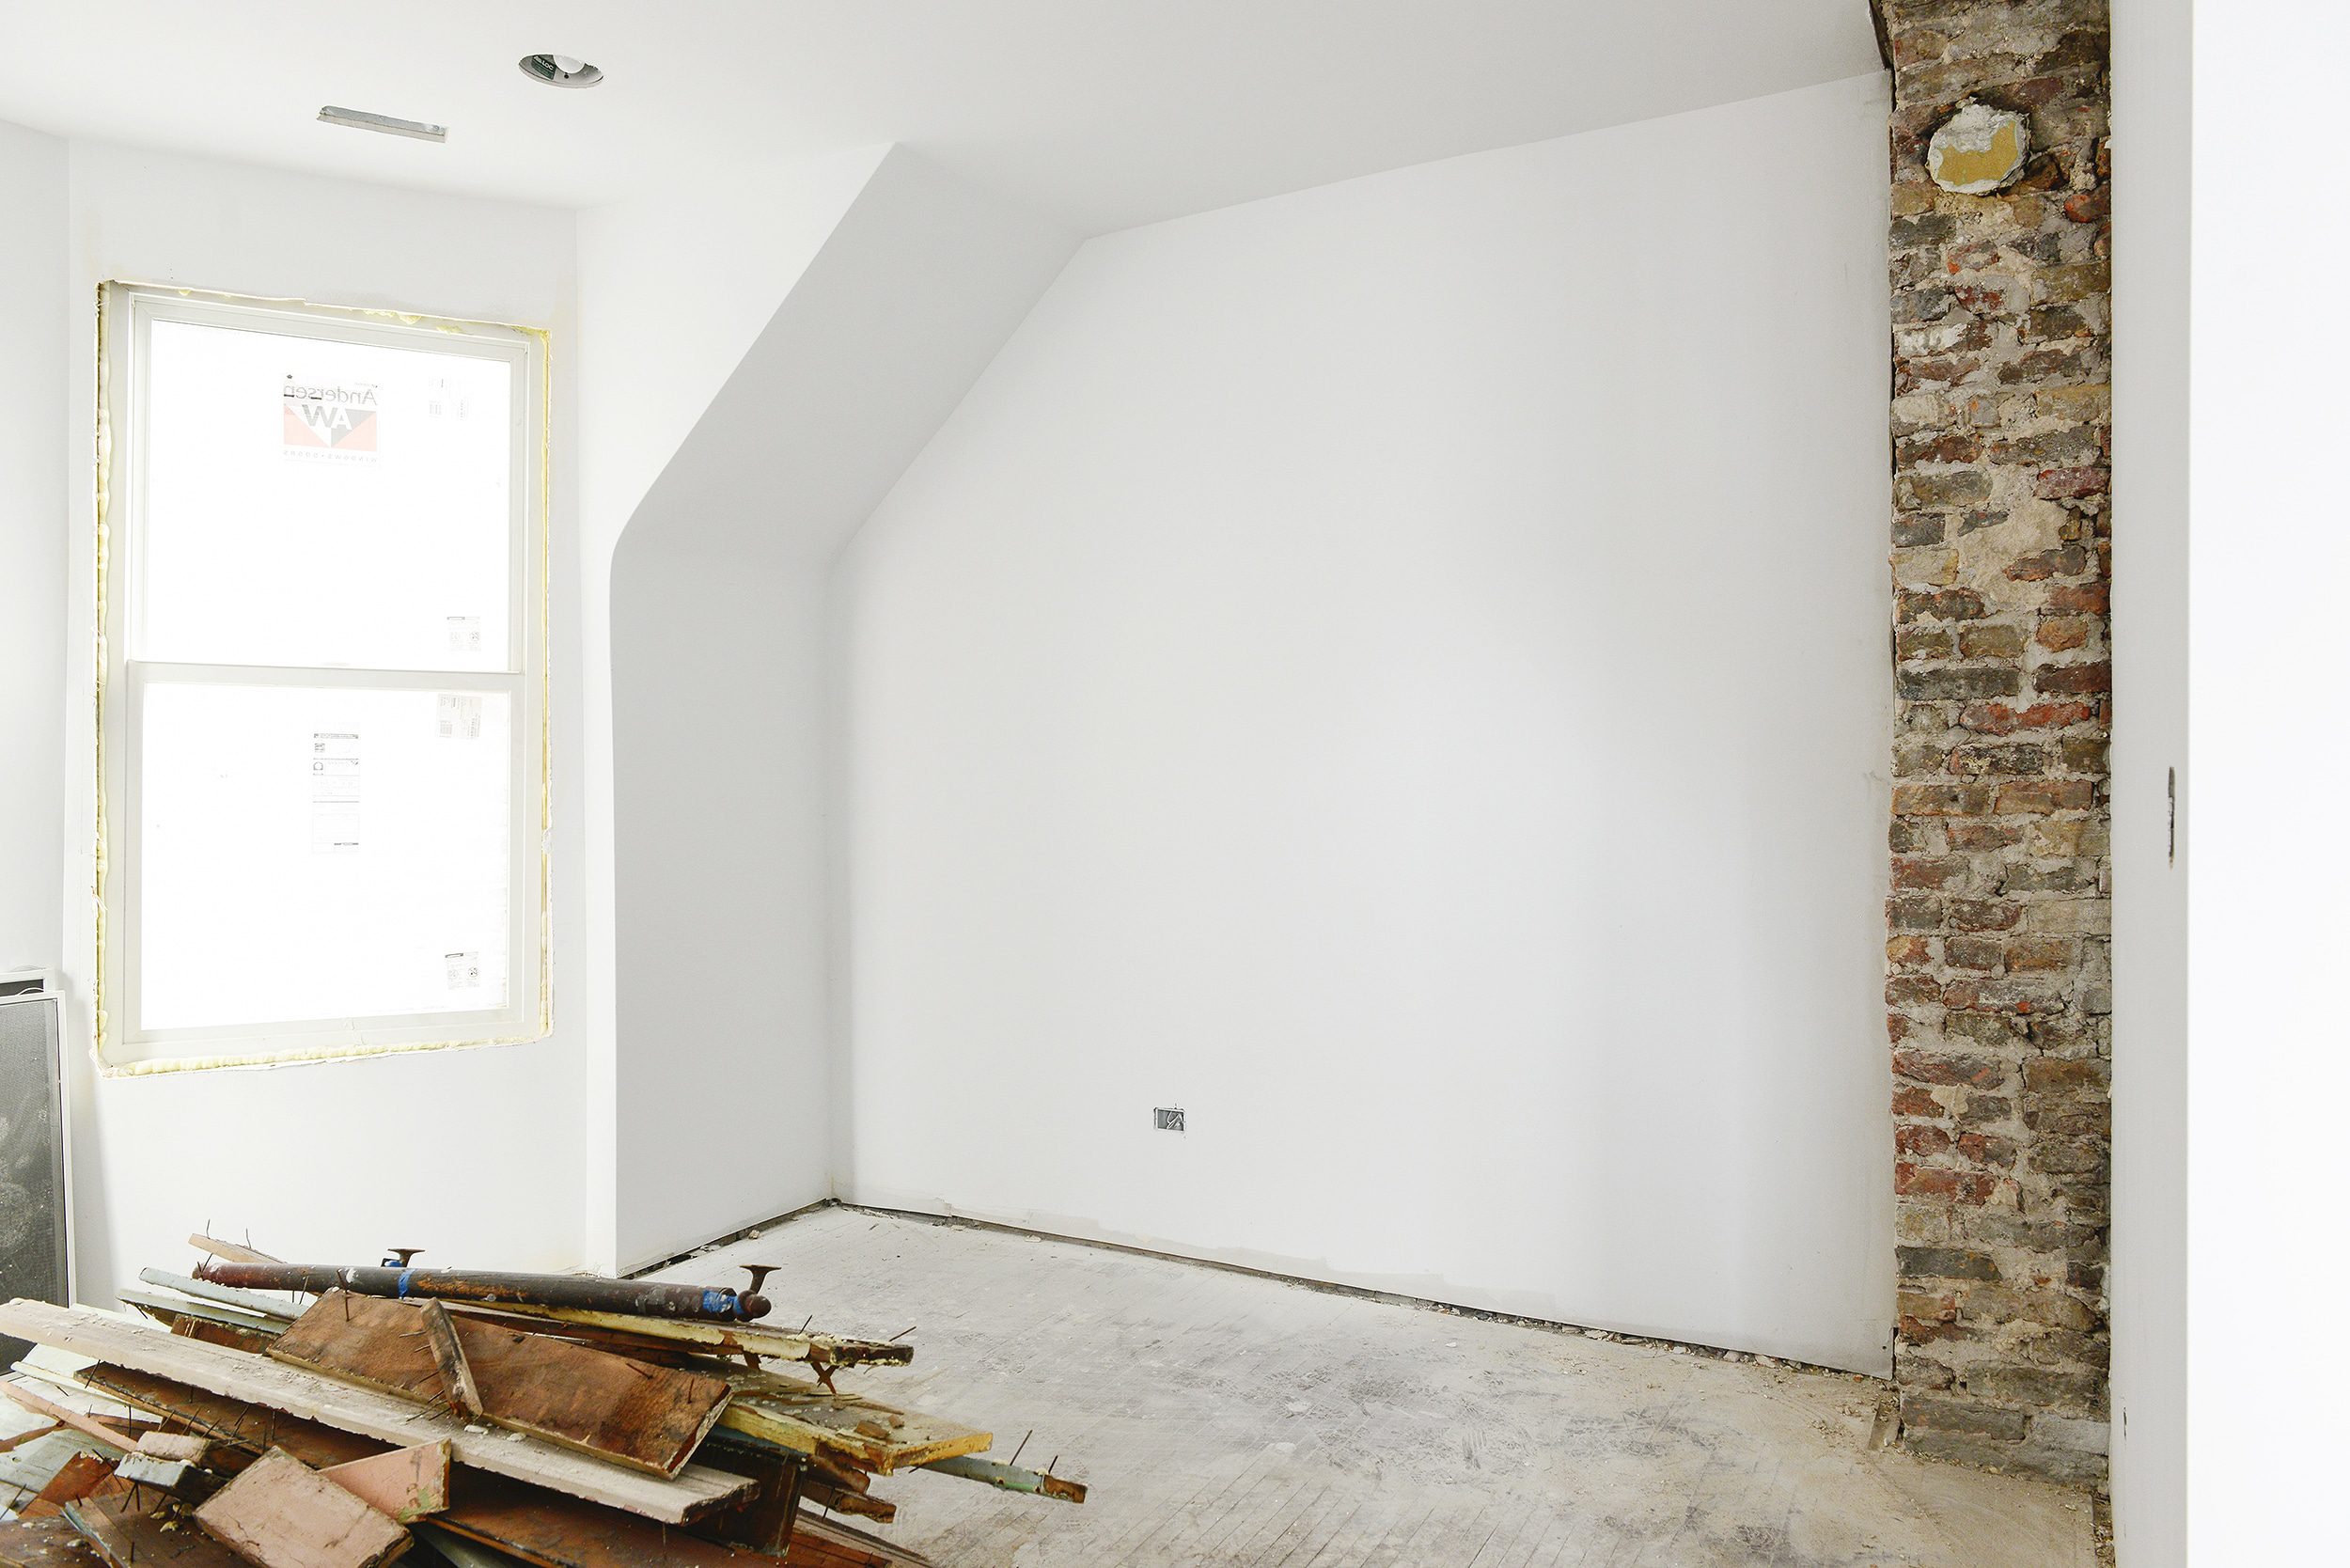
Upstairs in Unit 2, the chimney will also be exposed on all four sides. The view below is from the front door of the apartment, opening into the hallway. From this angle, the two bedrooms are on the right, at the front of the house. The hallway to the left leads to the bathroom and common areas. This is what things looked like when we got started.
While I wrapped up downstairs, Kim made short work of this chimney. From the angle below, another area can be seen where we’ll have some trim and detail work to troubleshoot. The stud of the existing wall is still exposed for an inch or two along the vertical run of the chimney, so we’ll need to cap or trim the gap.
Once the dust had cleared and the plaster rubble was swept up, this portion of the chimney also turned out exactly as we’d hoped! We can see it now – warm brick tones playing off white walls with contrasting trim – aaah. There is so much potential in this apartment!

Unit 2 | Living Room
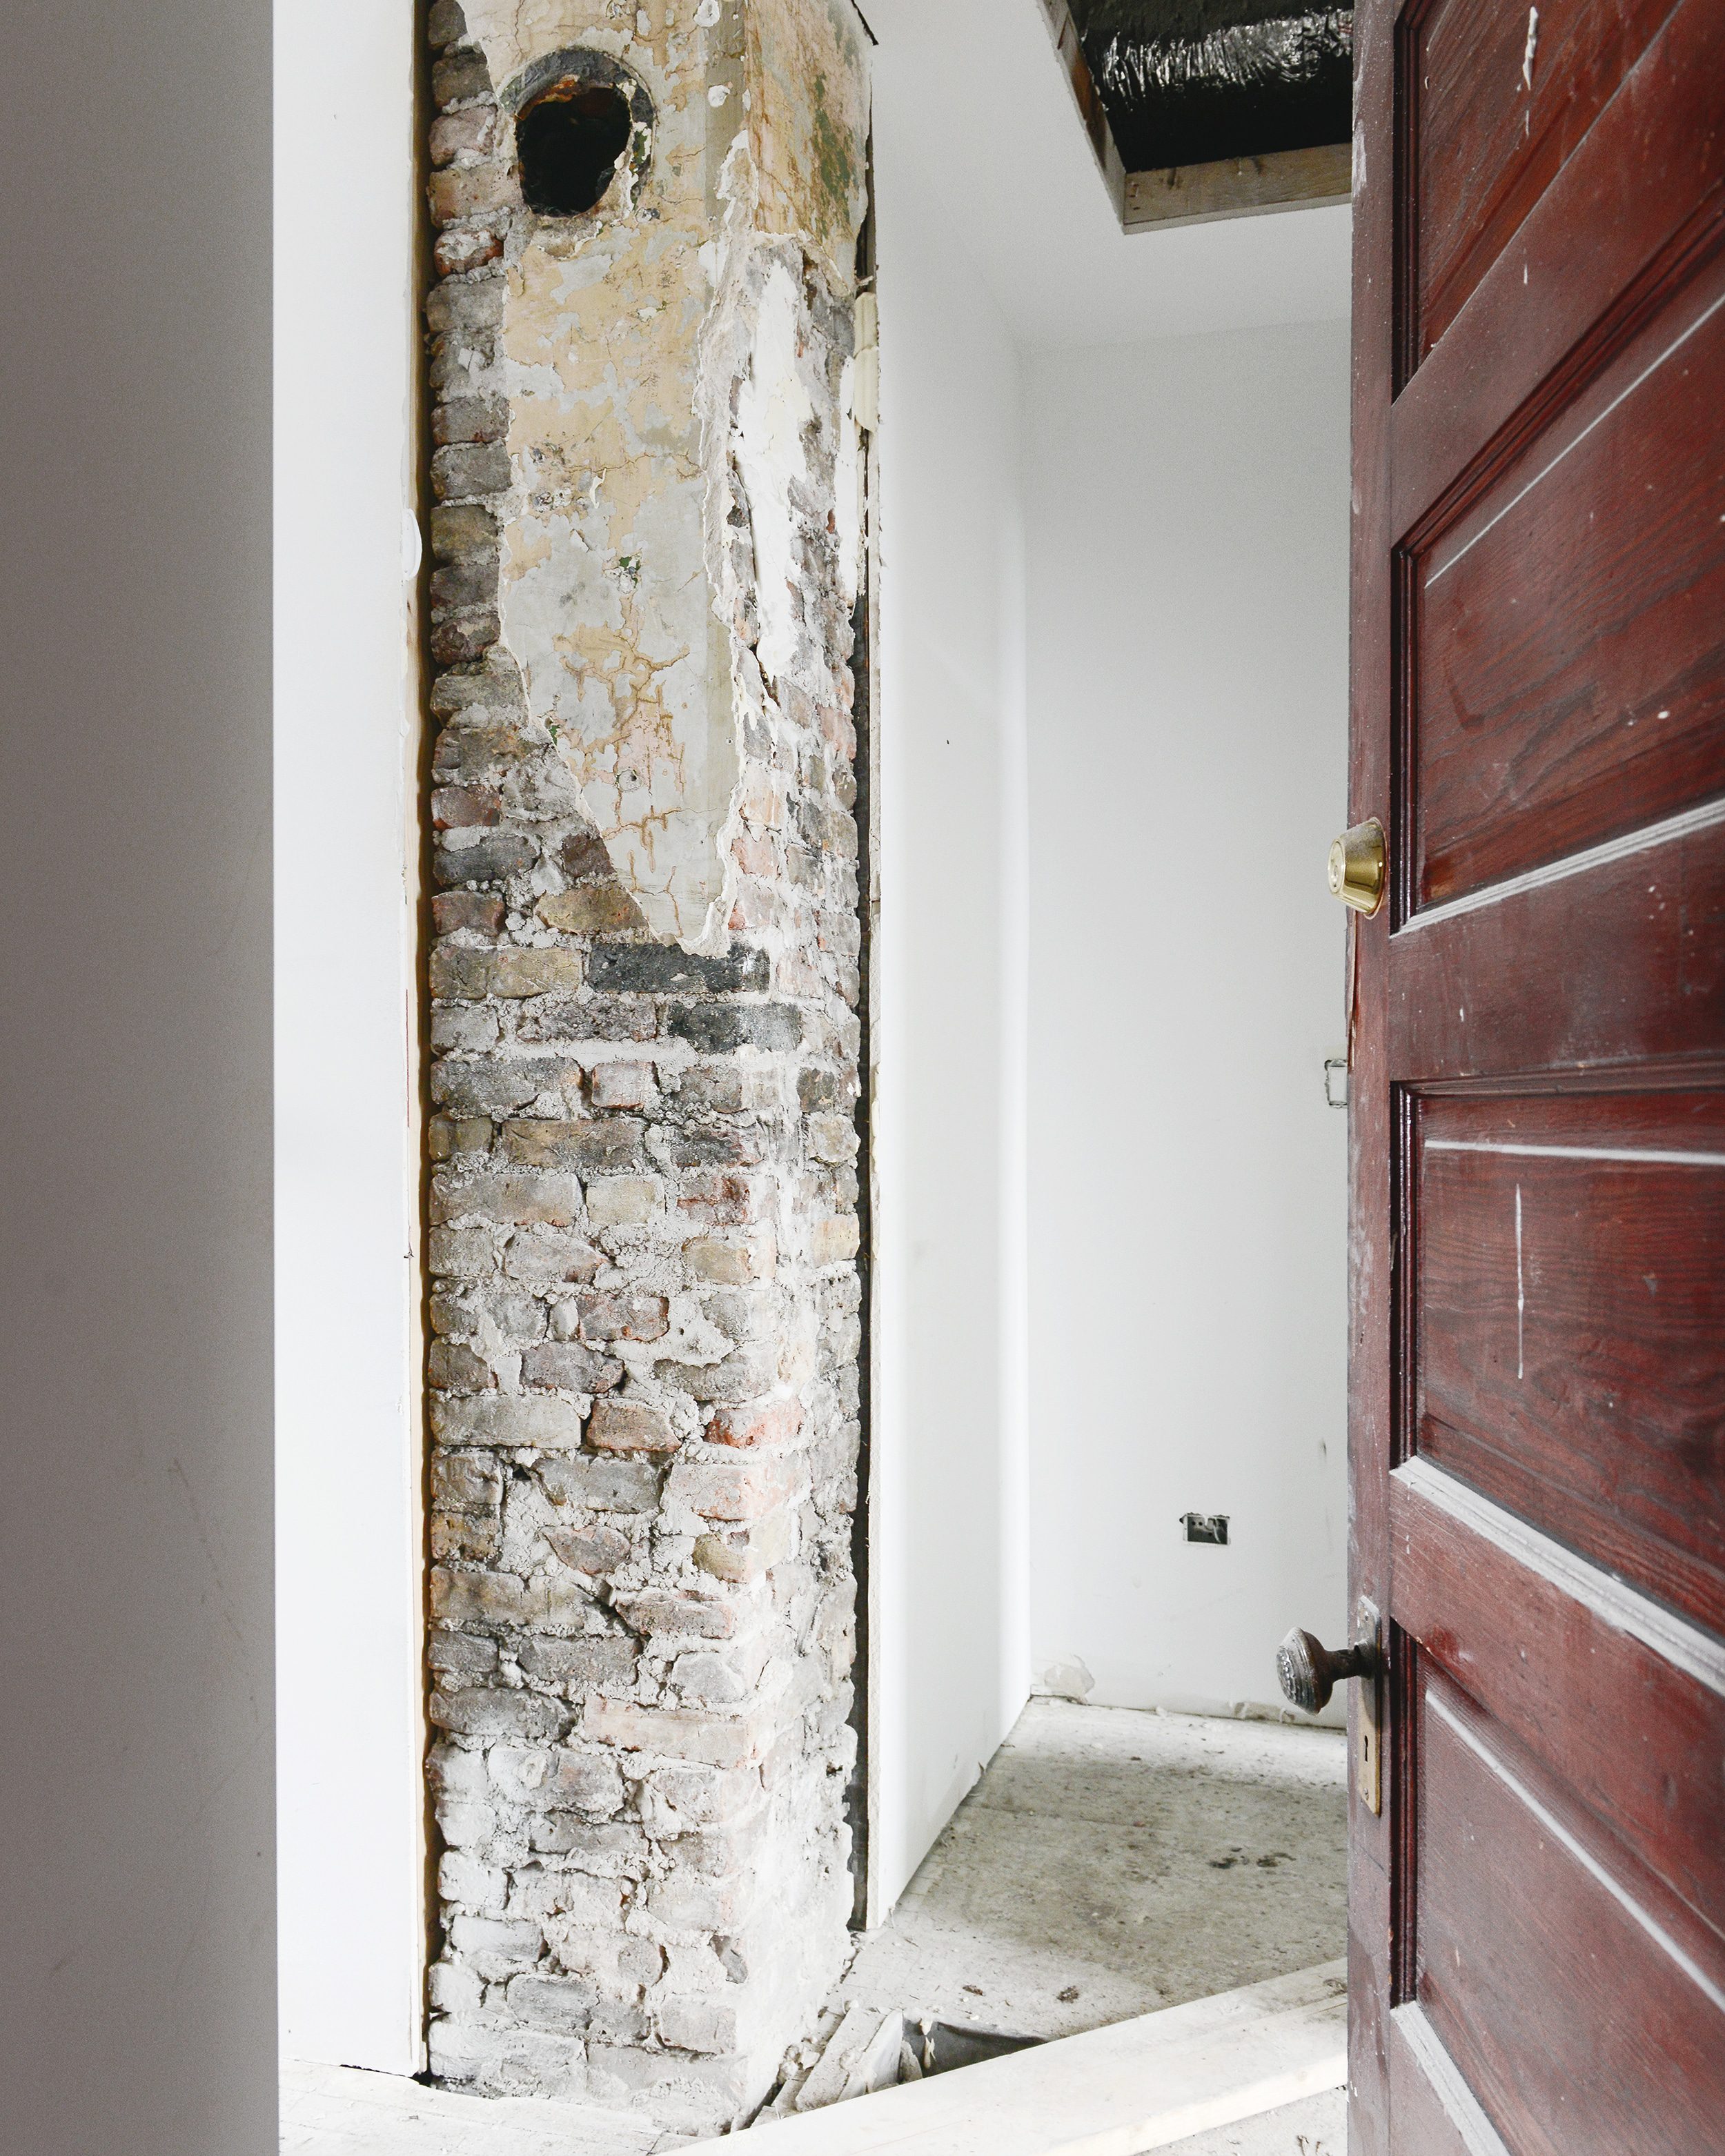
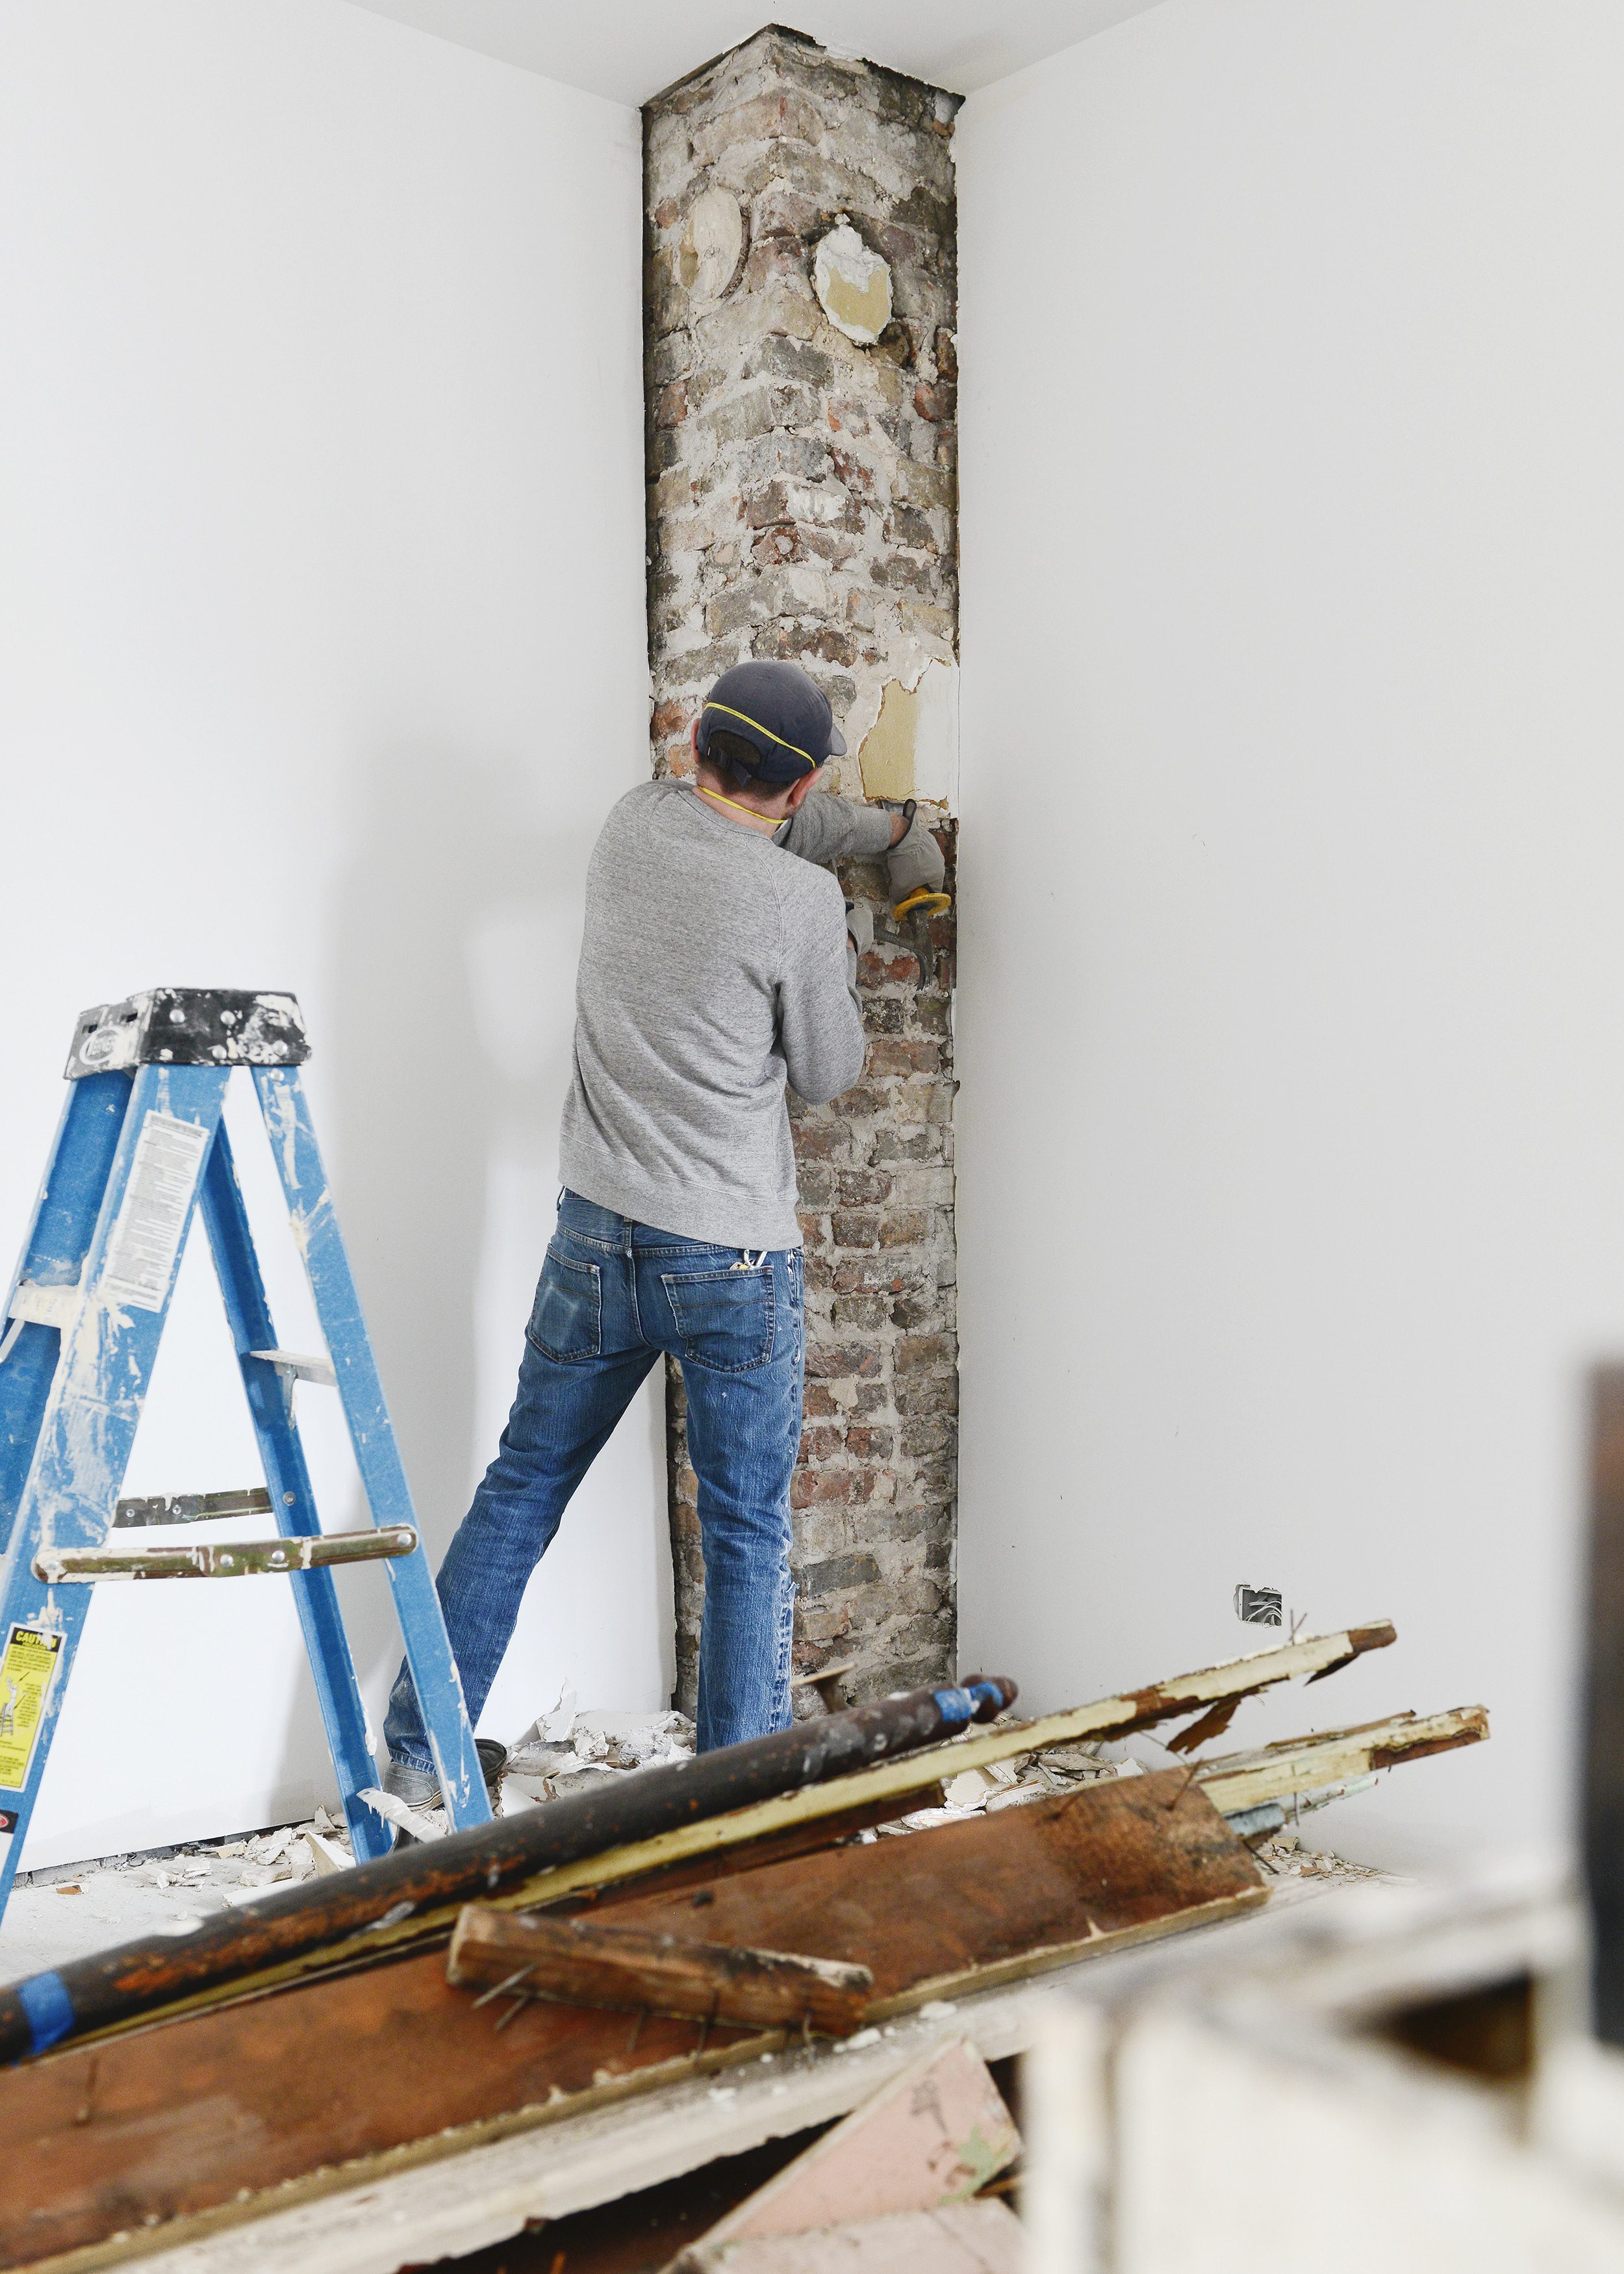
And on the other side of the hallway wall – you guessed it – we had more plaster over brick, but this time around it had been covered with wallpaper, then painted! Somehow this combination of three different finishes seemed to release from the mortar a bit easier than elsewhere in the house. We finished this entire section of chimney in about 45 minutes!
This side of the chimney has not one, but two metal flue inserts that will need to be removed. Overall though, the brick is in very good condition with only a few other areas that will need further attention. Please don’t mind the three foot high pile of trim salvaged from this floor of the house that all still needs to be freed of nails, cleaned and prepped before it can be reinstalled. We have a lot of work ahead of us!
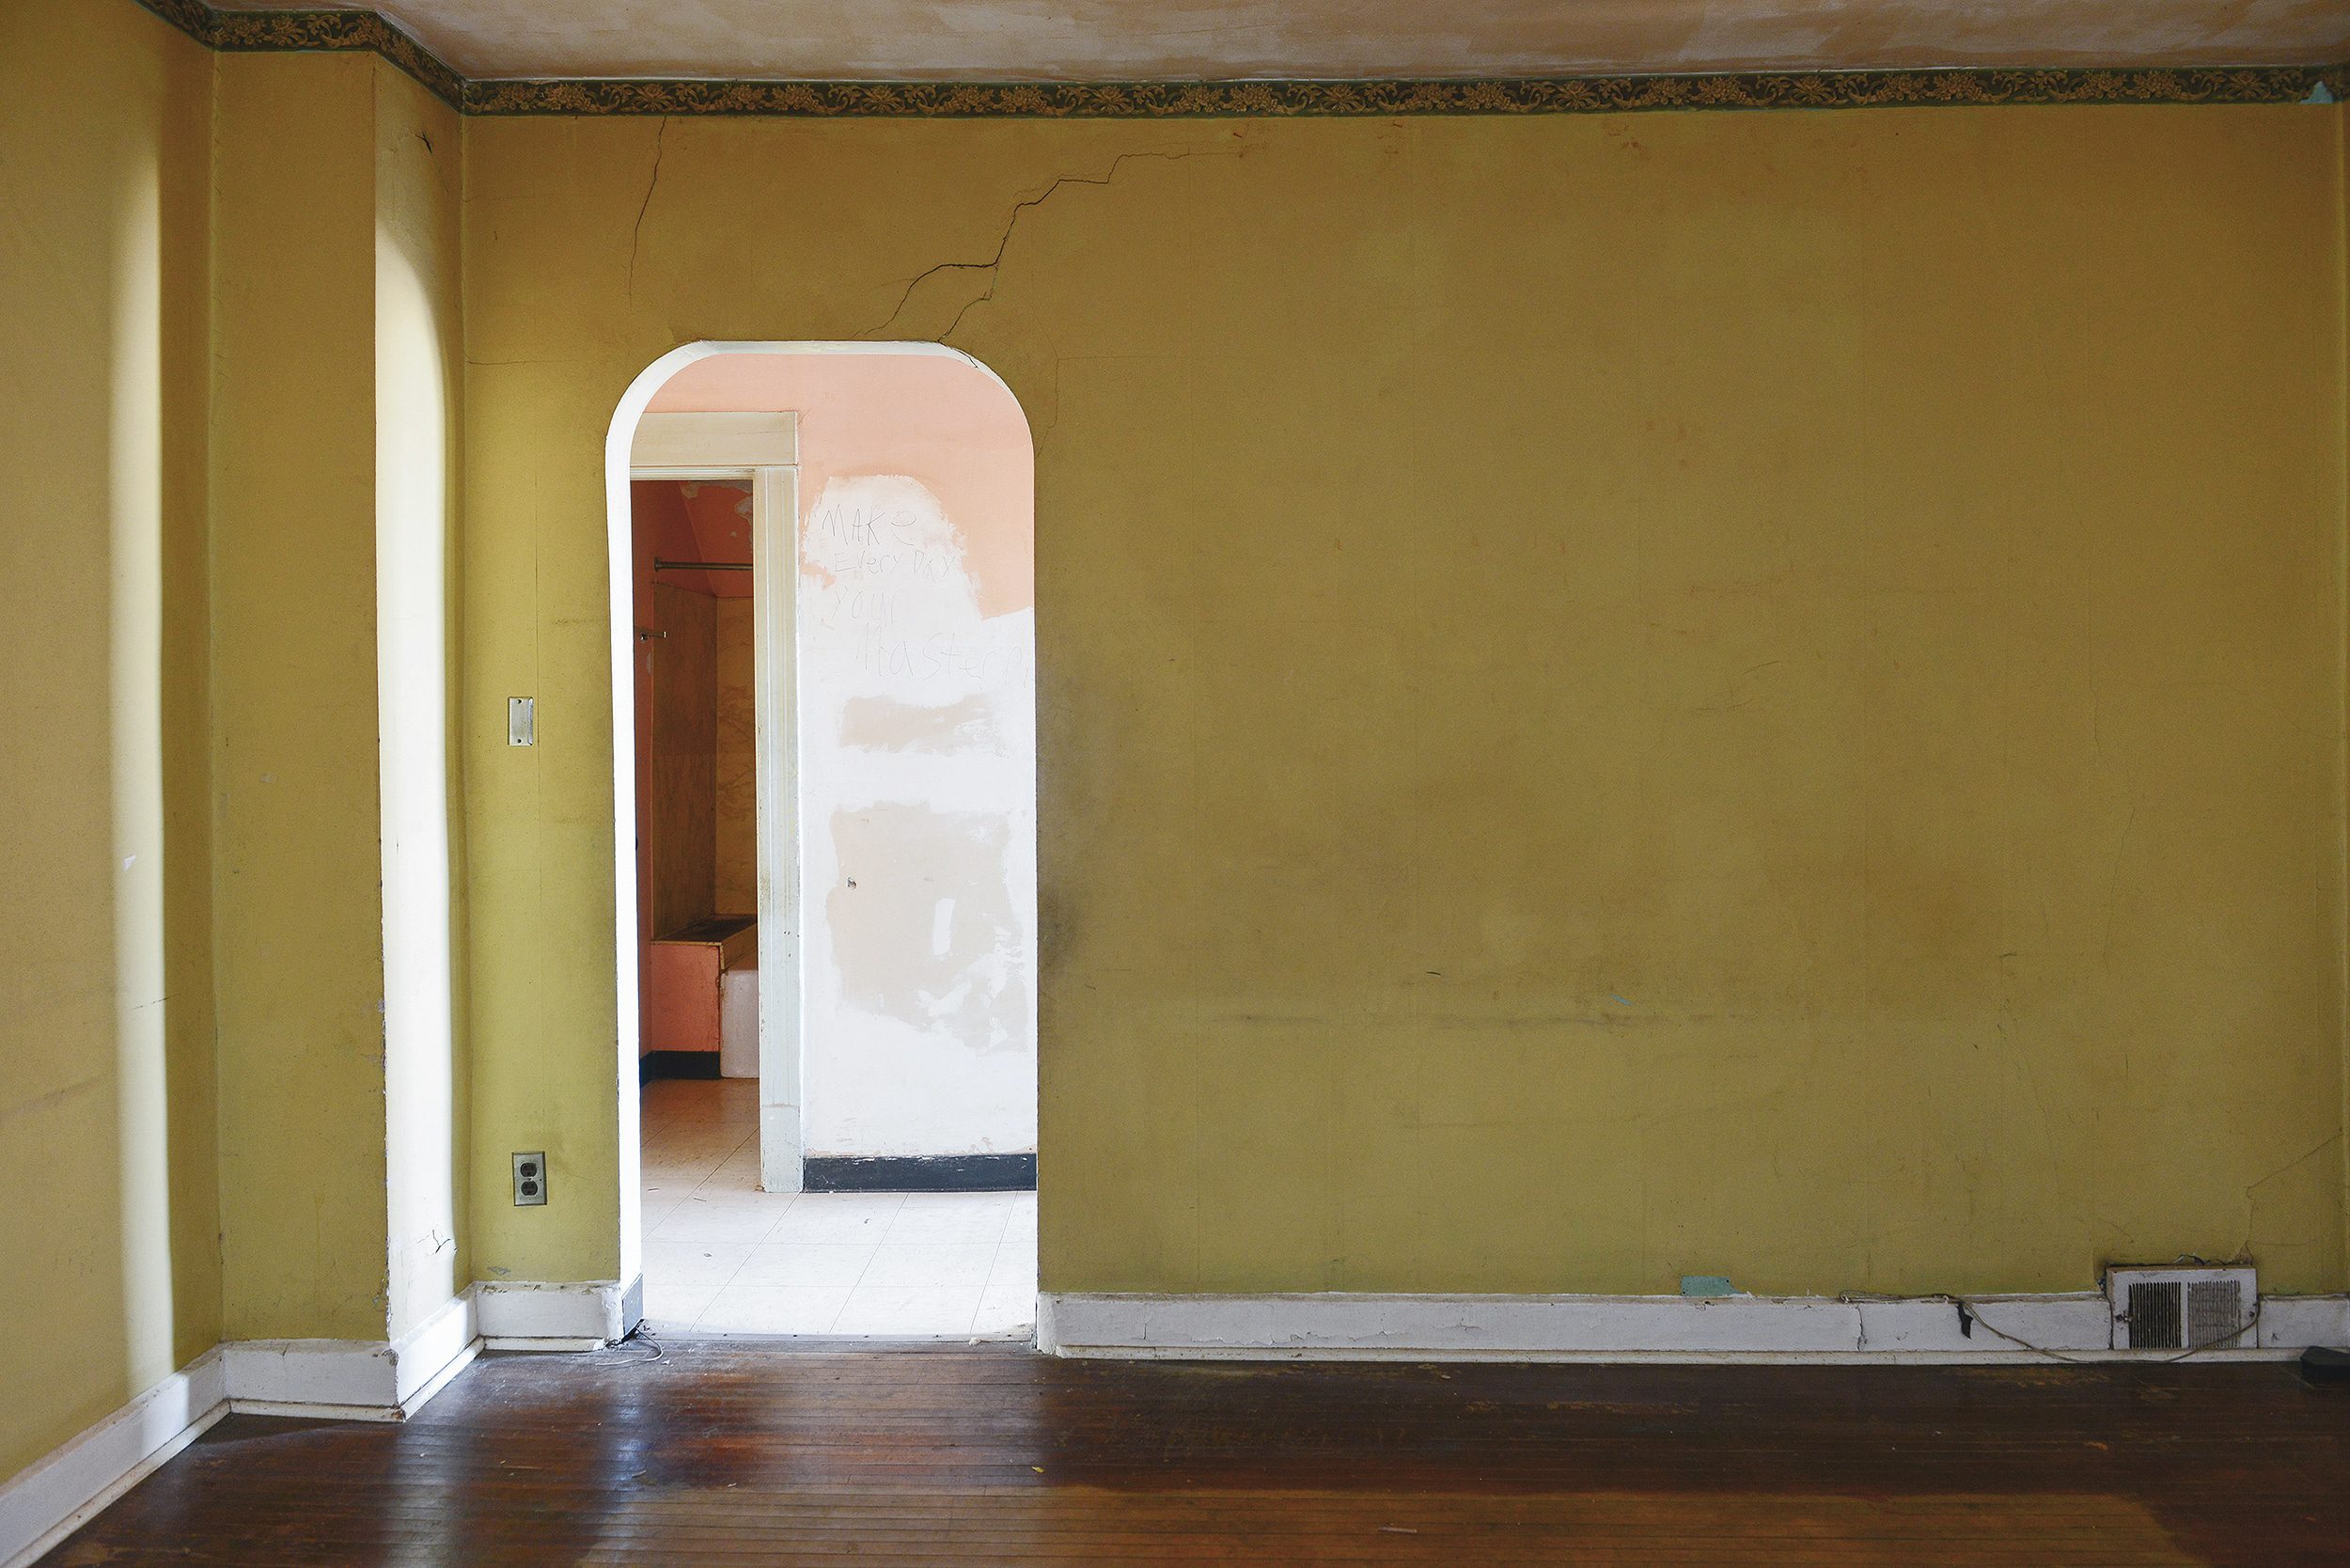
Unit 2 Living Room | Before
This room was absolutely dripping with charm before we made any changes at all. The sunny walls and tiny border remind us that this home once belonged to a sweet multi-generational family that put care and love into each and every space. Here’s how the Unit 2 living room looked on the day we closed on our Two Flat:
Unit 2 Living Room | Progress
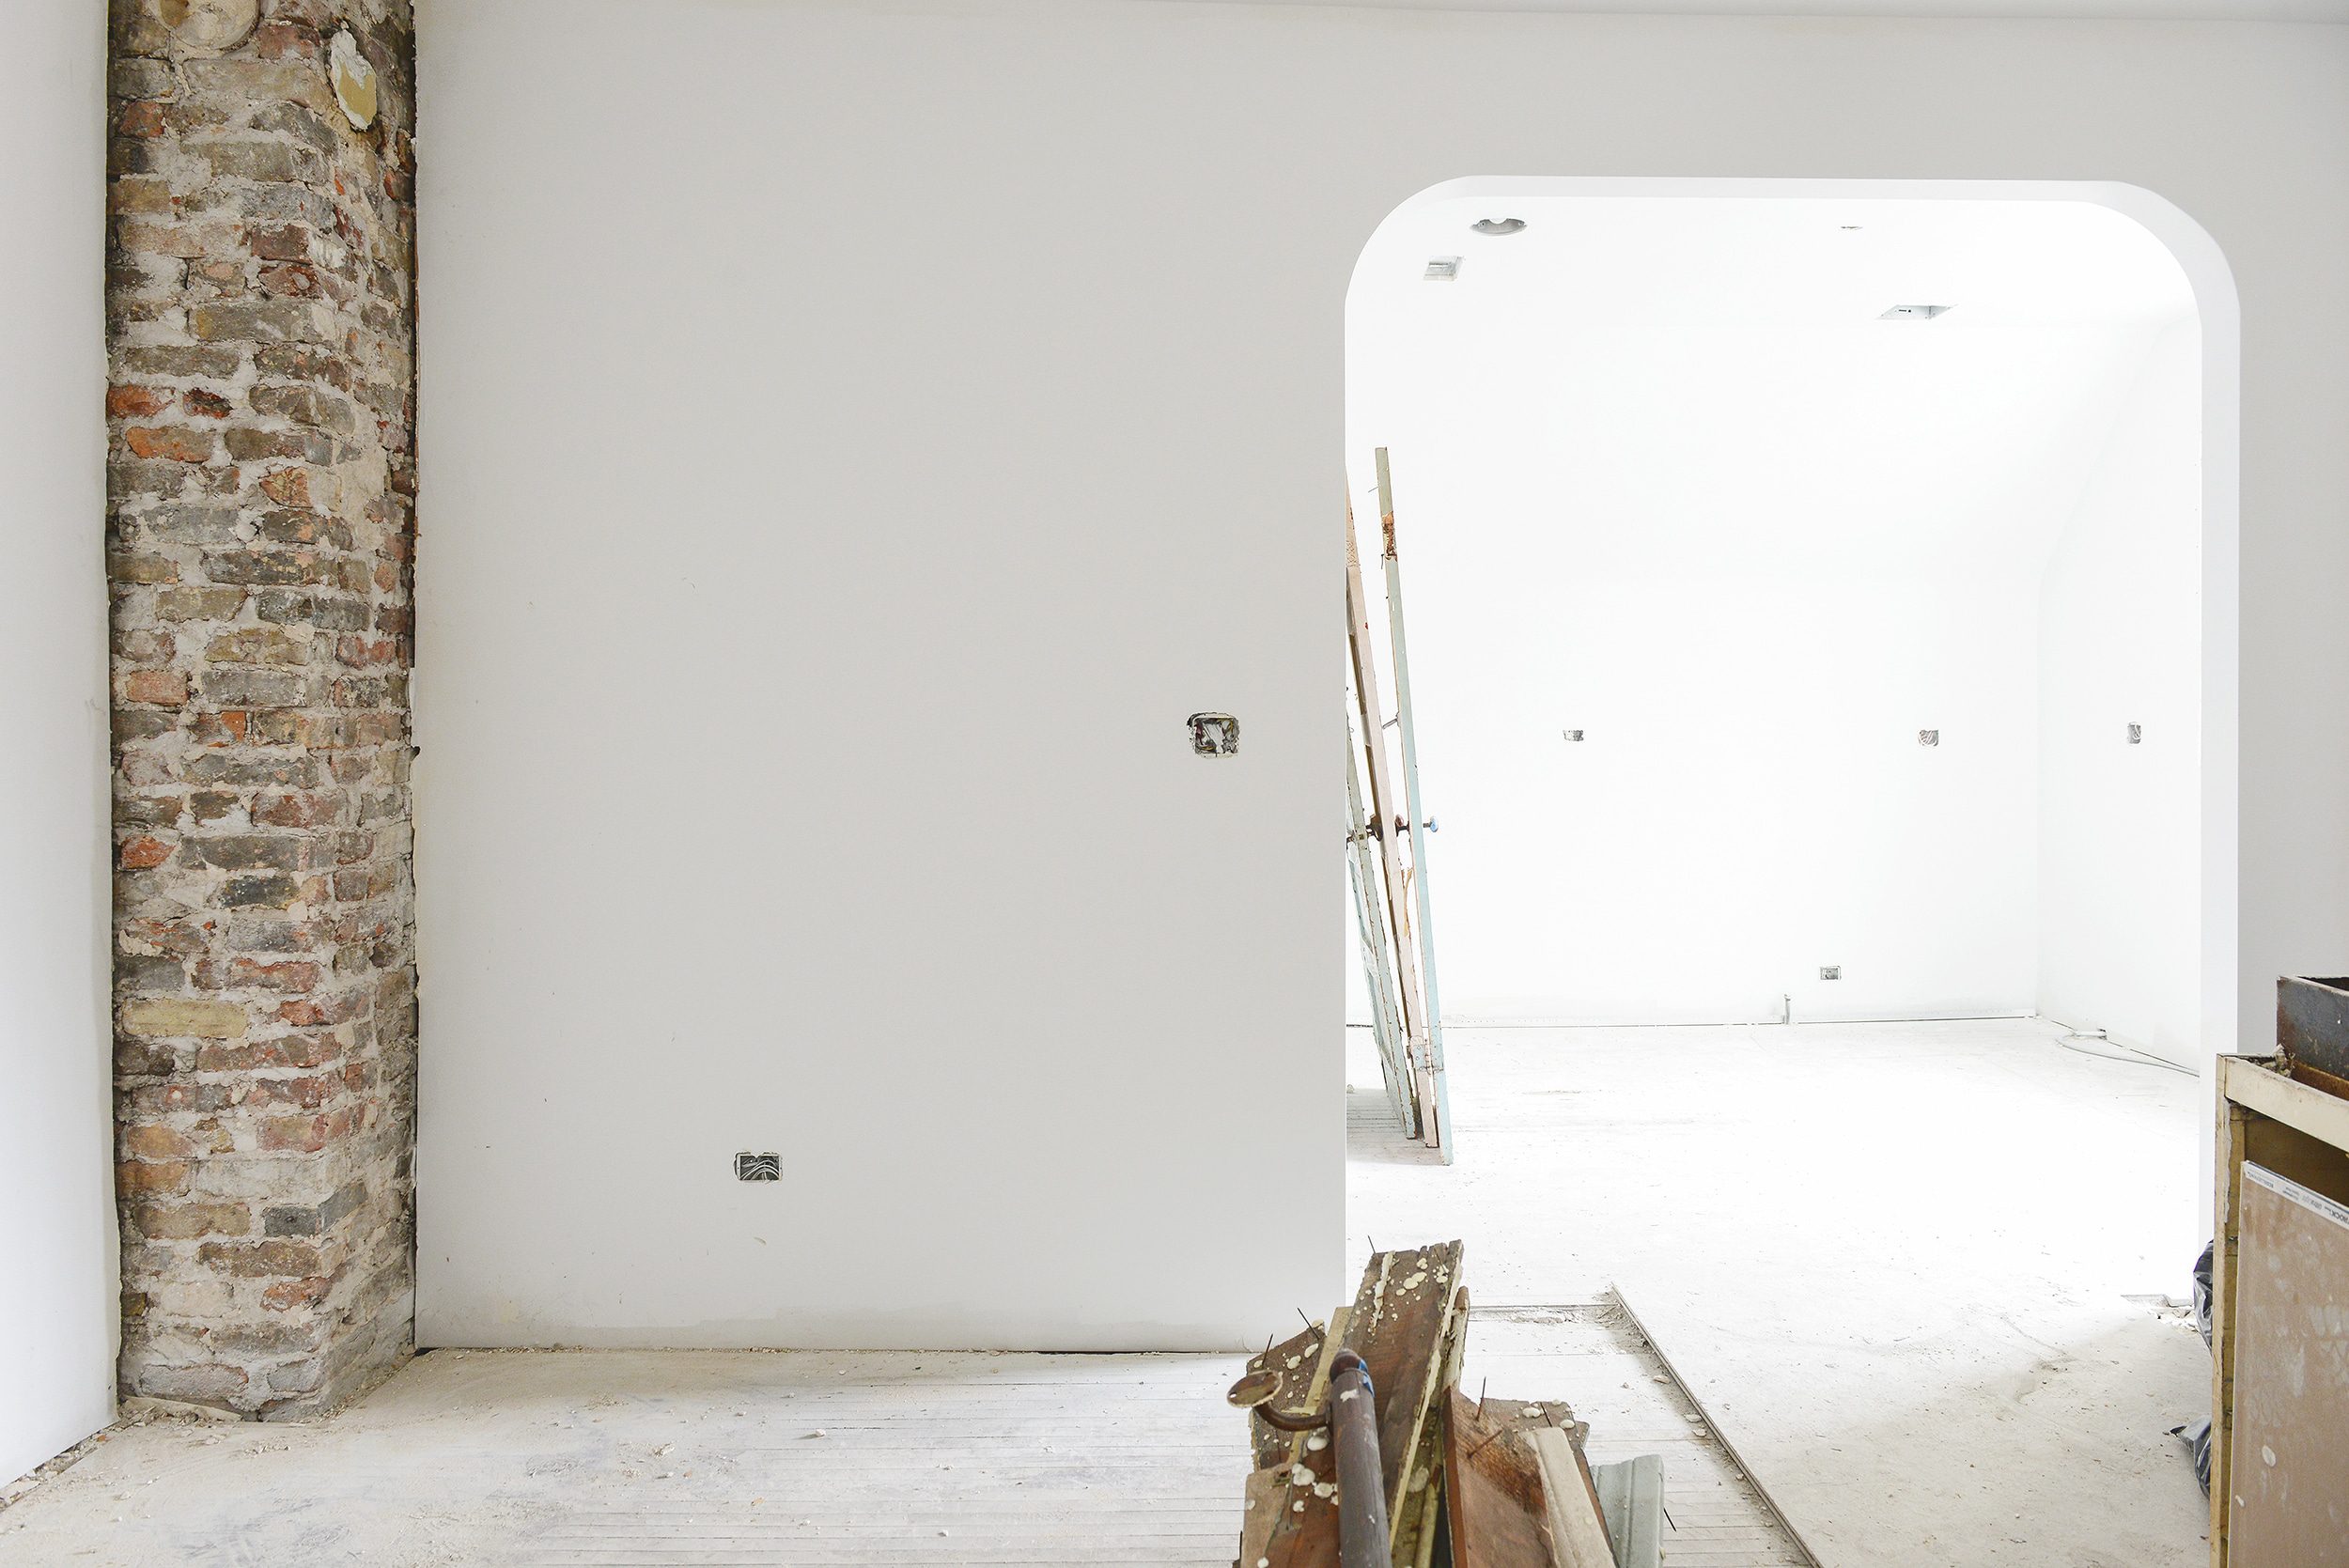
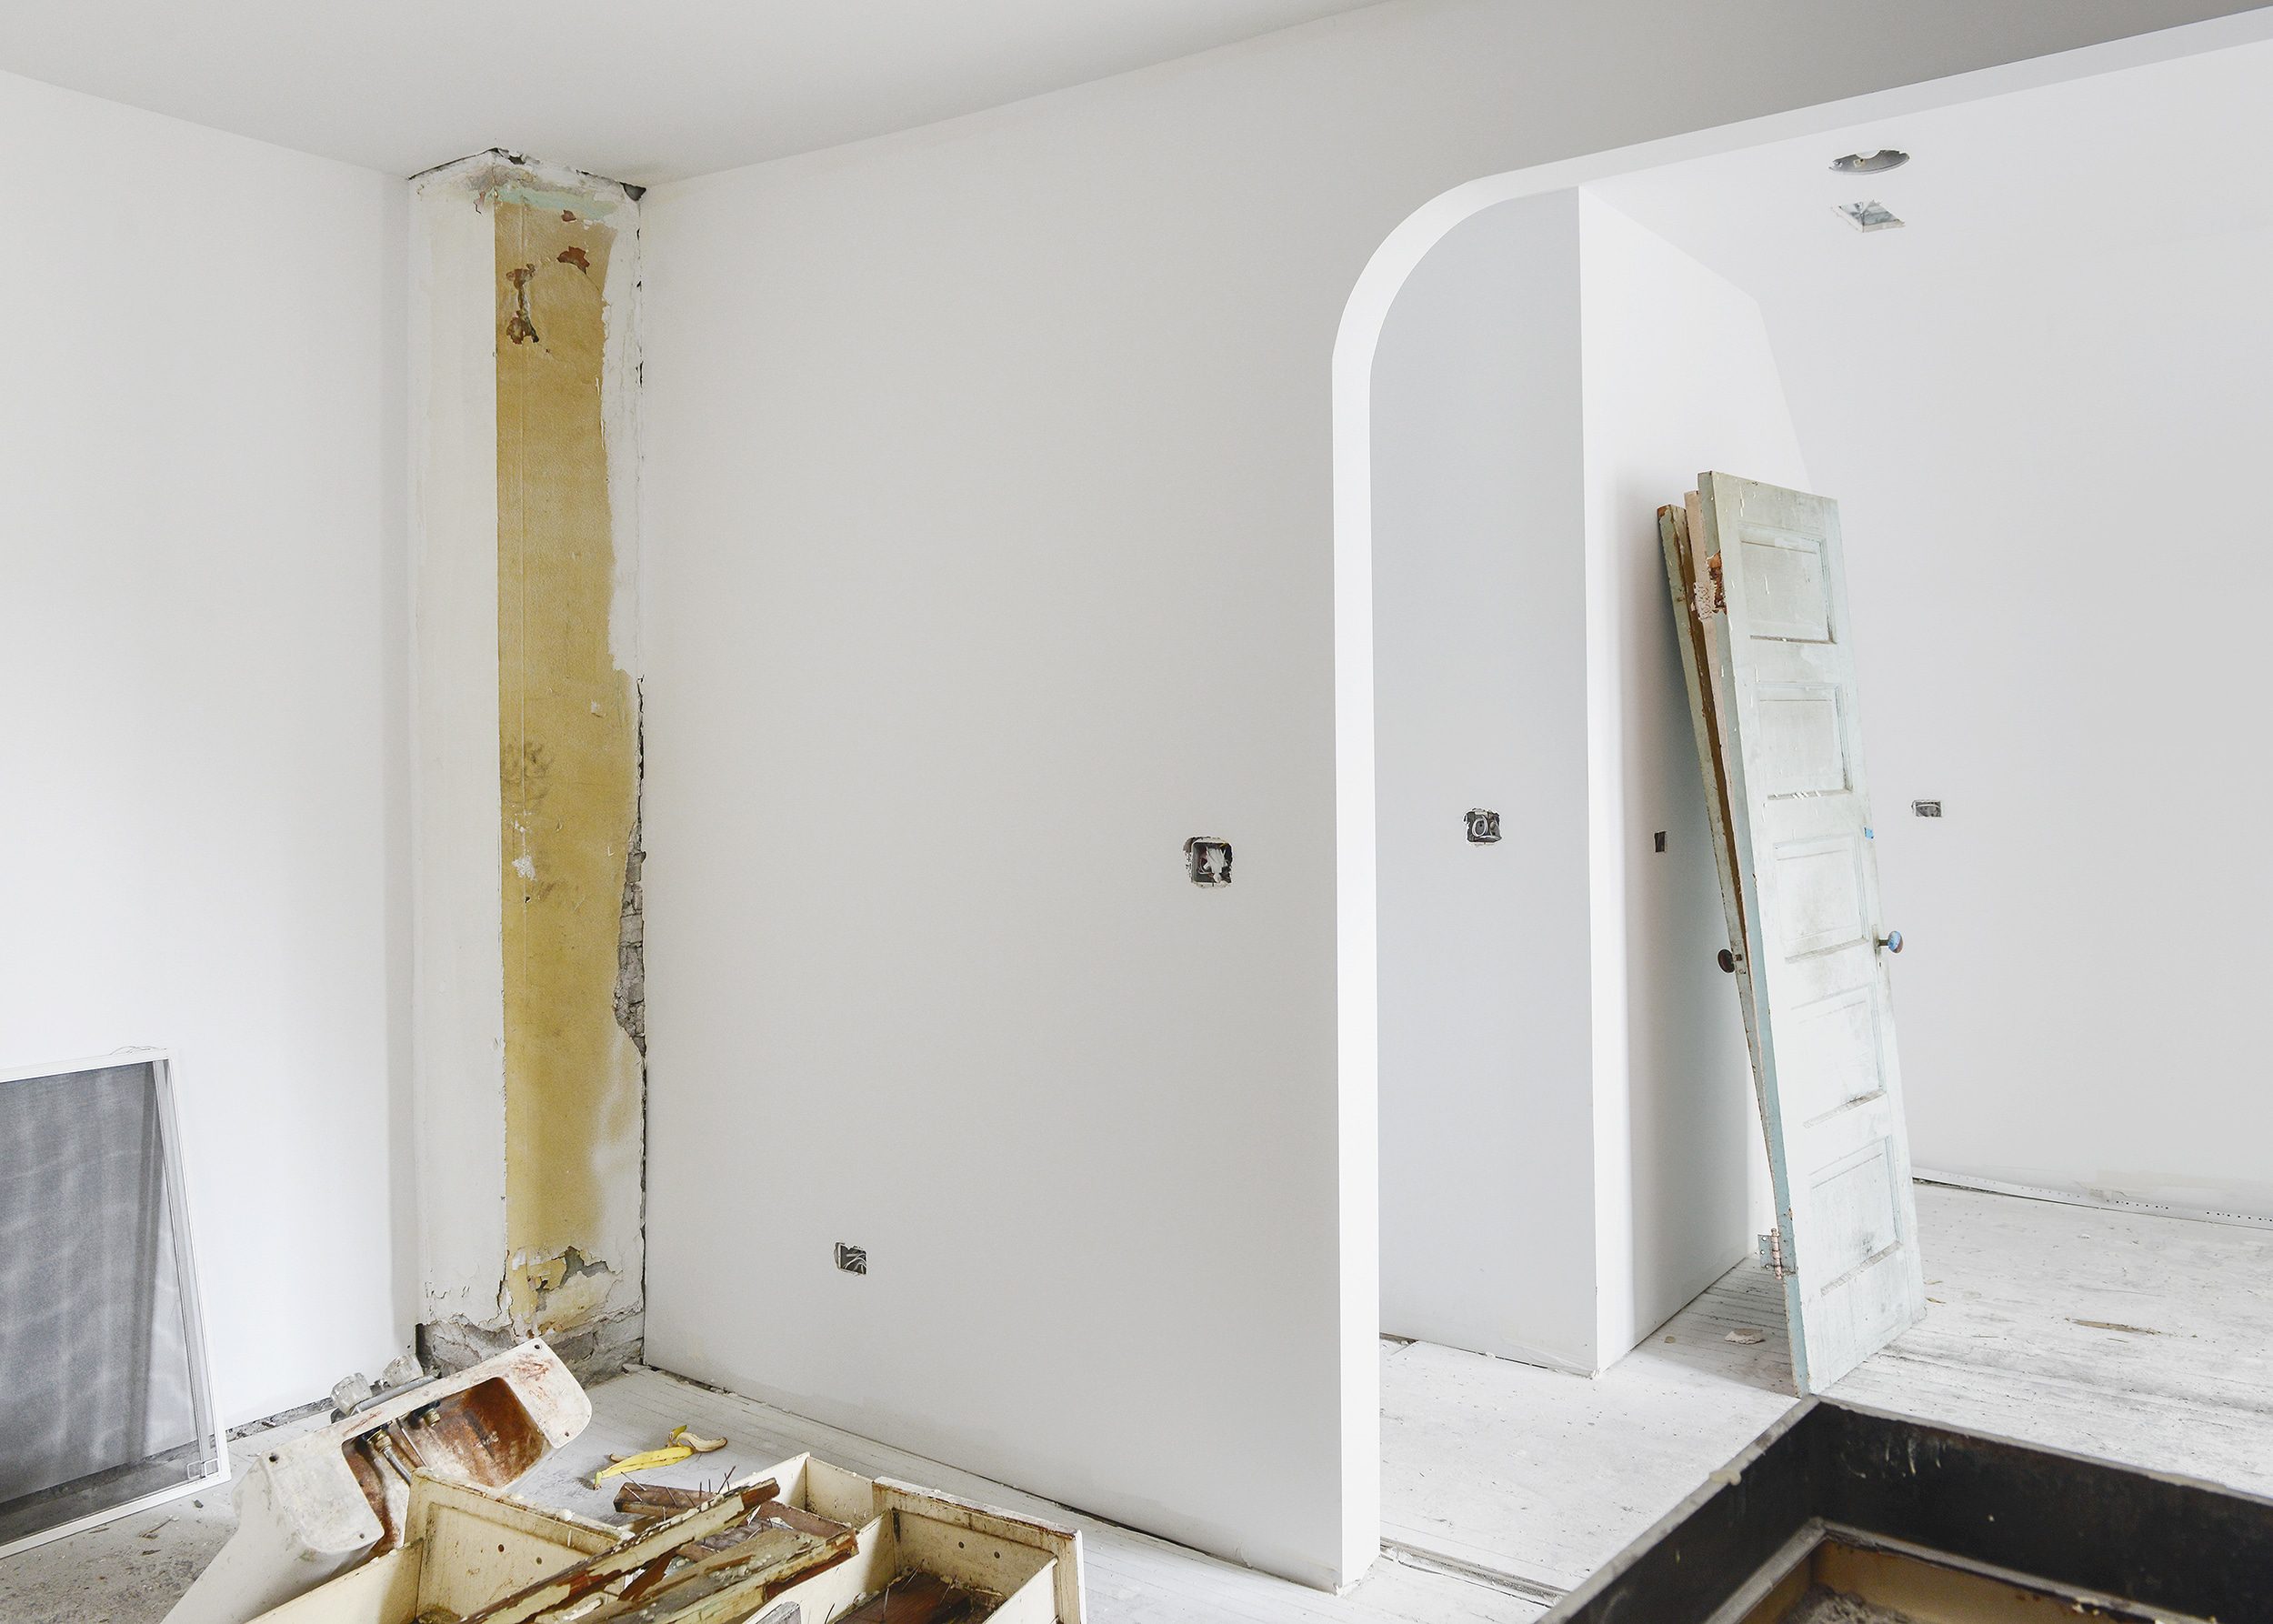
As we designed the slightly shifted layout of the common areas in the apartment, we had always intended to widen the archway as a way to get more natural light into the living room. As we brainstormed ways to do so while honoring the home, many of you suggested that we shift the doorway entirely. So, if we shifted the archway all the way to the right, we’d create a perfect hallway that would also block the view into the bathroom, and instead, we’re looking into the kitchen. Yes! It feels like it was always laid out this way and we’re in love with it!
On the other side of the living room, we had our drywall team recreate the soft rounded edges of the pitched roof to maintain the incredible amount of existing charm. Now that the walls are primed, we can really start to envision how this room could be laid out.
Next Steps
Although we do love the imperfections, the chimneys are still a bit crumbly. We’ve received a few rough estimates from tuck-pointing and masonry companies to see if they could help us mortar and patch in the flues while also keeping the charm. We’ve not yet found a company that we feel is the right fit (Wait, you don’t want perfection? We’re confused!), so may end up going the DIY route similar to our pals Chris and Julia.
Is this a project you’ve ever taken on? If so, we’d love to hear your thoughts on how we could handle the gaps between brick and fresh drywall! These old houses and all their puzzles, I tell you. We wouldn’t have it any other way!
PS… You can follow the journey of our Two Flat unit-by-unit, and just for fun, here’s our very first walkthrough!


The exposed brick looks so good! Moving the archway over gives it some beautiful balance
Thank you!
Just curious if you’ll have to clean and seal the brick with something? I have a huge wall that I’ll be doing and am curious. :)
We will! Trying to figure that out, but we think we’ll seal it with a matte finish. You know we’ll share!
I have taken a project like this on! We had a bump out in my daughter’s first nursery that was made of drywall and metal studs. The room was narrow so I was trying to get any additional space possible. I ended up filling the gap between the brick and drywall with drywall mud because if I used trim there would still be large gaps. And I patched in the flue hole with some brick I found on the side of the road and mortar. I also had to repoint the majority of the exposed brick. Someone had previously patched in an area with some type of cement and brick so I ended up painting the whole thing after. Not going to lie, it was kind of a pain. But it’s definitely do-able. Just make sure you don’t get mortar made for modern bricks because when the old bricks expand in humid weather they will crack if the mortar is too hard!
I used Bondcrete to seal an exposed brick wall in my Victorian house (in Melbourne, Australia). It is totally matt and made a huge difference to the dust levels by sealing the crumbling brick and mortar. In relation to the transition between the new plaster or dry walk and the brick, the genius plasterer basically finished right up to the exposed brick. The plaster line is really wobbly but there is no gap. Let me know if you’d like a photo.
We’d love a photo! Please email us!
What a great starting point for a color scheme! It brings new meaning to the color “rust” and I loooove it!
I always wonder why someone doesn’t place a decorative metal/iron element over the stove pipe holes. I think about all the beautiful cast iron grates in older buildings and the smaller reproduction elements available for porches or if looking for something eclectic a potter could make a colorful piece pierced or solid.
How did you know where the edges of the brick were? Your lines are very clear and precise. I’m trying to expose a chimney in my kitchen but the wall is 27inches, chimney only 21 inches.
Since our walls were torn down and built back up, we were able to drywall right up to the brick.