

We know that reglazing a white bathtub is a cost effective way to spruce it up. But what about a pink tub? We’re sharing what we did to get our pink bathtub reglazed!
Can you reglaze a pink (or mint or lavender or!) bathtub?
If you caught our recent small pink bath reveal, you already know that the answer to this question is: Yes! But the question I’ve been getting a lot – and for good reason, it was my question, too! – was, How?
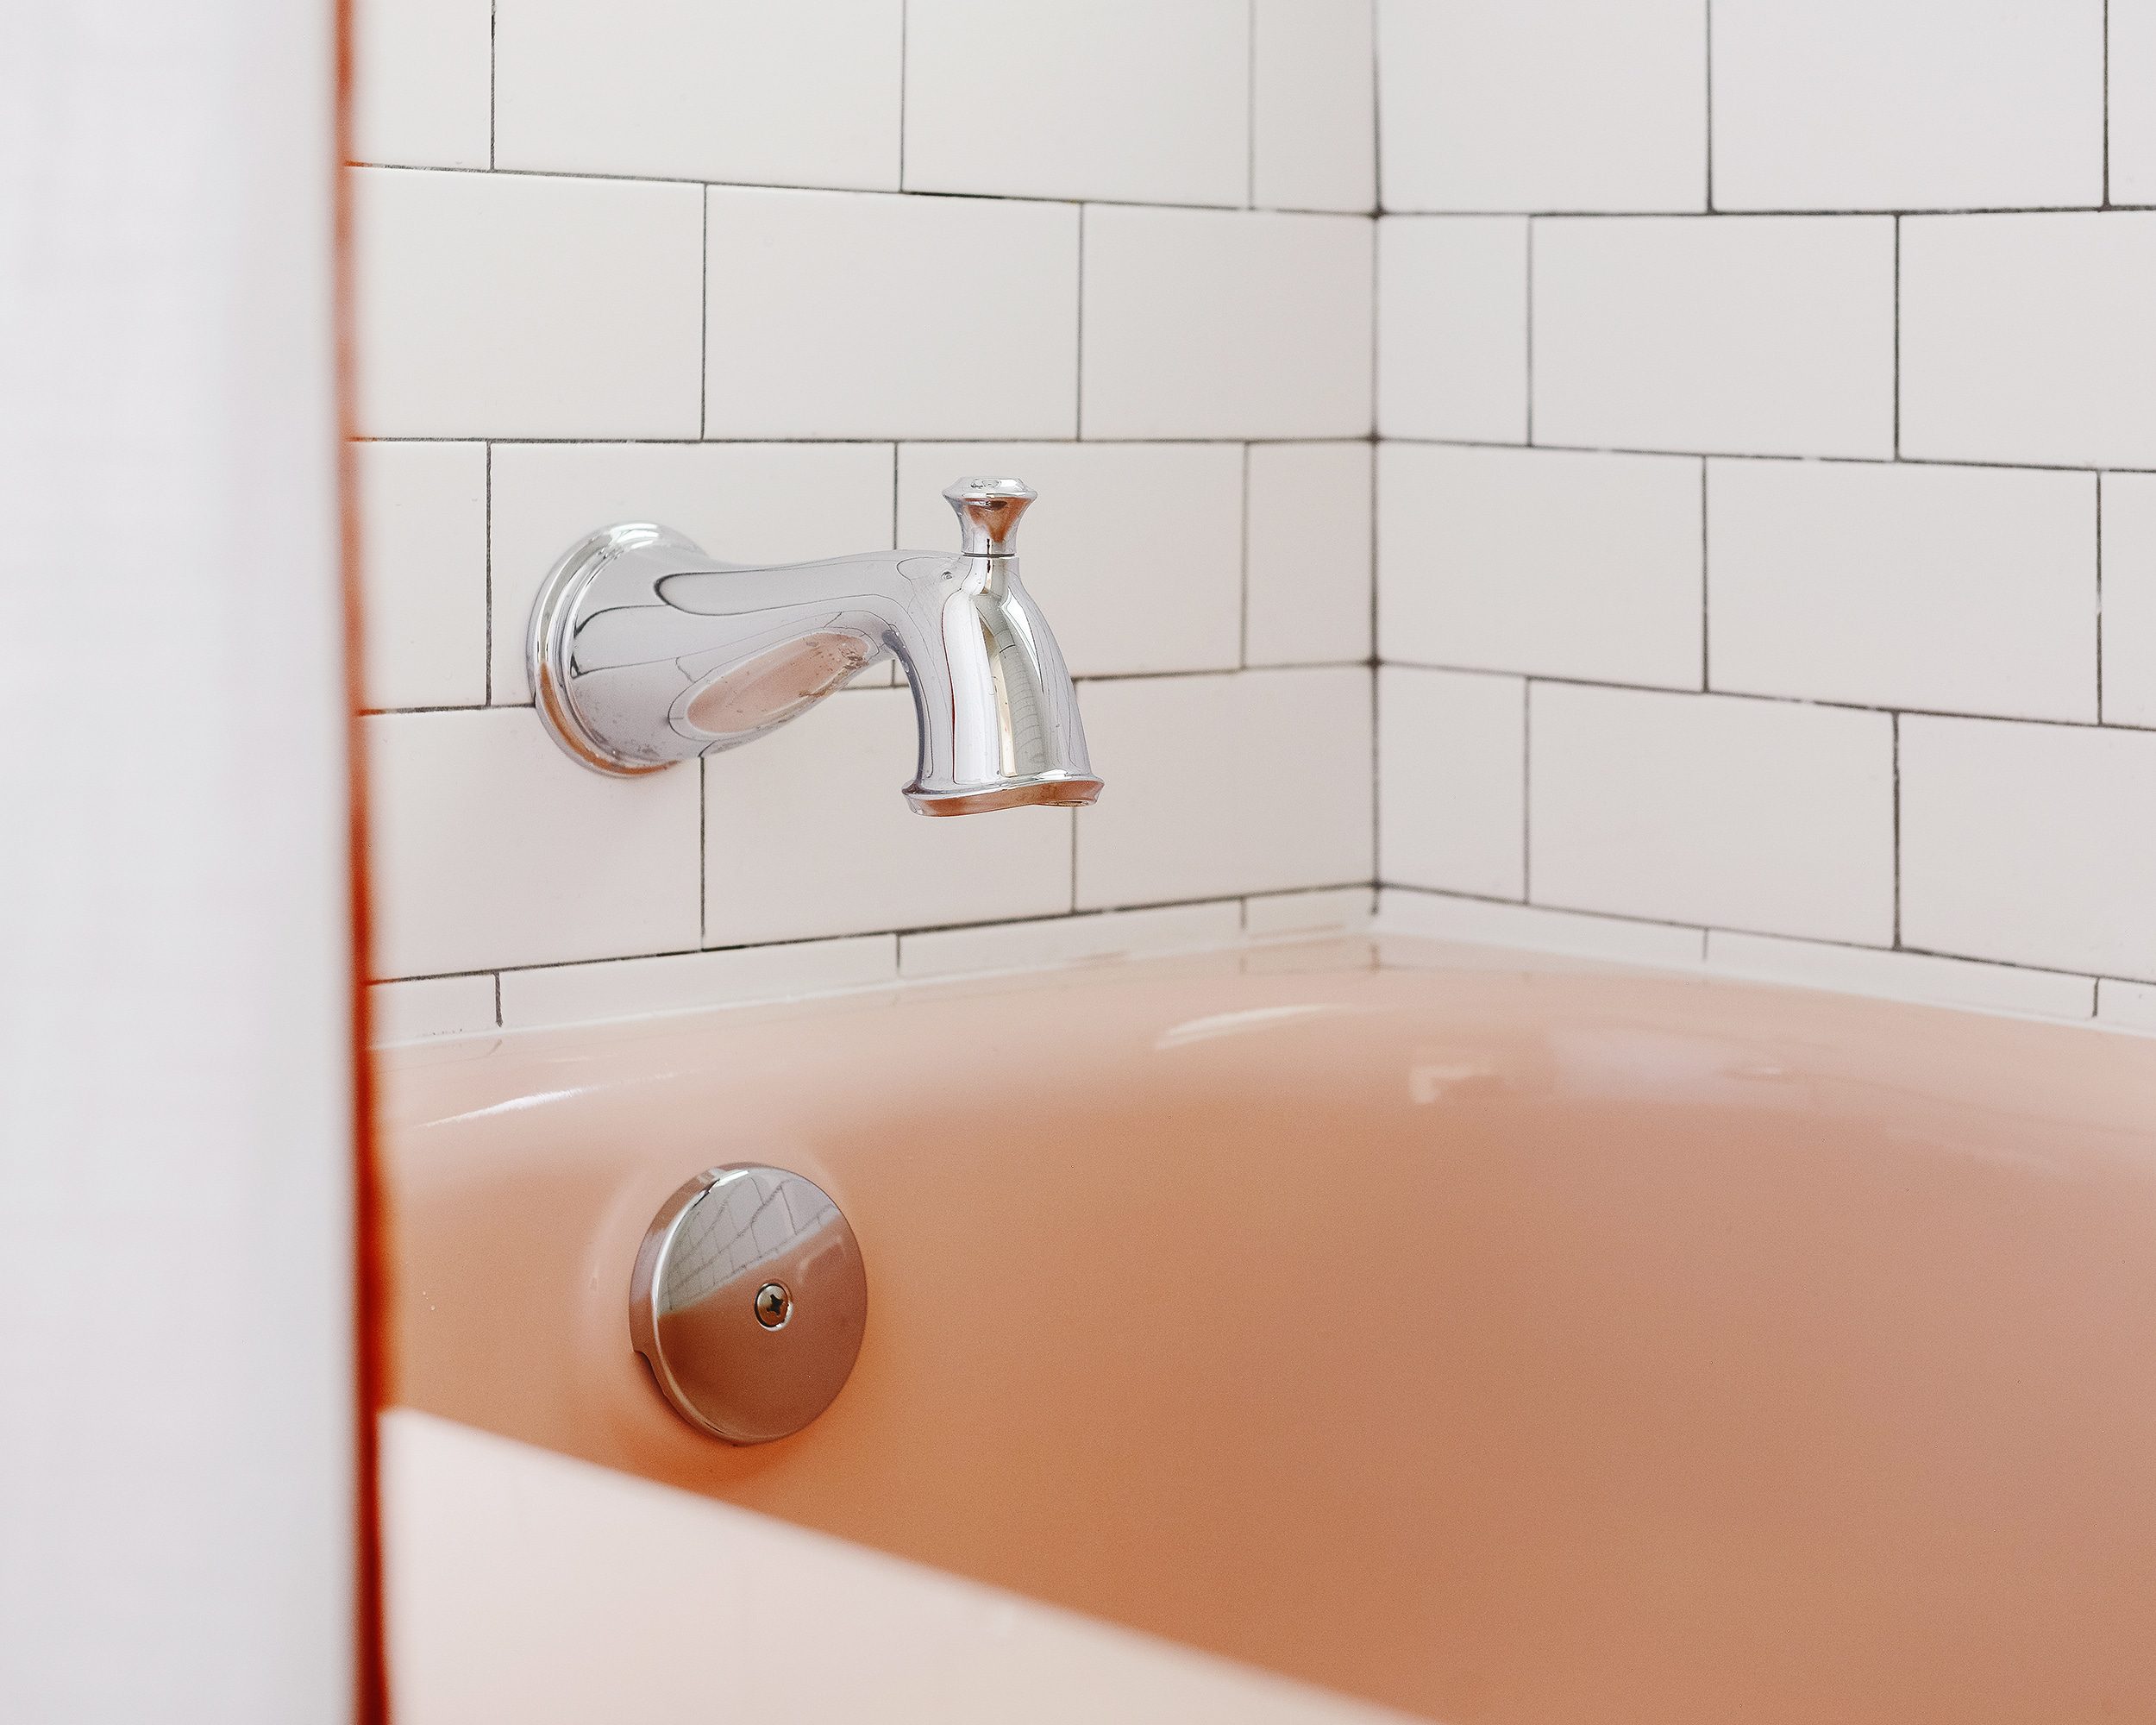
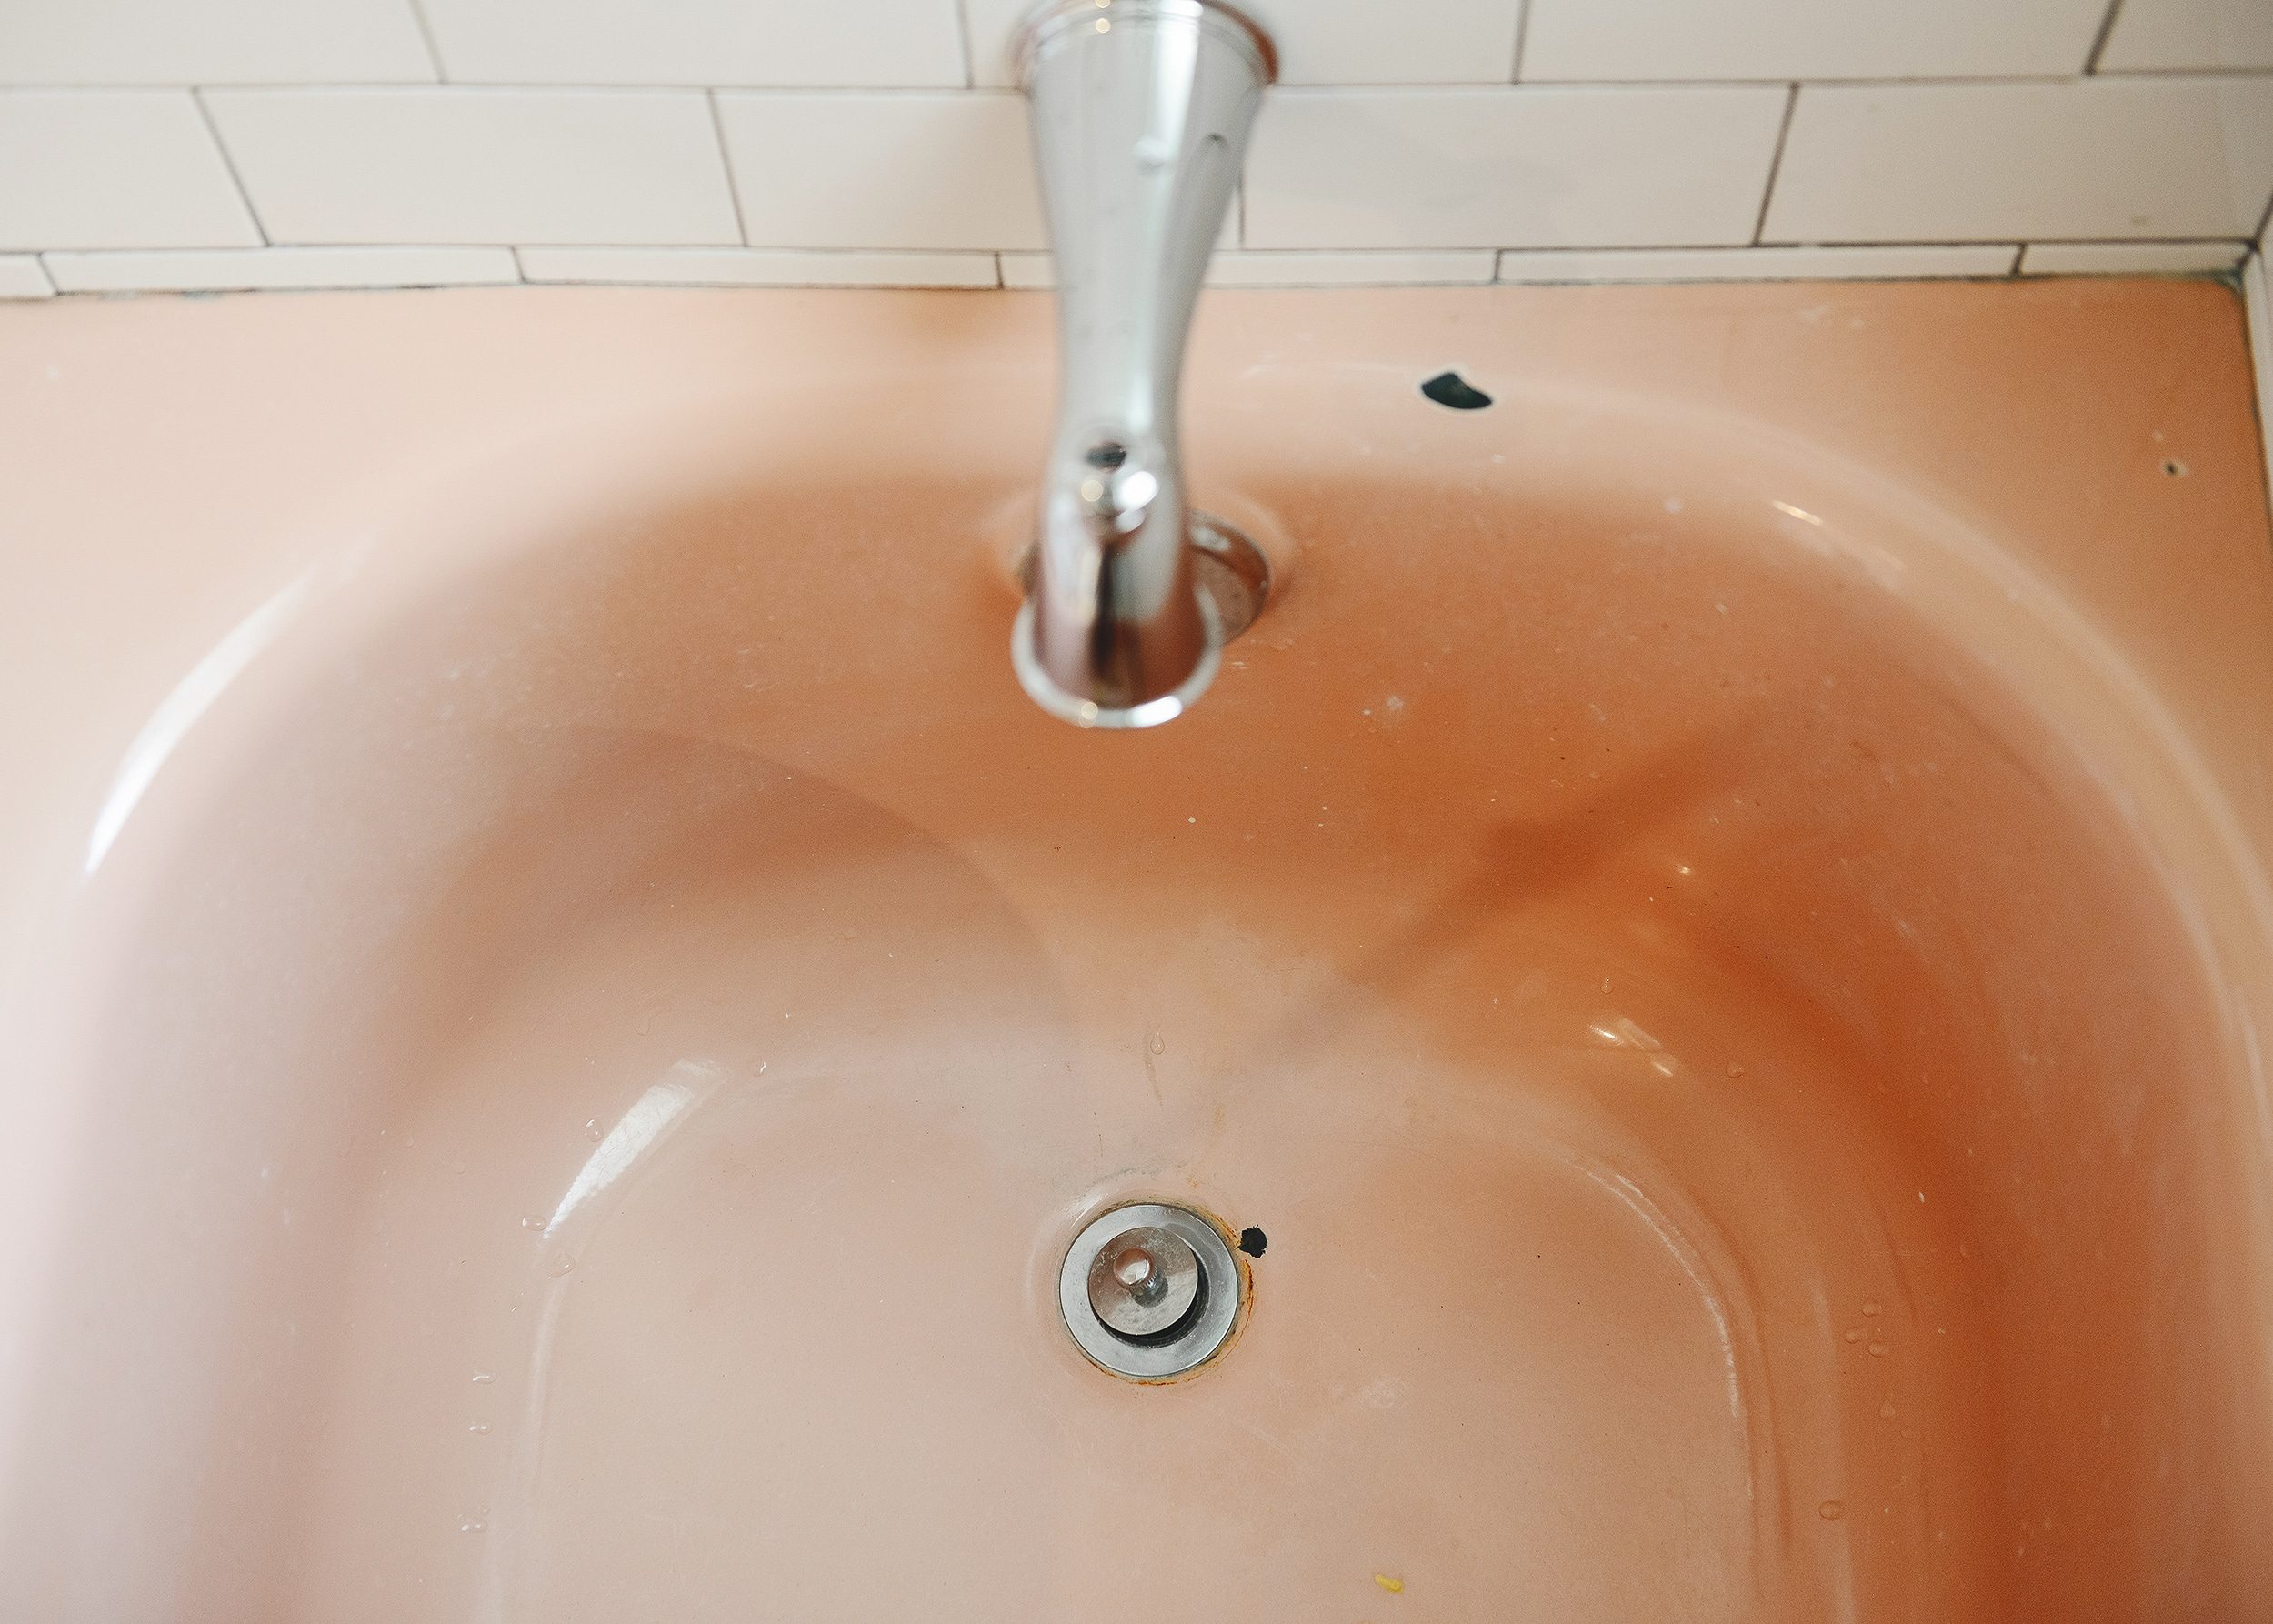
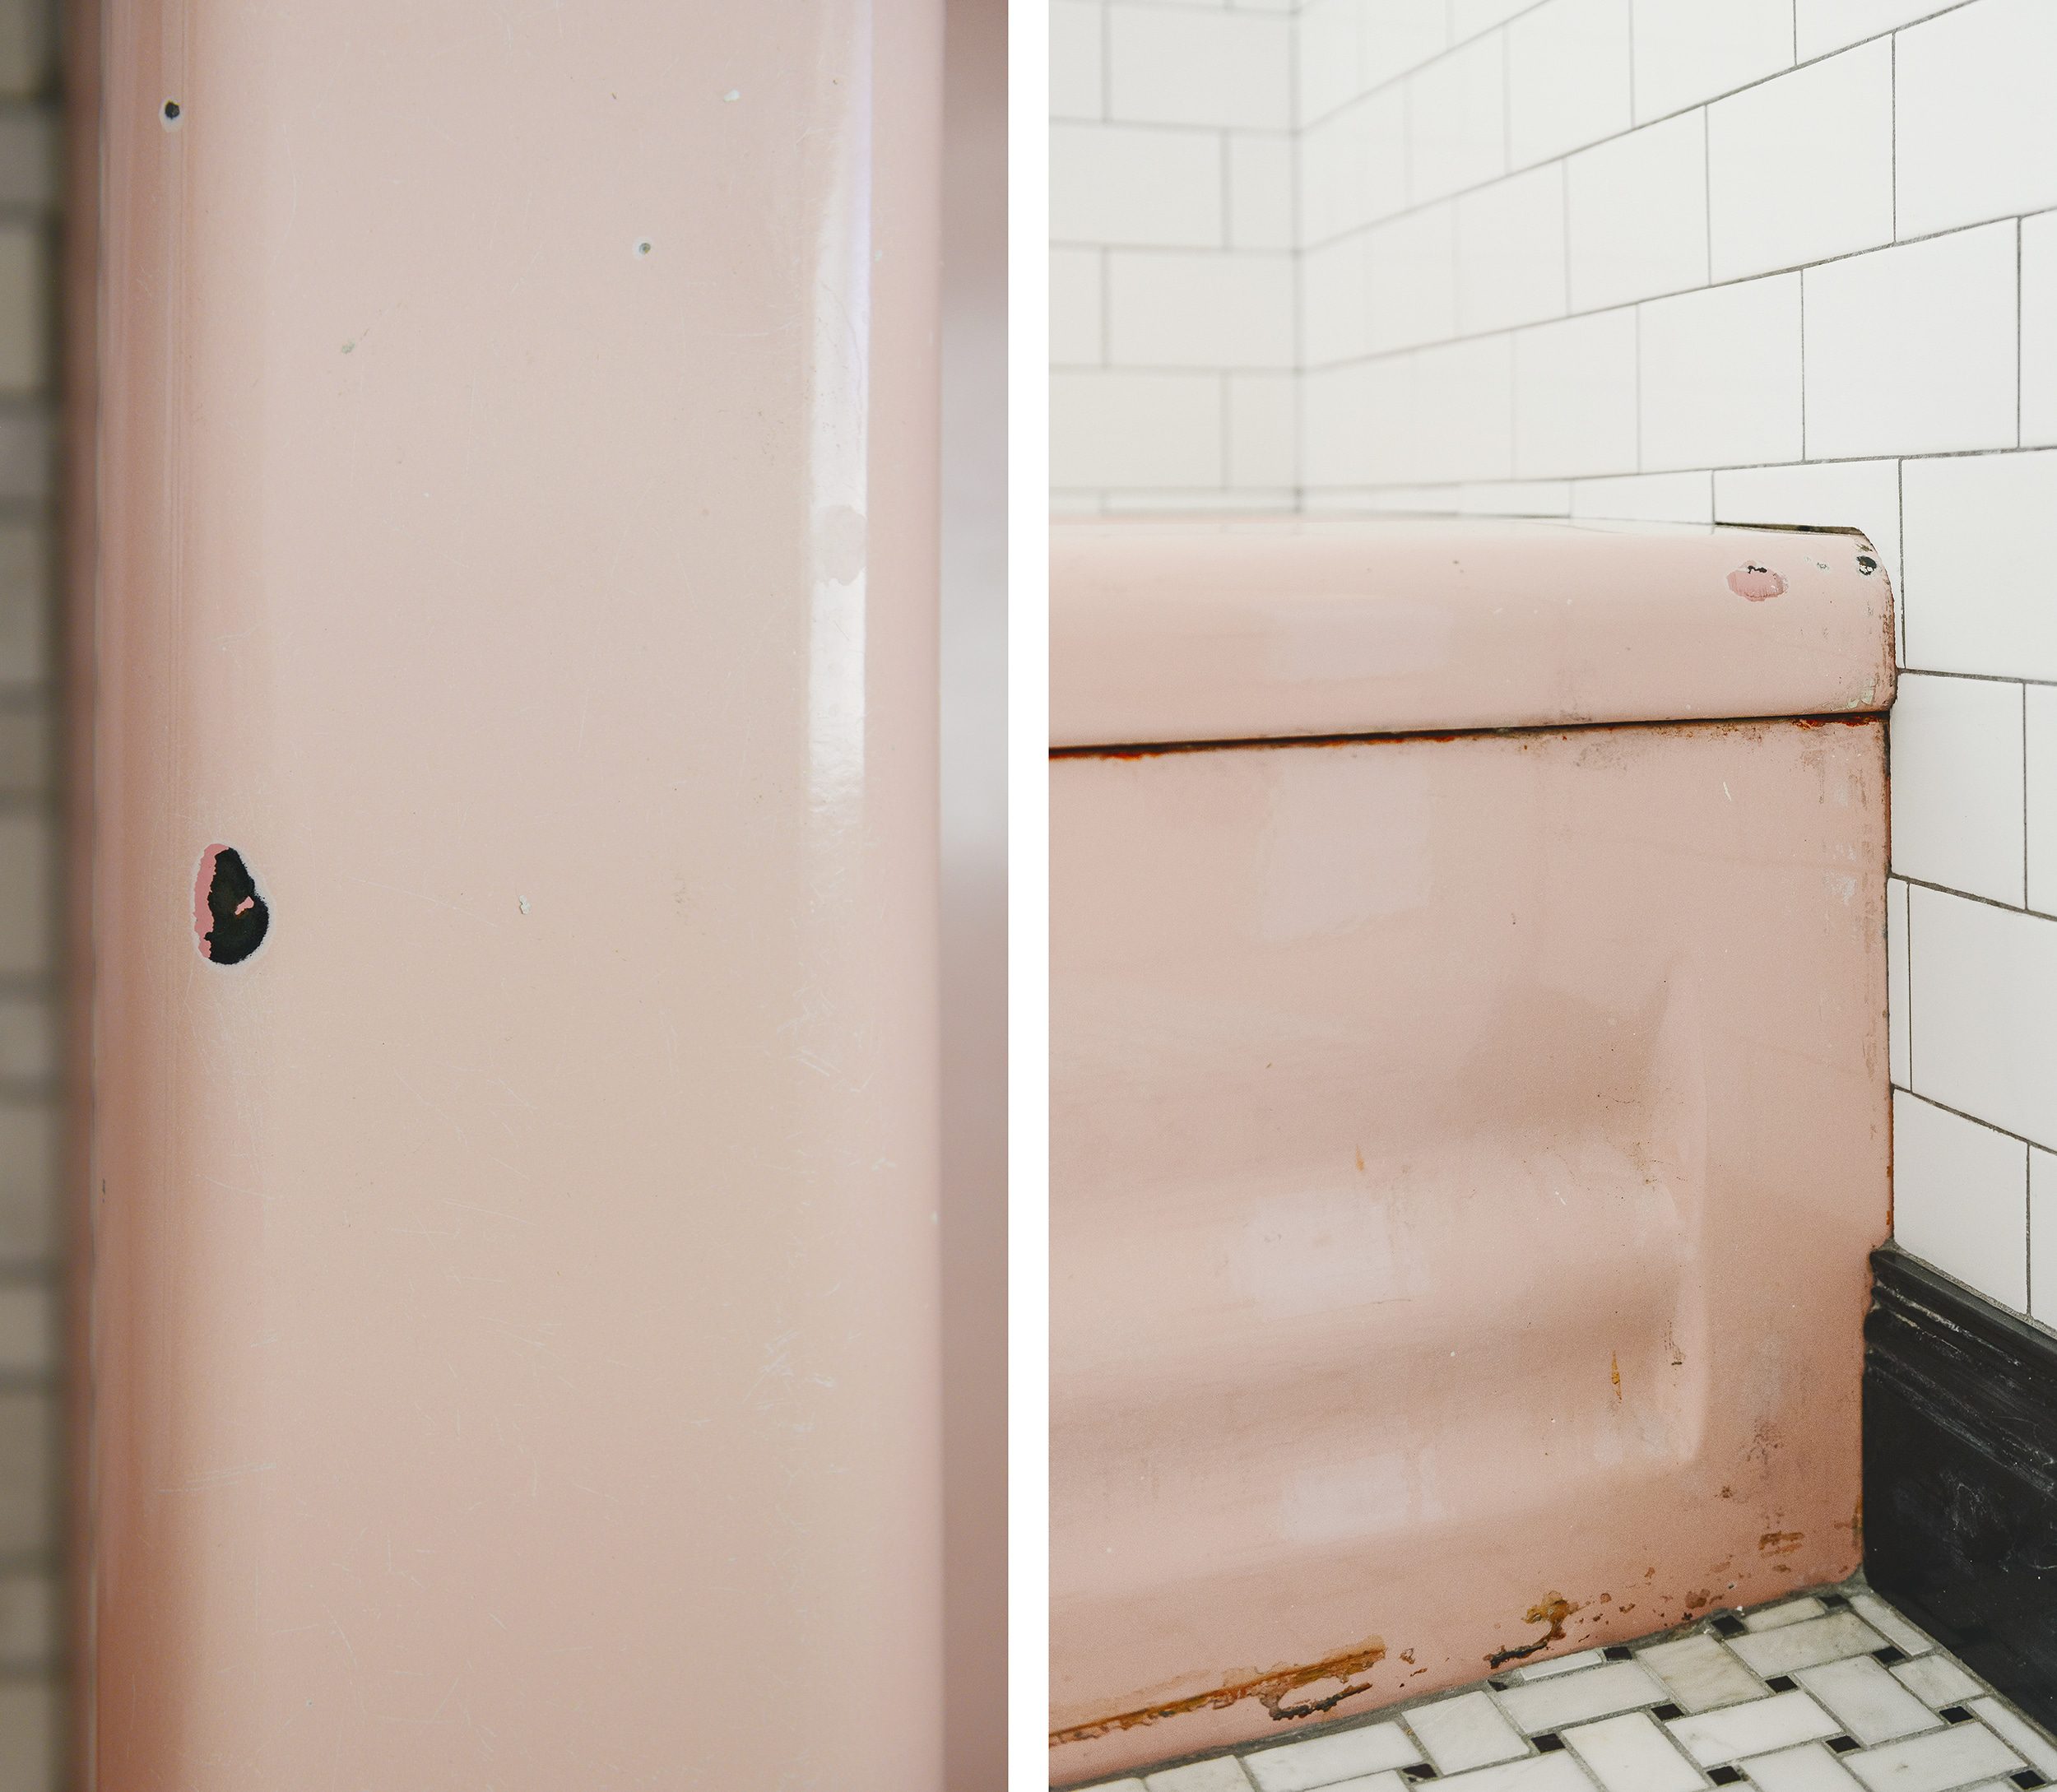
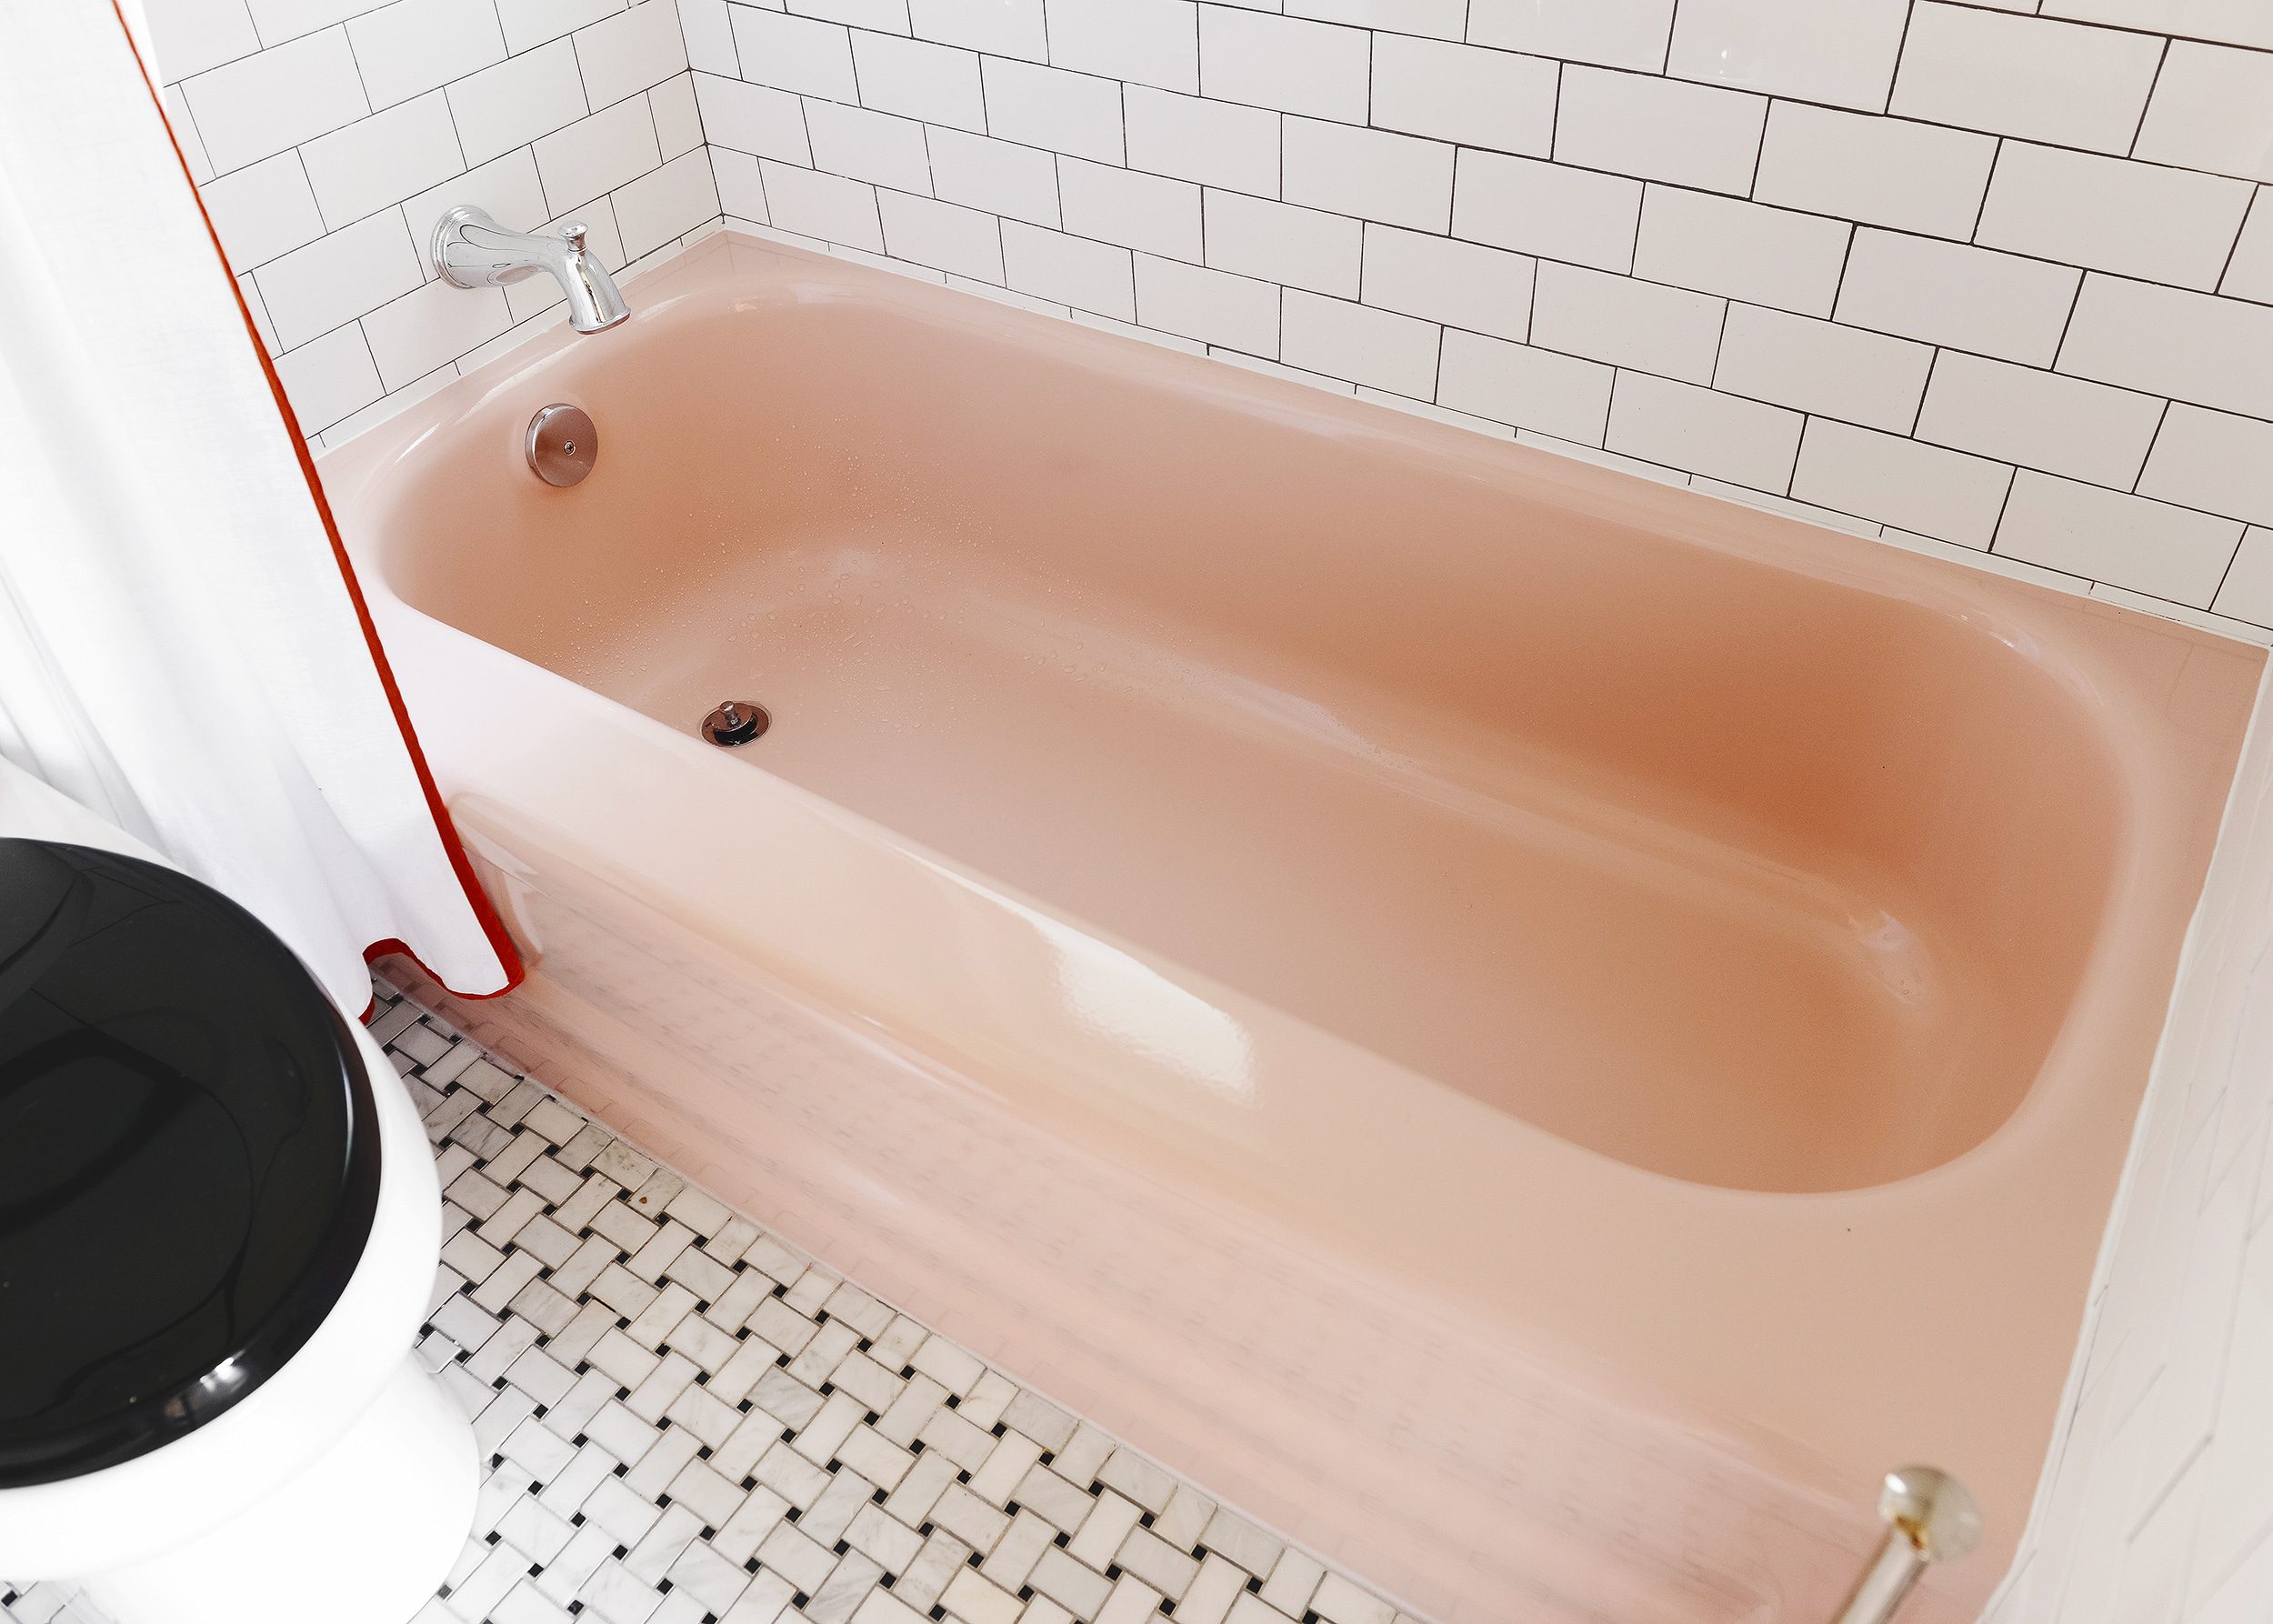
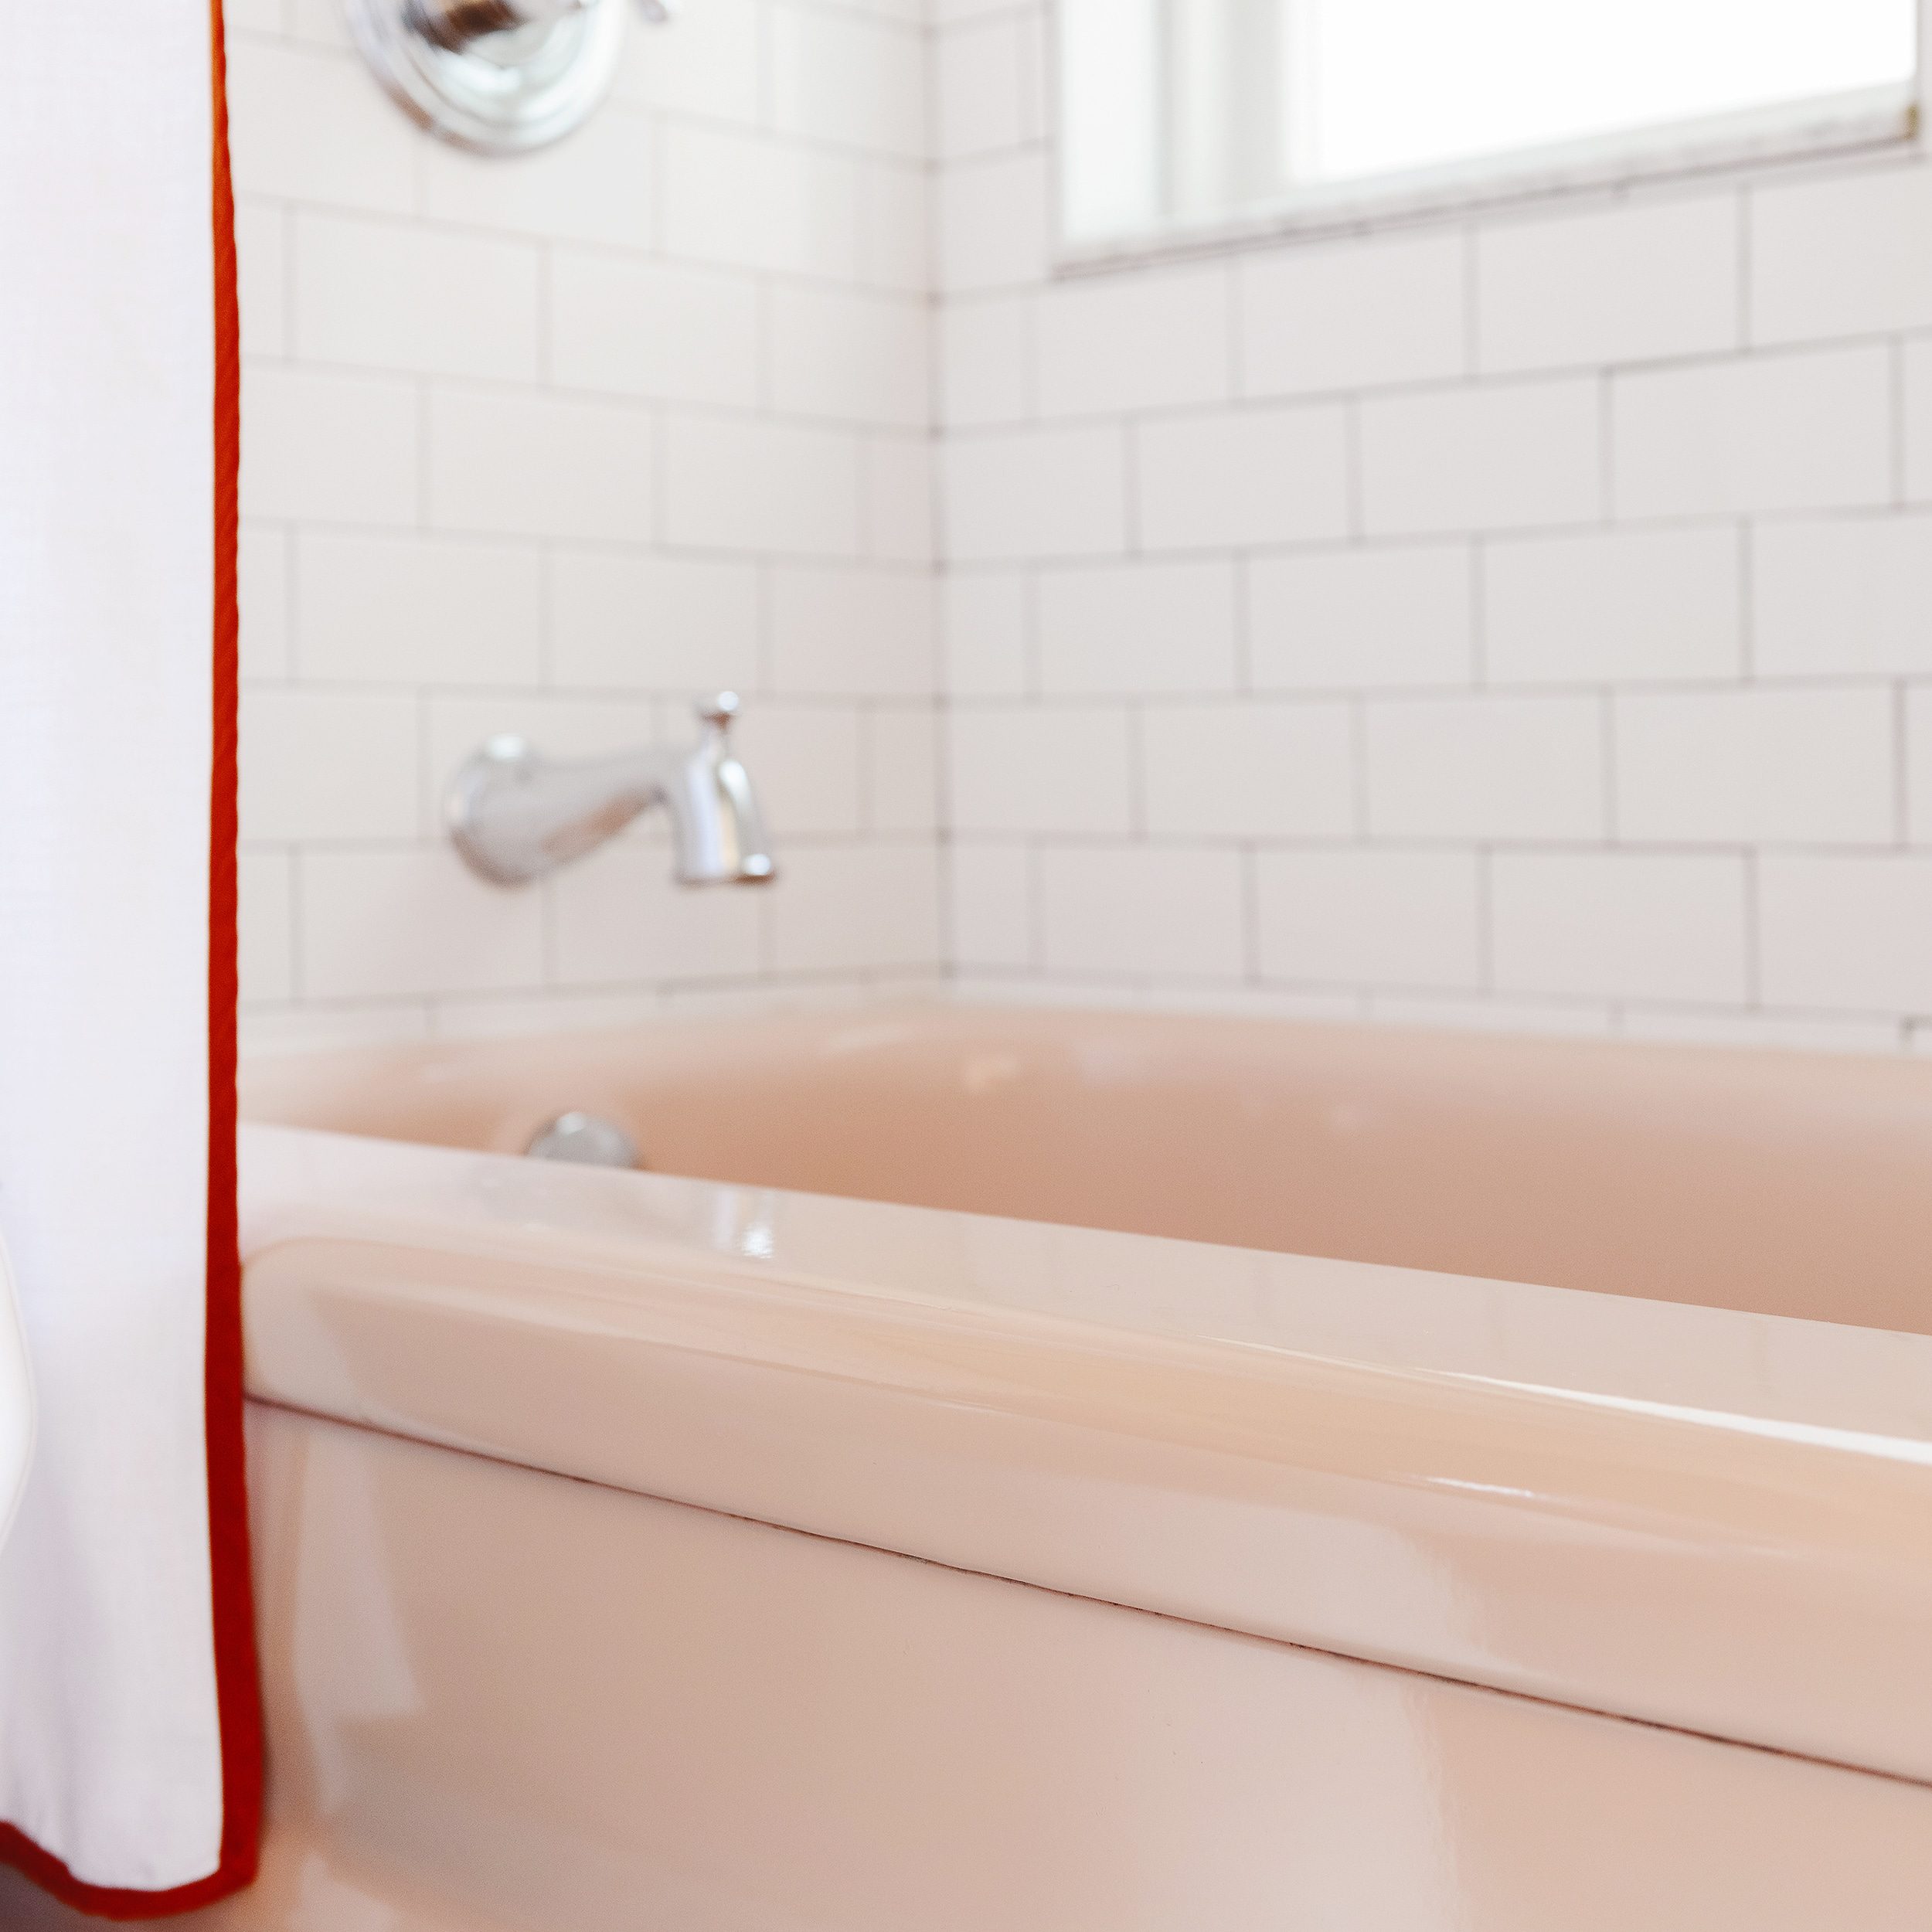
Luckily, there’s only one additional step to the reglazing process when you’re choosing anything aside from bright white. But before I get to that, I want to share a satisfying before and after! Scott and I knew we wanted to save the pink tub and sink from the first second we laid eyes on them, but they were worse for wear. The sink cleaned up surprisingly well with Bar Keepers Friend, but as you can see, the bathtub had deep chips in the enamel that could never be saved with a deep clean:
Pink Bathtub | Before Reglazing
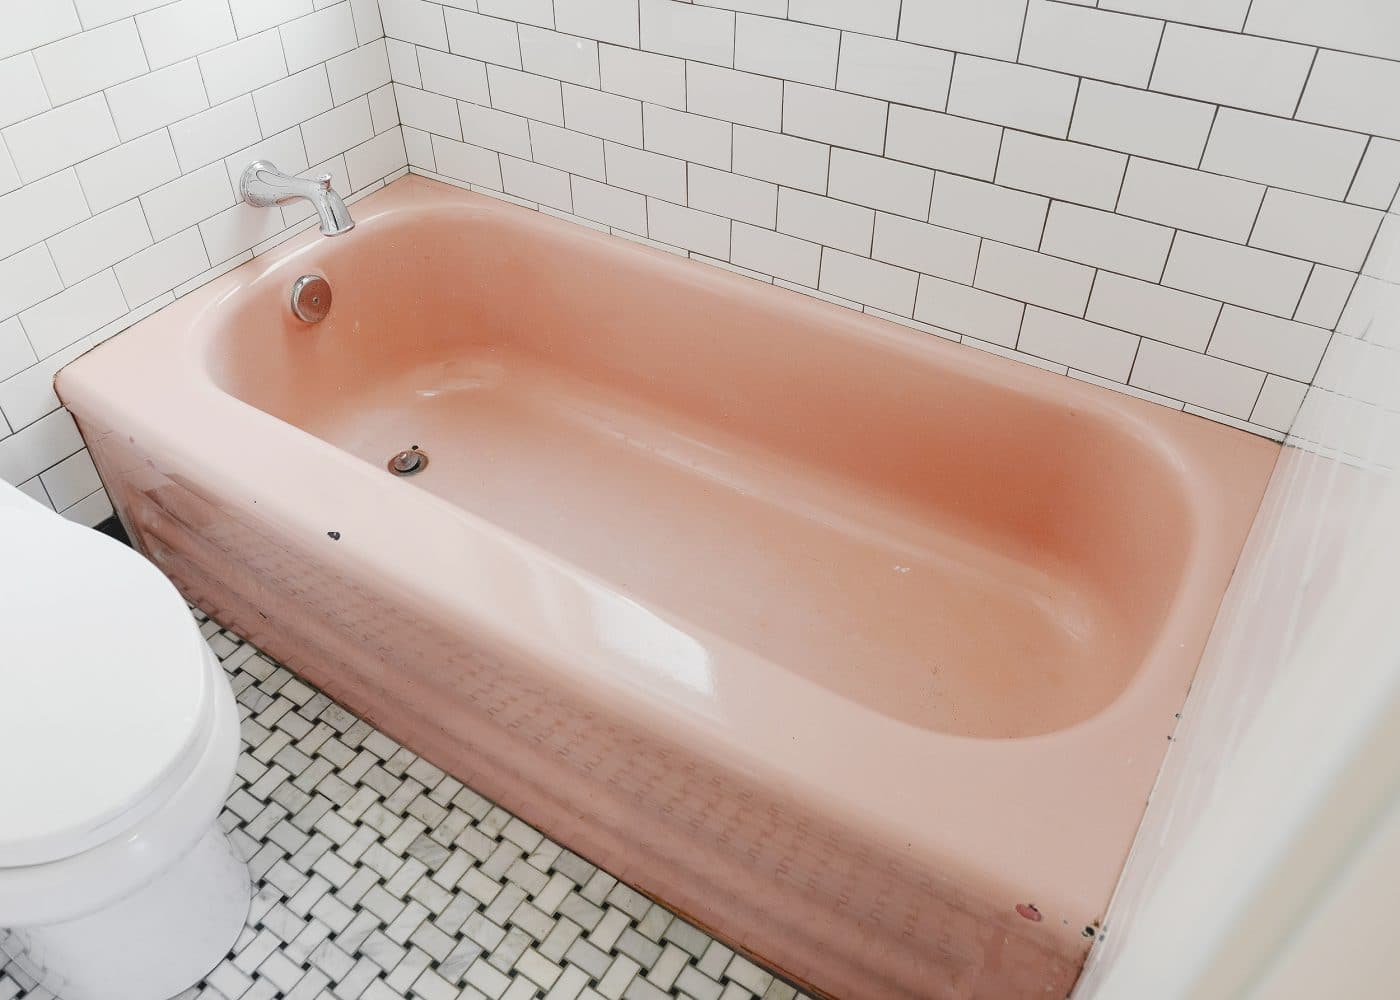
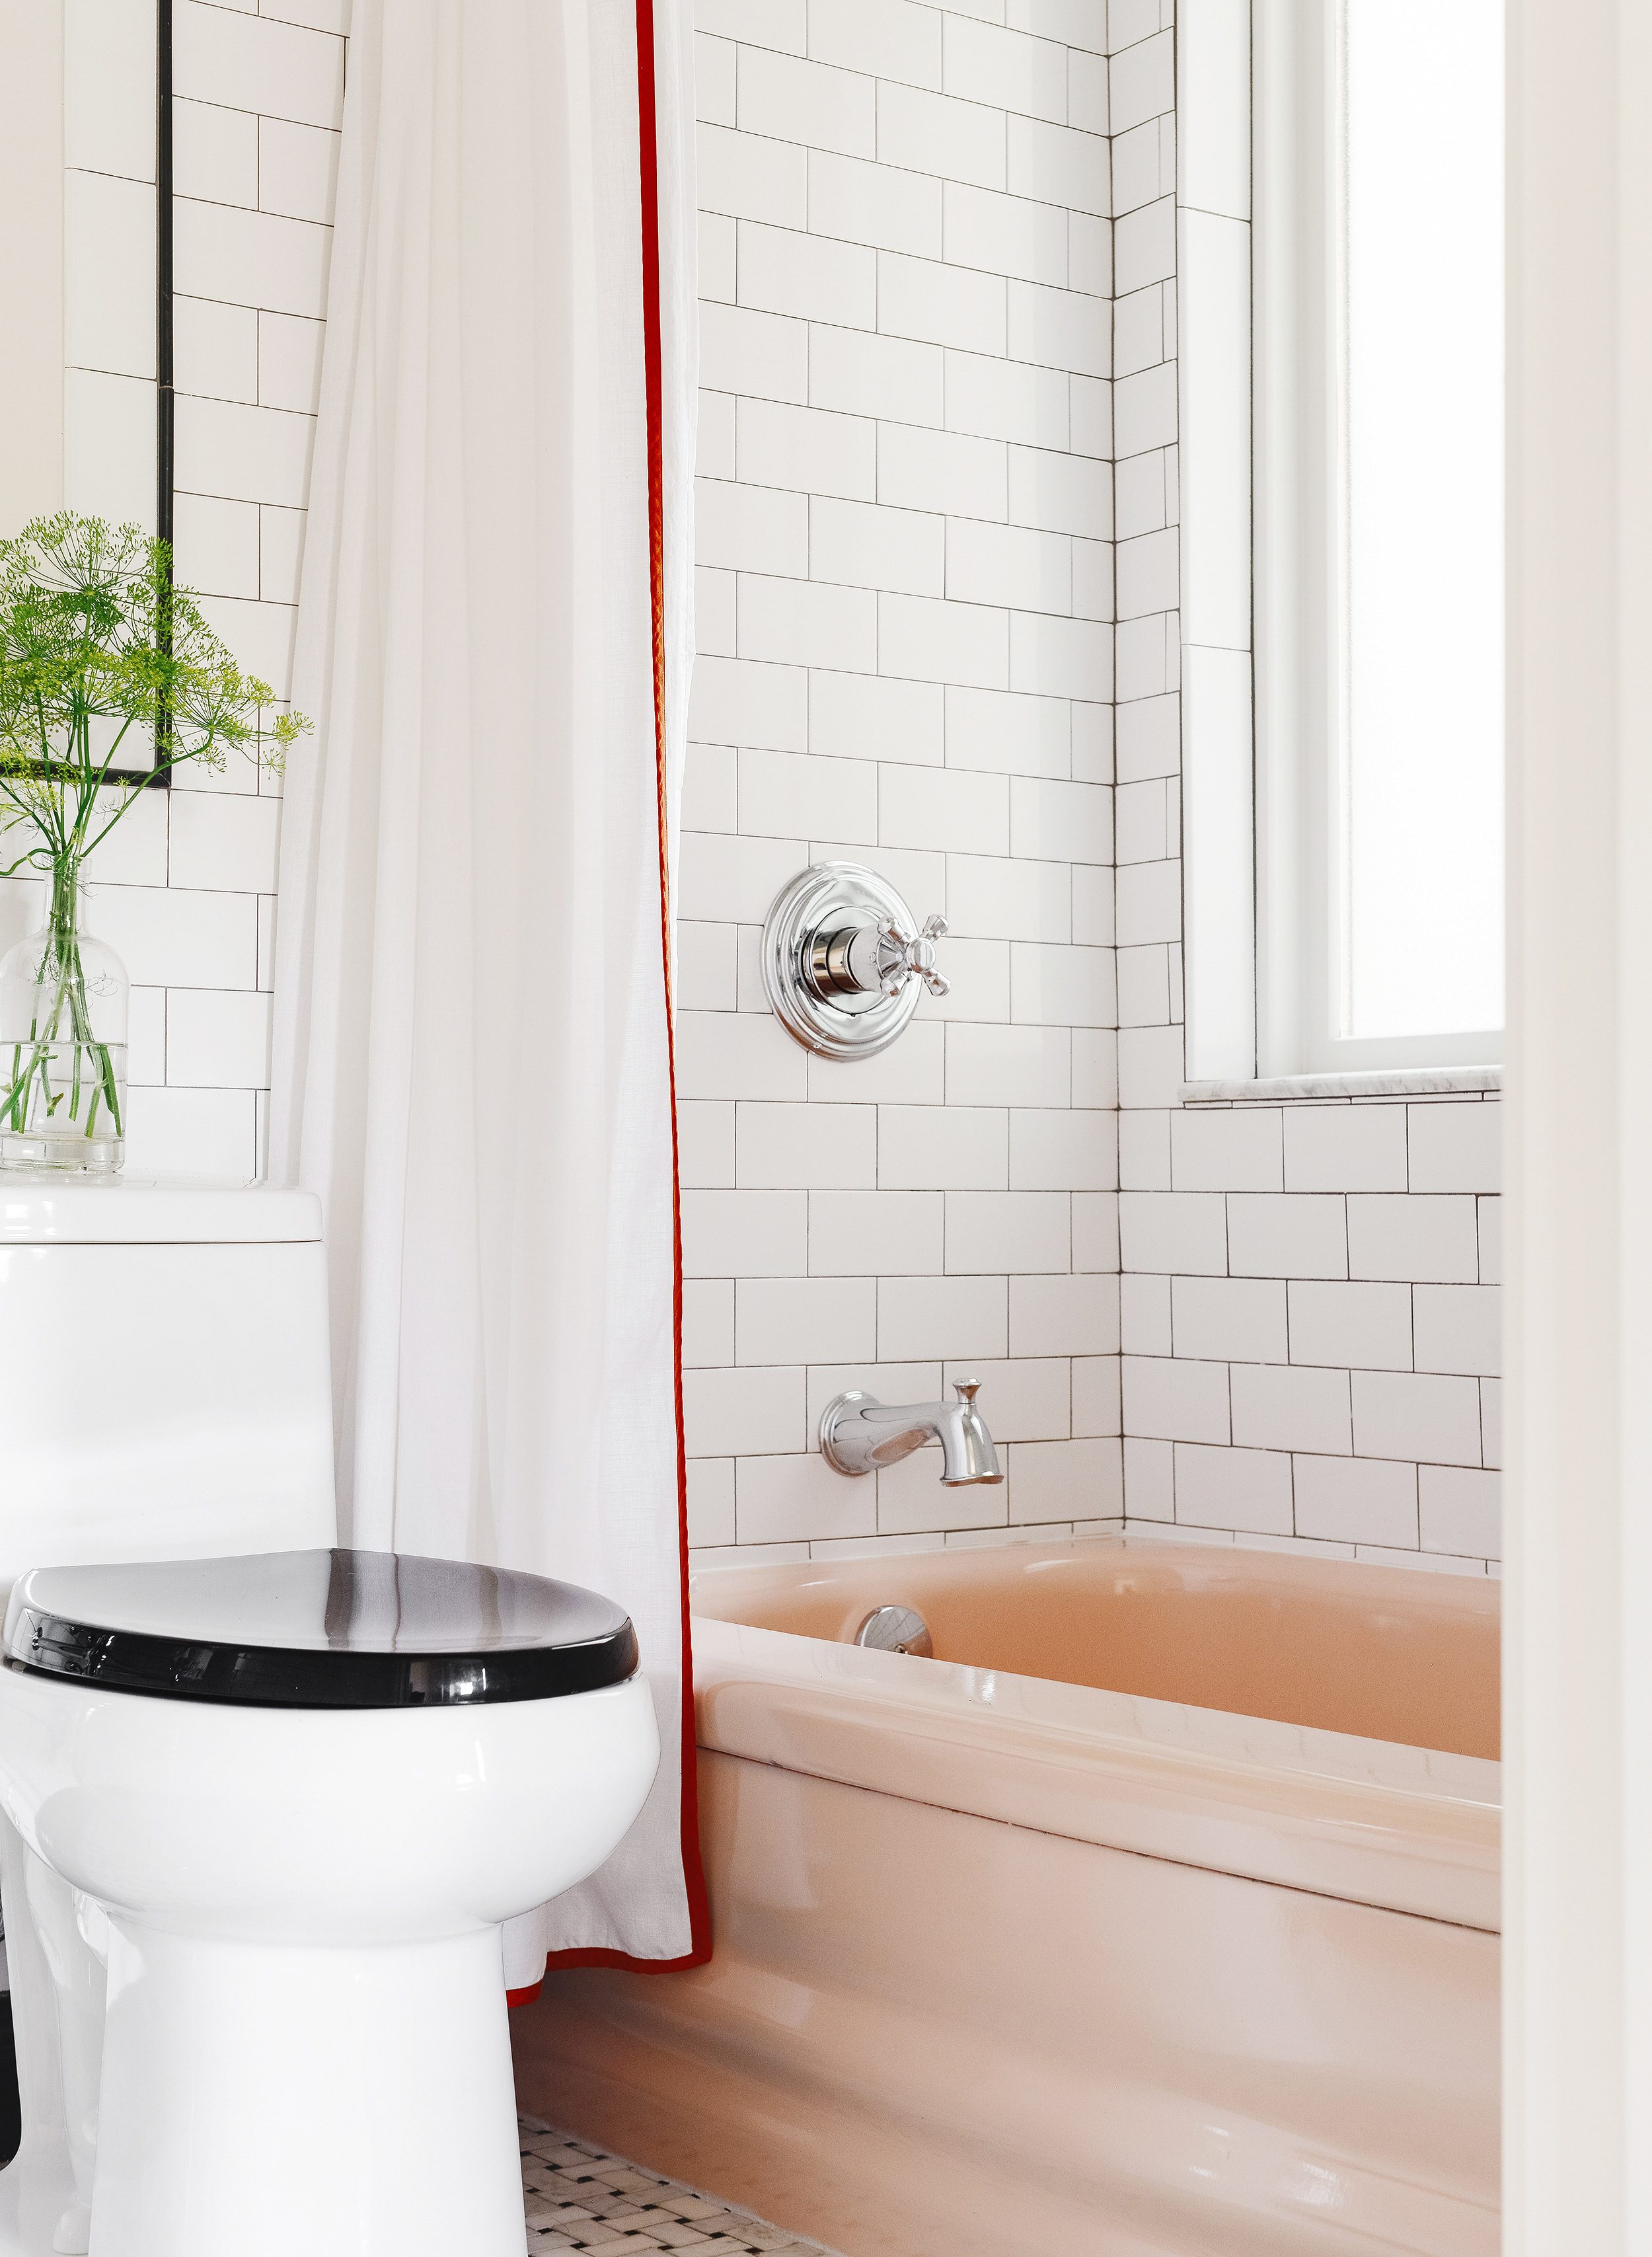
Pink Bathtub | After Reglazing
Is Reglazing Right for You?
Reglazing can be a budget-friendly way to give your tired tub a facelift. In Chicago, the price can range from $250-400 (in our experience), and it requires no demolition. I encourage you to read this post, where we shared the journey of our first reglazing experience, including why it was the right choice for us! 3 years since that post was written, and we’re still happy with the results! We worked with Joe from Correa Custom Coatings the first time, and we were happy to call him back up and hire him again.
Choosing the Perfect Pink
When I called Joe to tell him I had another job and it was pink, he was genuinely excited! He told me that he’s usually called in to reglaze all the pink bathtubs to a clean white, so he was just as pumped as we were to restore this beauty back to life. But in order for him to get started on his portion of the work, he told me there was just one thing we had to do first: Pick the pink!
He explained that we could choose any color pink from anything we wish – any brand of paint, a favorite sweater, a wallpaper sample – literally anything! Of course, finding a paint chip would be the most simple method, and so I got to work digging through all my swatch books. Valspar, Sherwin-Williams, Ben Moore, Colorhouse, Farrow & Ball and more – I went through every. single. pink. Like, three times.
An important thing to note: The sink and the tub were not the same color. The sink was a softer, peachier pink, and since that was staying put, I wanted to match it as close as possible. In the end, Benjamin Moore had two possible winners: Pink Beach 1172 and Southern Charm 1173:
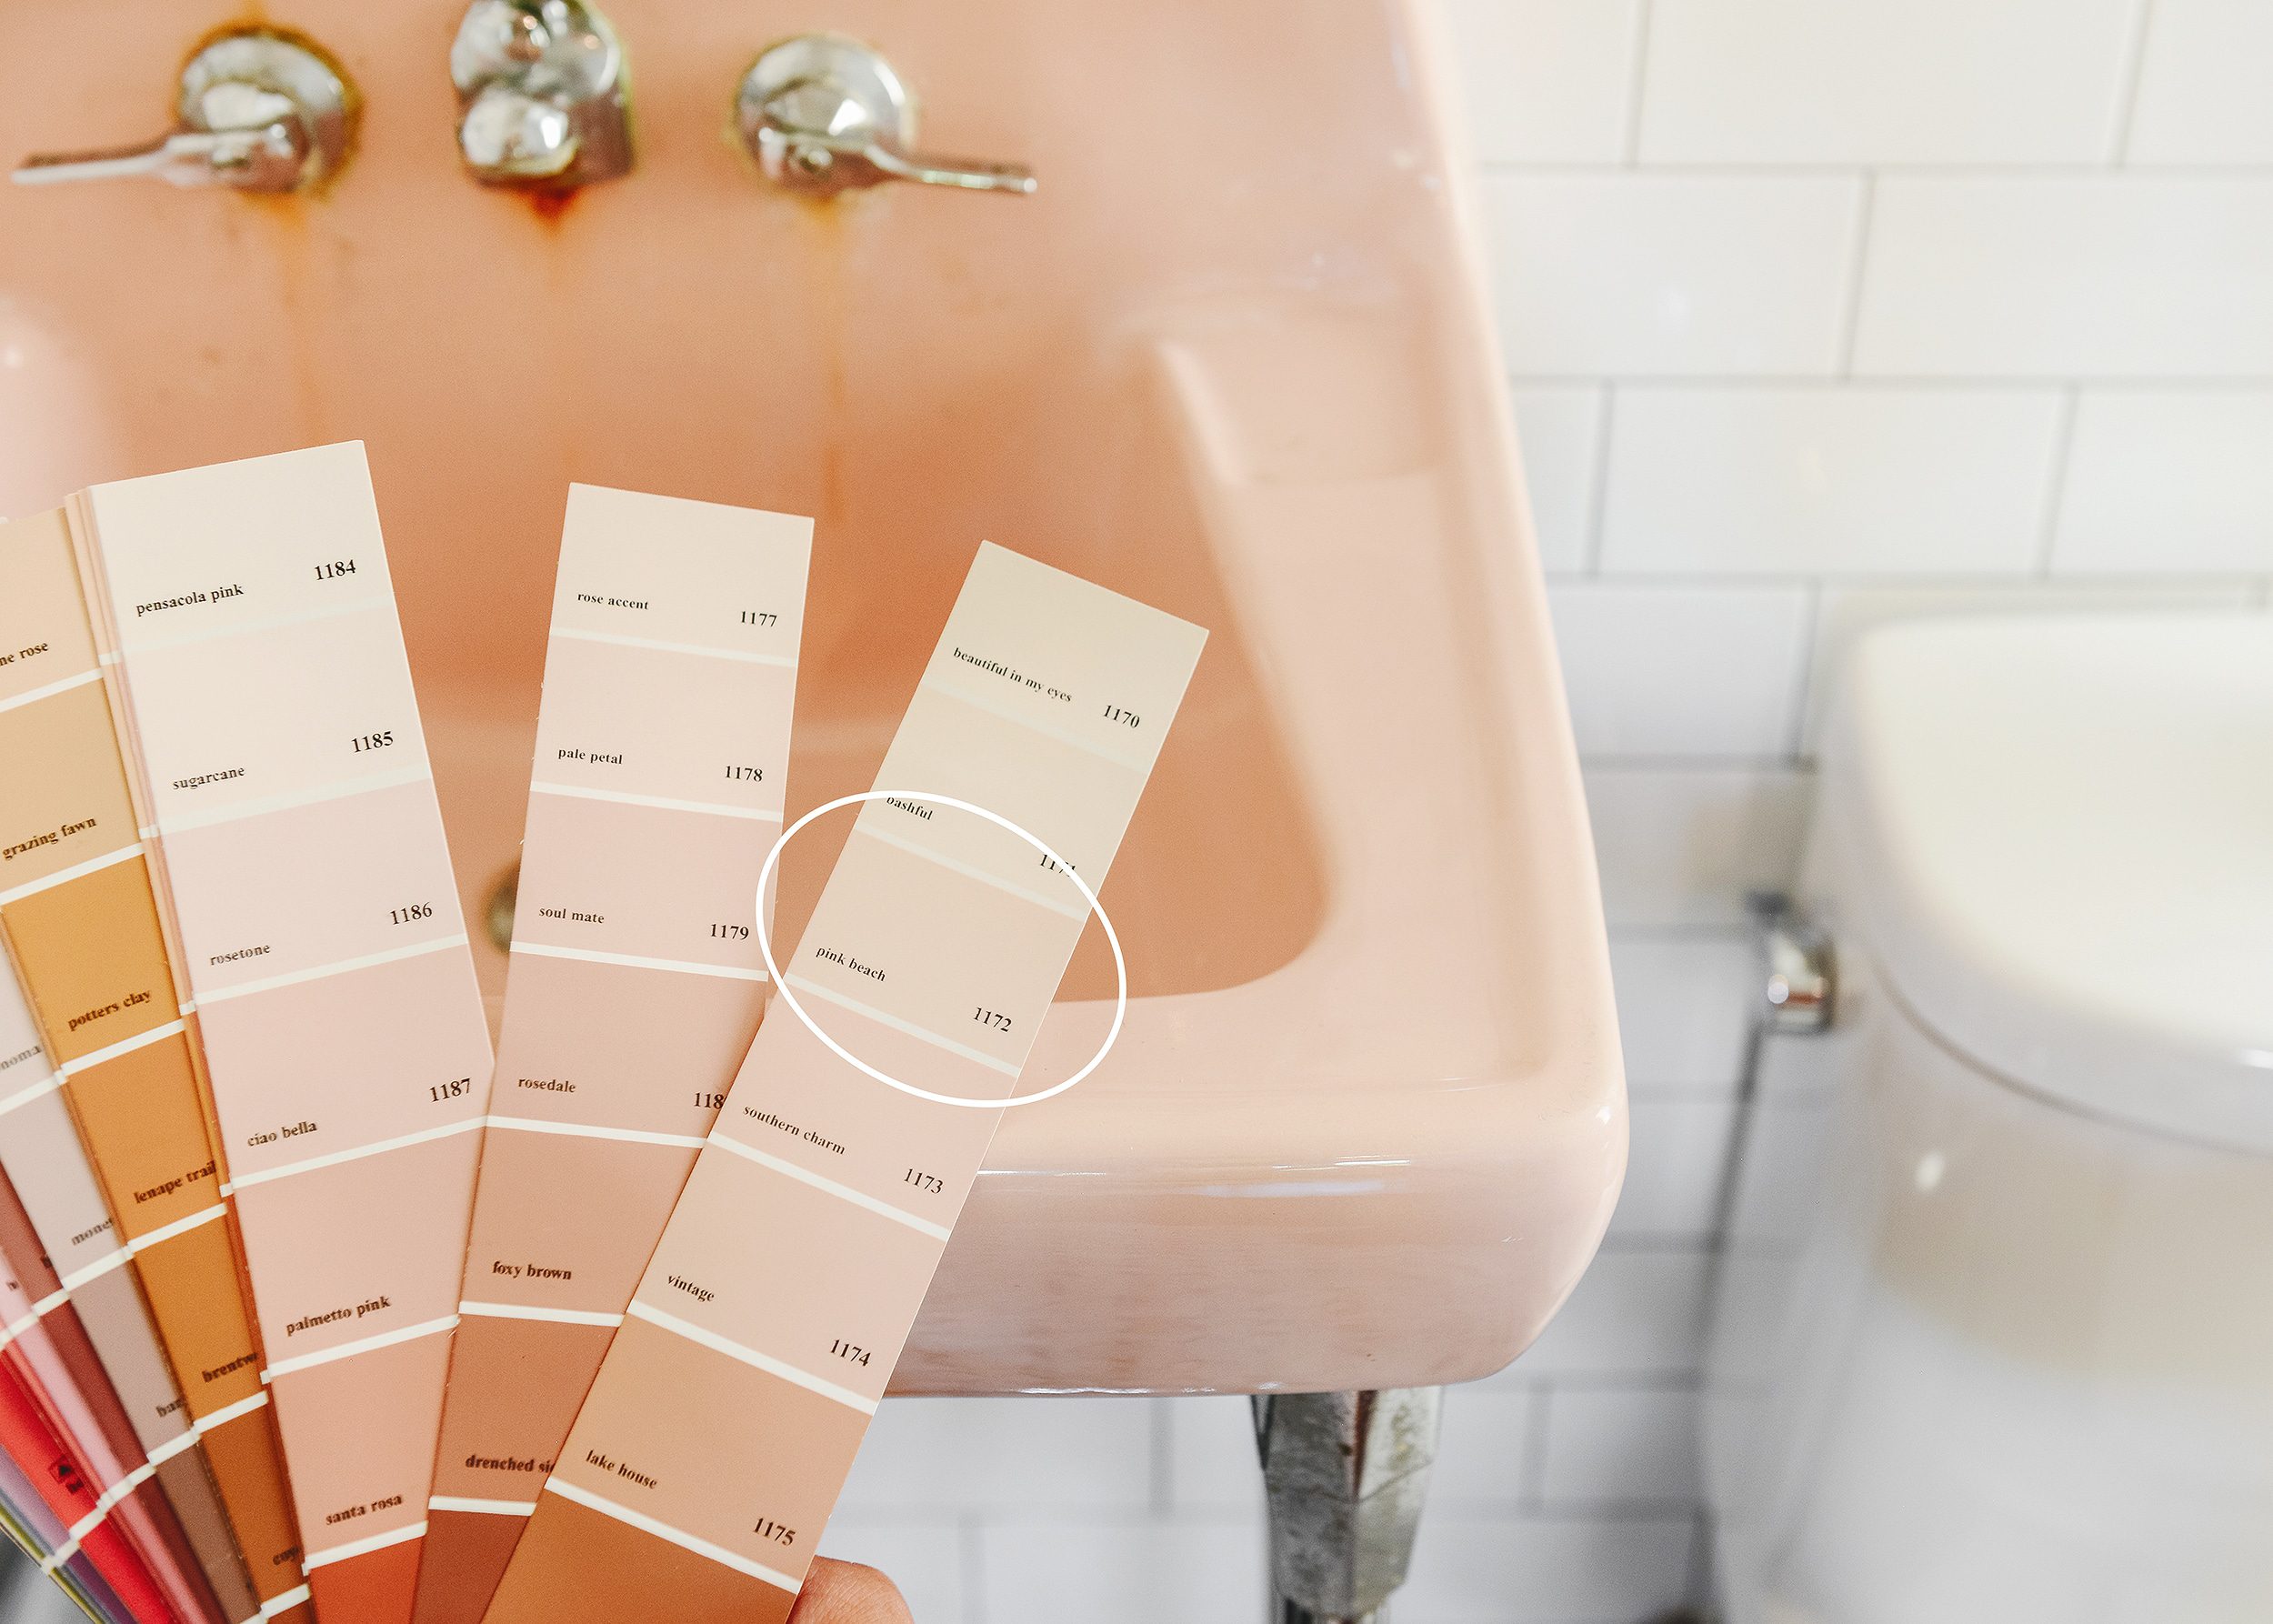
We held those two swatches up to the sink from every angle, and we ultimately decided that Pink Beach fit the bill. I texted him our choice, he picked up a swatch from the store, and he had his paint team color match it to the enamel!
And… That’s It!
Once our part of the job was done, we let Joe do his thing! It’s actually a pretty fun process to watch, but I’ll warn you and let you know that the smell is very strong. Joe recommends having windows and doors open, and I’d even suggest leaving the house for a whole day or overnight. We detail the entire reglazing process in this post, but as a recap, here’s what you can expect:
- The entire bathtub is coated in an etching liquid and then wiped up. At this point, the tub looks brand new again – almost!
- Next, any chips are covered and sanded smooth with durable epoxy.
- Once the walls and floor are carefully taped off, a primer is sprayed on.
- Finally, the finish coat is sprayed, and after 24 hours, all tape and protective paper can be removed!
A Few Things to Keep In Mind
Joe doesn’t come back to remove the paper himself, although I’m sure he would at an additional cost. Instead, he let us know that we could remove the tape and paper within 24 hours – carefully. We did just that, but sadly, I accidentally peeled up some of the enamel around the drain! He came back and corrected the issue, but I would suggest removing the drain altogether to risk any damage. I’m honestly not sure why we didn’t remove the drain in the first place, but we were sure to do it before he came back to fix the flub!
Tip: I highly recommend spending the $10 to pick up this tool and remove the drain easily and safely.
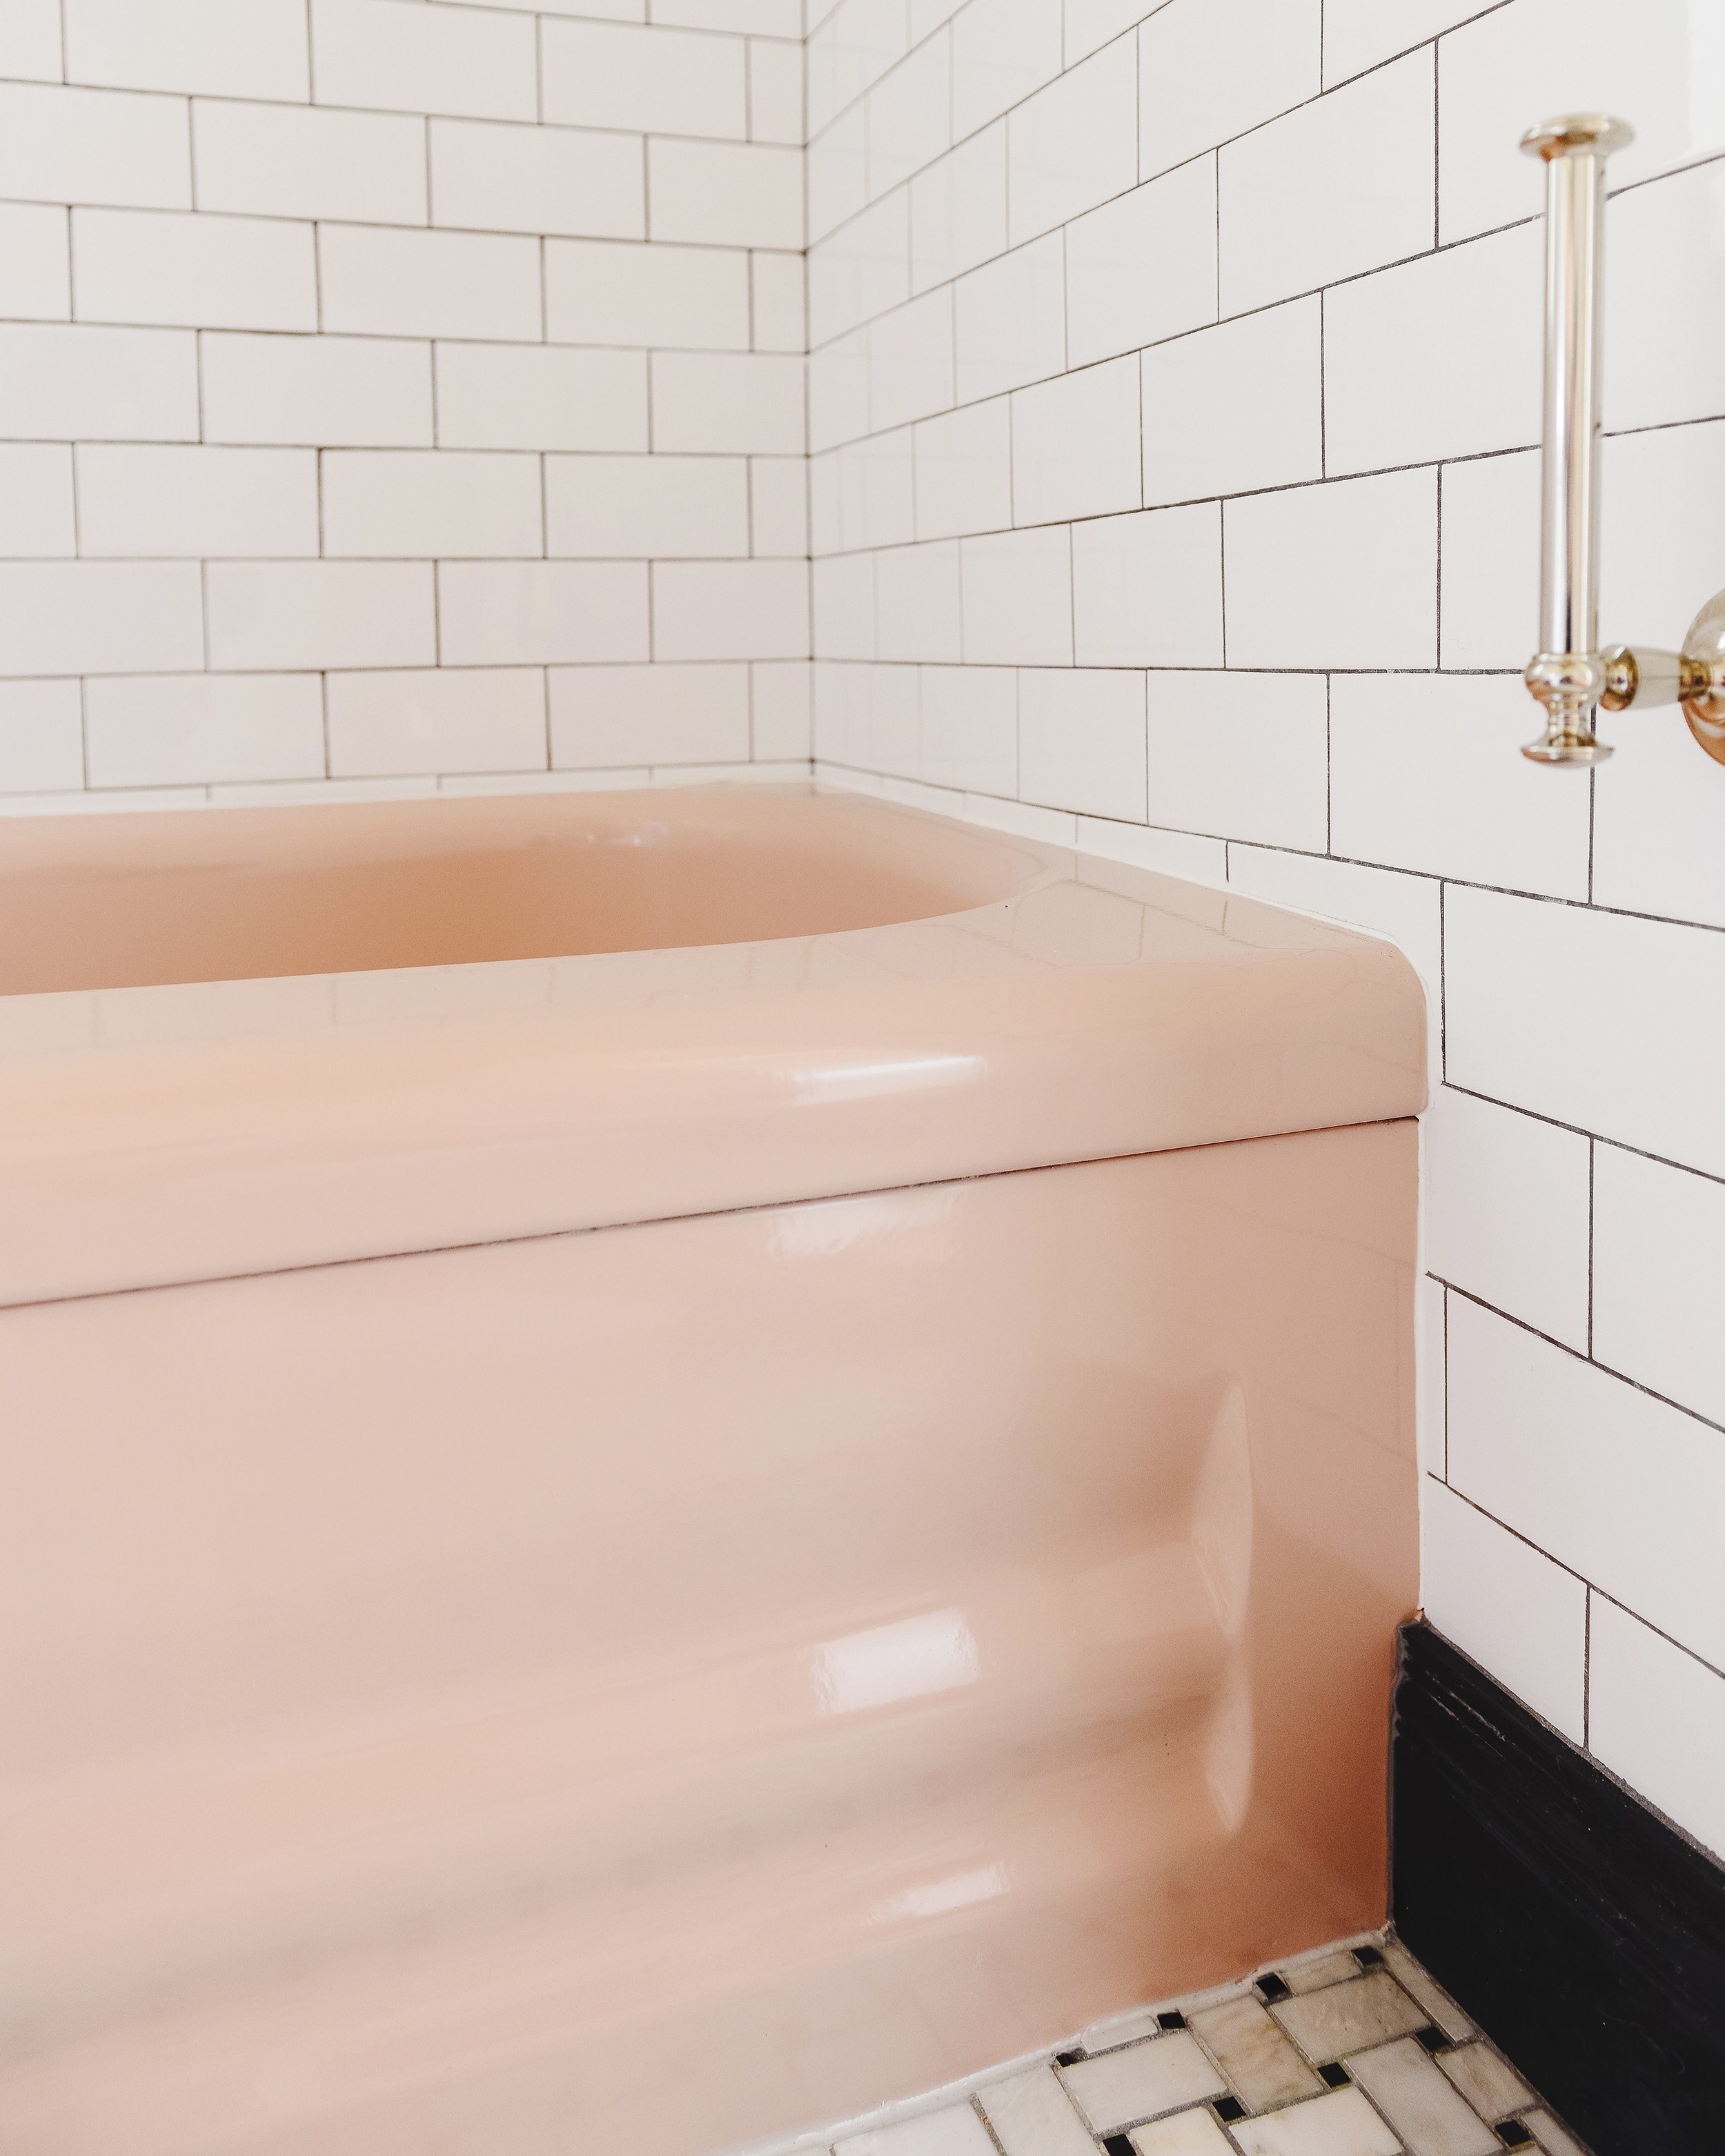
You’ll also need to caulk around the tub once the enamel is dry. I was actually stumped for a few days on which color caulk to use! White to match the tile? Black to match the grout? Pink… if that exists? I ended up using several kinds of grout due to our tile selection, but I think it was worth the extra effort:
- White silicone caulk for the tub surround (this is our favorite)
- Color-matched grout caulk in charcoal for the marble baseboard
- Color-matched grout caulk in Whisper Grey along the floor
I hope this was helpful for anyone who is considering saving their vintage fixtures! If you’ve reglazed your bathtubs or sinks, what has your experience been?
PS: See this whole pink bathroom reveal right here, and this post gives a photo of each reglazing step, and this is how to get a perfect caulk line.


Looks great! Can you explain how that tool works? I have a hard time removing my tub drain when it gets clogged with hair and getting it back in place.
It sits right in the drain, you twist, and it comes out! There’s no risk of scratching.
When I cleaned homes, those with a re glazed tub all had peeling around the drain. We need to do ours but I am reluctant for that reason. It’s our only tub, 2 out of 5 people here take daily baths and I just don’t see it holding up. I will be curious to know if others had my experience.
We’ve done two bathtubs at two separate homes. One was still perfect 5 years later when we sold the house and our current one has passed 16 months and is still perfect. Both times they took our drain out. Also, I only clean the tub with dawn dish soap and a microfiber cloth. Maybe that’s key?
So helpful, thank you!
It took a year and a half of 2 people using the tub daily (showers) for some small signs of chipping around the drain. I keep a microfiber cloth in the tub and don’t use any harsh brushes or detergents. Personally, I won’t do it a second time because at that point I’ve spent as much as getting a new tub.
We moved into a house with a reglazed tub. After 5 years with a couple of kids who apparently play very hard in the bath, we have a few more chips. Can a tub be reglazed a 2nd time? I think we are past the point of bath times that include pounding toys on the tub floor.
Yes, you can. The reglazer will likely buff out the rough parts, fill in with epoxy and re-spray. I’m not sure to what extent, so I suppose it will depend on the damage. We can tell that our pink tub has been reglazed at least once before, since we can see additional layers beneath the pink!
My re-glazed tub only lasted about 2 years before it started to peel. You cannot use most cleaners on the re-glazed tub as well. I hope you have better luck. Maybe in the last 7 years the process has gotten better? I do sorta love the pink!
Oh, how sad! The tub in our garden apartment is still holding up as the day we reglazed it. I’m wondering if the process has changed, or perhaps there are different levels of epoxy strength? Either way, I’d love to hear if anyone has reglazed and had good luck!
This looks amazing. And thank you for this info! Definitely something we’re considering! How did you remove the old tile surround without further damaging the tub? Any tips/tricks? Or did you have a professional do it?
We installed all new tile, so we didn’t have to deal with that… but if we hadn’t gone that route, it’s definitely something we would have left to a pro to prevent damage to the tub.
We have heard similar stories about reglazing and longevity and that you need to weigh out cost to longevity before you take the leap. But we too waited to hear others who had better luck and a longer life on a reglaze. Maybe your contractor can weigh in on the process and if it has changed any over the years and what to look for in a contractor. We are on the Eastcoast and haven’t had luck yet, and gulp, we have been in the house for 16 years this September. But the tub stays for now until we do some more research. This has really inspired us to keep plugging along and not to rip it out.
Susan
Hi Kim,
Can you talk a little bit about your choice to have someone else reglaze vs. you DIYing it? I’m in desperate need of a refresh, but having it done professionally isn’t in my budget right now. I’m a little weary to try the DIY kits.
Thanks!
I didn’t even know there were DIY kits! But I’ll say that whatever our pro was using, was TOUGH stuff. The smell is really hard to be around – there are pretty potent chemicals being used – and it was worth it for us to pay him to do it right, rather than us learn a one-and-done type of skill.
I used one of the diy painting kits at our first house. I followed the directions, and the finish turned out pretty well. I could see brushstrokes in a few spots, so it wasn’t perfect. I recall the paint being pretty stinky, though I didn’t have to vacate the house. We had a spot in the tub where water laid, and eventually the paint peeled off there. I think it was 2 years later or so. BeFore we sold we ended up hiring bathfitter to do the walls and tub. It was more expensive than I expected but the seamless finish was awesome.
I can’t tell you how refreshing it is to see someone keep the pink! Bravo!
????????????
I have randomly found myself in possession of a matching vintage pink bathroom suite (sink, tub, toilet). They are in great shape, but don’t work with our design (very unfortunately!). If anyone is interested, please let me know!
I have a peachy pink 1968 tub that has a spot that needs to be fixed. Do you know if I can buy a repair kit of basic white and just add some regular paint to it to match the tub color?
I’d probably search for a kit that includes some pigment so you can color match. Mixing paint into the included ingredients could potentially change the chemical reaction between the two part epoxy that most repair kits use. Hope this helps!