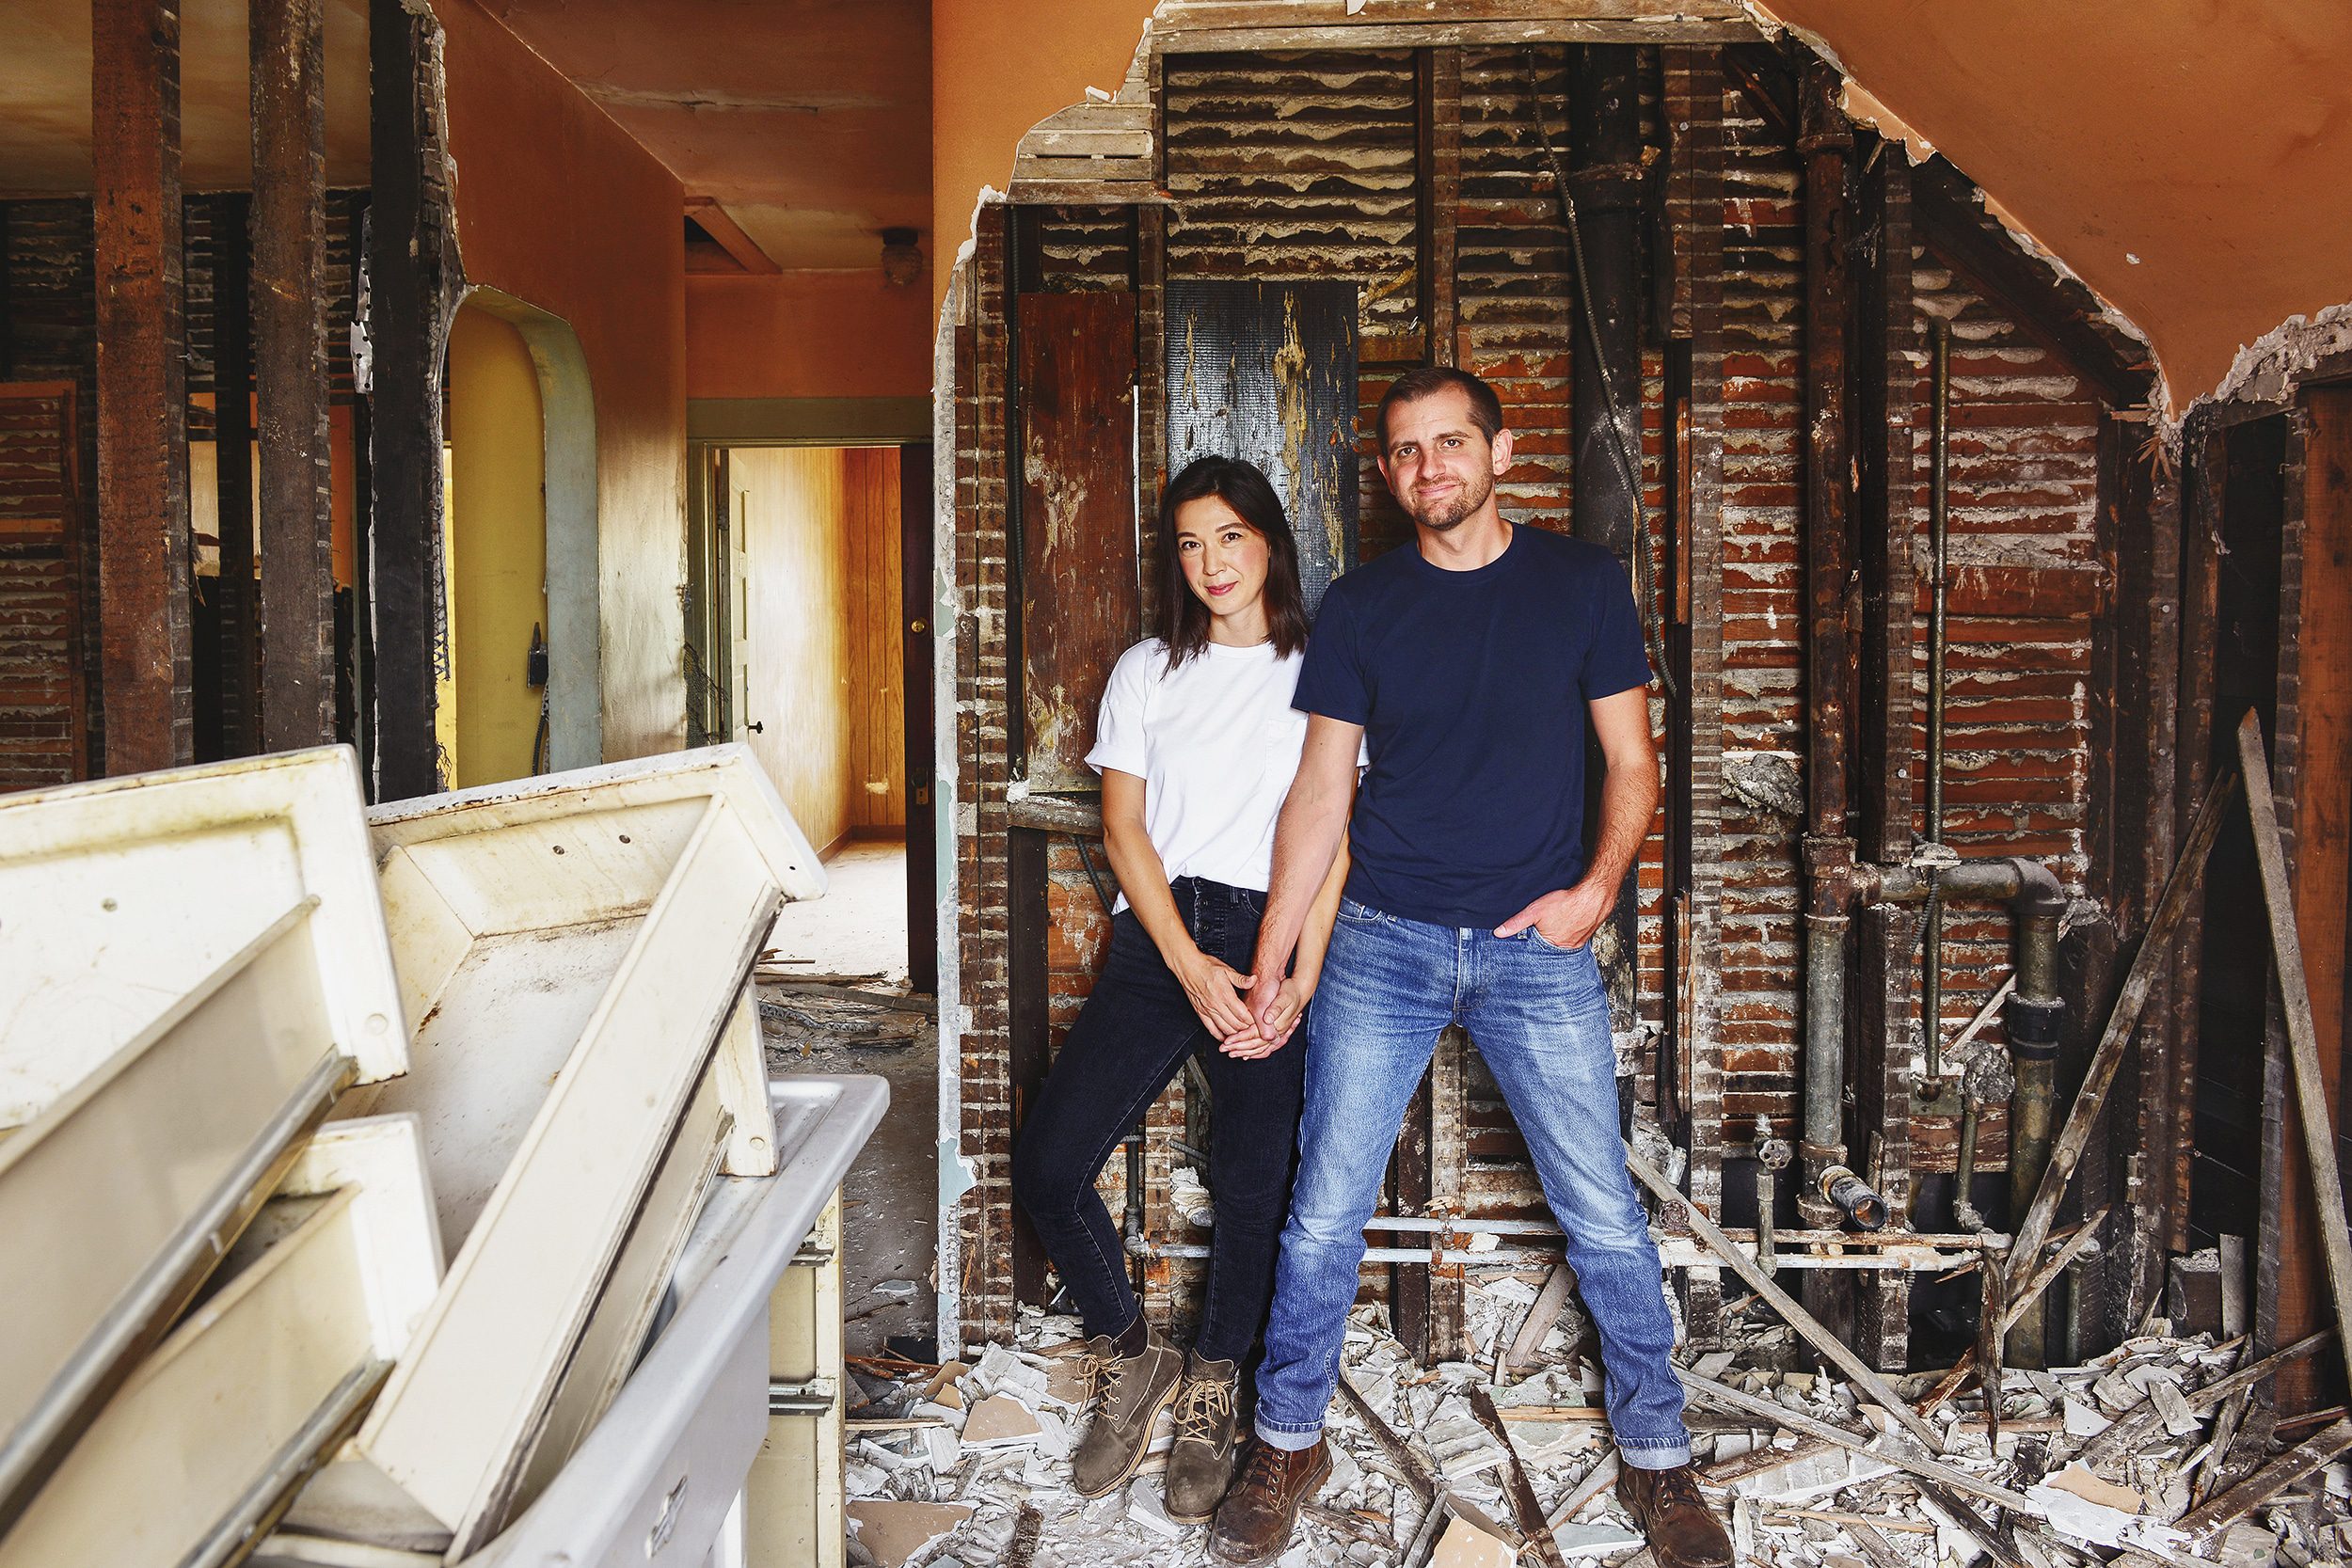
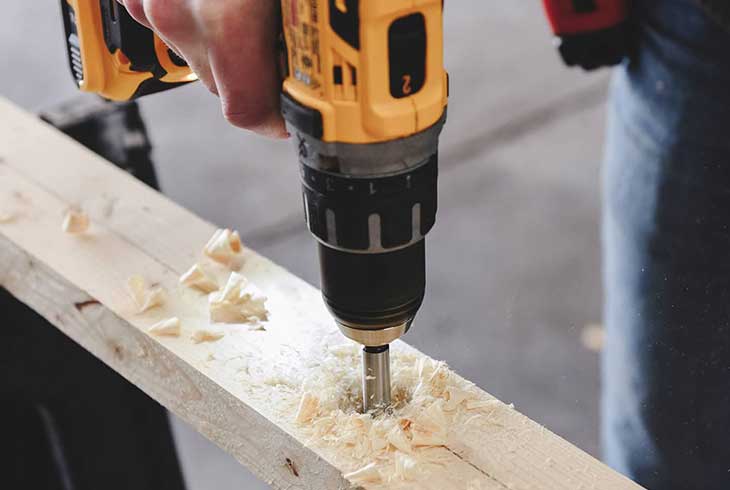
Planning a renovation? Here are our top tips for living through your own.
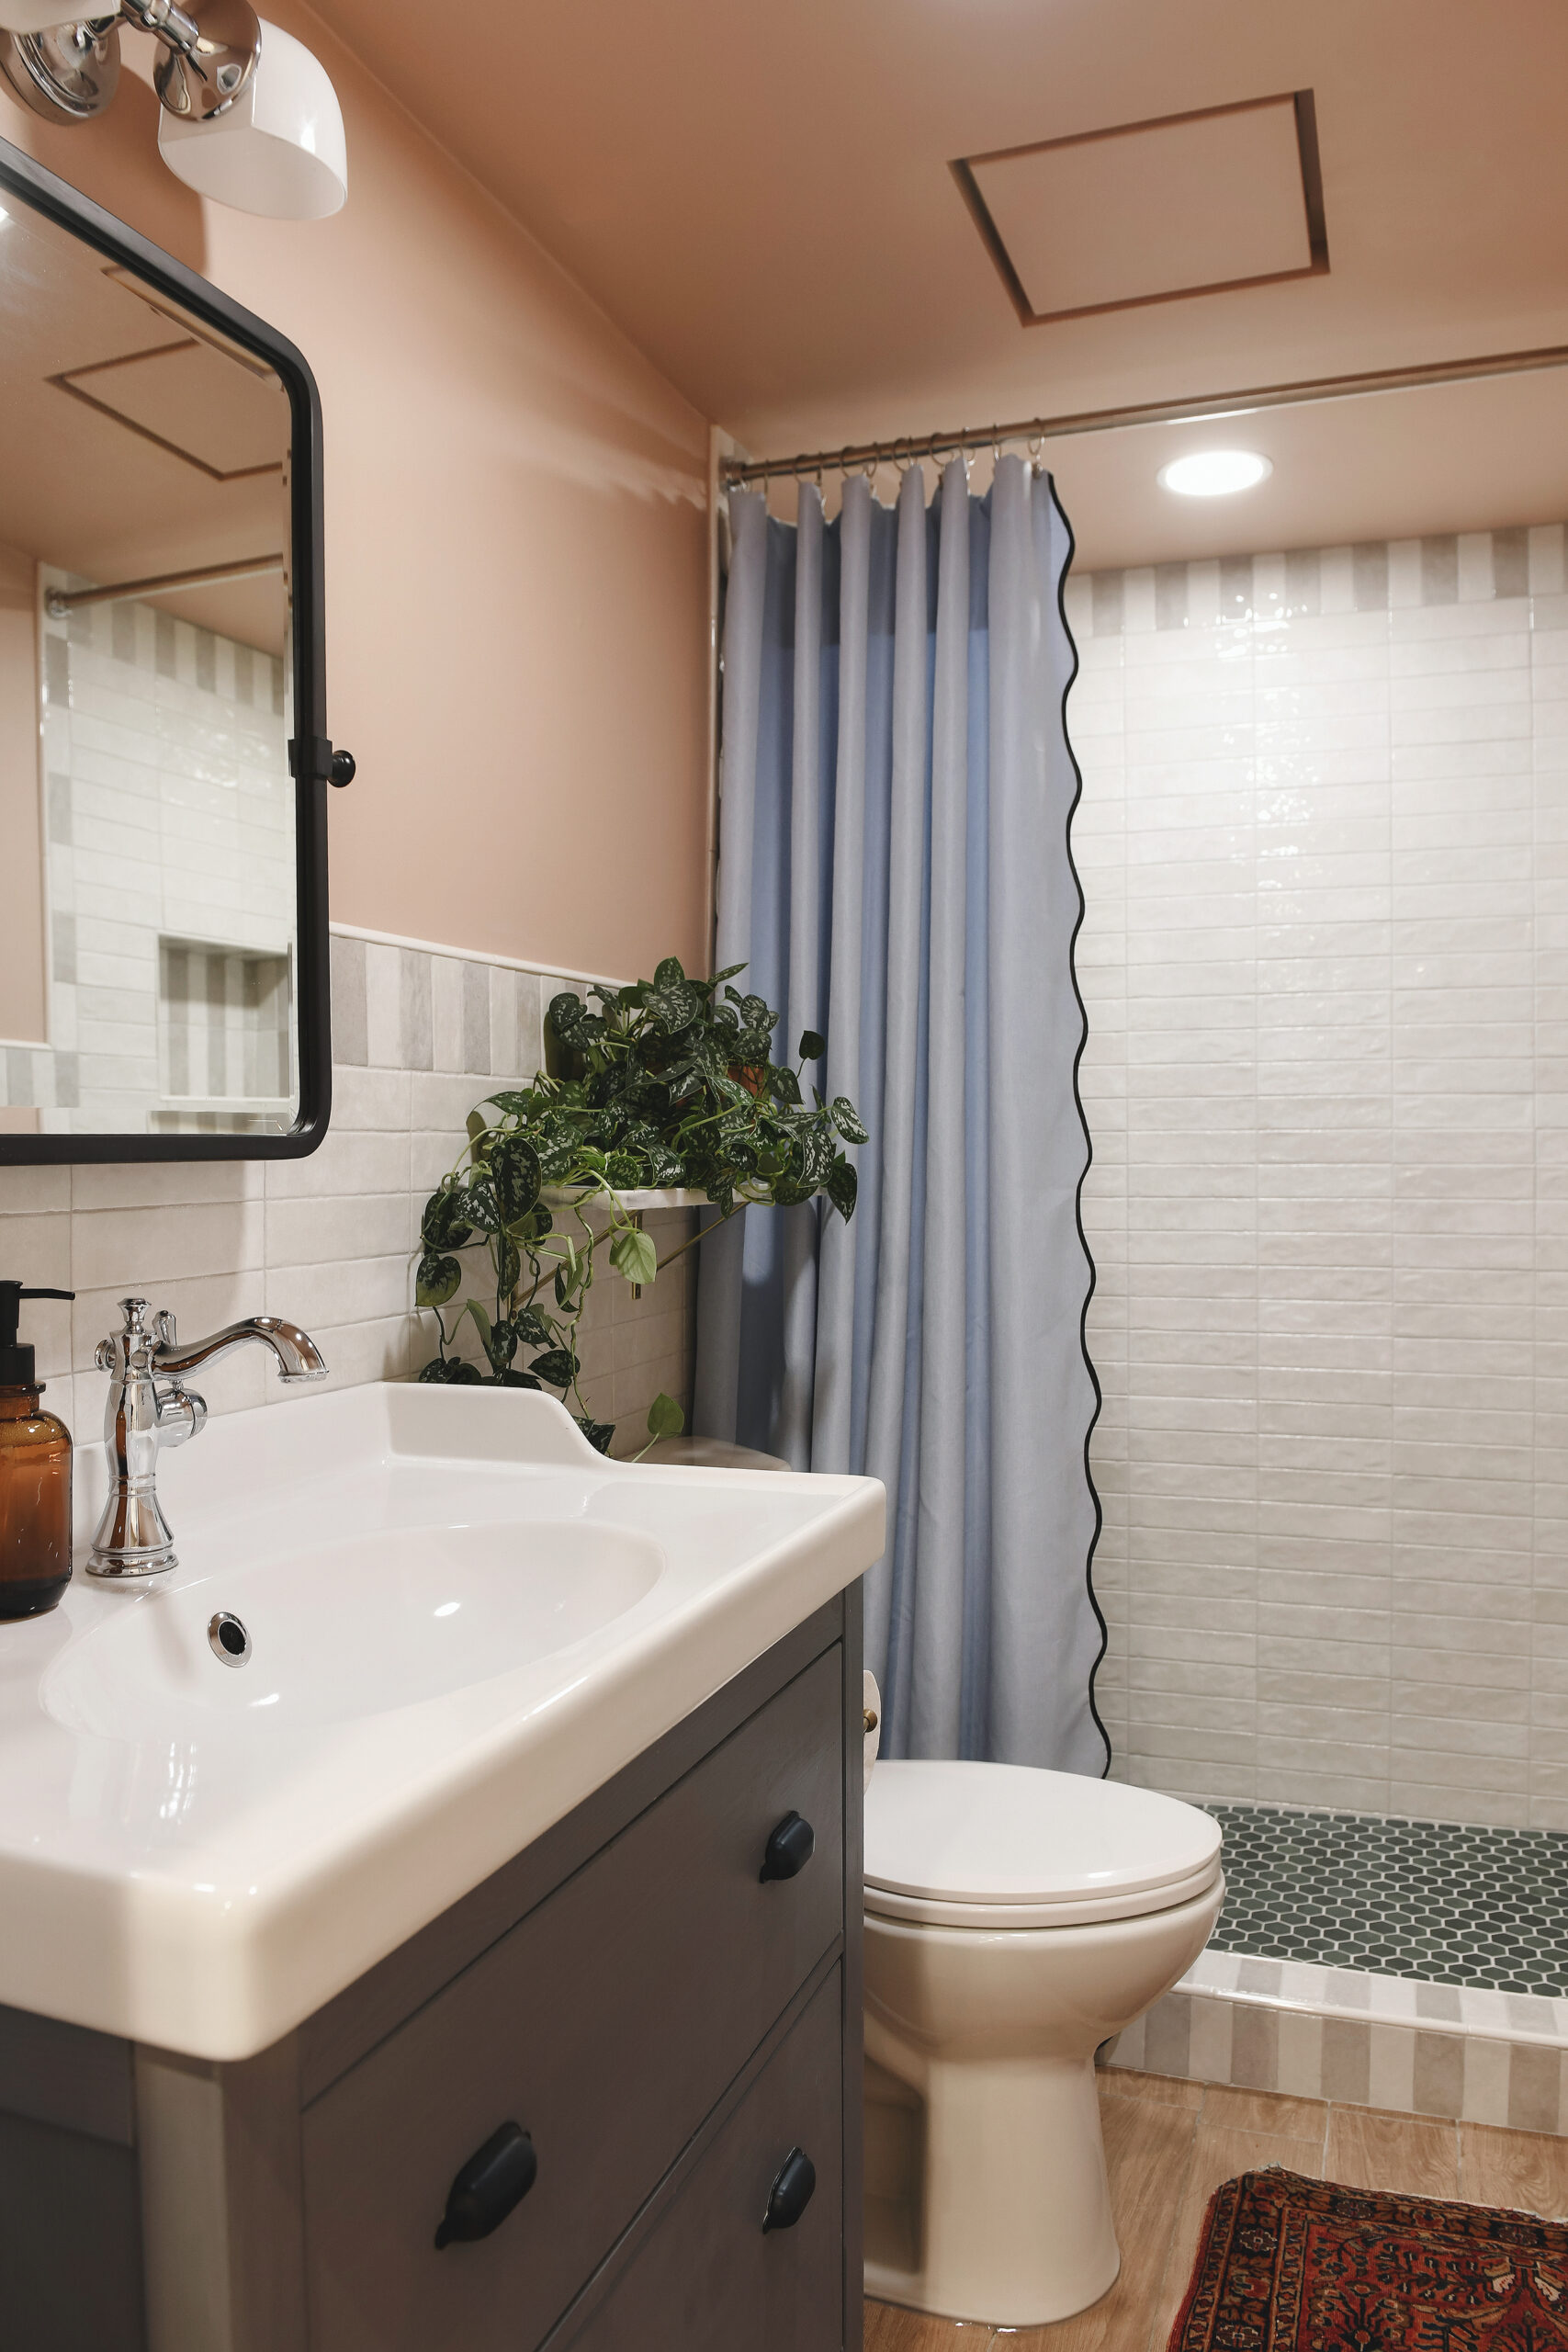
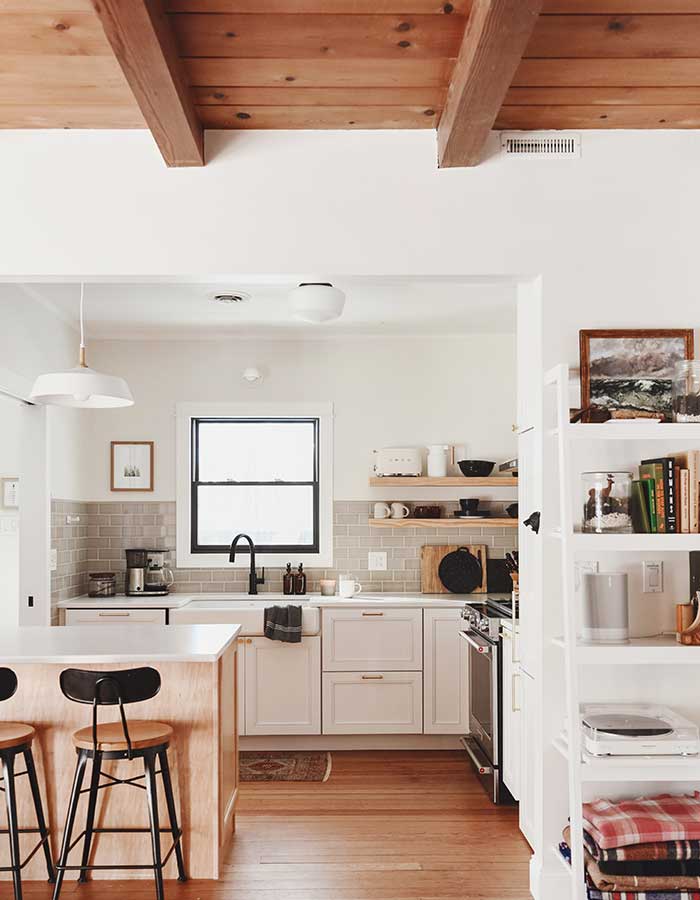
We said goodbye to the tub, embraced a walk-in shower, and played with color and pattern.
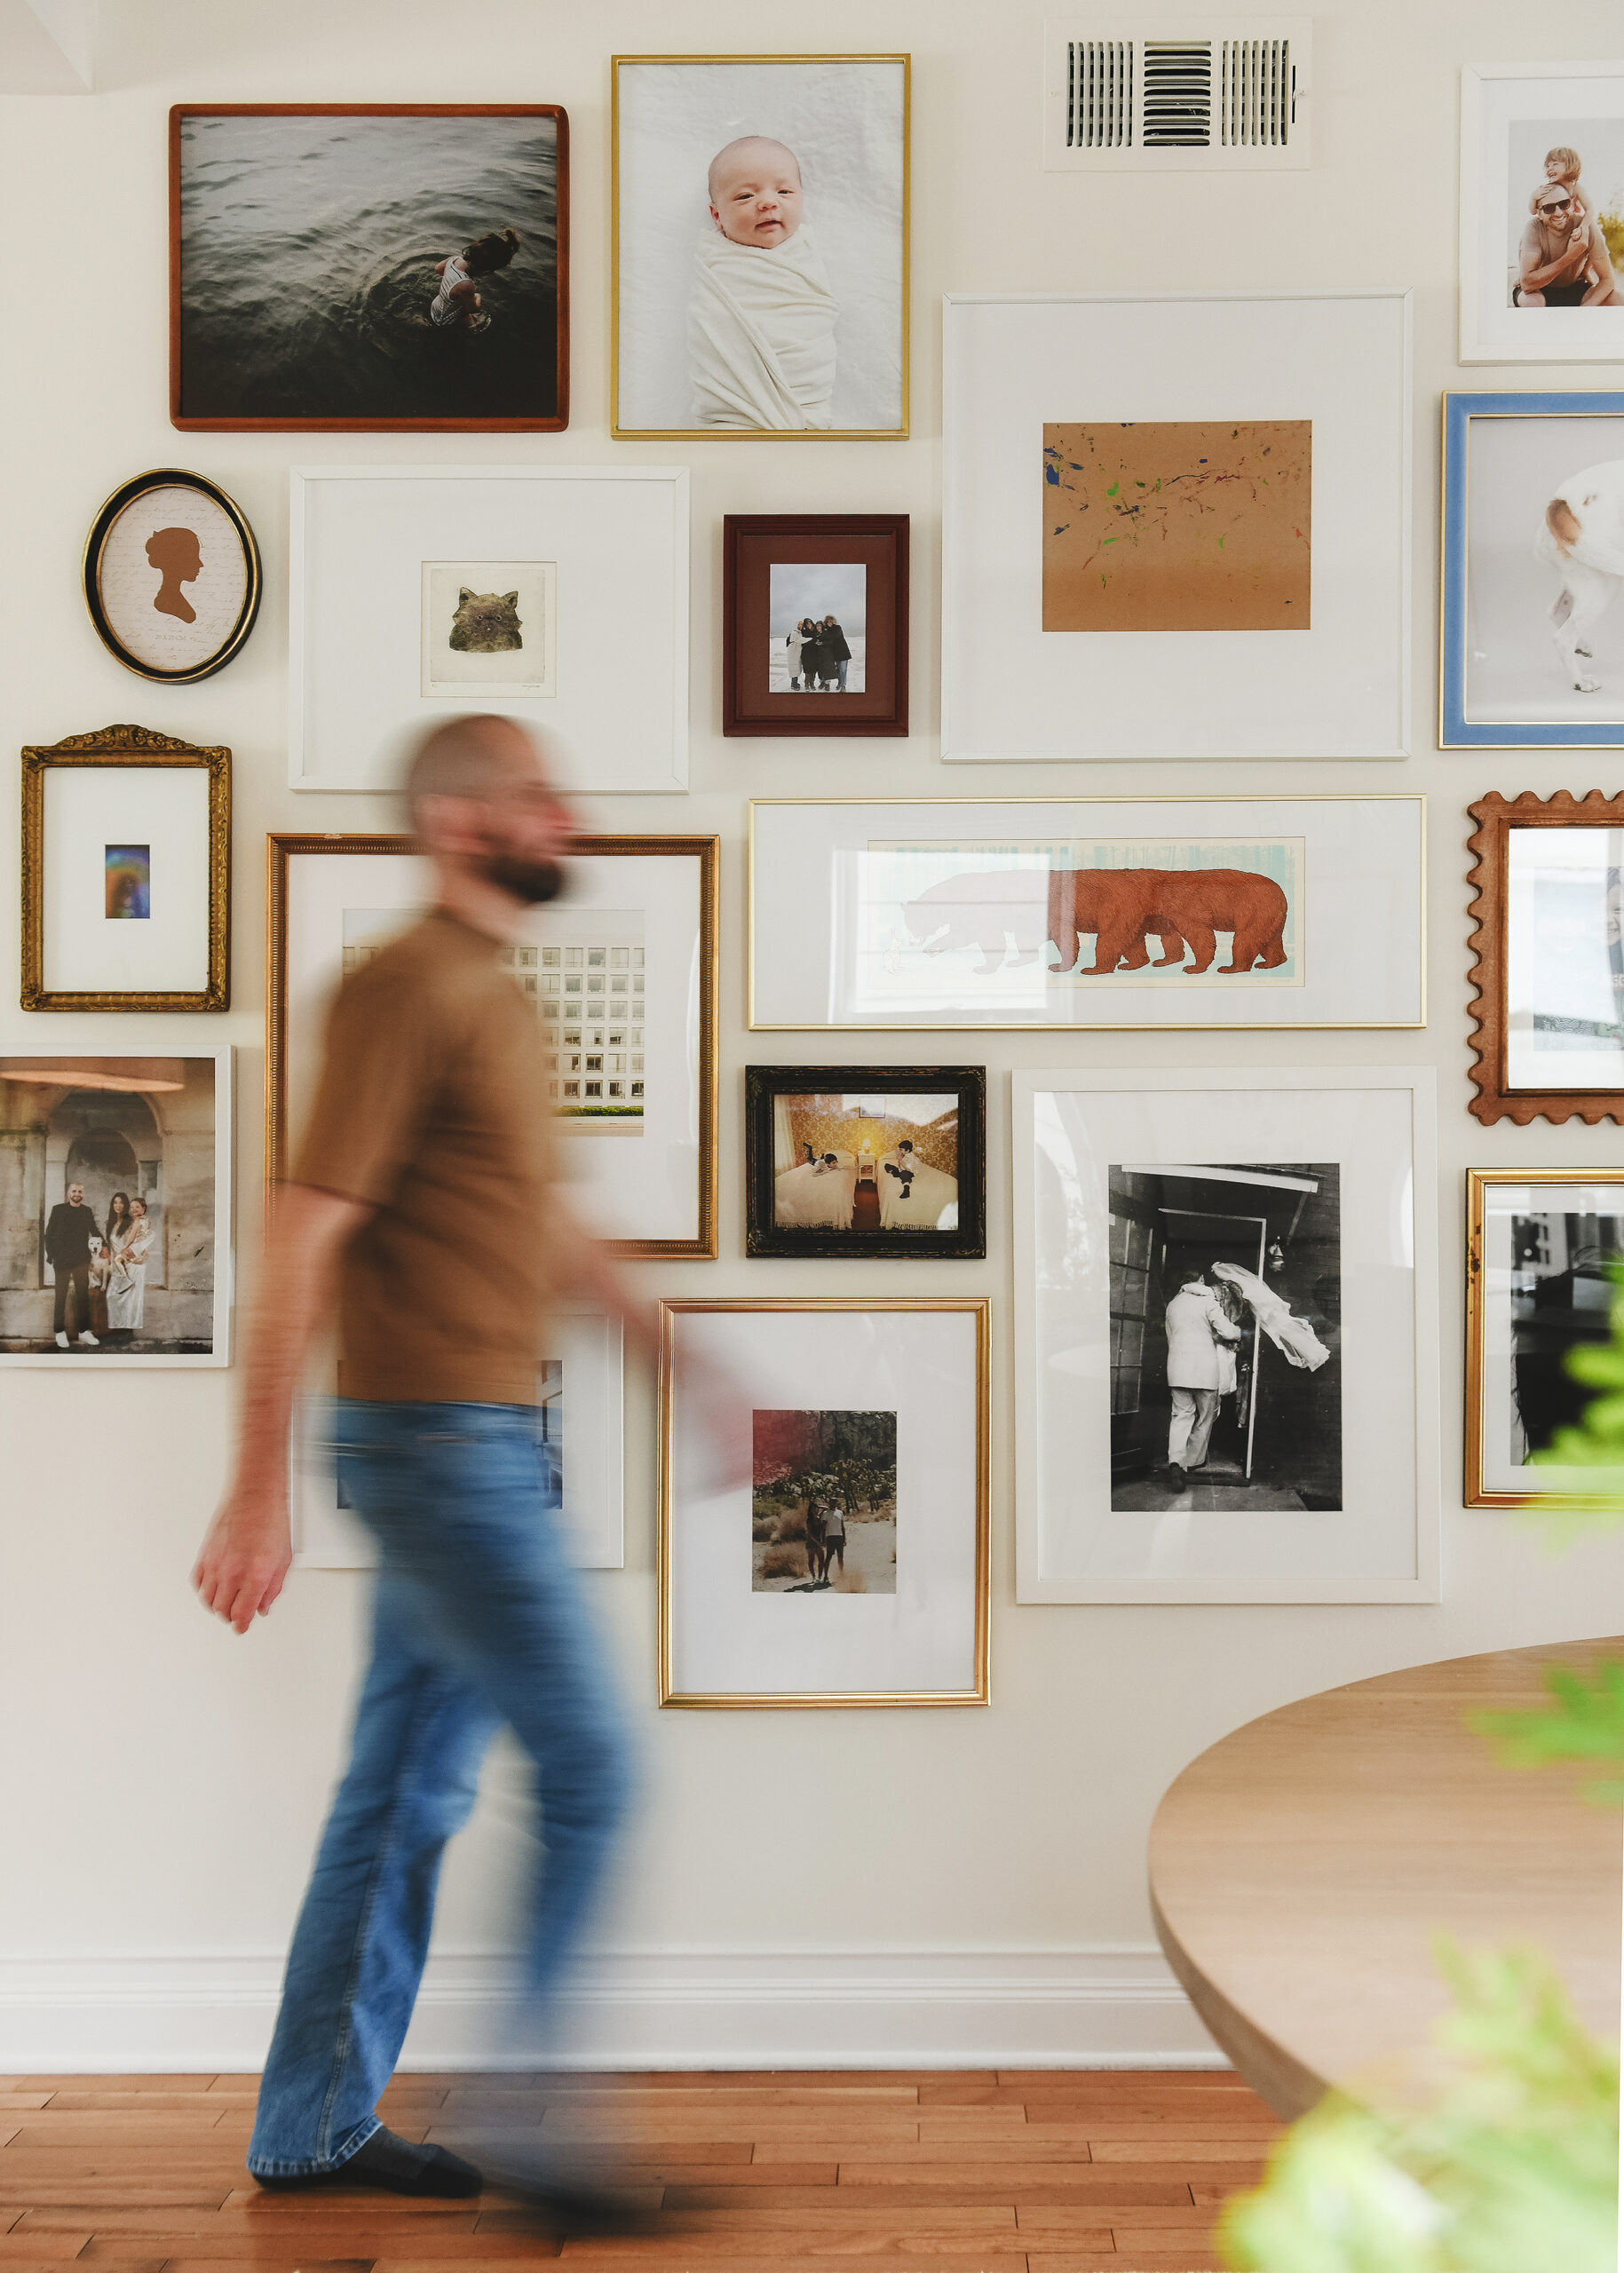
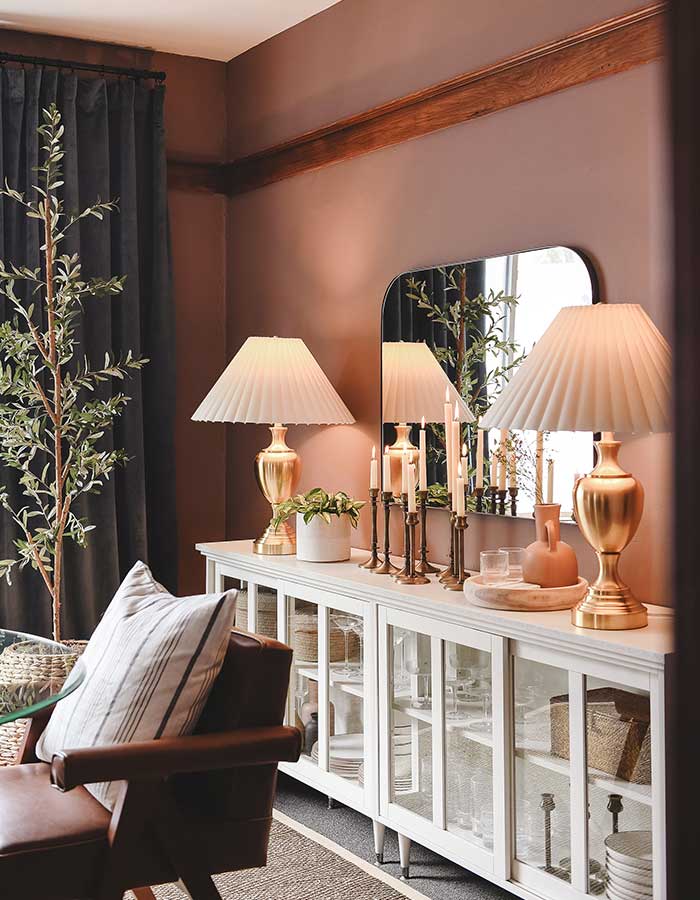
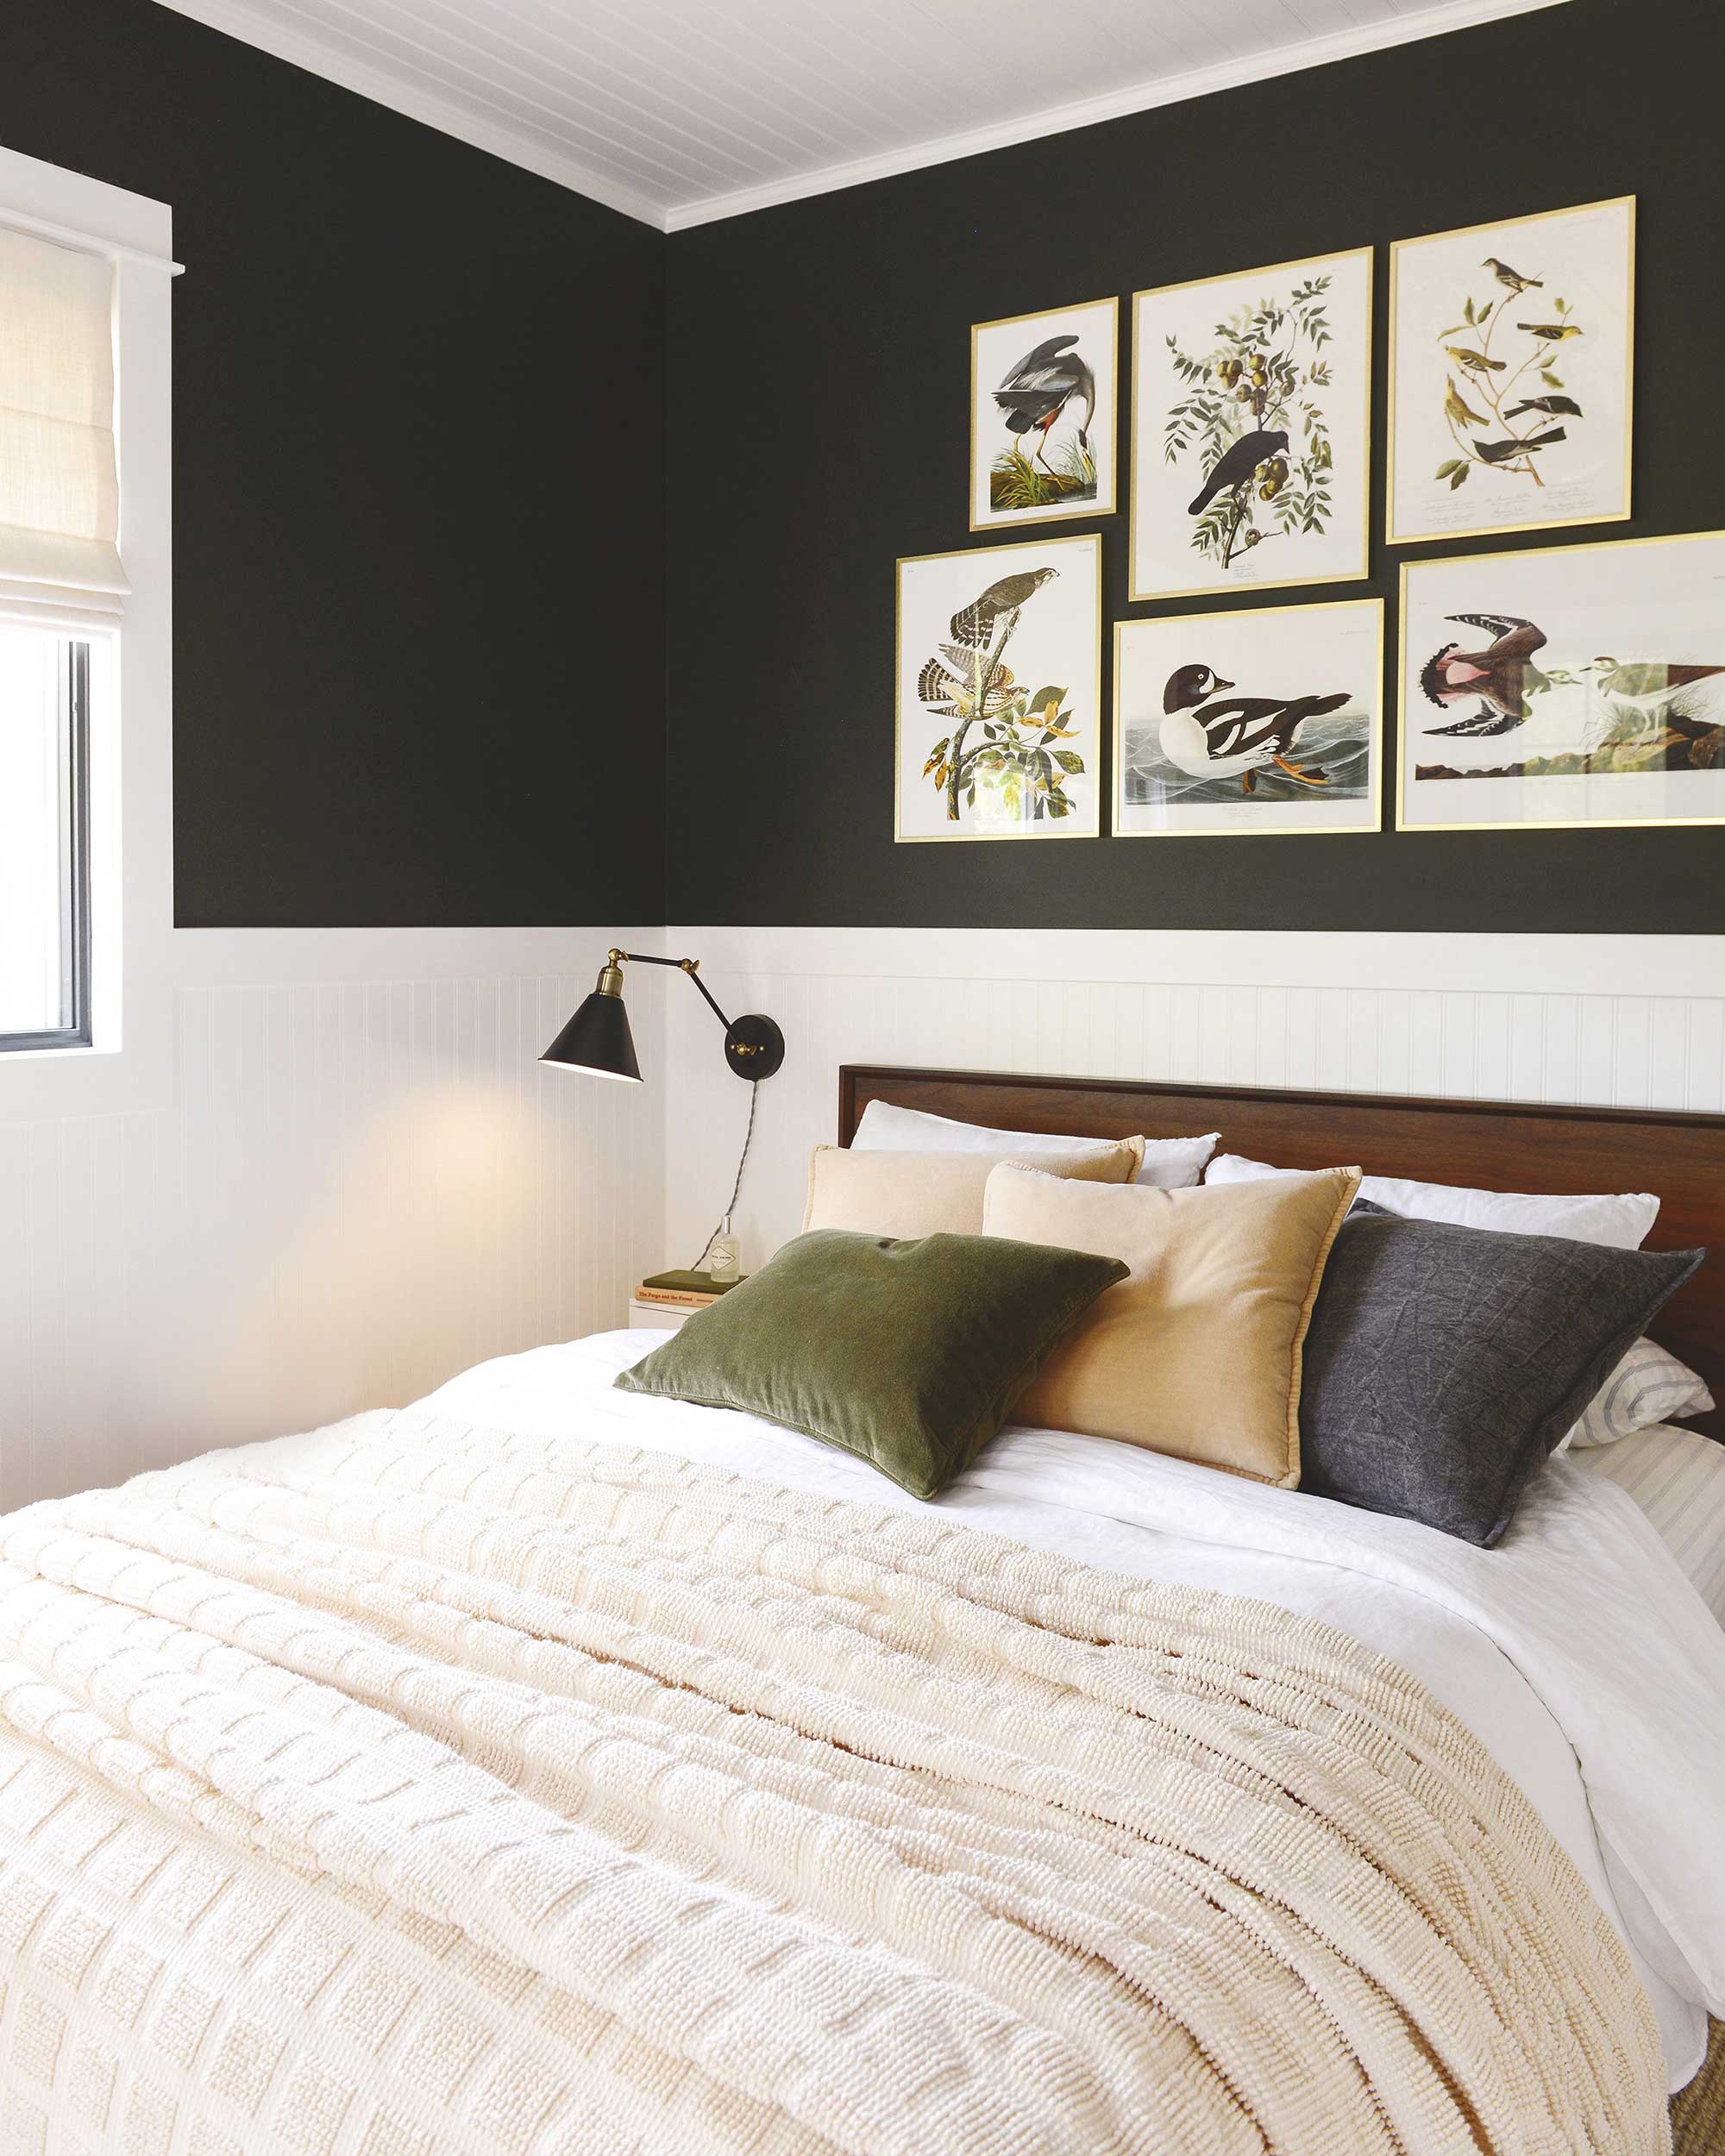
Kim's step-by-step approach for creating a balanced, collected and playful gallery wall.
Addressing the top 5 signs that it's time to replace your windows.
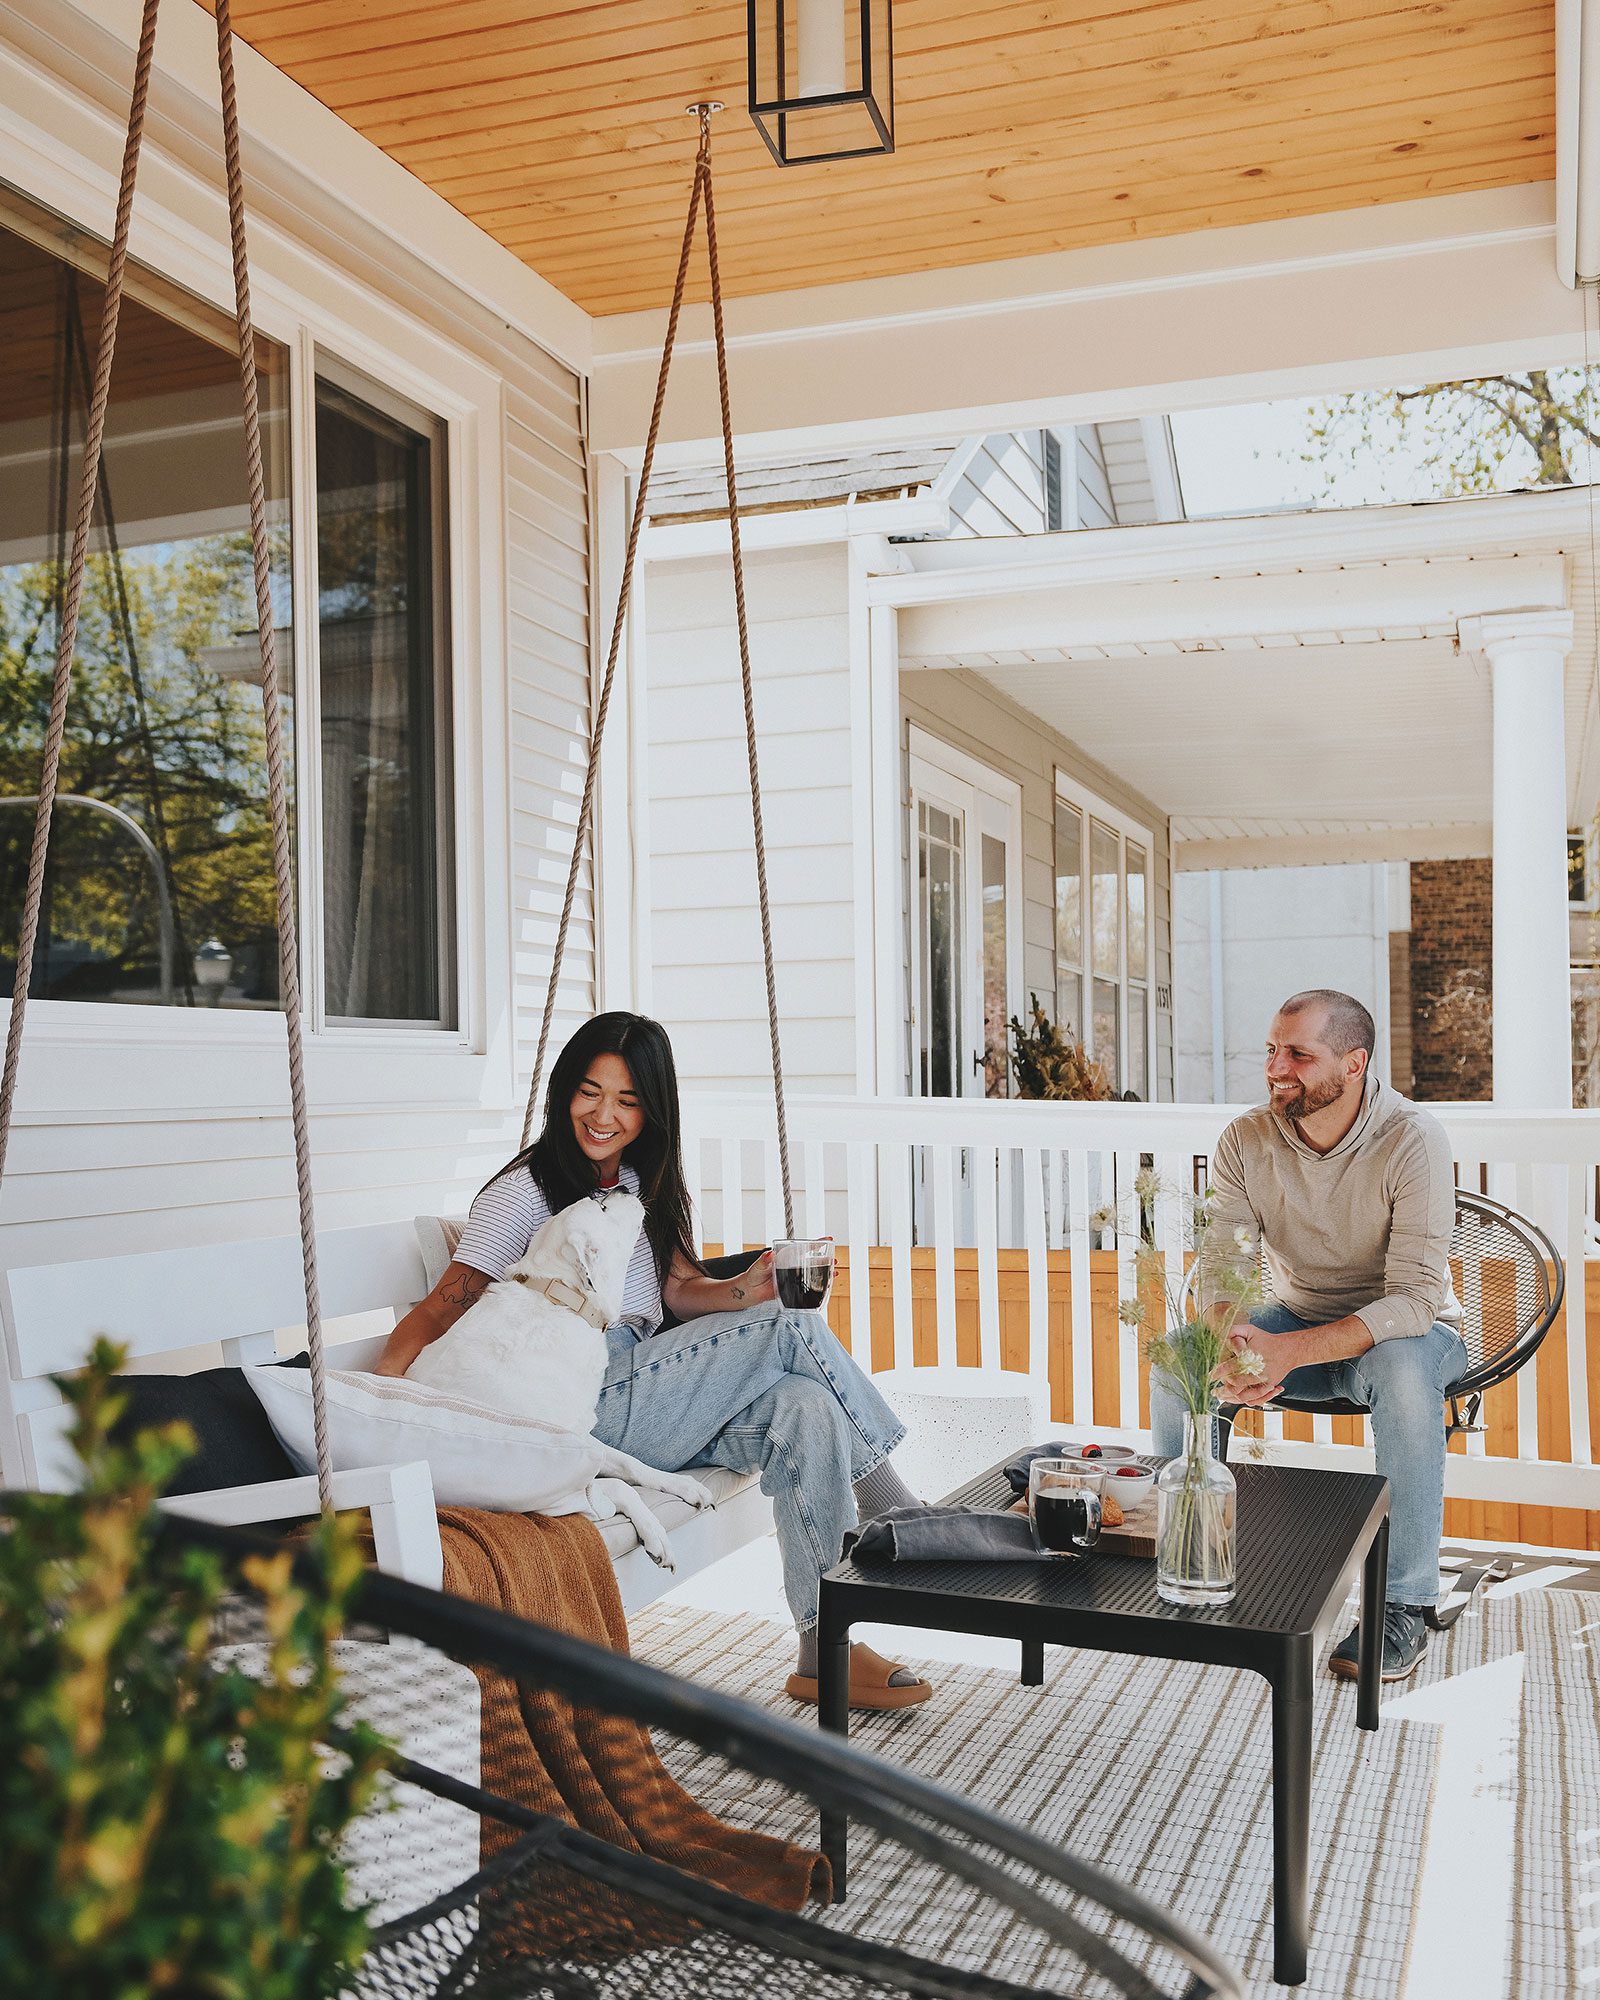
We’re Kim + Scott,
and we’re so happy you’re here!
Since 2009, we've been sharing our renovation adventures on Yellow Brick Home with quirk, honesty, and heart, and we believe that every home has a story to tell.
We hope you’ll find yourself right at home here, alongside our DIY-loving community where every voice is heard. Thank you for spending part of your day with us.
Skip the line and dive head first into our decades-long collection of before and afters! We’ve got you covered with everything from a purple kid’s room to kitchens, bathrooms, and (much) more.
Take a tour of each of the homes we’ve renovated over the last two decades! From an 1800s Worker’s Cottage to a Tree House in the woods, explore their stories and see the transformative before-and-afters.
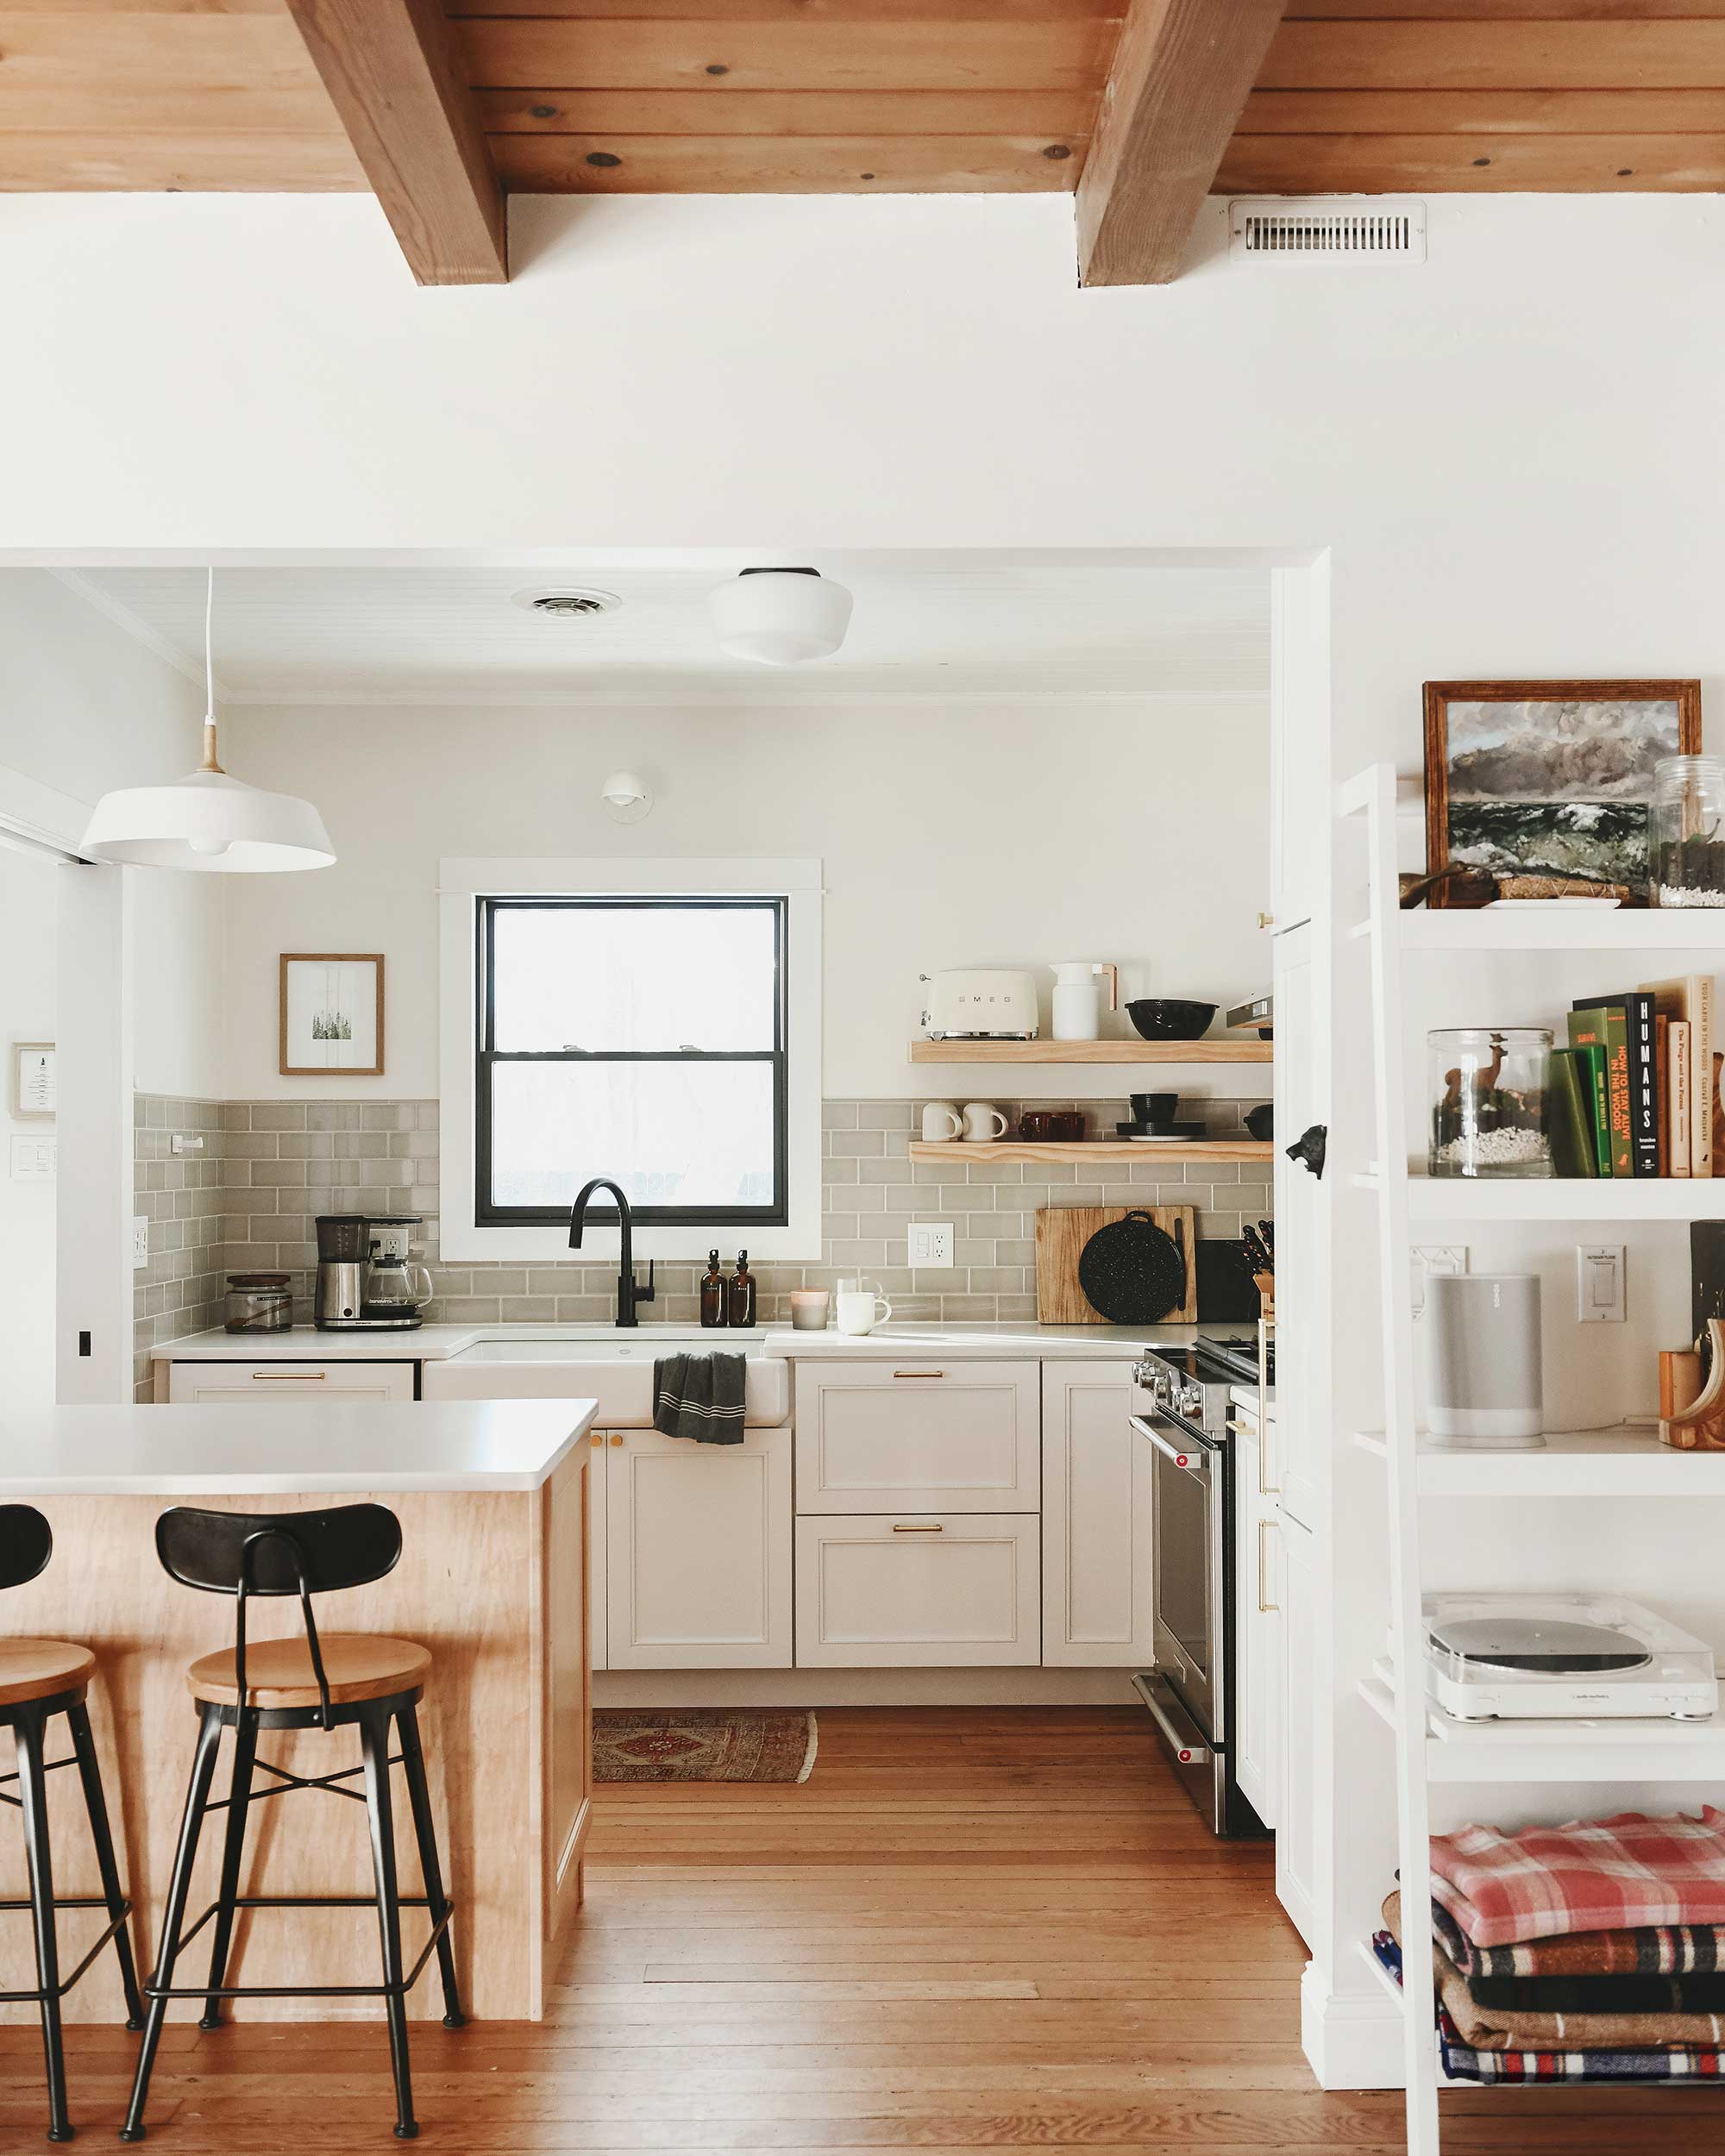
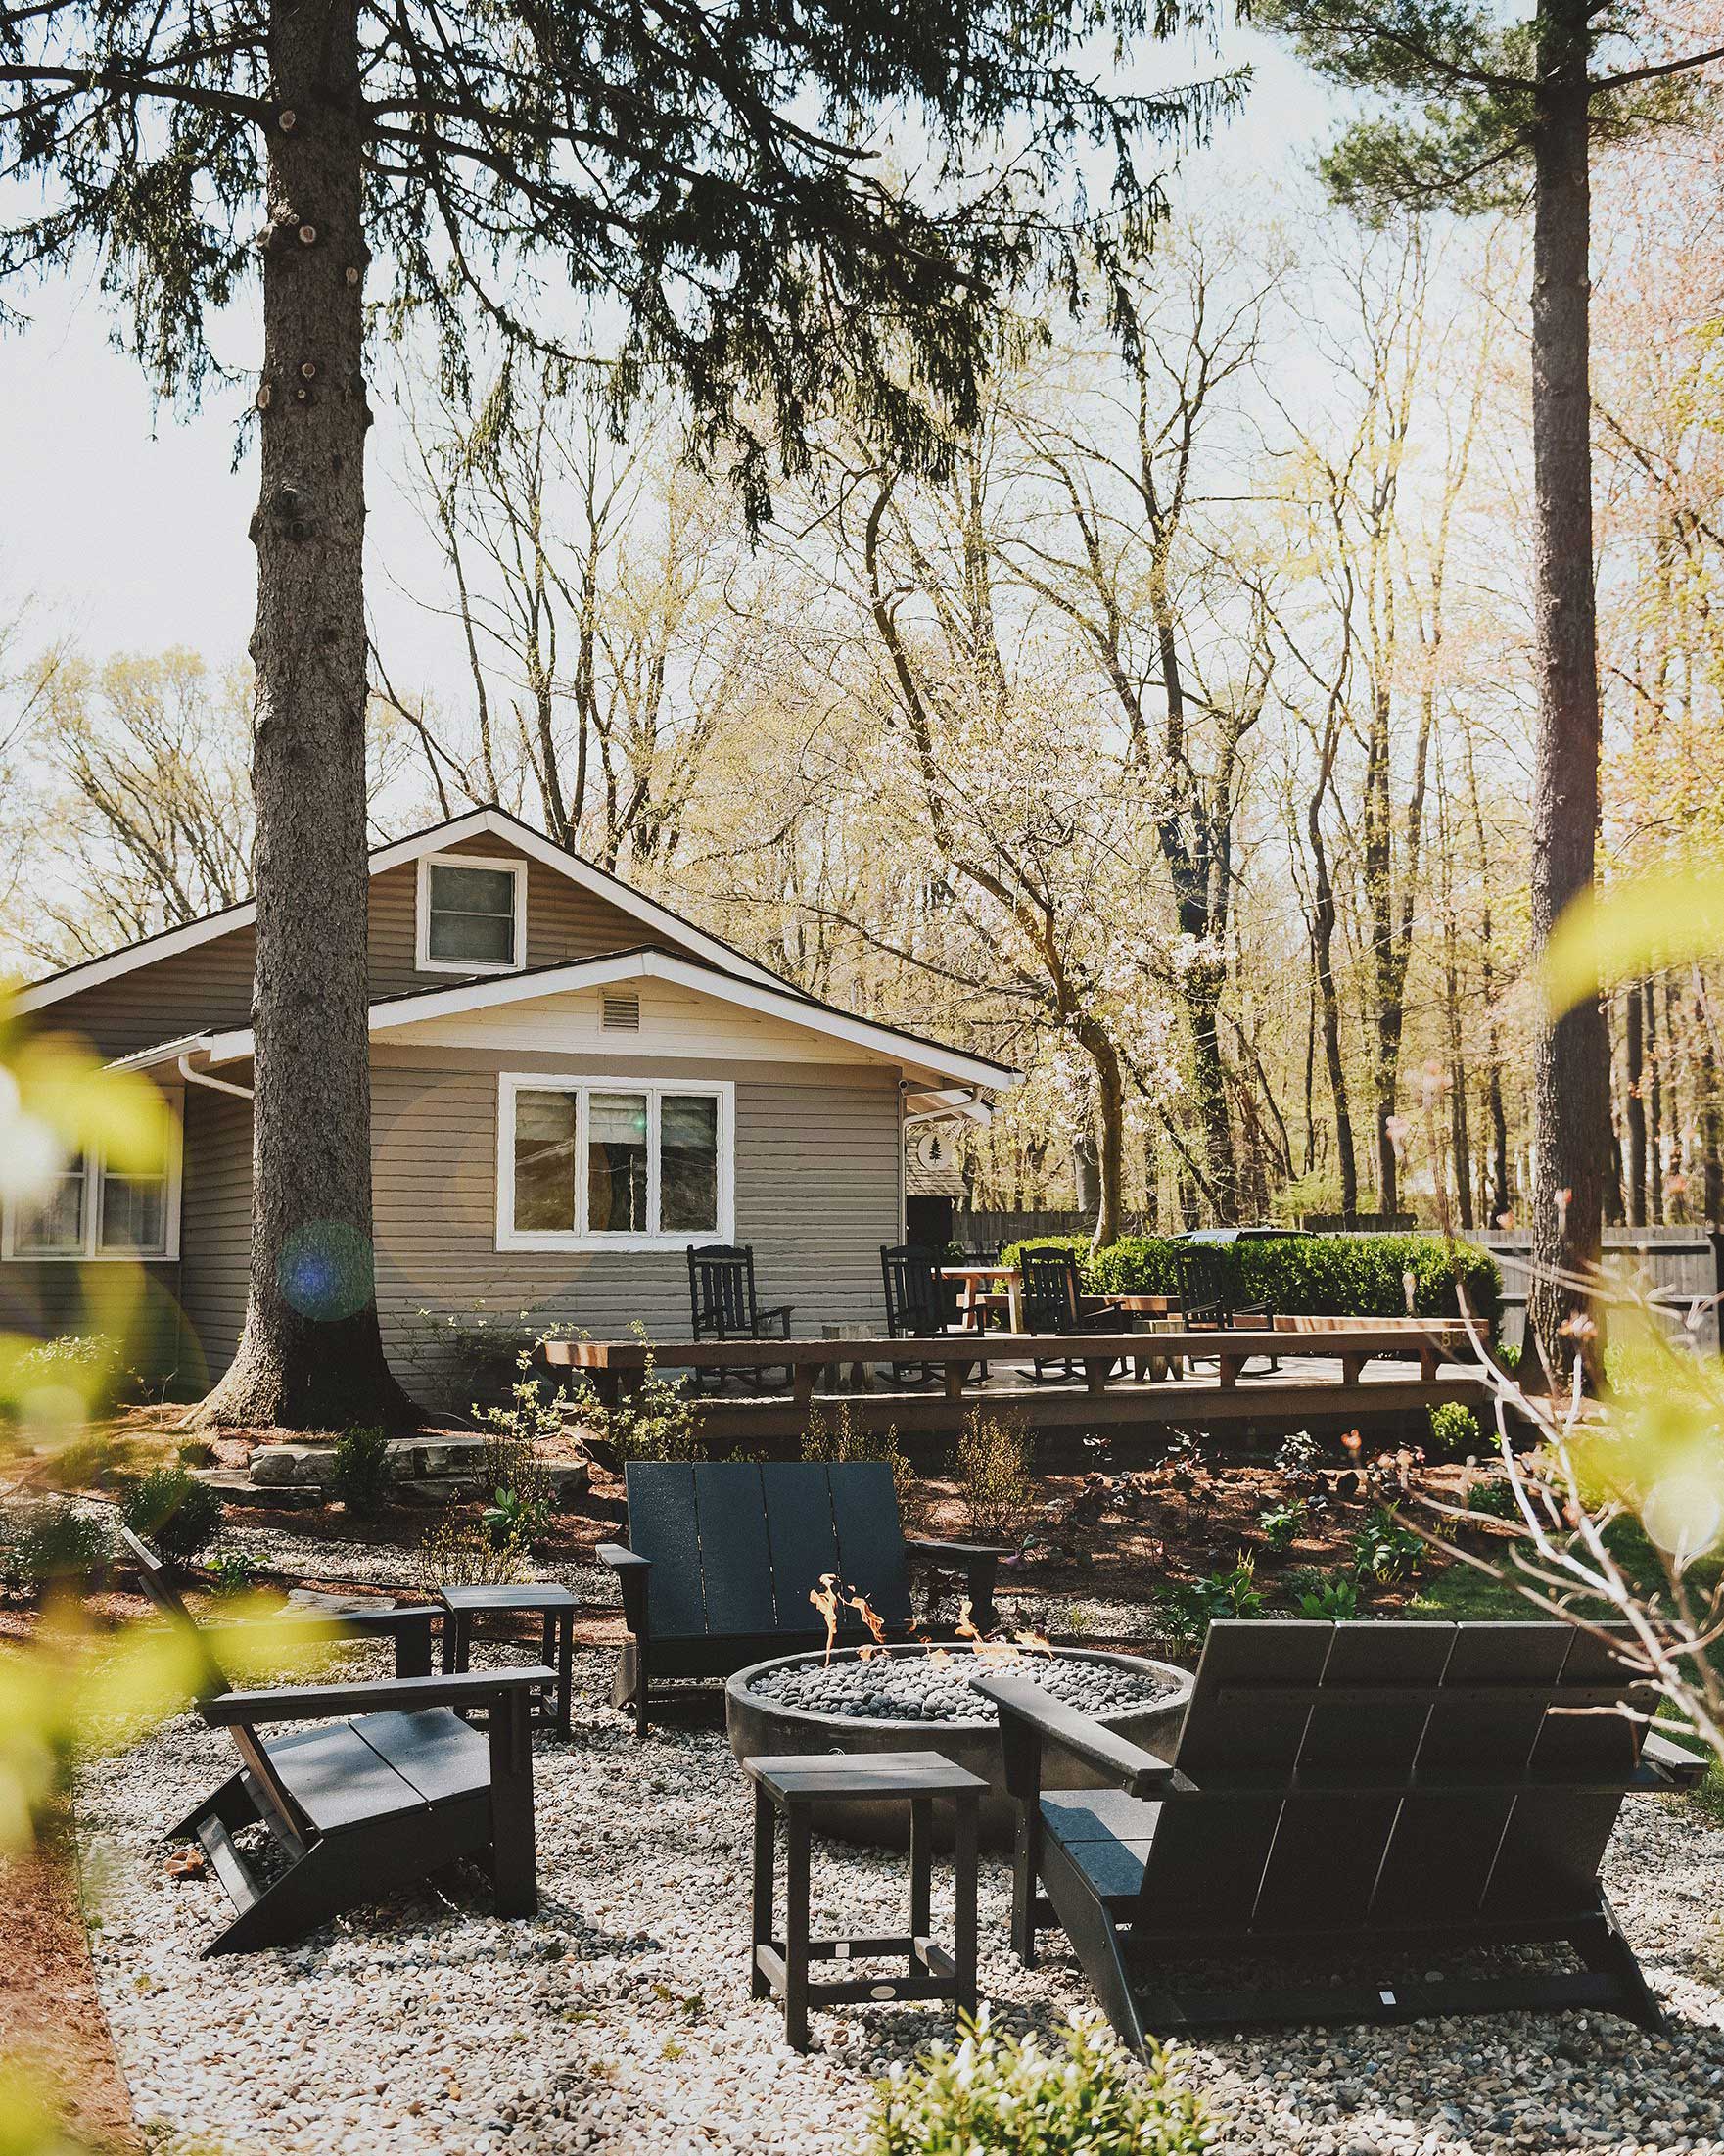
We invite you to our happy slice of Michigan, nestled among the trees in the heart of Harbor Country.
Our renovated cottage is located 90 minutes from Chicago in the heart of all that Harbor Country has to offer! The bright, open home encourages conversation, gathering, and relaxation. Nature-inspired hues invite you in, while the outdoor spaces entice you with toasty s'mores under the stars. Get cozy, sleep in, and may there be (lots of) pancakes.

A choose-your-own-adventure style deep dive into each room of our homes. Get a closer look at each unique room transformation by selecting the home and your room of choice, then sit back and explore every tutorial within that space.


Built in the late 1800s, what began as a worker’s cottage was turned into a Chicago Two Flat in the 1900s. We’ve renovated and fine-tuned this home for over a decade, and she provides for our family daily.

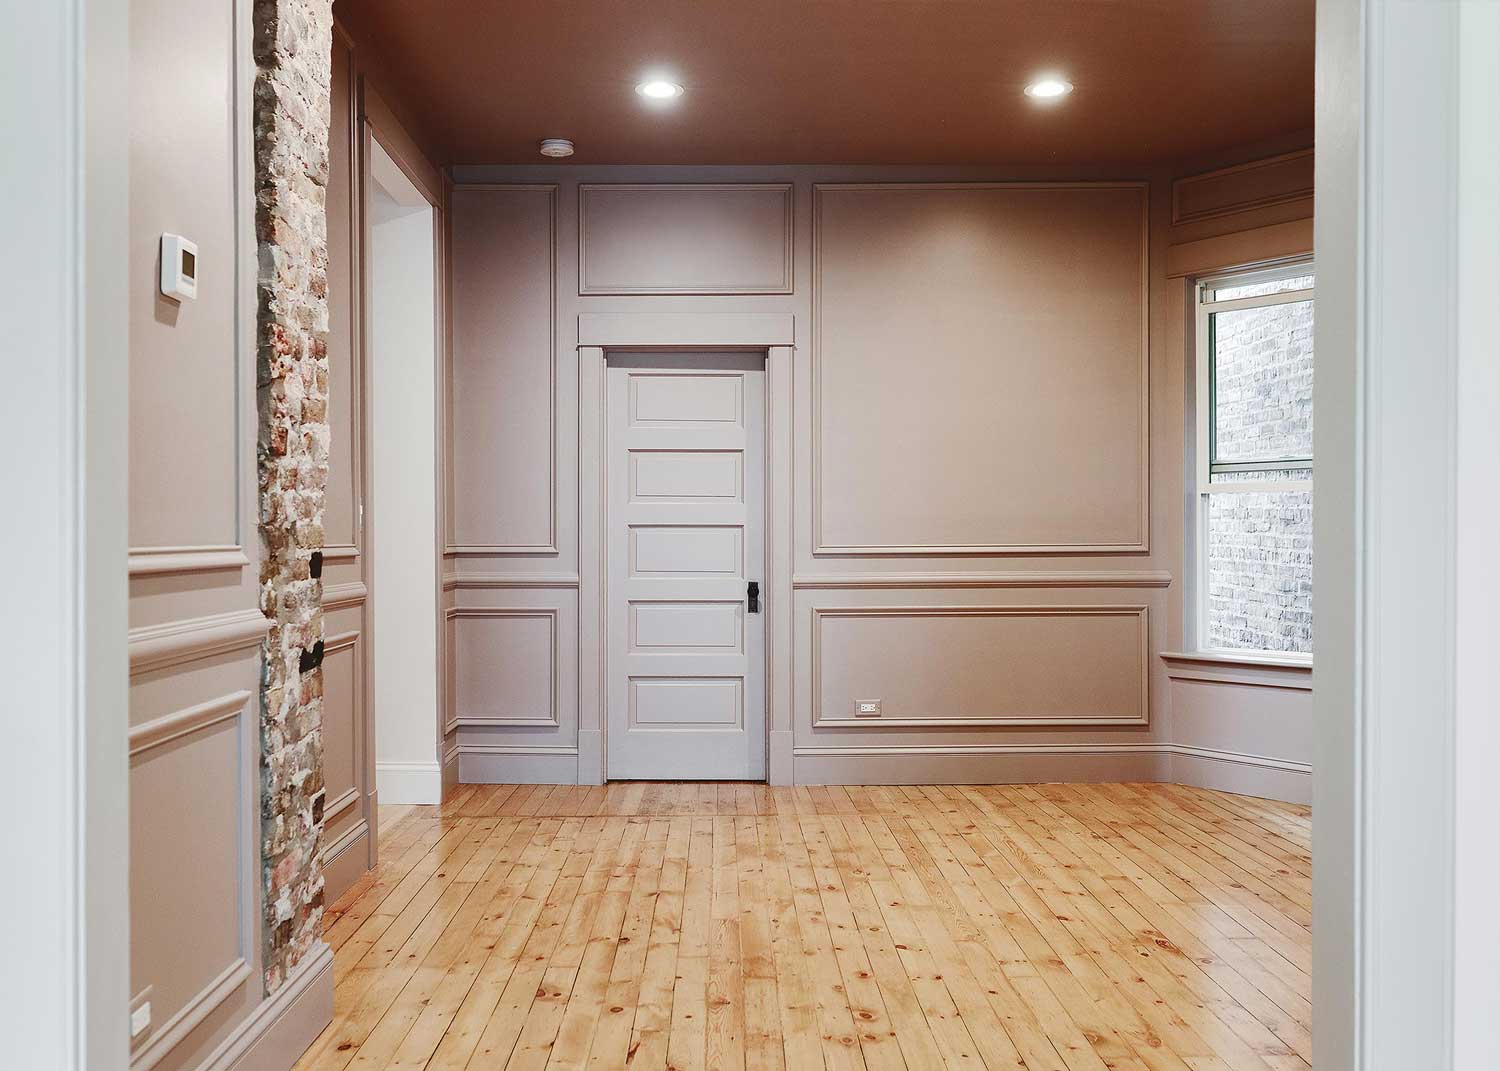
This was our first big investment property, and we learned countless lessons along the way. After a whirlwind 18-month renovation, we decided to keep her in the family and rent the two-unit house to tenants. Step inside – you won’t believe these before and afters.
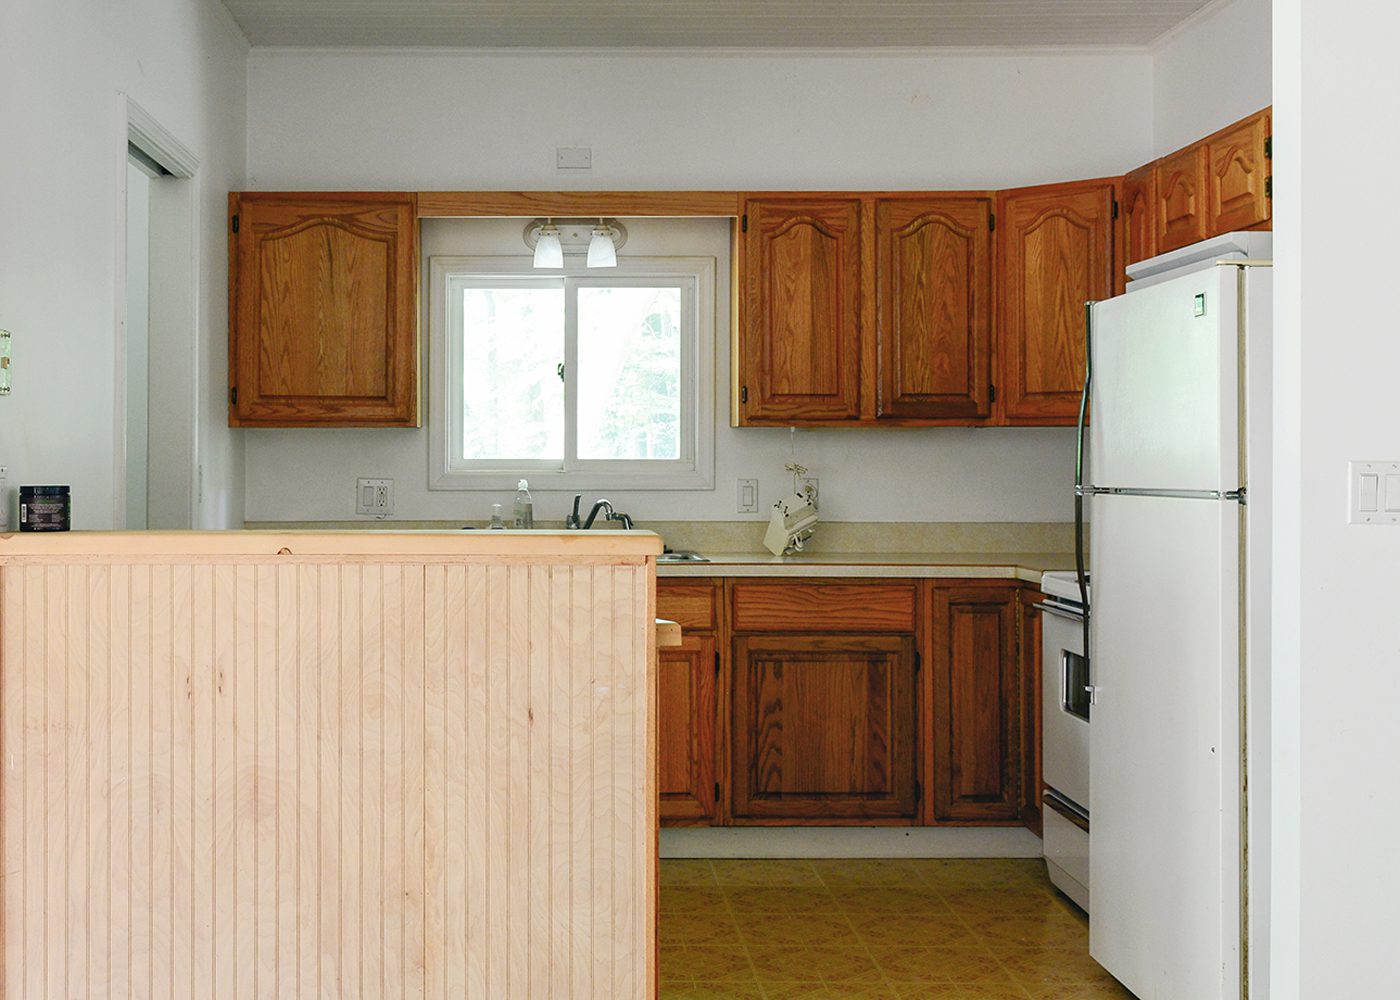
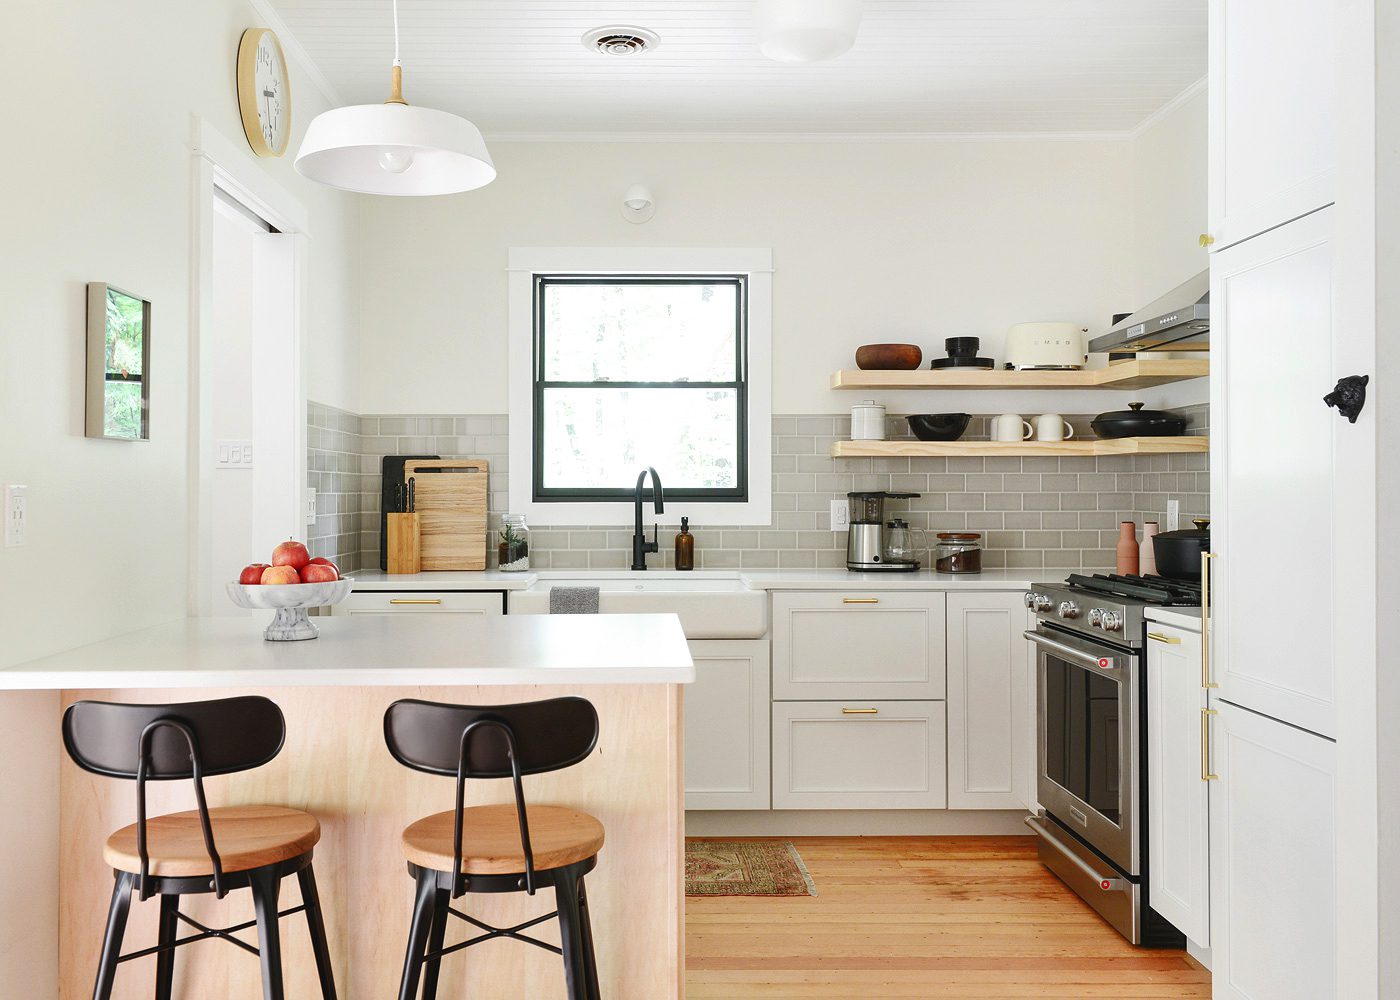
Our little cabin in the woods is located in southwest Michigan, a small fixer we restored with thoughtful decision-making and practical space saving solutions, all while designing the home to reflect the nature that surrounds it.


The Red House is the neighboring home to Tree House, and we are humbled and grateful to be the ones to restore her in all her mid-century glory. Purchased in the spring of 2023, this one is still mid-renovation!
Book a virtual consultation with us.
We approach design in an attainable, minimalist way and will work with you to implement desired change within any budget.
During our virtual meeting, we’ll guide you with an open ear and provide actionable next steps, and we’ll all leave feeling inspired!
A curated collection of items we love for home, workshop, and wellness. Think of it like a personal recommendation of our favorite finds, from us to you.


Join Kim for Coffee Talk, a Substack newsletter sharing the more personal side of our lives. From navigating life in the city to fresh finds, we invite you to pull up a chair. Let's dish over a hot cup, friend.


We’re Kim + Scott, Chicago based content creators behind the Home + Lifestyle brand Yellow Brick Home.
Join us as we renovate and nurture vintage homes across Chicago + SW Michigan!
Subscribe to Coffee Talk, a Substack newsletter sharing the more personal side of our lives.
This site uses affiliate links. We will always disclose sponsored posts in the text and by using the ‘sponsored' tag.


© 2024 Yellow Brick Home. | All Rights Reserved. | PRIVACY POLICY